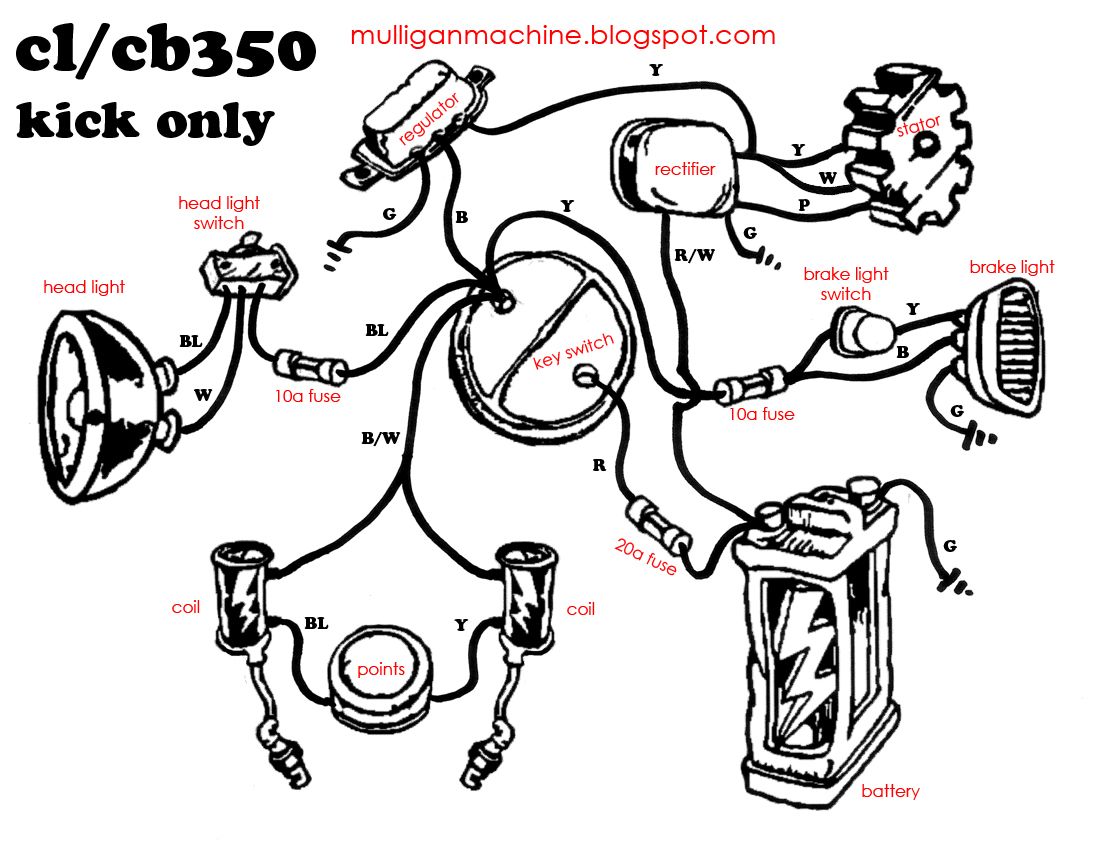
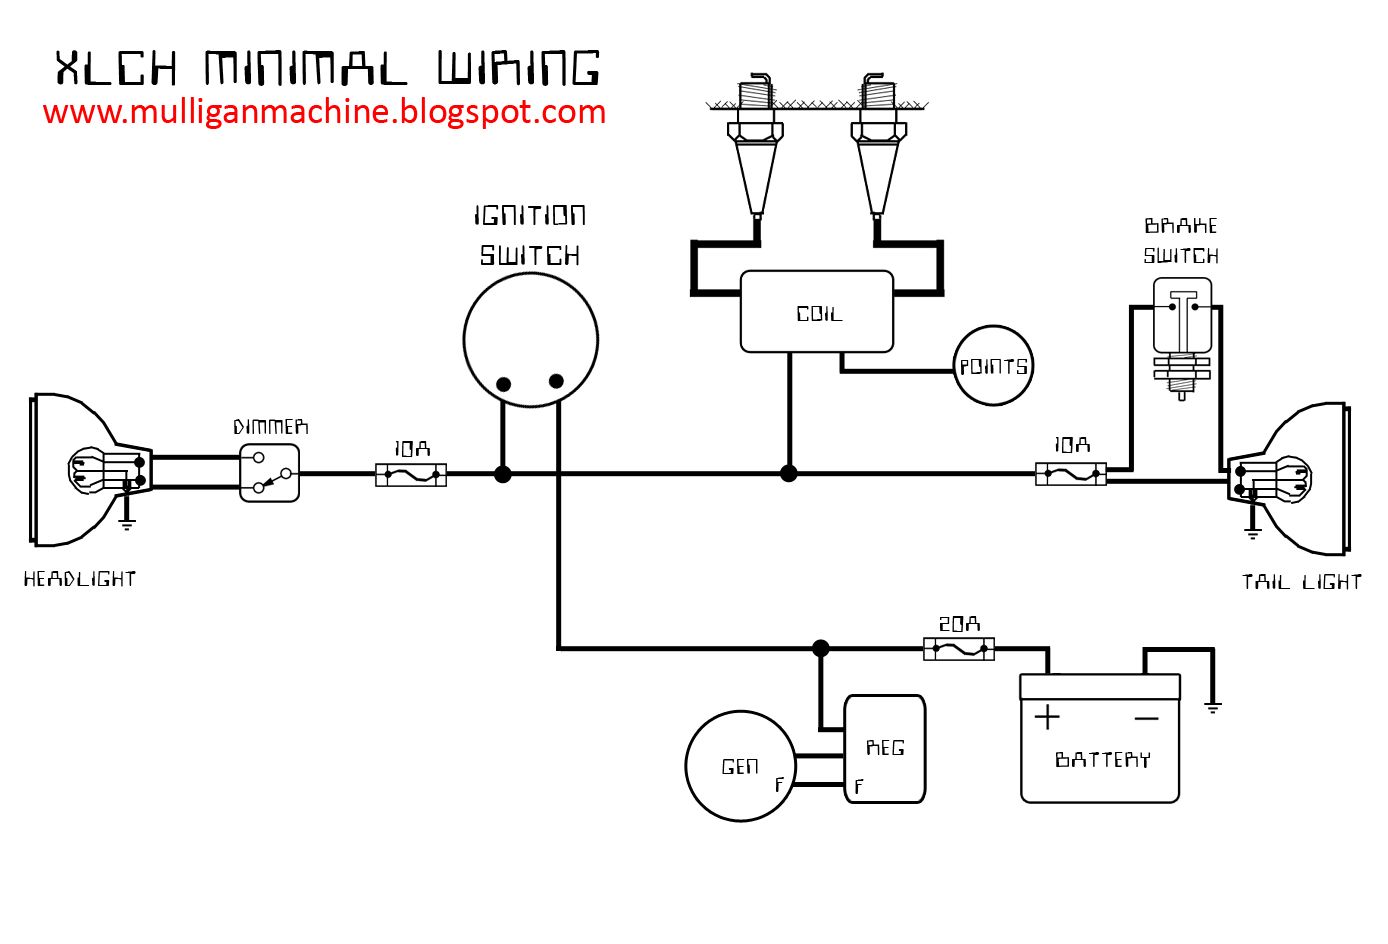
My Name is Trevor and I am a friend of Andy. I watched Andy prepare for and complete this ride last year and decided it looked too fun not to do myself. I'm not a "motorcycle guy", I've never owned a road going motorcycle, and I don't have a motorcycle license. But it looks like I still have several months.
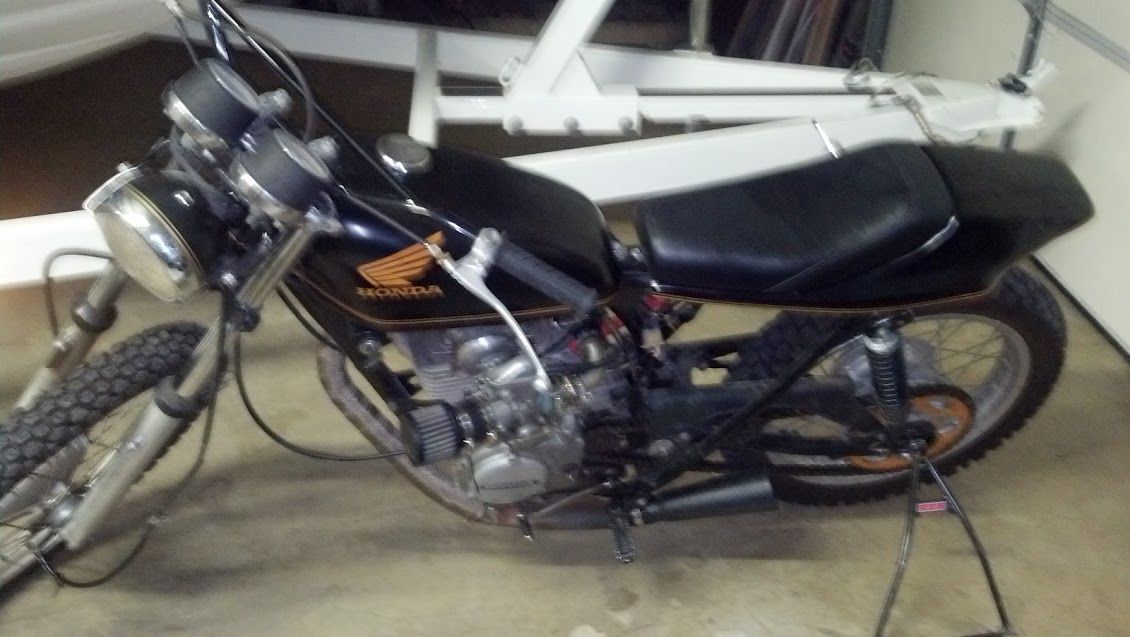
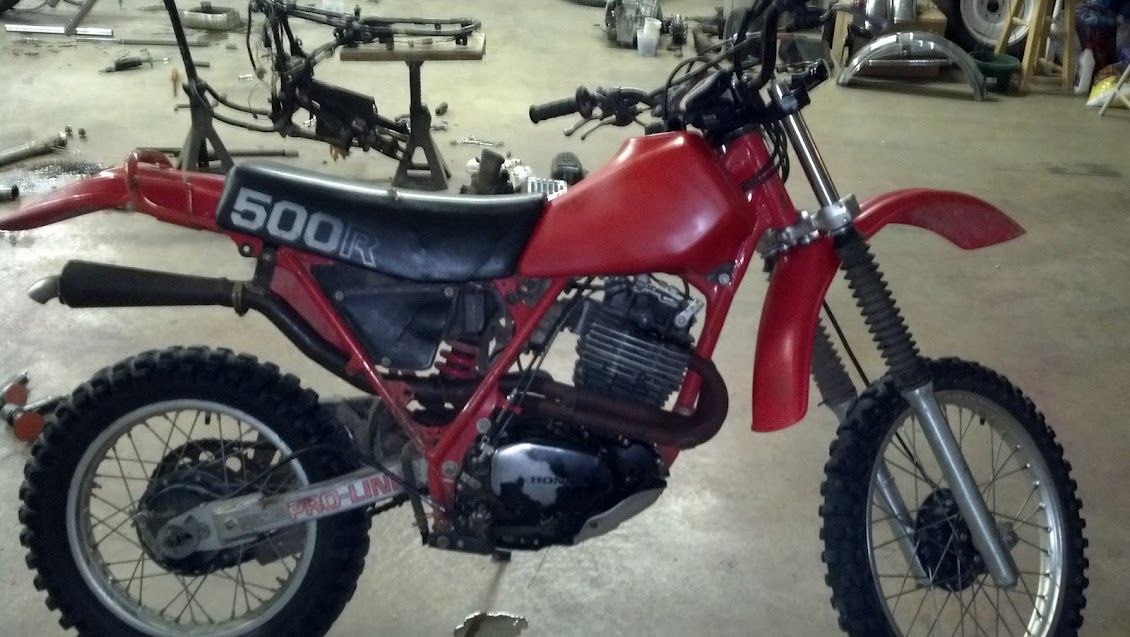
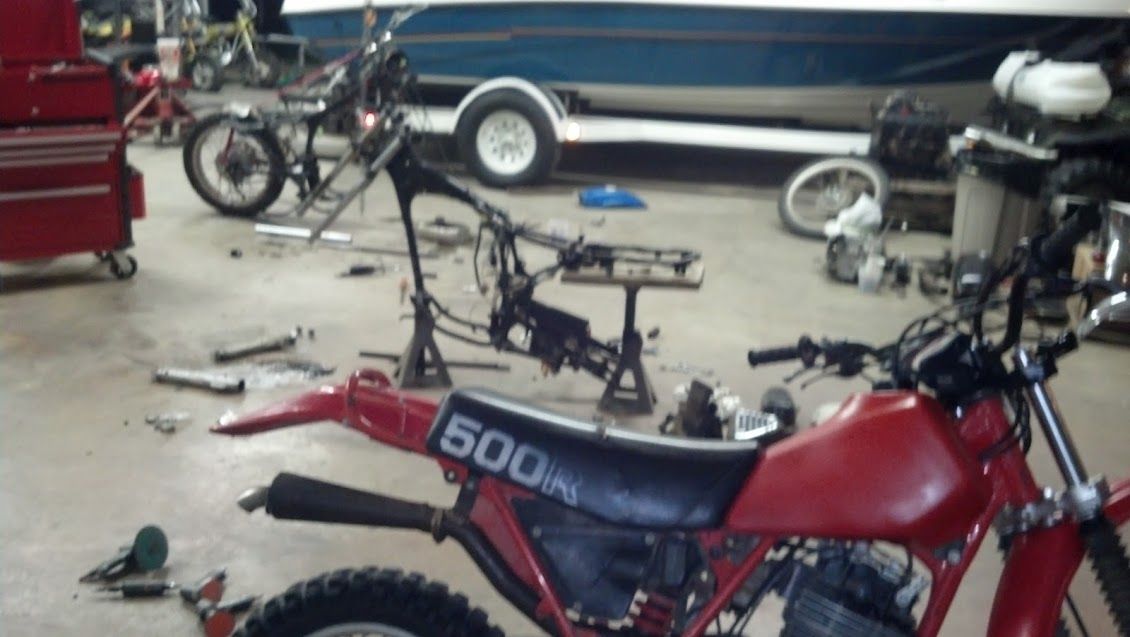
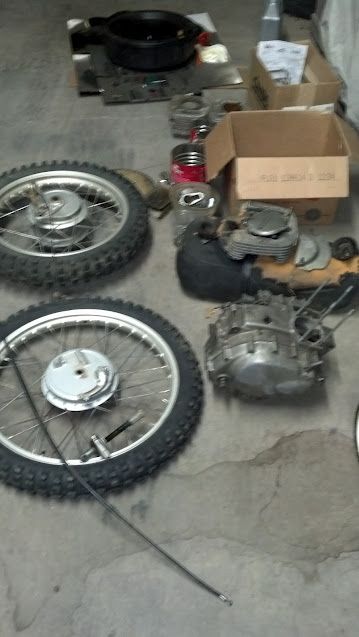
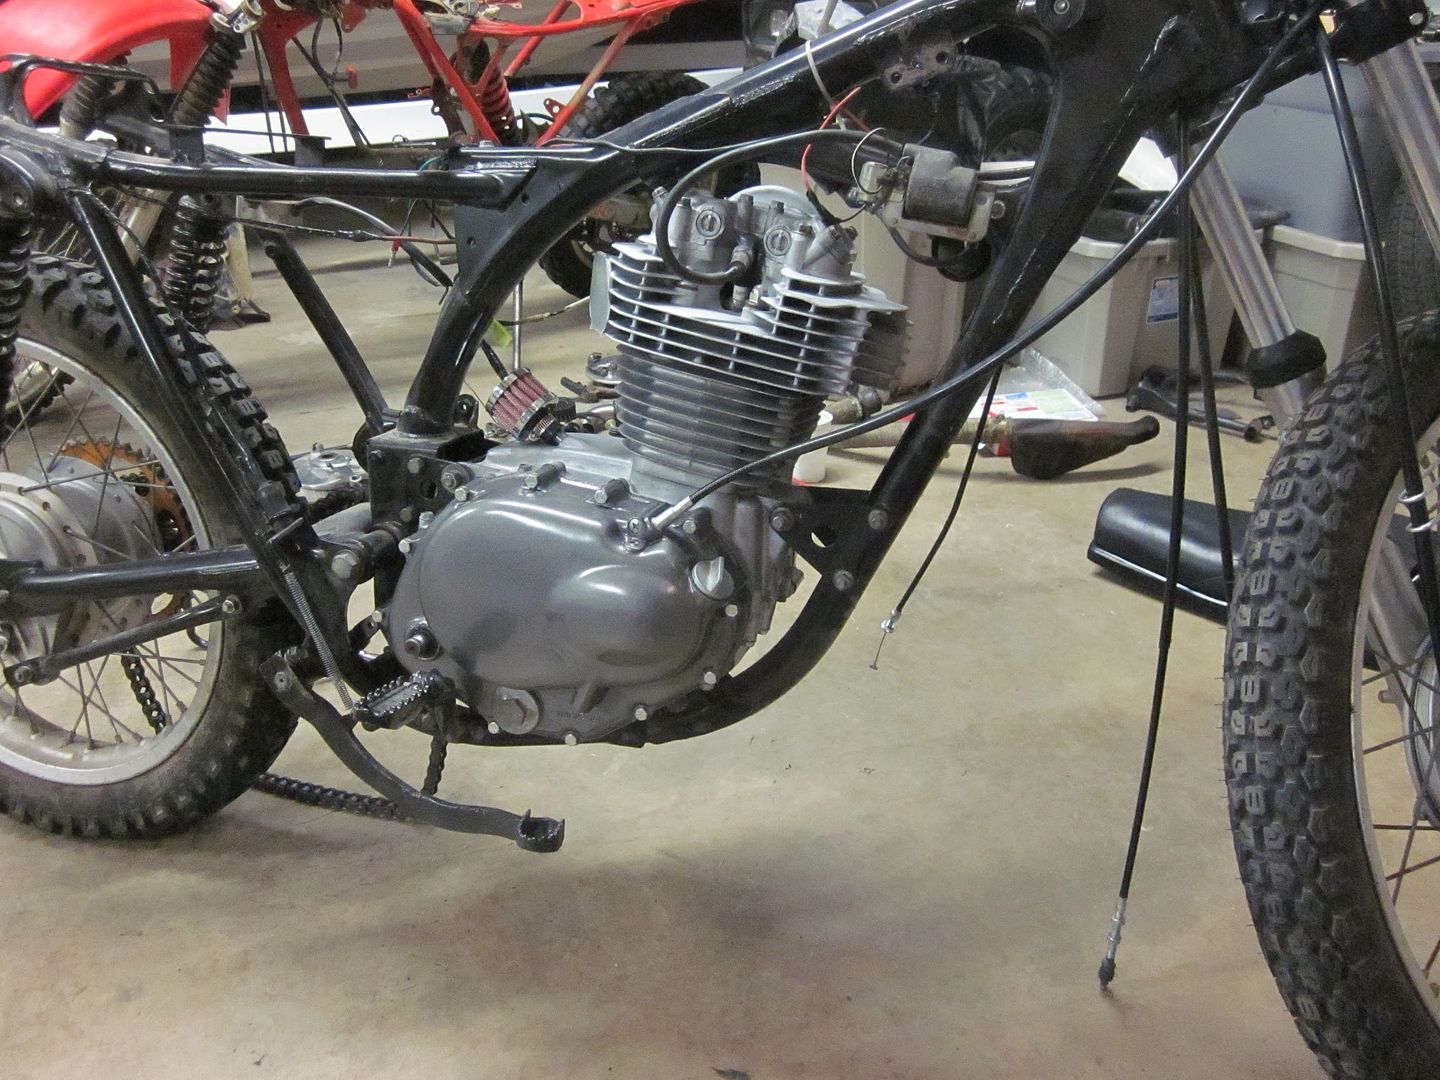
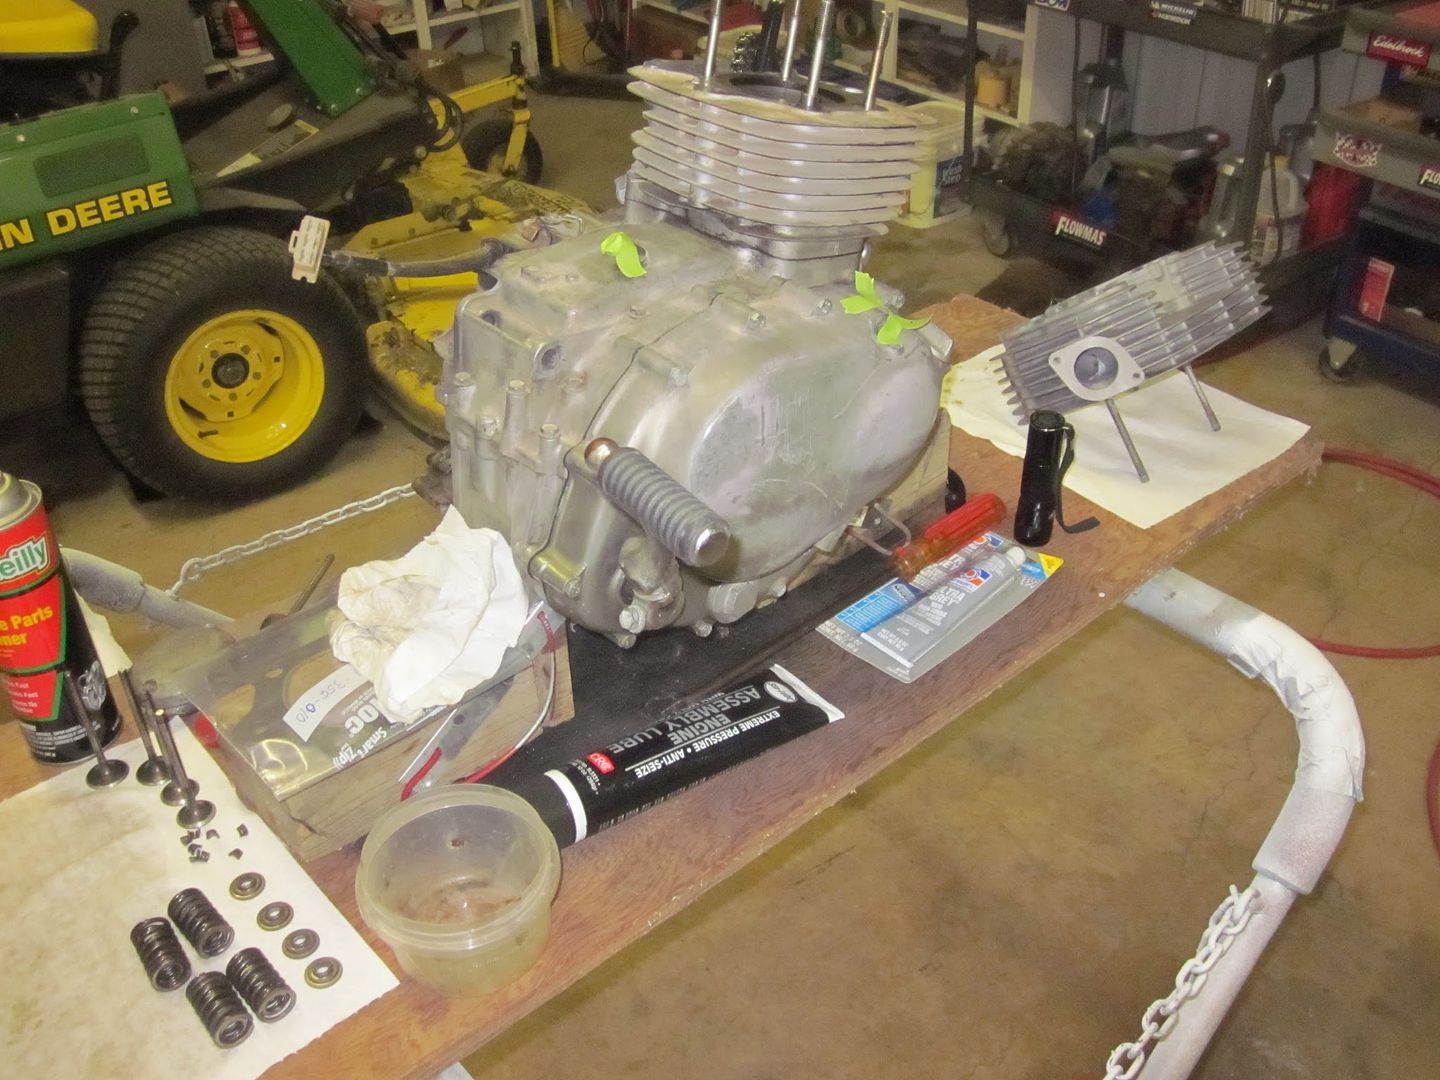
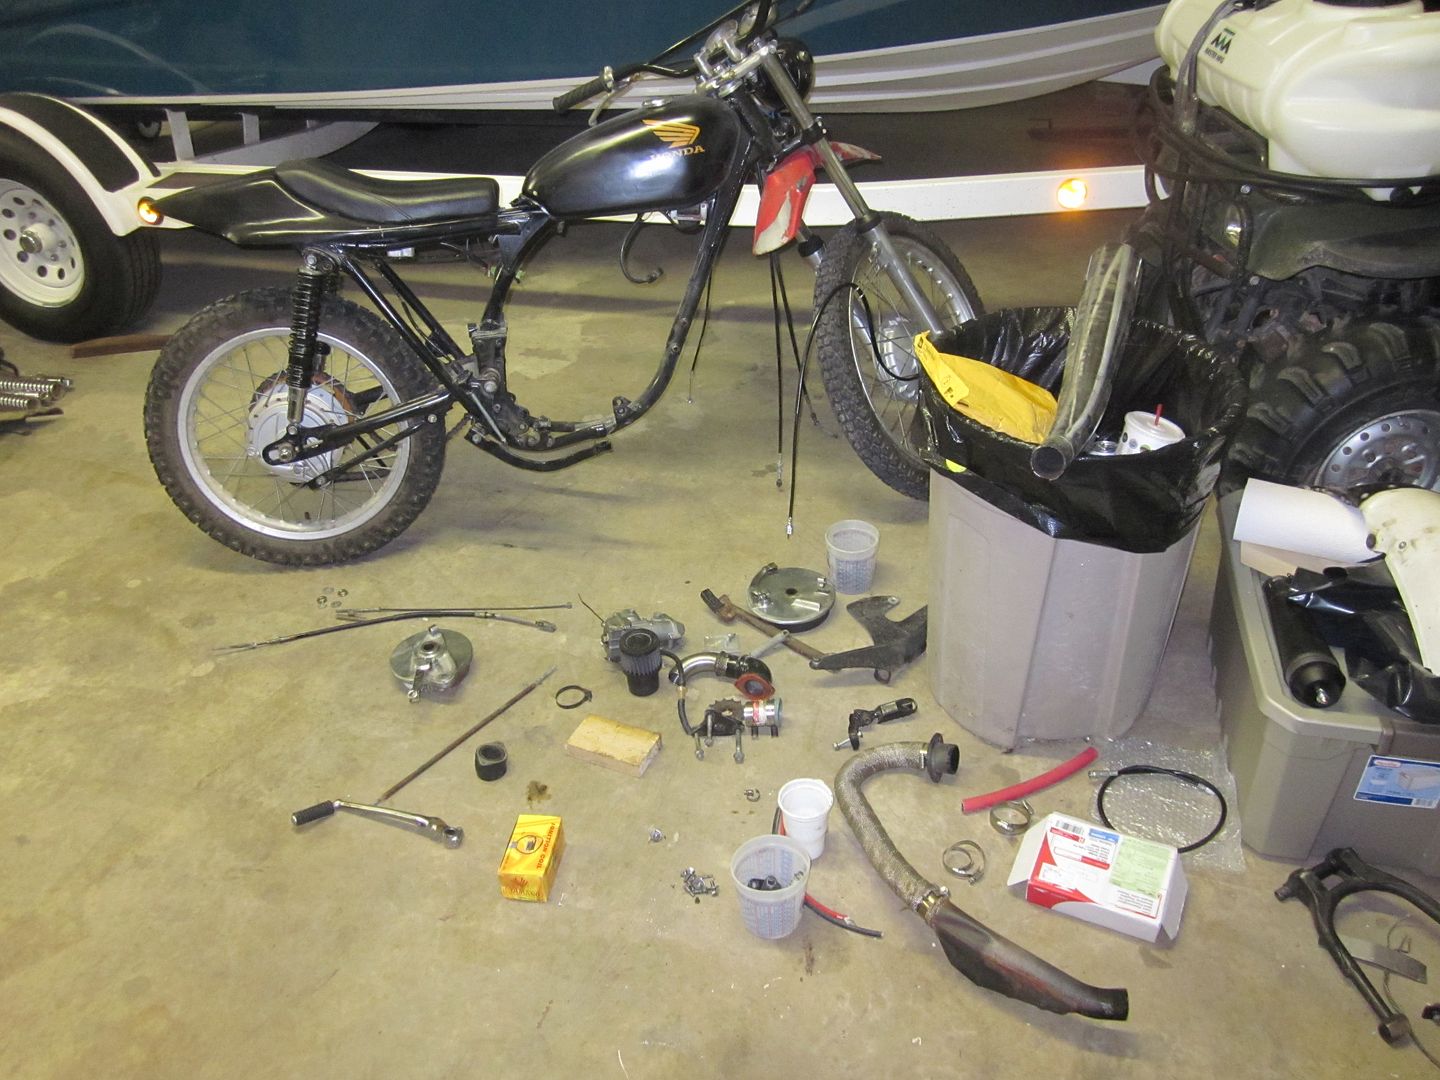
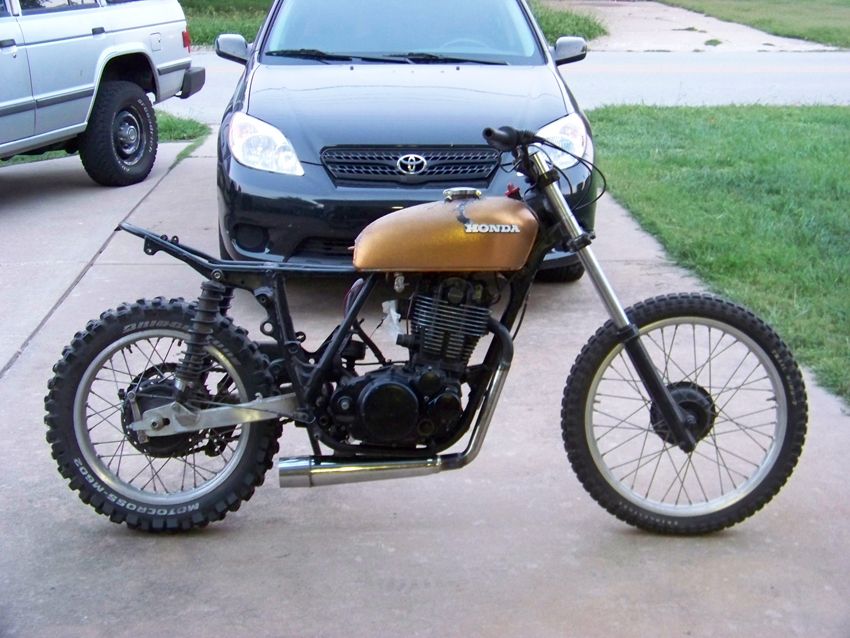
So, I bought a combo deal about a month and a half ago- one 82 XR500 and two XL350s, all for $950. I sold the XR500 for $400 and some drywall work after it ate my favorite shorts. The leftover XL pile was torn down and the best parts chosen. I went with the '74 model as it was kind of a runner and had a title. Biggest problems were the incorrect head causing the need for the extra long fitting collage of an intake and the totally fried valve train that probably was a result of a completely clogged oil screen. Strange, somebody had just built this engine, I mean it was squeaky clean inside with new gaskets, seals, and piston,
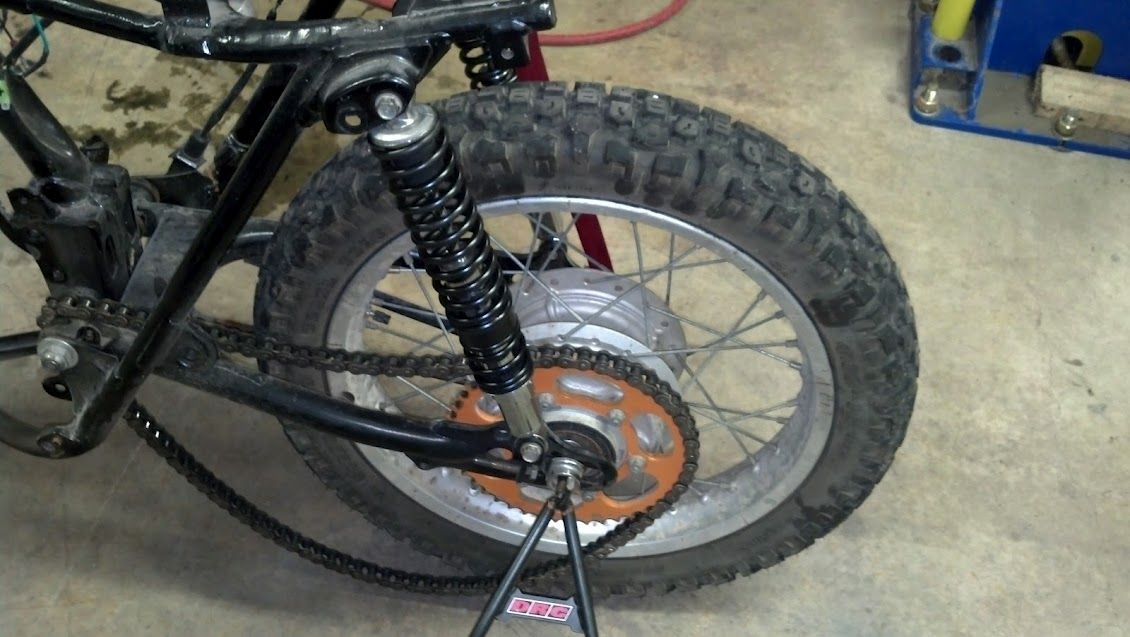
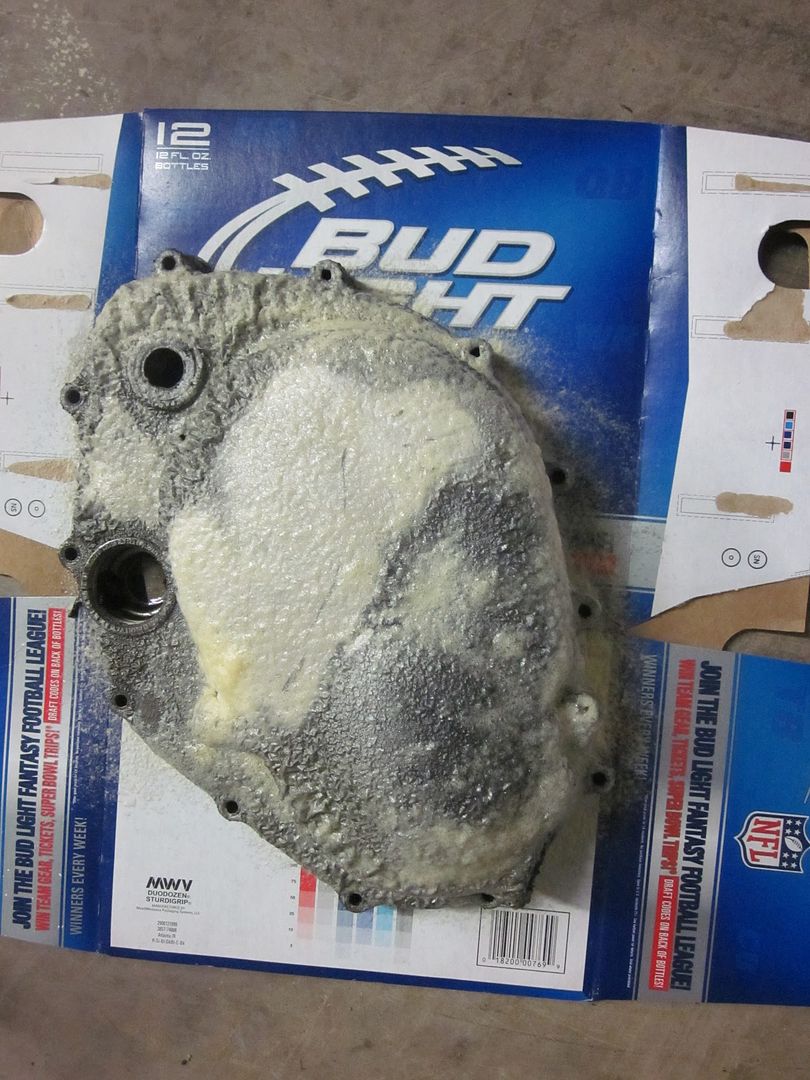
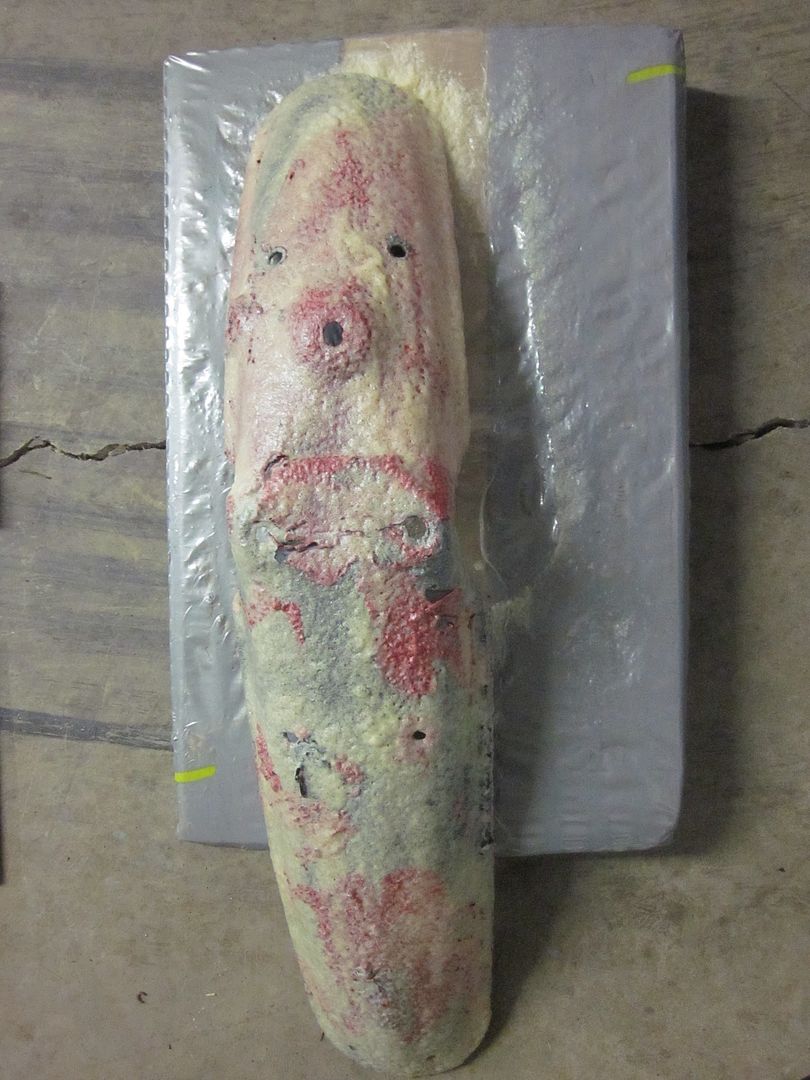
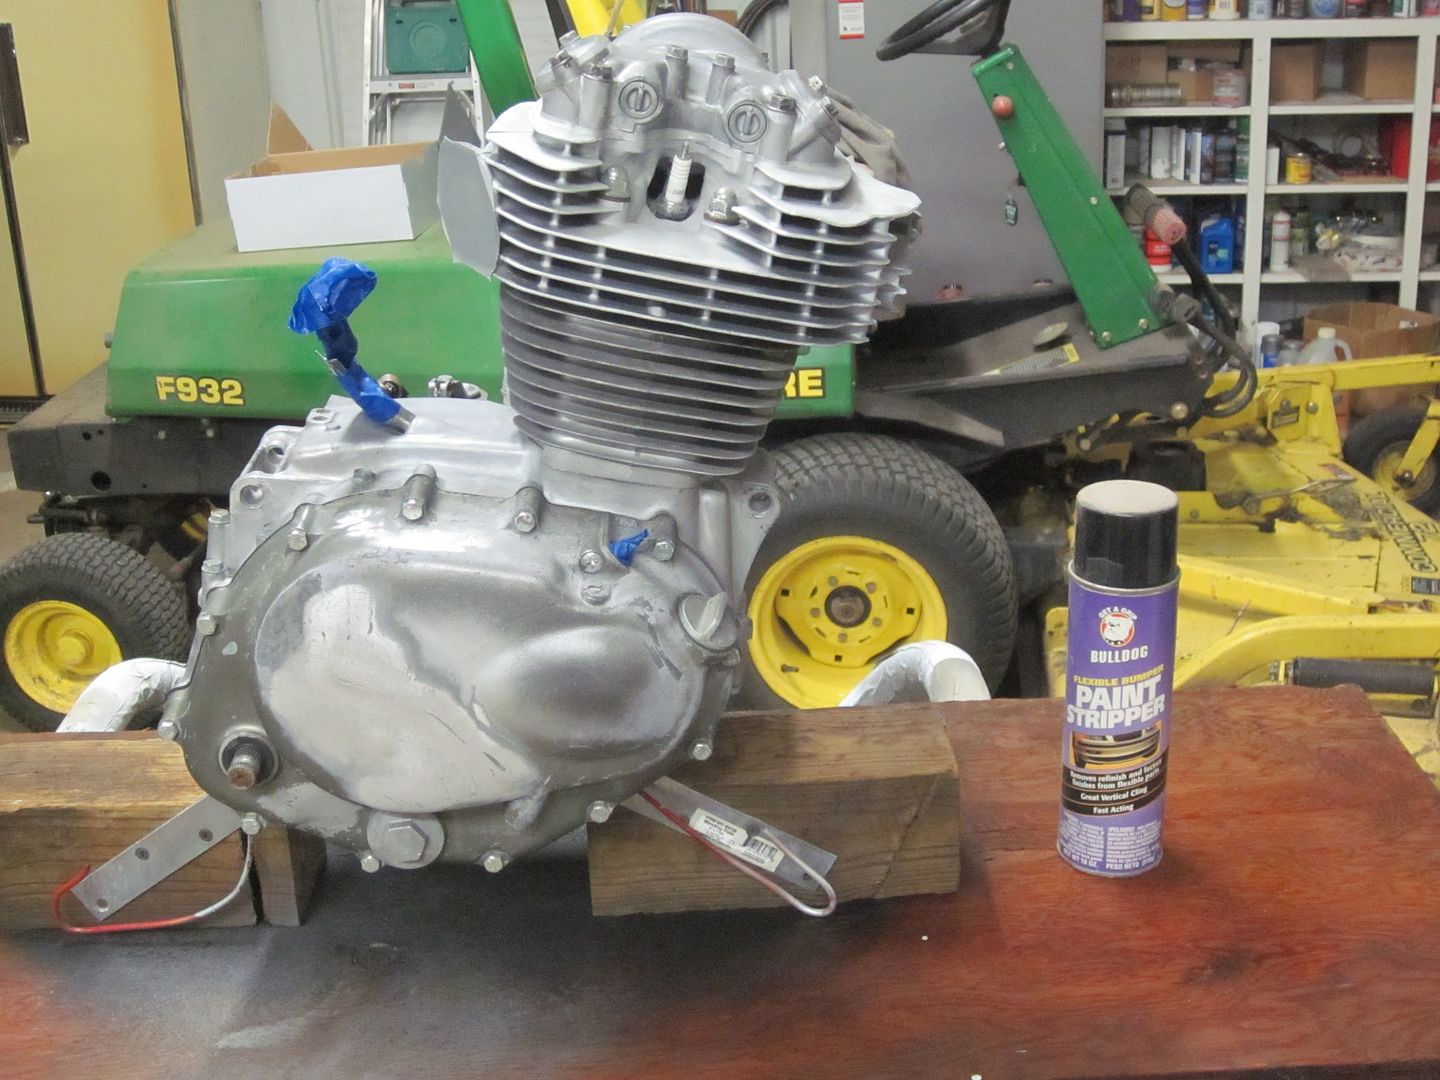
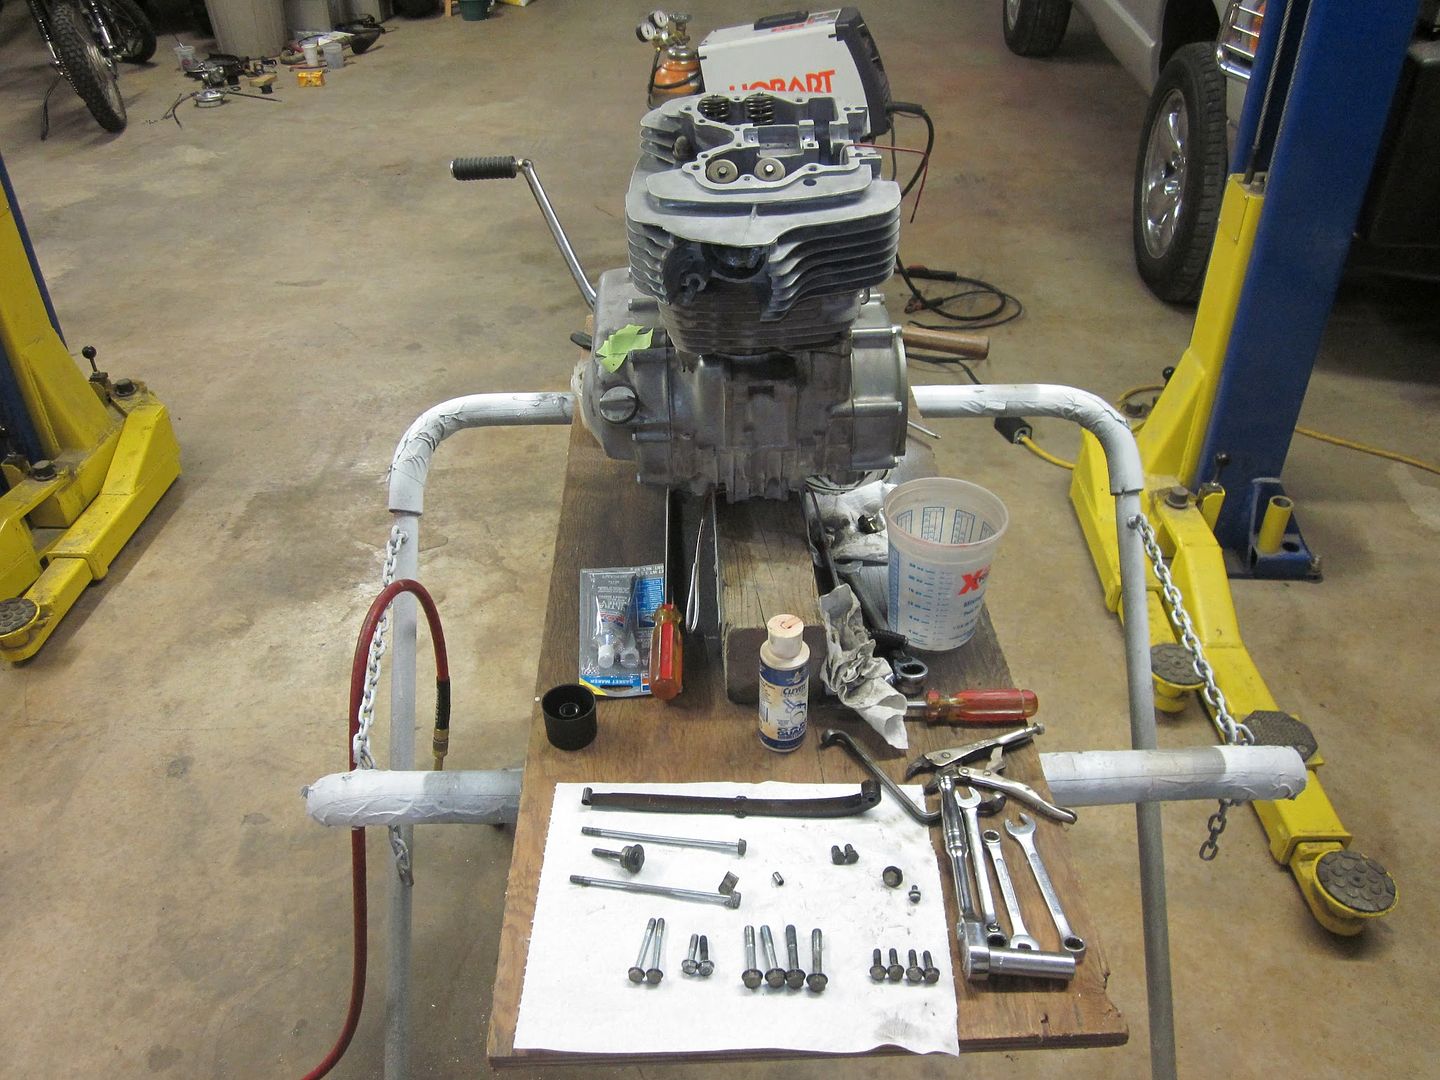
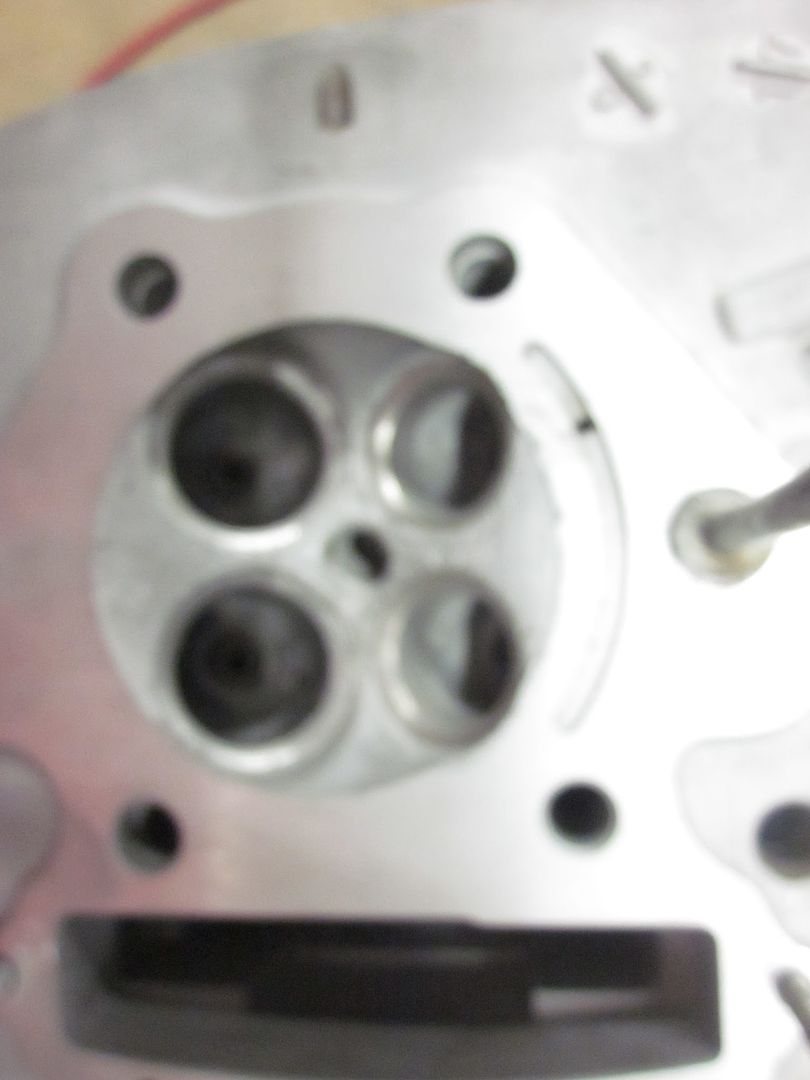
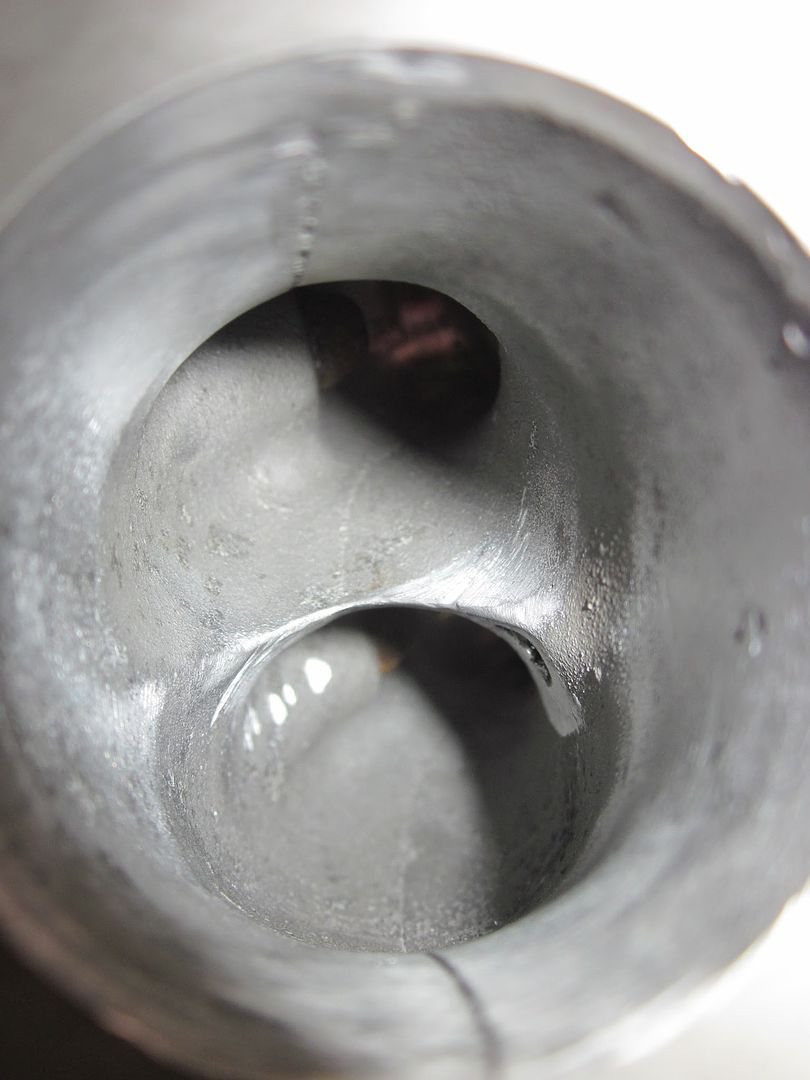
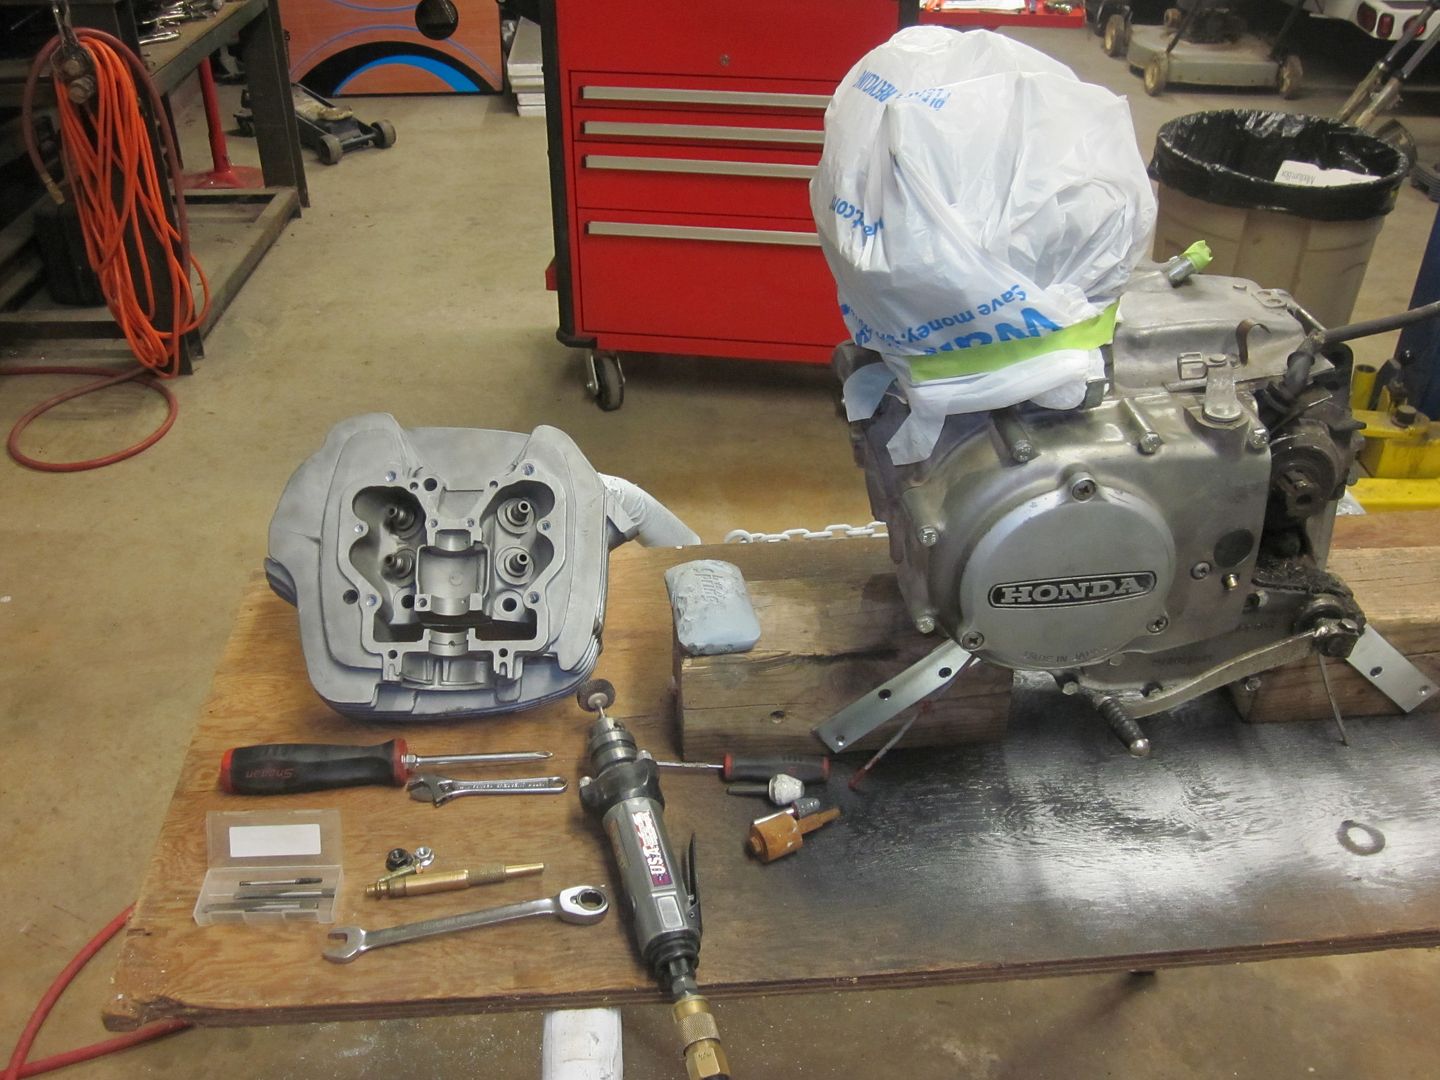
but whatever. K, so I swapped around the rear shocks and springs to get the height and damping I could get from the pile-o-parts, put new seals and oil in the forks, added a chinese socket to each fork for spacing to eradicate some of the plushness, swapped the front wheel for one with good bearings, swapped for '76 brakes, and went through my speedo and tach (they were stuck on 0 with old stiff grease). That was the first weekend. I had much help from friends. So, at my next opportunity I tore the top and sides of the engine down to swap my center port head for the correct side port head. My donor head was pretty rough, having spent some time in someones yard growing moss. A friend bead-blasted and hot-tanked it and after grinding the seats it was good to go. Next step- a quiet evening cleaning up the bowls and ports. Came out good. Installed head, went through engine looking for trouble, stripped, painted reassembled, found a bad advancer (dunno what its called- you know the weights and springs doohicky) anyways it was all stuck together as it happens so I disassembled, soaked in chem-dip and greased and put back together. Fired up last weekend- broke in cam, adjusted cam chain tension, rode twelve miles, smiled like monkey, rode wheelies 1st and 2nd, puked oil out breather doing that, froze cause I forgot jacket, and liked doing all of that. So I still have some moneys left and parts to sell so doing OK, but have wiring issues and paint and body yet to deal with. We'll see. It's a scary POS, but getting better fast. Thanks for putting together such a COOL idea. I'll get back to you.
Trevor
10/10/12
xl350 build : part 1



10/4/12
tt500 build : part 3
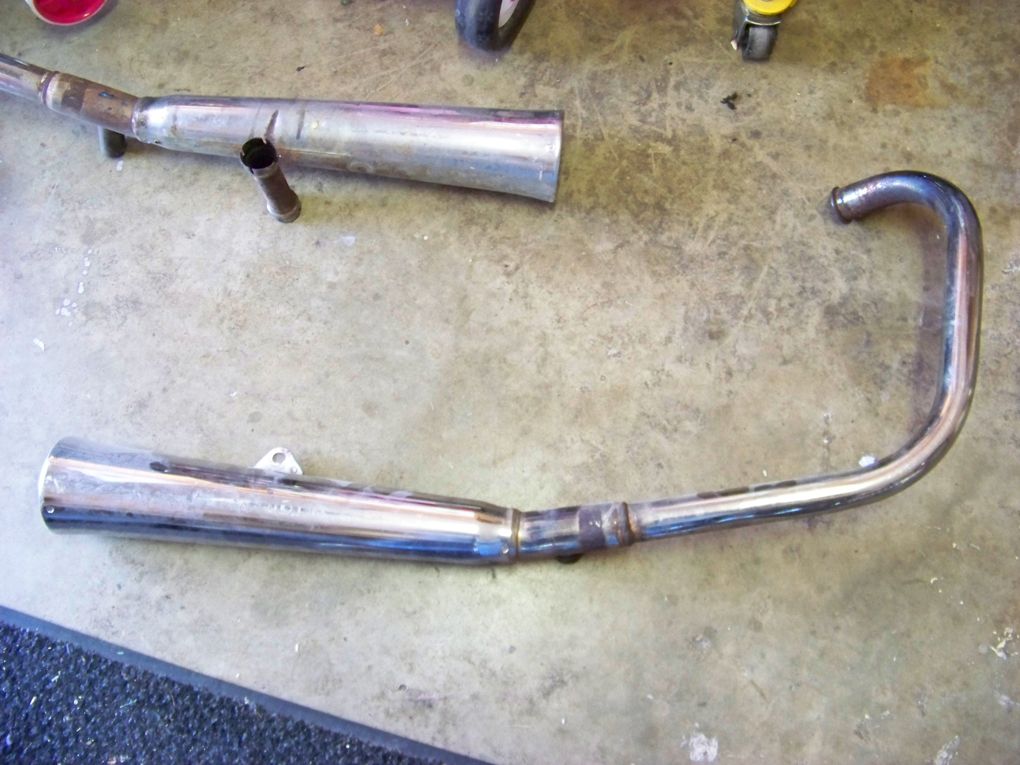
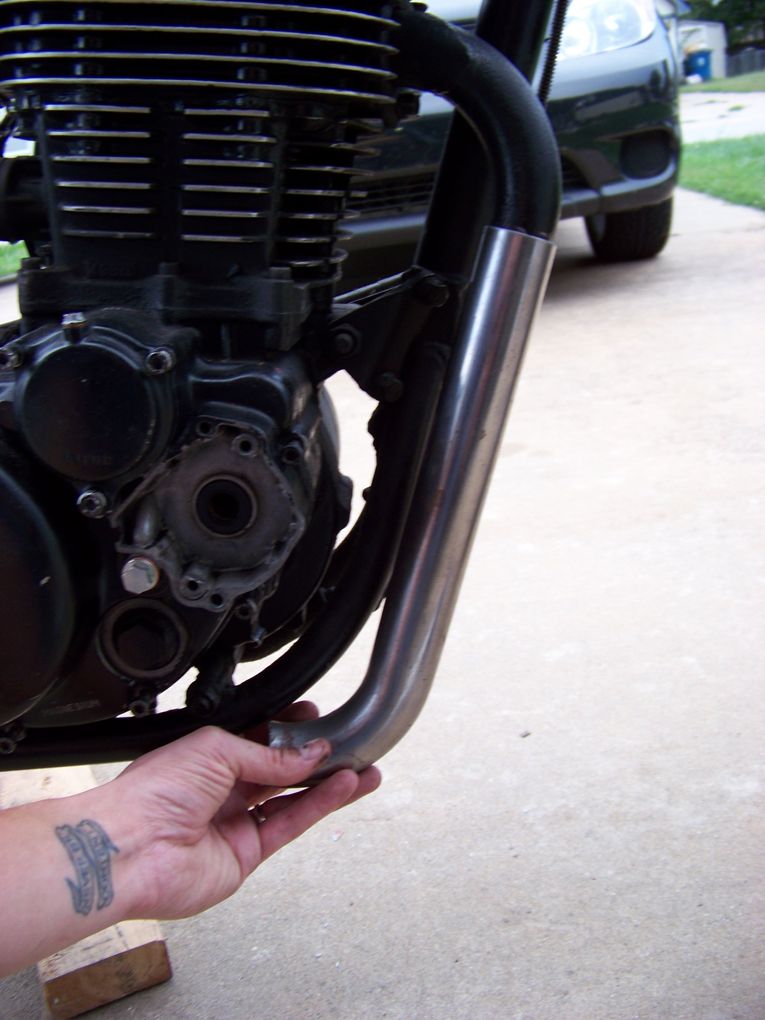
While waiting on parts to roll in, I decided to mess with the exhaust. Money spent on motor parts has to come somewhere from the budget, so a store bought stainless header and megaphone were the first to go. I had some kz440 mufflers given to me laying around, leftover 1 1/2" mandrel bent tubing from my old xs650 project, and the head pipe from the tt.
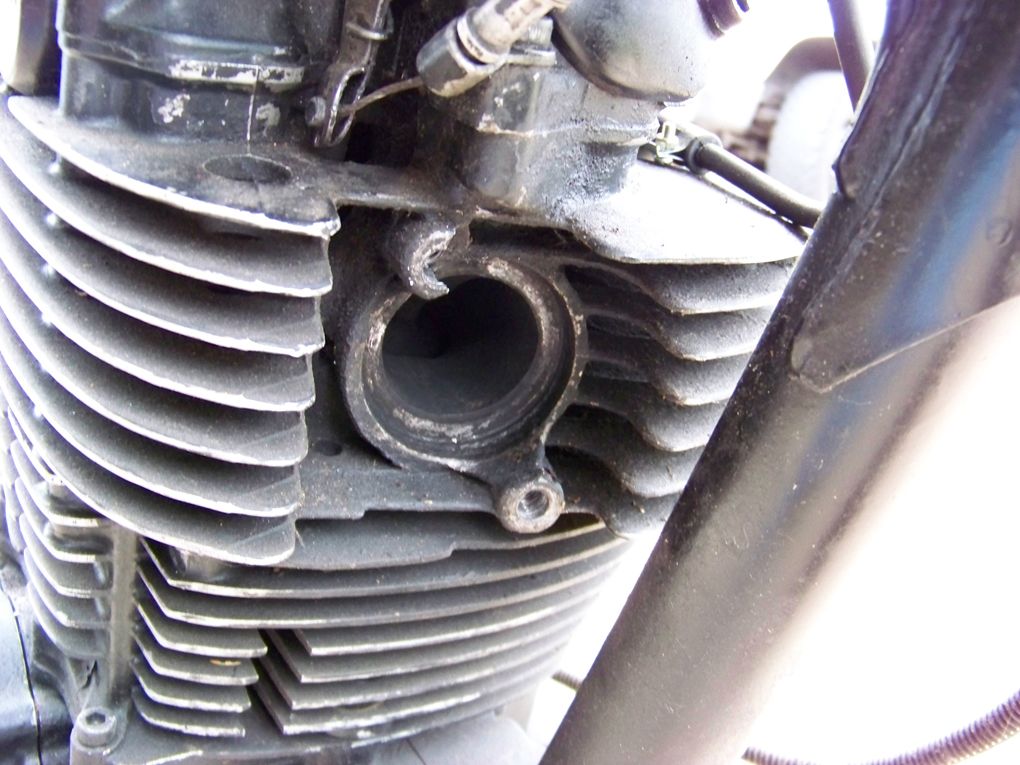
Took off the stock pipe and was greeted with this lovely mess. Someone has already tapped what's left of the threads for a larger bolt, and it amazingly enough has a good grab. I'll see about sourcing a cheap secondary head to swap out if it starts to fail on me.
kz440 muffler and headpipe.
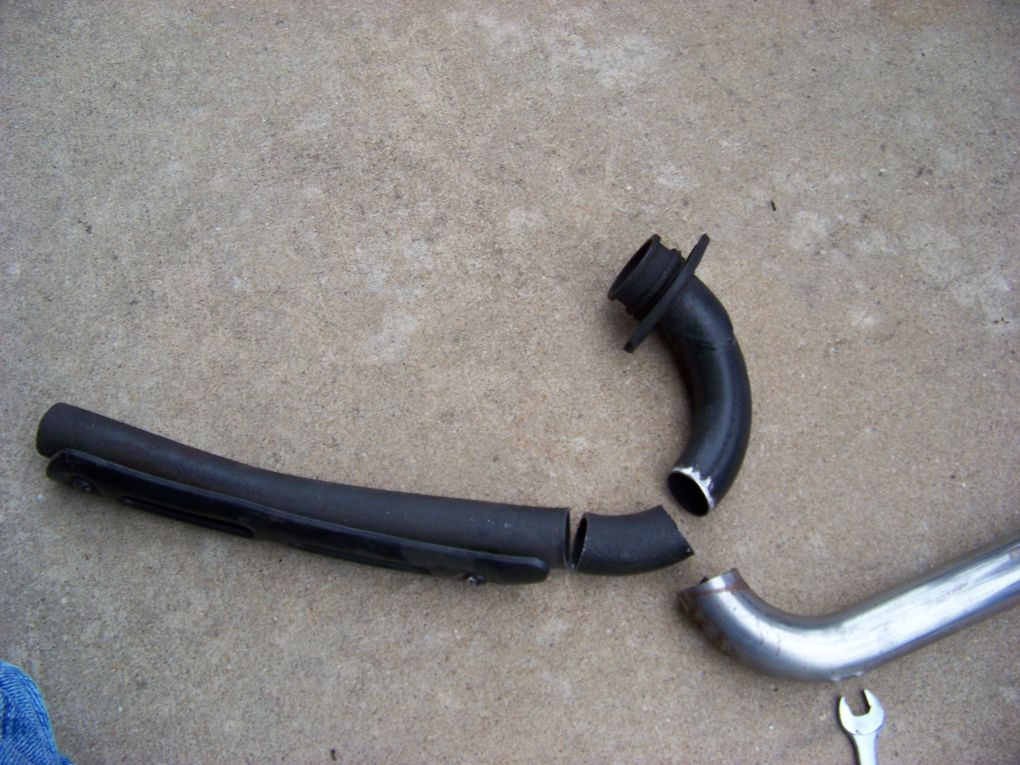
tt500 headpipe cut.
Old scrap mandrel bend.
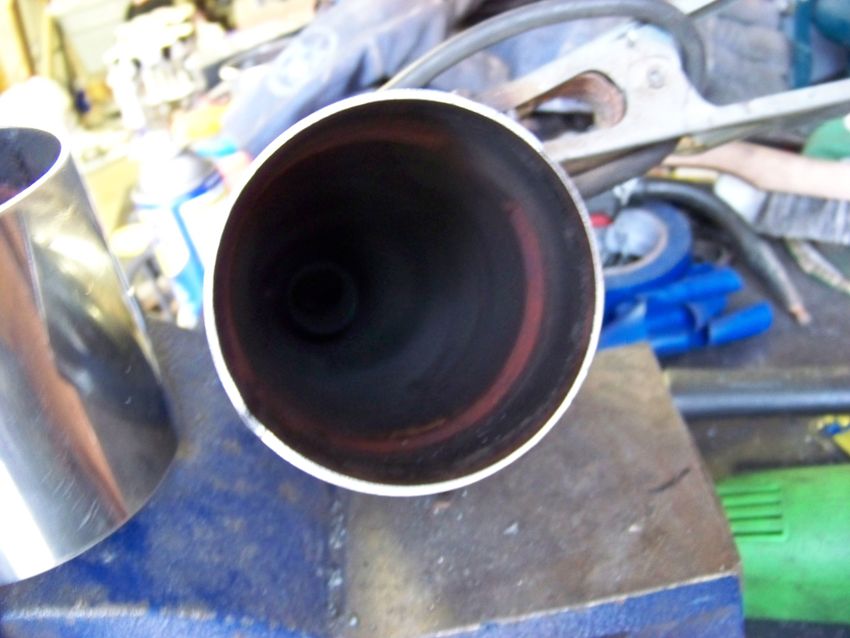
Muffler cut here.
And here.
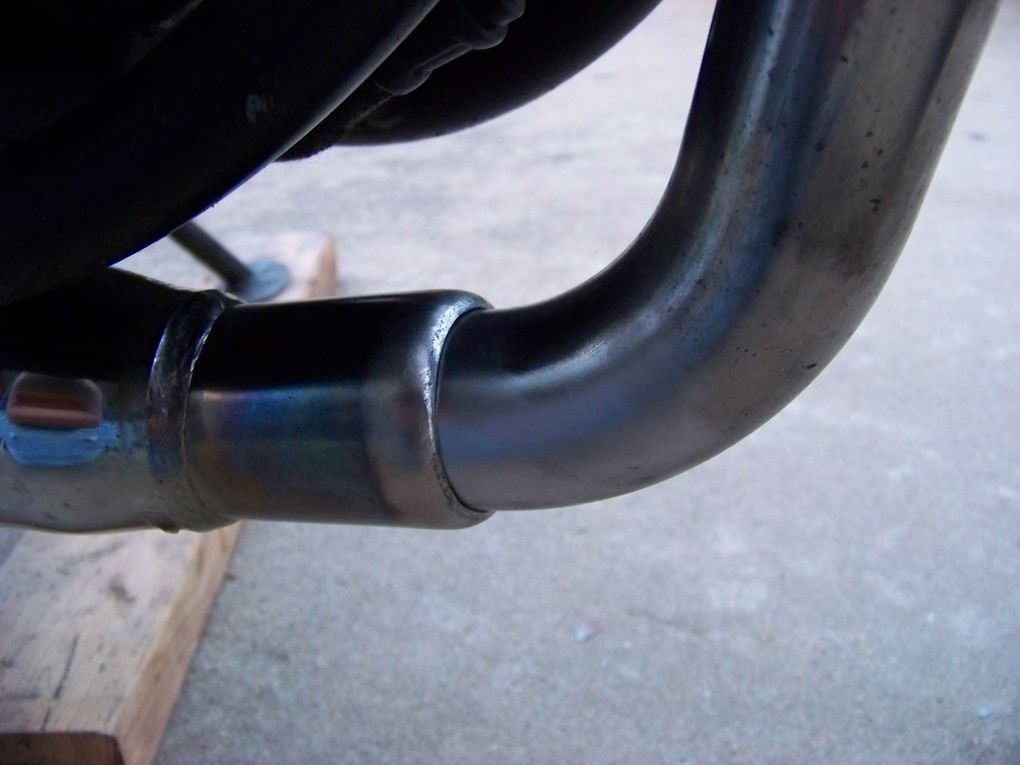
Trimmed and hammered the lip tight to the 1 1/2" tubing.
This never happens. The fit was perfect.
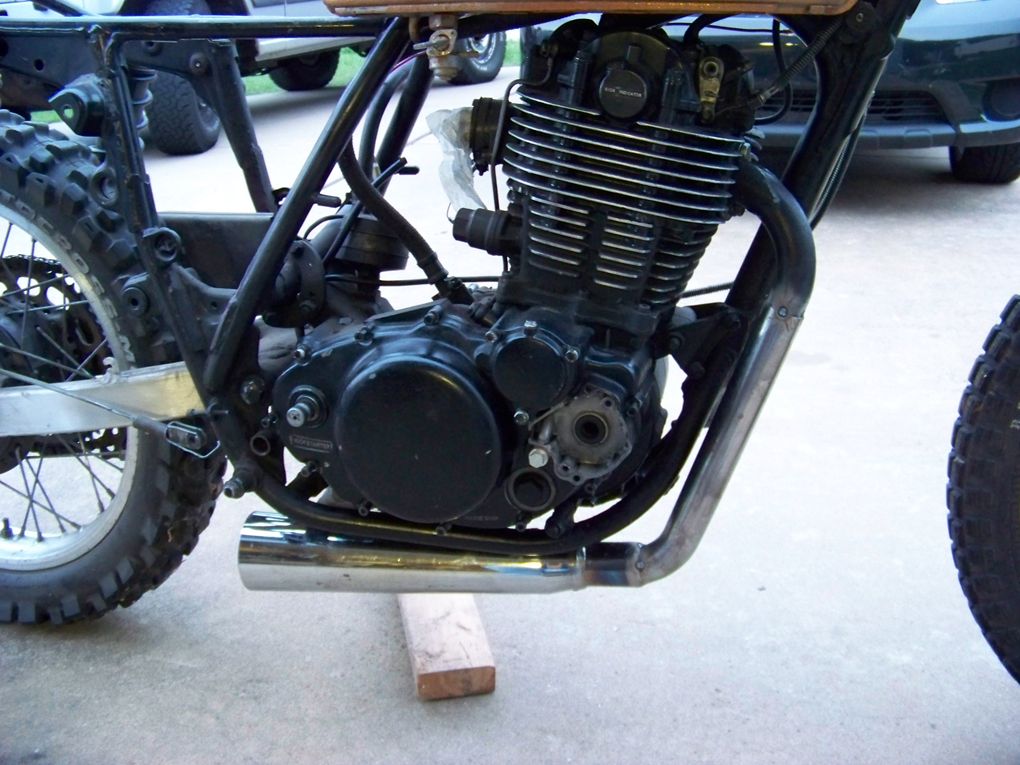
Tacked together. The rearward mount consists of the stock kz440 muffler mount attached to an unused tab on the frame.
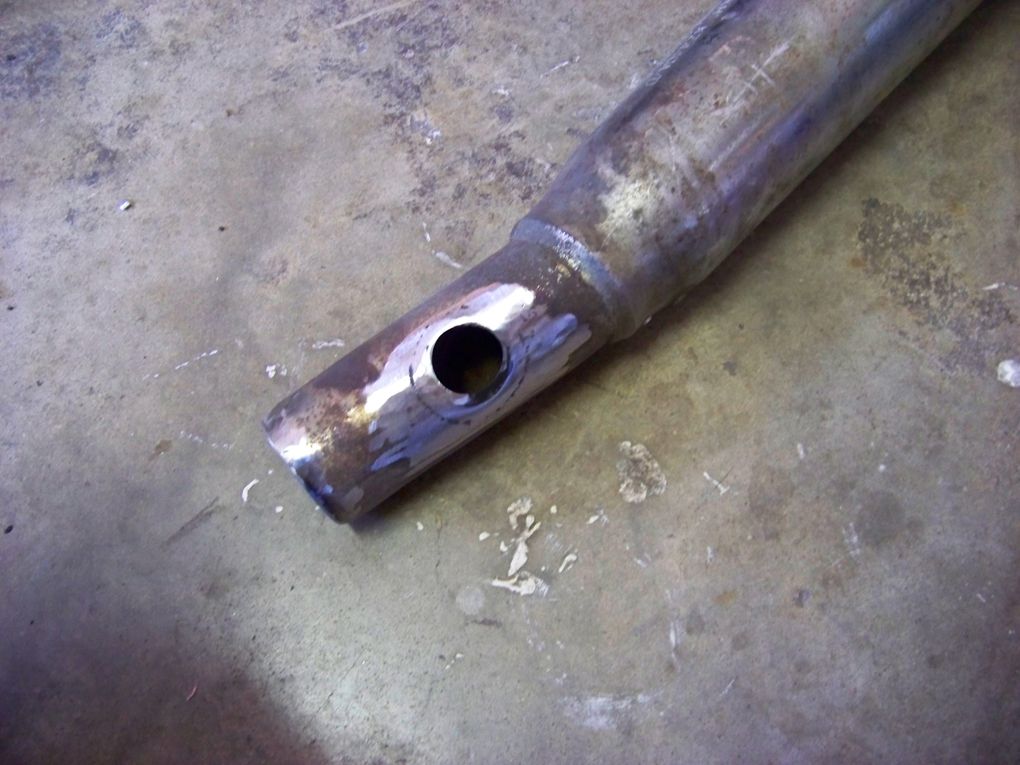
Welded up hole.
Gutted muffler body.
Cone cut from another muffler and tacked.
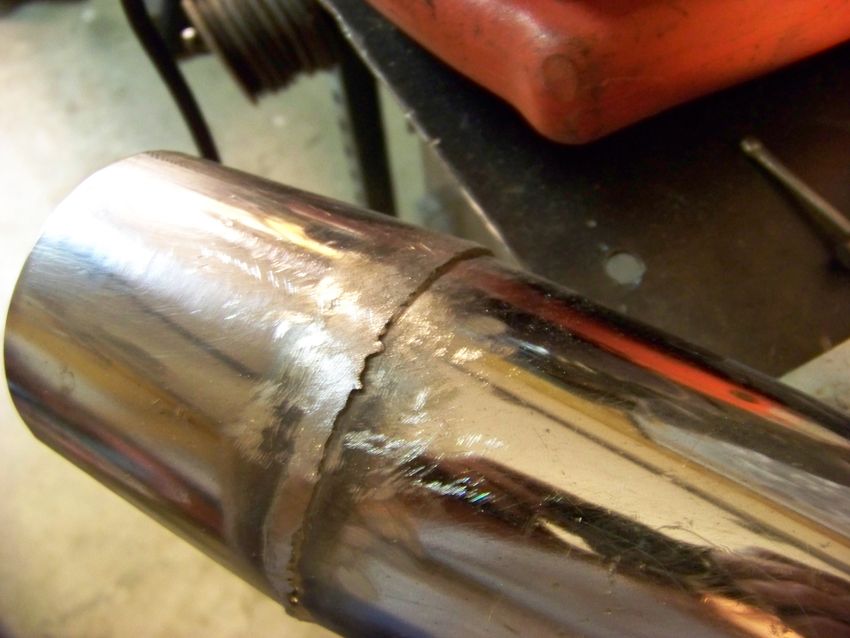
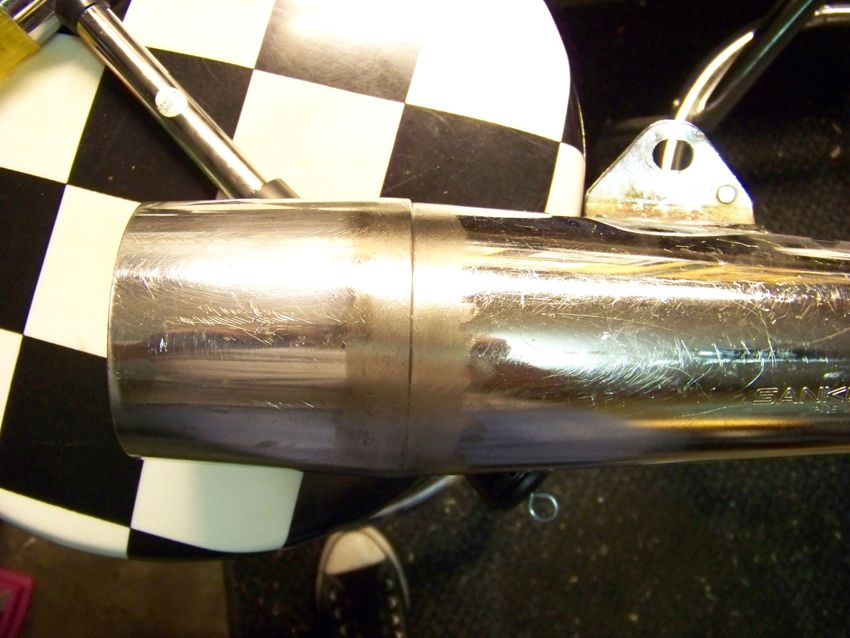
Welded and started shaping with a file.
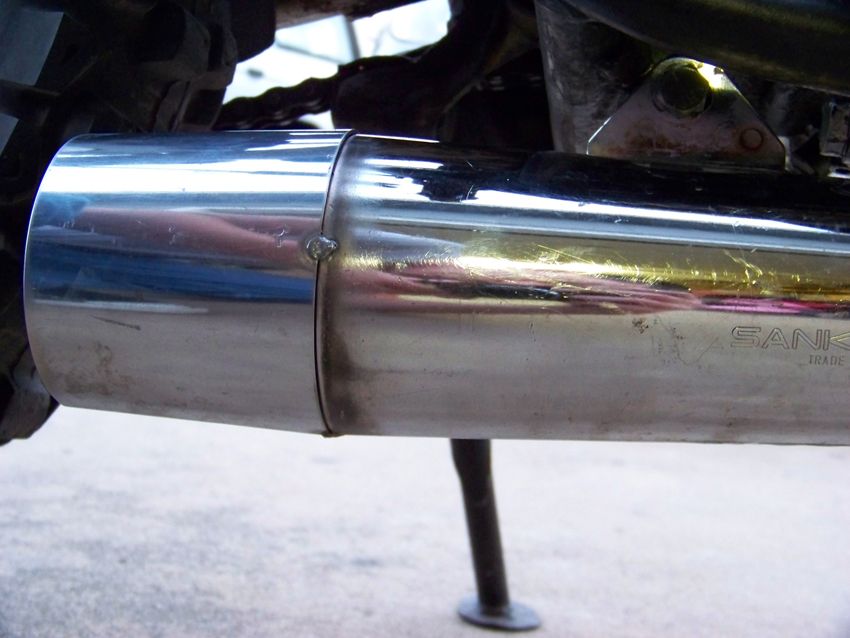
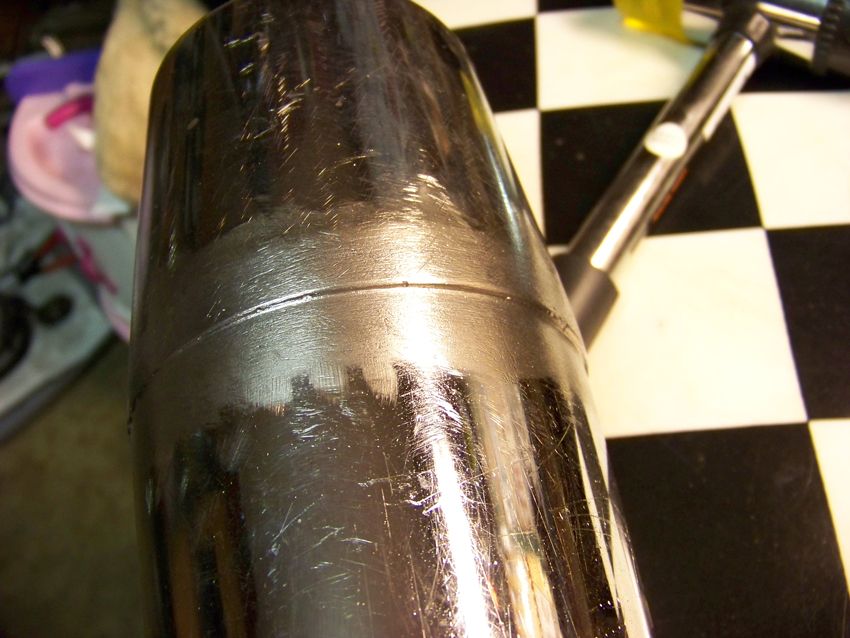
An hour or two later. Not the prettiest, but finished.
Hung.
Derrick



10/1/12
tt500 build : part 2
In an effort to make some headway, I decided to get this beast running before committing to anything cosmetic. That has been proven a bit troublesome so far.
I have been searching for a washer that goes on the points cam shaft, but the part is no longer made. Used was the only option, and there just weren't any floating around, or so I thought. After draining the oil and checking the sump screen I found the washer needed sitting inside the clutch cover! That's some good news.
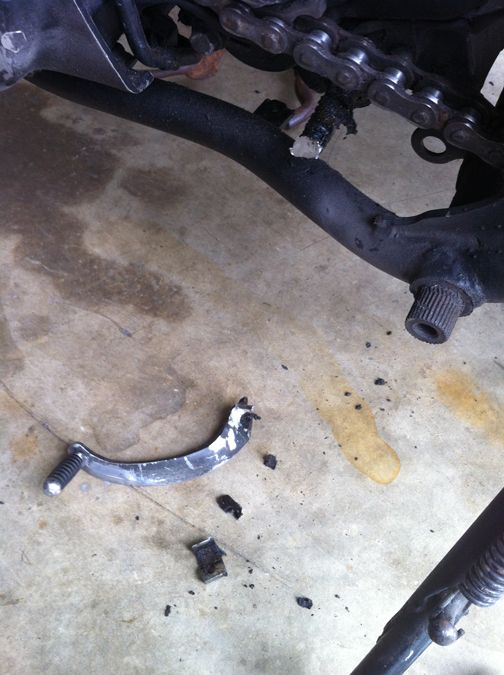
While waiting on a new oil filter to come in, I decided to see what it would take to replace the shift shaft. Some dingleberry welded the lever to the shaft after stripping it out. In order to replace the whole shaft, I had to cut off the lever and grind it smooth enough to fit through the seal.
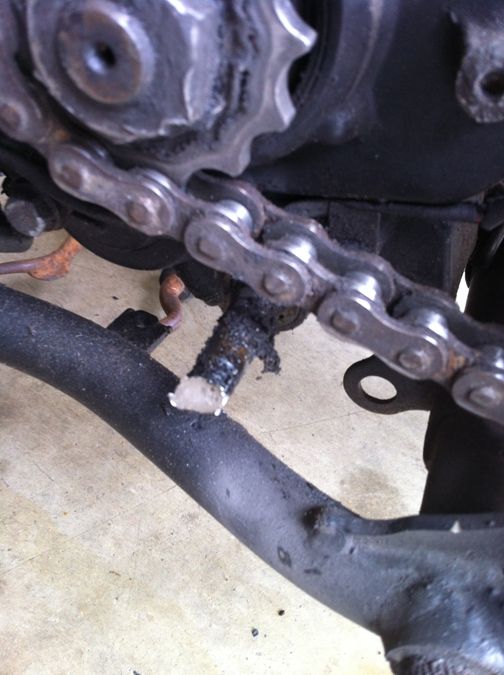
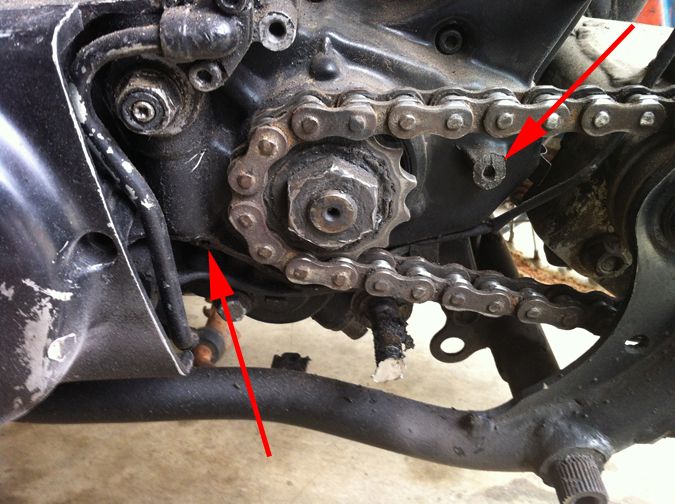
Then I noticed some broken bosses on that case side that normally are used to hold the sprocket cover on. Guess it's time to make a case saver off what little mounts I have left.
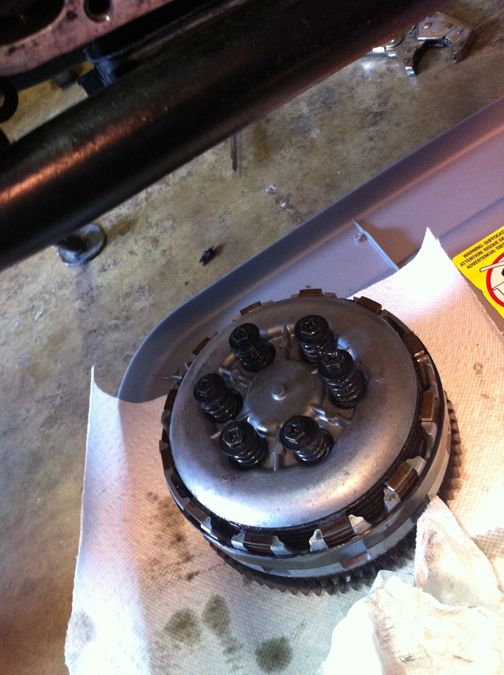
Moving on, I had to remove the clutch basket to get to the shifter pawl and slide it out. After removing all the springs and plates I went to remove the nut holding the basket on. Loose as a goose, absolutely no resistance whatsoever. Definitely glad I decided to replace the shaft now instead of down the road, cause finger tight wouldn't have done me any good.
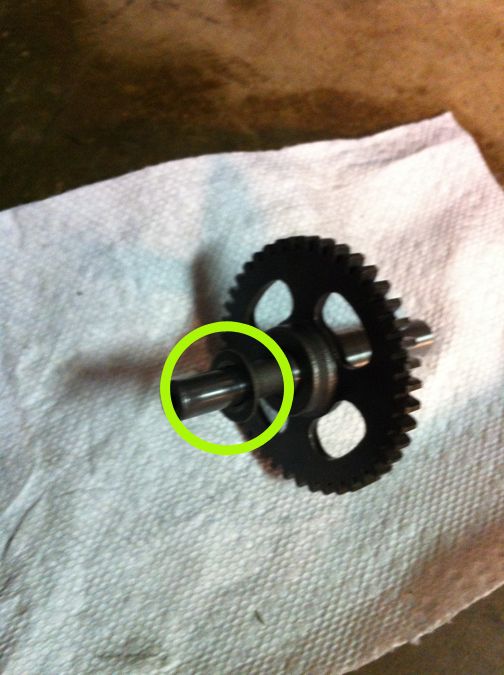
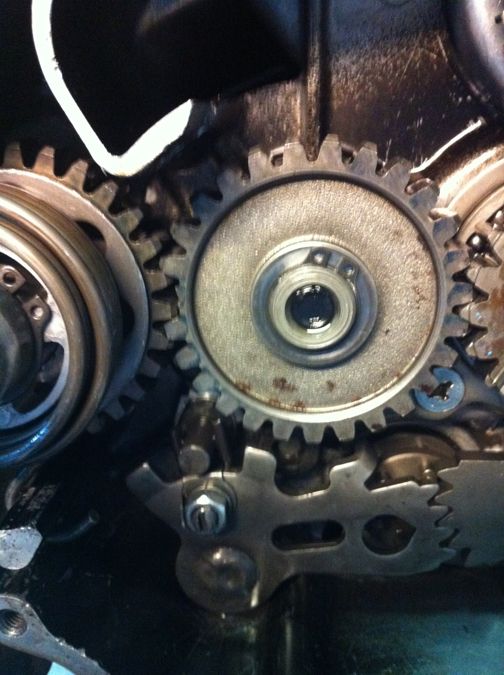
I'm sure it was mentioned previously, but my kicker idler gear is missing a tooth, and in my cheapness I originally wanted to just leave it be. I've since decided to replace it and save myself any more future drama considering all the other stuff popping up.
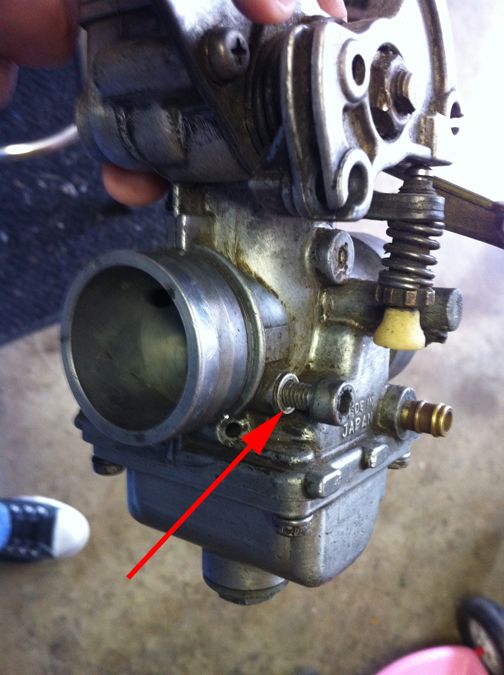
I found a shift shaft, kicker idler gear, and some various hardware for a real good deal on eBay. Just need to order a new shaft seal and boot to finish it all up. In the meantime I decided to dig into the carb and see what awaits. Luckily someone has done all the cleaning for me, but put an extremely long screw in what is only described as a plug in the parts catalogs. I'll get a new one ordered up and start fiddling with some wiring.
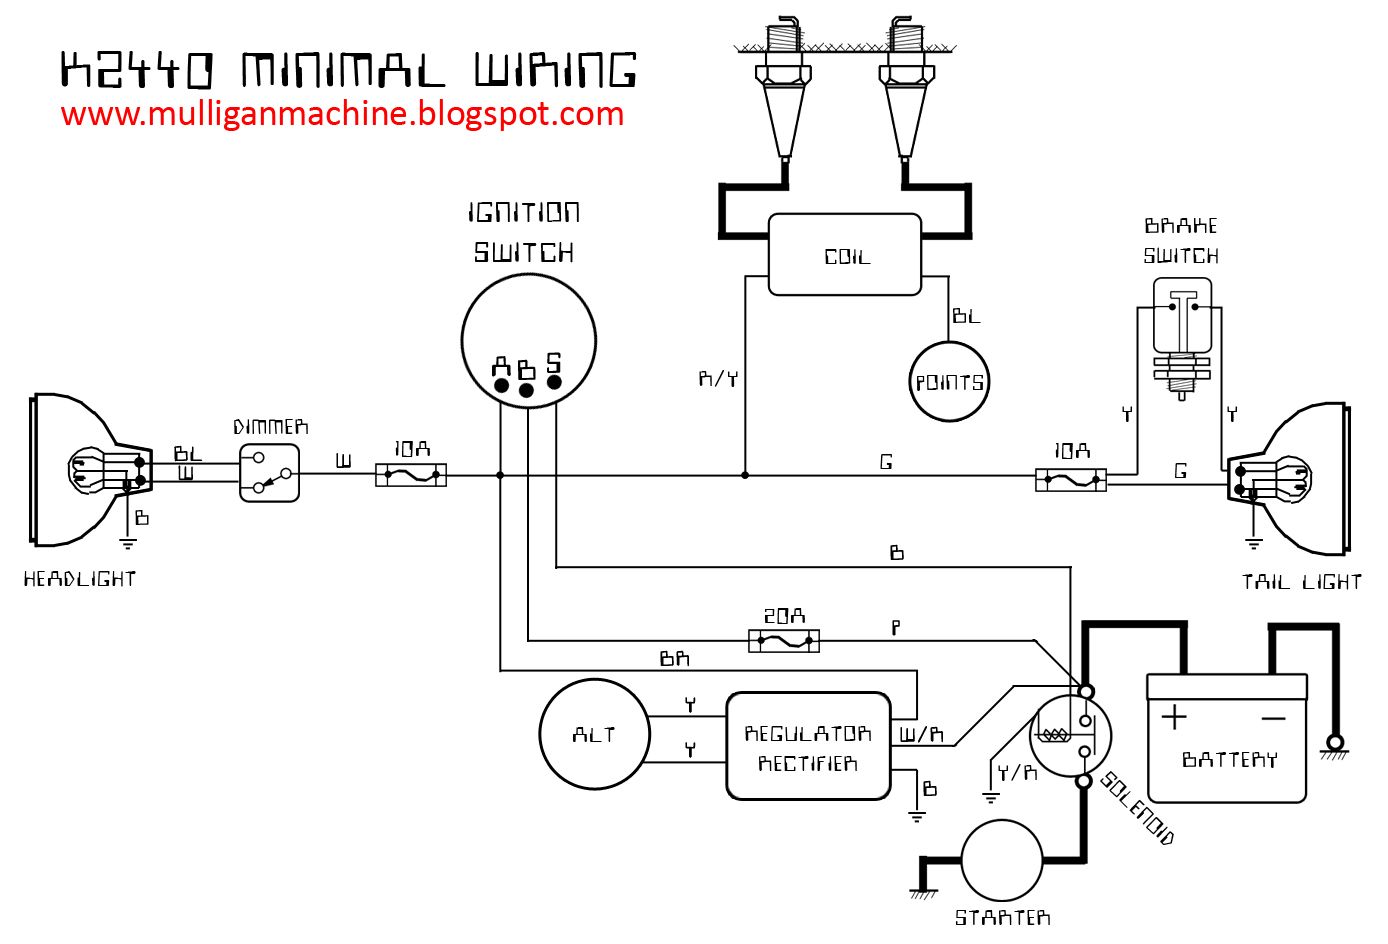
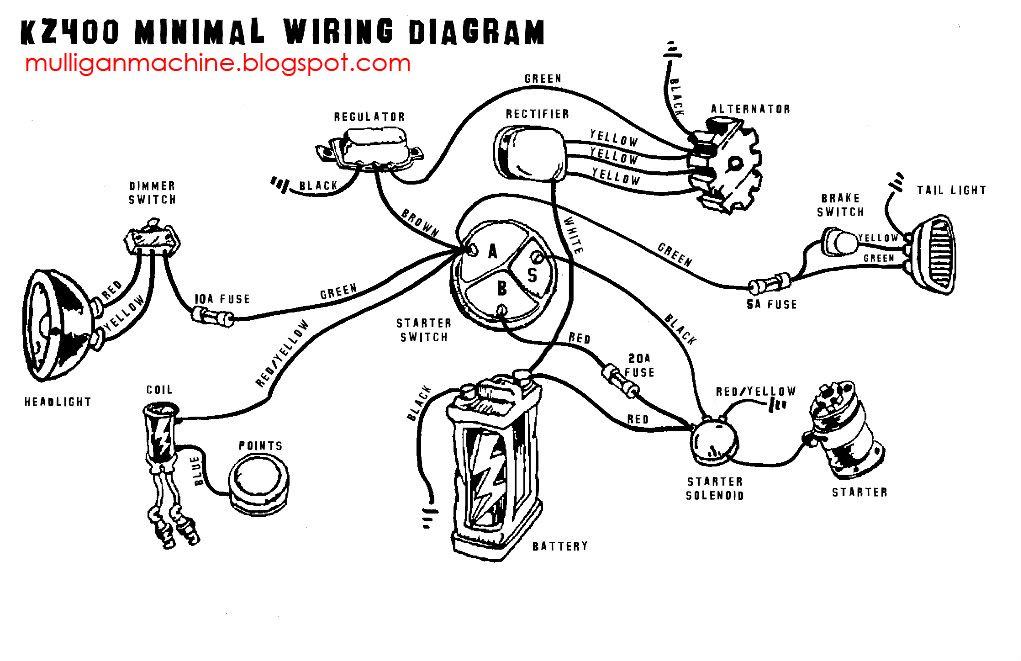
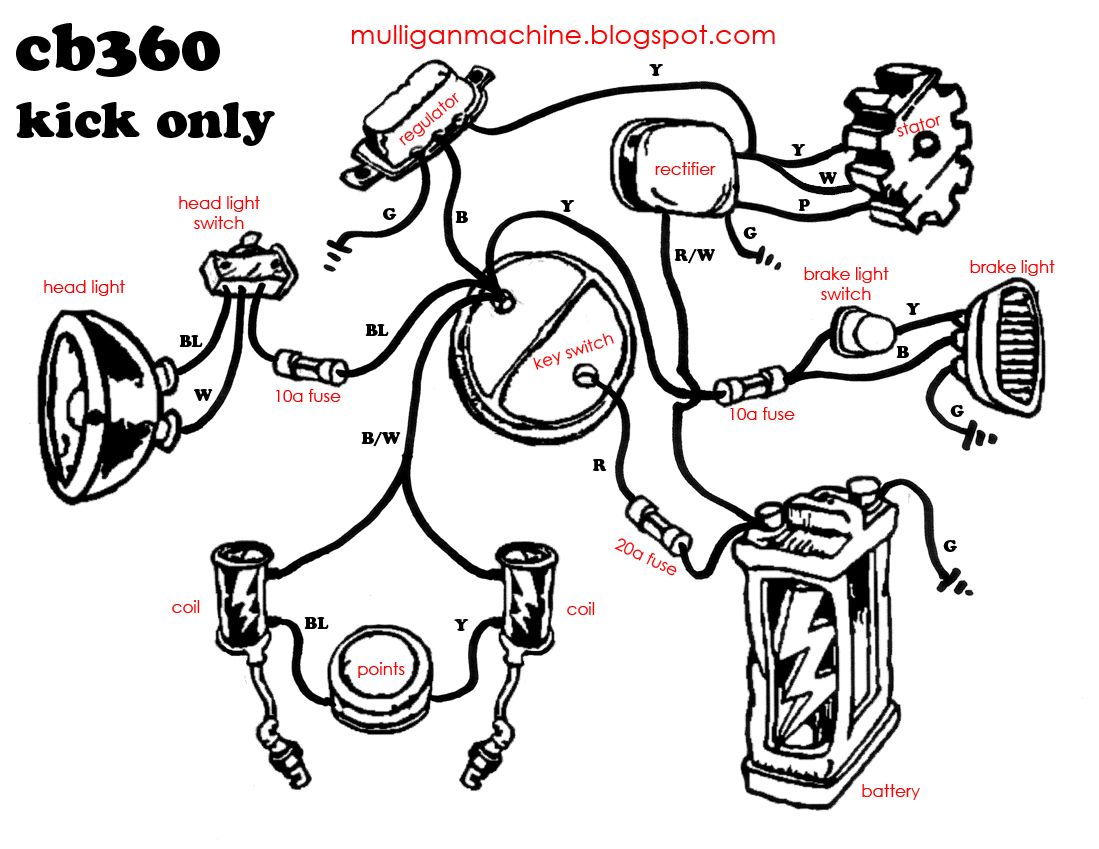
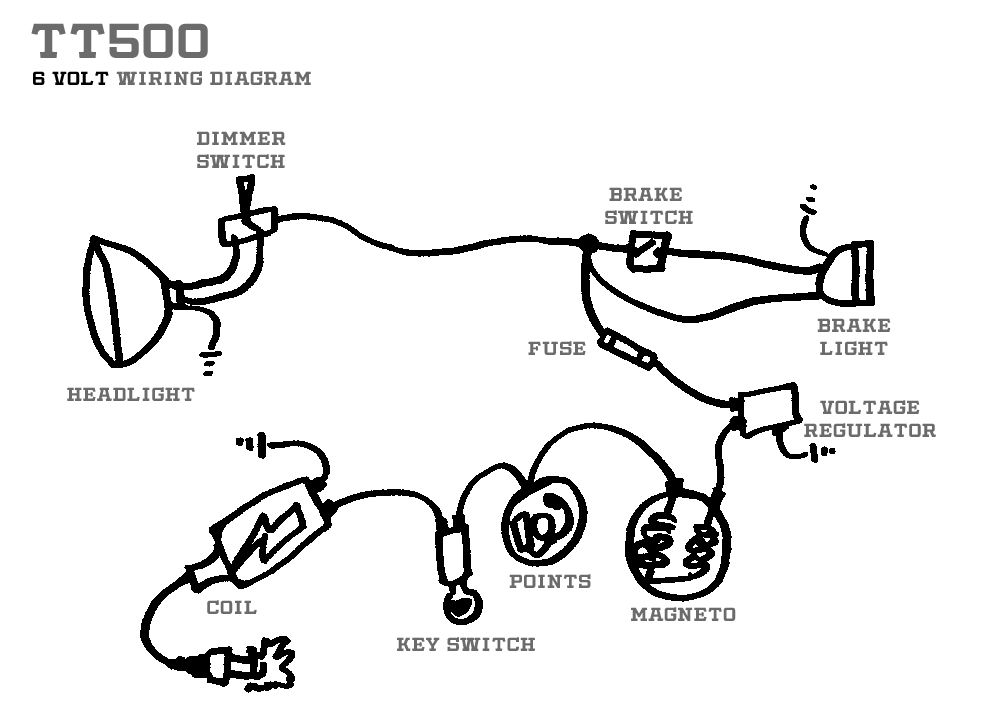
The 6v system that came stock on the tt500 has an unused lighting coil in stock trim. Simply wire up a voltage regulator and I'll have a magneto fed light system requiring no battery! Here's what the stock wiring diagram consists of.
I'll replace the kill switch with a keyed one, add in a 6v voltage regulator, a fused lead for lights, and brake light switch.
Derrick

9/14/12
tt500 build : part 1
Well, it's officially put up or shut up time. I've been going back and forth about what bike I wanted to build for next years Ozark Mountain Scramble. My choice was between a tt500 I scored in trade, or a cb350 parts bike from last years leftovers that helped create the cl350. Both would be fun projects starting at $0, but the biggest factor that pushed me over the edge towards the tt is a sense of unfamiliar territory. That and the tt500 should wheelie whenever I ask it to. The cb could be fun, but I just couldn't make up my mind what I wanted to build, and it seemed too easy to do another 350. I'll dig into the cb at a later date, or just make it my build for 2014, we'll see
With that said, I finally figured out how I want to approach the tt. Originally I wanted to go all out with a wheel swap, USD forks, etc. I've crunched the numbers, and that just isn't going to happen on a $1000 budget even if I start out at $0. Parts add up fast, and at the moment this bike isn't even a runner yet. I do however have a brand new coil, points, and condenser set that came with the bike, so that's a bonus. The shift lever is welded to the shaft, so that will have to be sorted. I'm still missing a shim needed to re-install the points cam I got a while back from ebay. Once I get the shim in, I can get it running and see where I need to go from there. It's a 6 volt system, so I'll have to decide if I want to swap it all to 12v or not. Still on the fence about it.
Cosmetic wise, I'm keeping it simple. A cruddy cb350 tank I had lying around looked good on the backbone, so it's staying once I figure out some mounts. The rear seat frame needs some mods including moving the upper shock mounts back a bit. I've got a duck bill style kz400 fender from my 2011 OMS build that should look good. The stock shocks in the back will stay, but the forks up front will be replaced with a non leading link type from an earlier year. The 21" and 18" wheel combo will stay for now with some cheap enduro style tires.
Now:
Later:
Money is tight right now with the dragbike project coming up, my Ghia, and a decent sized house remodel. That's about the norm around here, so in the spirit of frugality it works out great when building a scramble bike. Anyone else got anything in the works?
Derrick


7/31/12
NWA vintage breakfast club 07-28-12
We had a super hot ride last Saturday with an overnight stay in Eureka Springs that evening. A good ride coupled with good company. Couldn't ask for better.


7/10/12
ozark mountain scramble 2013
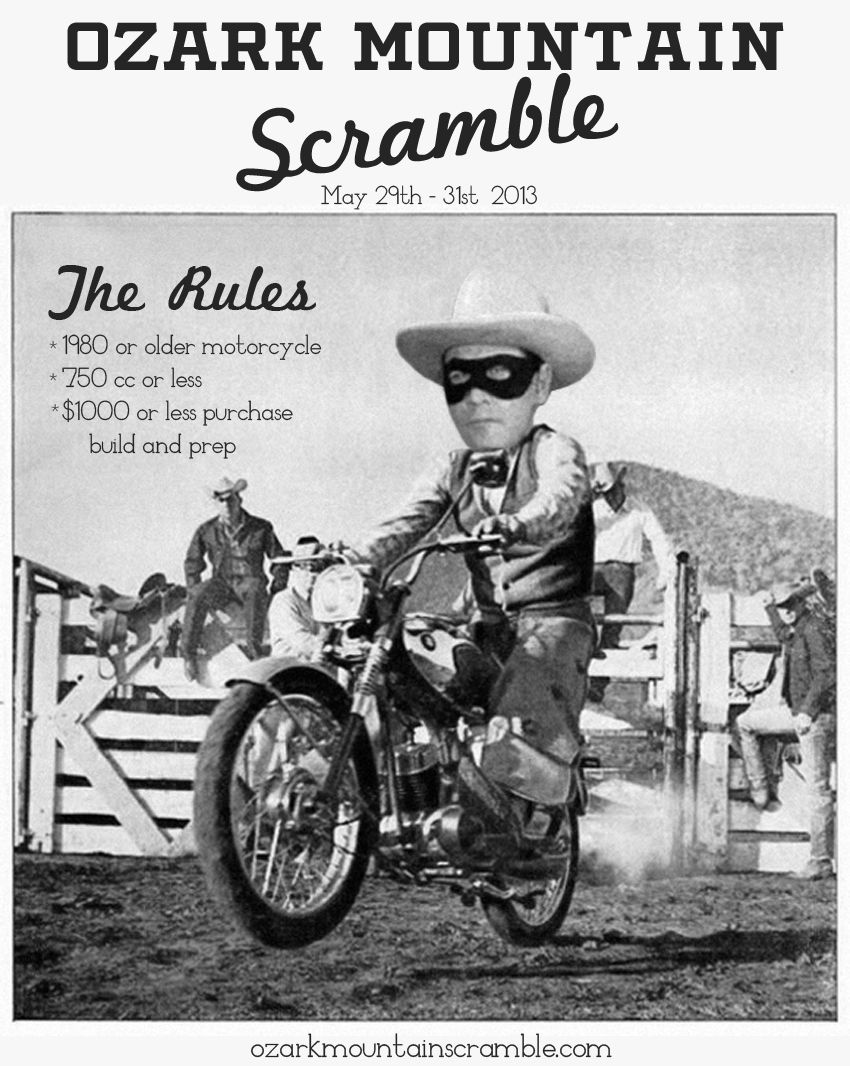
Wow. I can't believe it's time to organize the 3rd year of the Ozark Mountain Scramble already. The last two have literally changed my life. The friends, the roads, the stories, the scenery, etc. If you missed out on the previous years, put this one on your to do list. With that said, this post will hopefully cover everything you need to know about the run. If you can't find the info you seek here, send an email to hatchethairy@yahoo.com and I'll do my best to address your needs and edit details accordingly.
GENERAL INFORMATION:
This is not a race, and was created for street legal bikes only. We intend to ride all miles at a brisk pace, however we ask that you respect the road, locals, camp grounds, hotels, etc. There will be no chase truck, so make sure you are plenty prepared for your battle through the mountainous slab terrain. If you think your wrist pin is about to go, or a crank bearing has little life left in it, it is best to fix it now and spare yourself the catastrophic failure deep within the Ozarks. Keep in mind that all riders on this run will be flogging a machine no younger than 33 years old! I cannot stress enough, that you will need to be self sufficient at all times. Familiarize yourself with the maps and do your best to help out others that may stumble along the way.
RULES/MANIFESTO:
This run is geared towards those who challenge their wallets to a duel, and rise victorious. Those who stretch the dollar to its limits for the sole purpose of cheap thrills on a two wheeled freedom machine. If this doesn’t remotely sound like you, it is time to click the back button on your browser. Below are the requirements needed to join the run.
* 1980 or older motorcycle
* spend no more than $1000 on purchase, build, and prep
* total displacement of motorcycle cannot exceed 750cc
Often I get asked at the end of each run if any of the rules will be changed. Whether it be year, price, or motor size, a quick and simple answer is NO. After a considerable amount of debate, it has been decided there are no legitimate reasons to change the rules. 13 people made it last year, and 5 the year before that, so why try and fix something that isn't broken? Anyone can put together a bike following the rules, you just have to WANT to do it. If that means that we stay below 20 riders every year, then so be it. Personally I have put together a bike under budget for each run, and while it isn't easy, it can be done. Let's all just have fun riding old cheap motorcycles through the mountains.
WHERE:
The Ozark Mountains throughout the Northwest and Central regions of Arkansas. Check out the map for more details on exact locations. Route options may change, so try to keep up with this site for any updates along the way.
WHEN:
May 29th - 31st 2013
I know it's a bit unorthodox for the most part, but the OMS is held on 3 consecutive weekdays that runs Wednesday through Friday. There are a couple reasons for this, so let me explain. First and foremost, this ensures a low pedestrian traffic count for everyone riding through the mountains. There is nothing more annoying than day after day of being held up by a band of rubber neckers when you could be dragging a knee/peg/spleen instead. If the run was held on a weekend, I can assure you the time spent cursing the driver in front of you would grow ten fold. Since this run ends on a Friday, that also leaves Saturday and Sunday to get back to your lives/home. This has worked out great both years now, and I'm sure it will work great for many years to come. So there you have it, mark the days on your calender, and get your vacation time approved. Luckily there is still plenty of time to get started on your build and/or tune ups.
DEPARTURE:
We will meet at 9 am on day one at a predetermined spot. Everyone can meet, greet, and go over the days route before departure at 9:45 am. If you choose to ride separate from the group that is fine. I will post an overall map, daily maps, and specific road maps for each day as the final route is ironed out. The more prepared you are, the better for the group overall, so show up with a tank full of gas.
COST:
The OMS has no entry fee, and I intend to keep it that way. If you went through the trouble to build and/or restore a bike back to a functional machine, then you have paid your dues already. The only cost to you will be fuel, lodging, and food/beverages. Simple as that.
LODGING:
These are the official hotels of the run. In order to get the group discount you need to mention you are booking with the Ozark Mountain Scramble. If you don't want to save a few bucks, ignore that bit of information. Wanna camp? Go for it. I'm sure there are places to do so, however it's up to you to get all of that sorted.
Day One:
May 29th
La Quinta Inn
111 East Harrell Drive
Russellville, AR 72802
479-967-2299
Your choice of the following:
$85 standard king bed
$90 queen double bed
Day Two:
May 30th
Quality Inn
1210 US 62/65 N
Harrison, AR 72601
870-741-7676
Your choice of the following:
$76.49 standard king bed
$76.49 queen double bed
GAS STOPS:
There are quite a few gas station options from day to day, however there are a handful that only accept cash without any ATMs near. Be prepared and bring a couple Lincolns in your man purse.
BUILD LOGS:
I strongly encourage you send in any build, purchases, or random updates on your budget built steed. It's fun to see what people are putting together, but not a requirement. Any information you would like to share is more than welcome, and will be posted at your discretion. If you are looking for inspiration, take some time to browse previous build logs listed off to the right.