
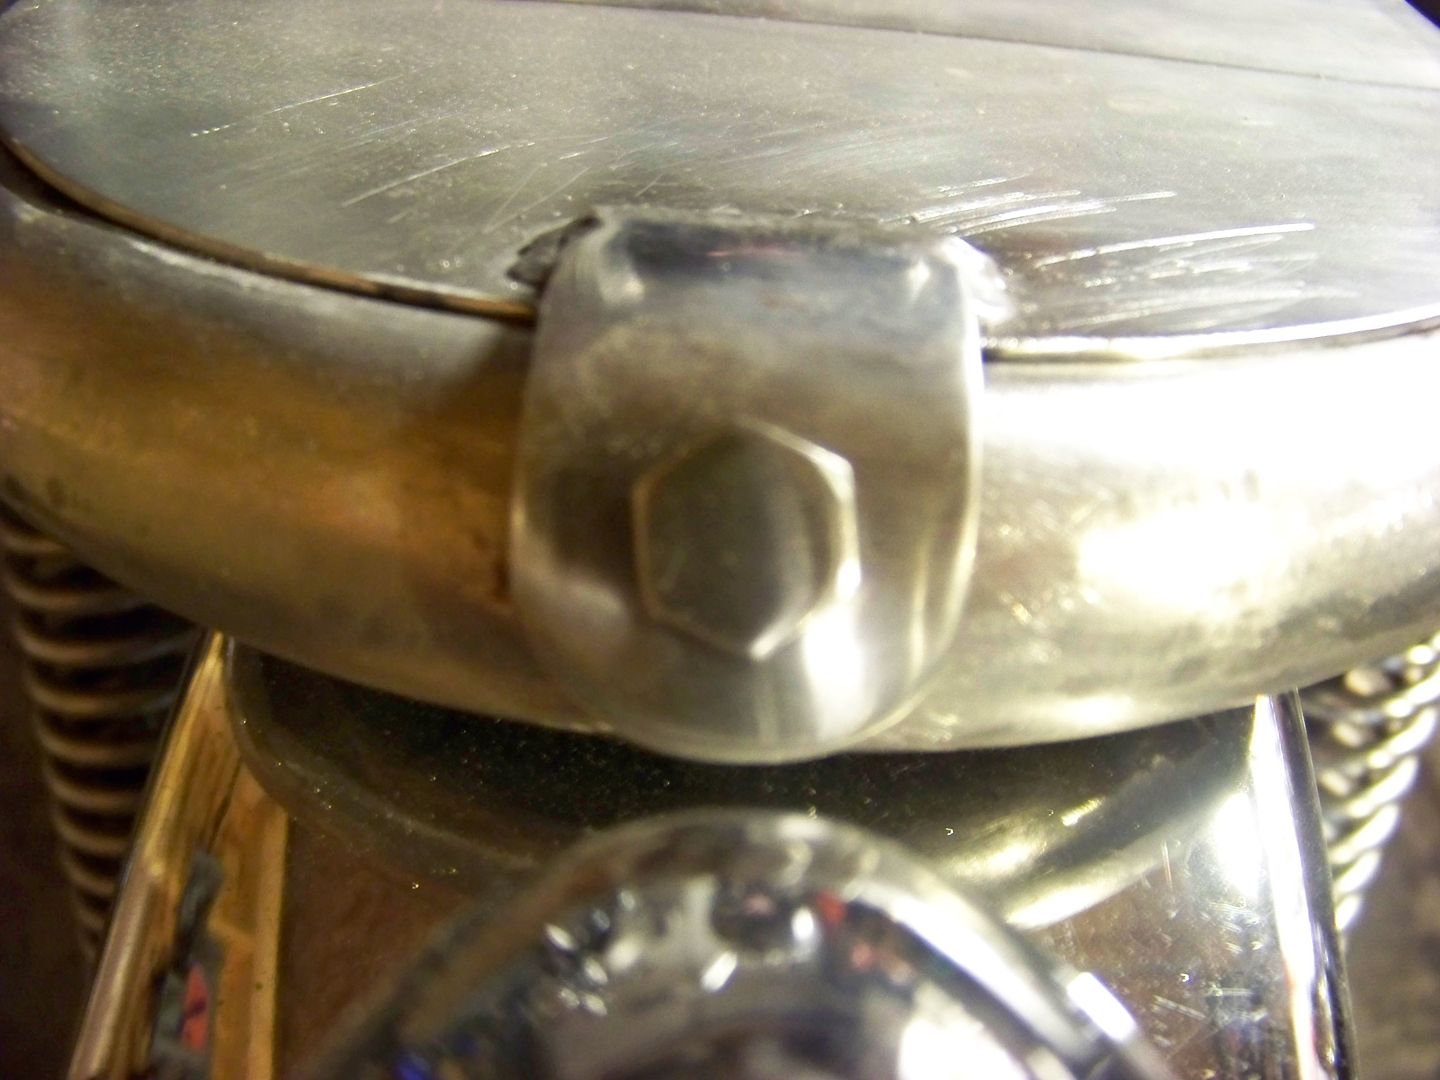
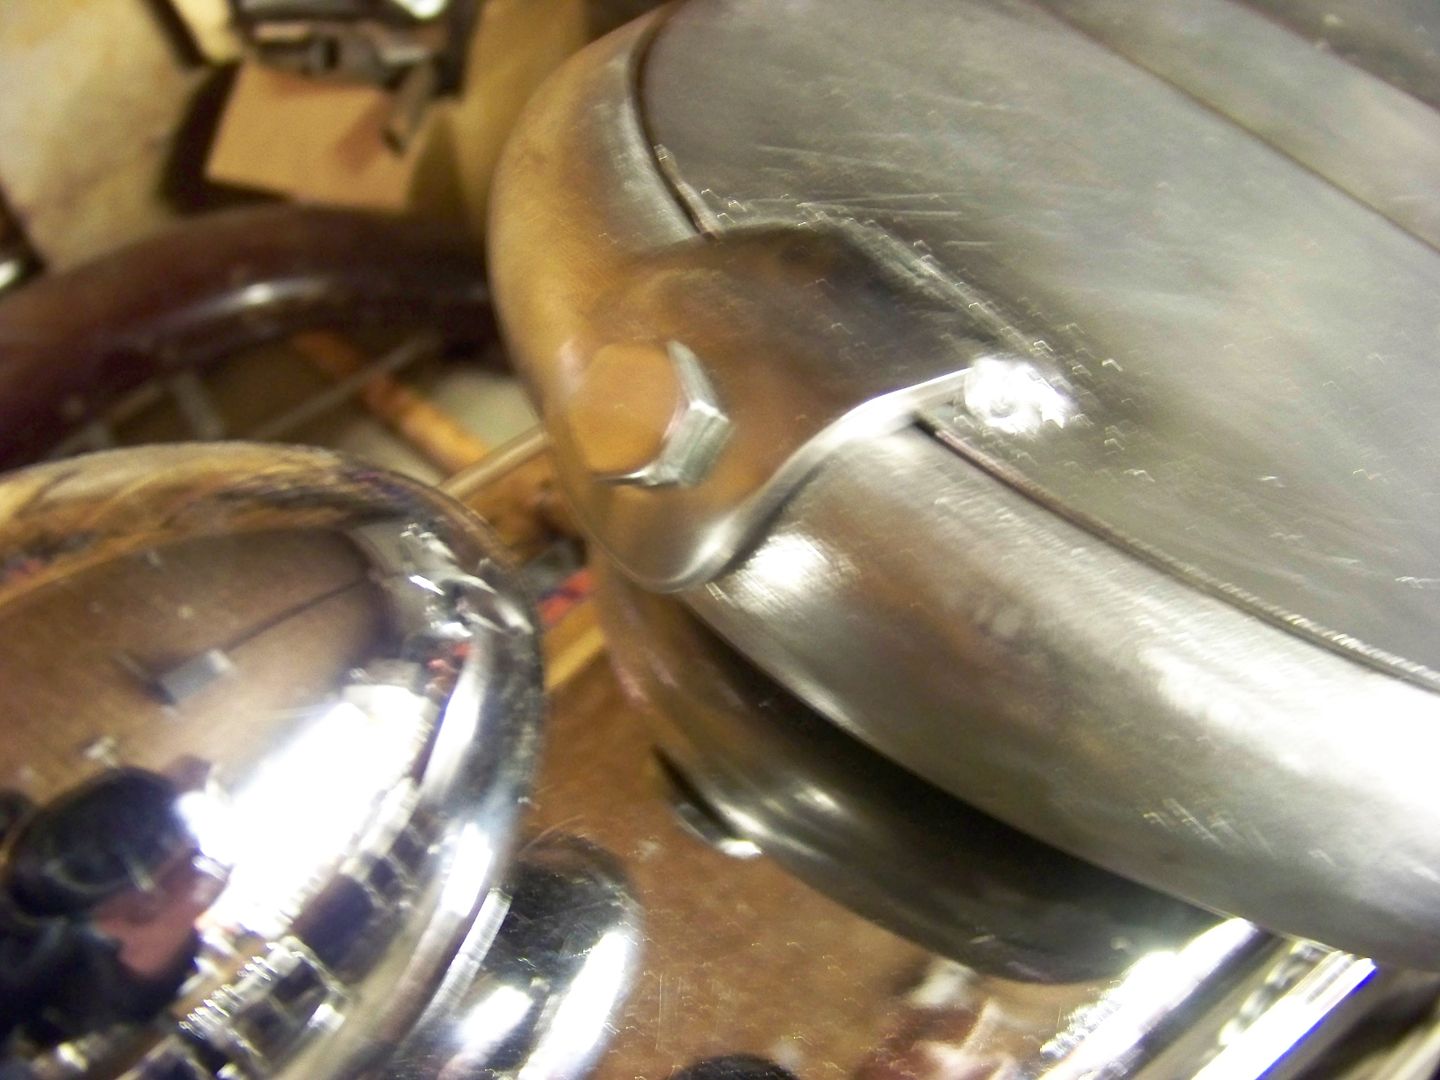
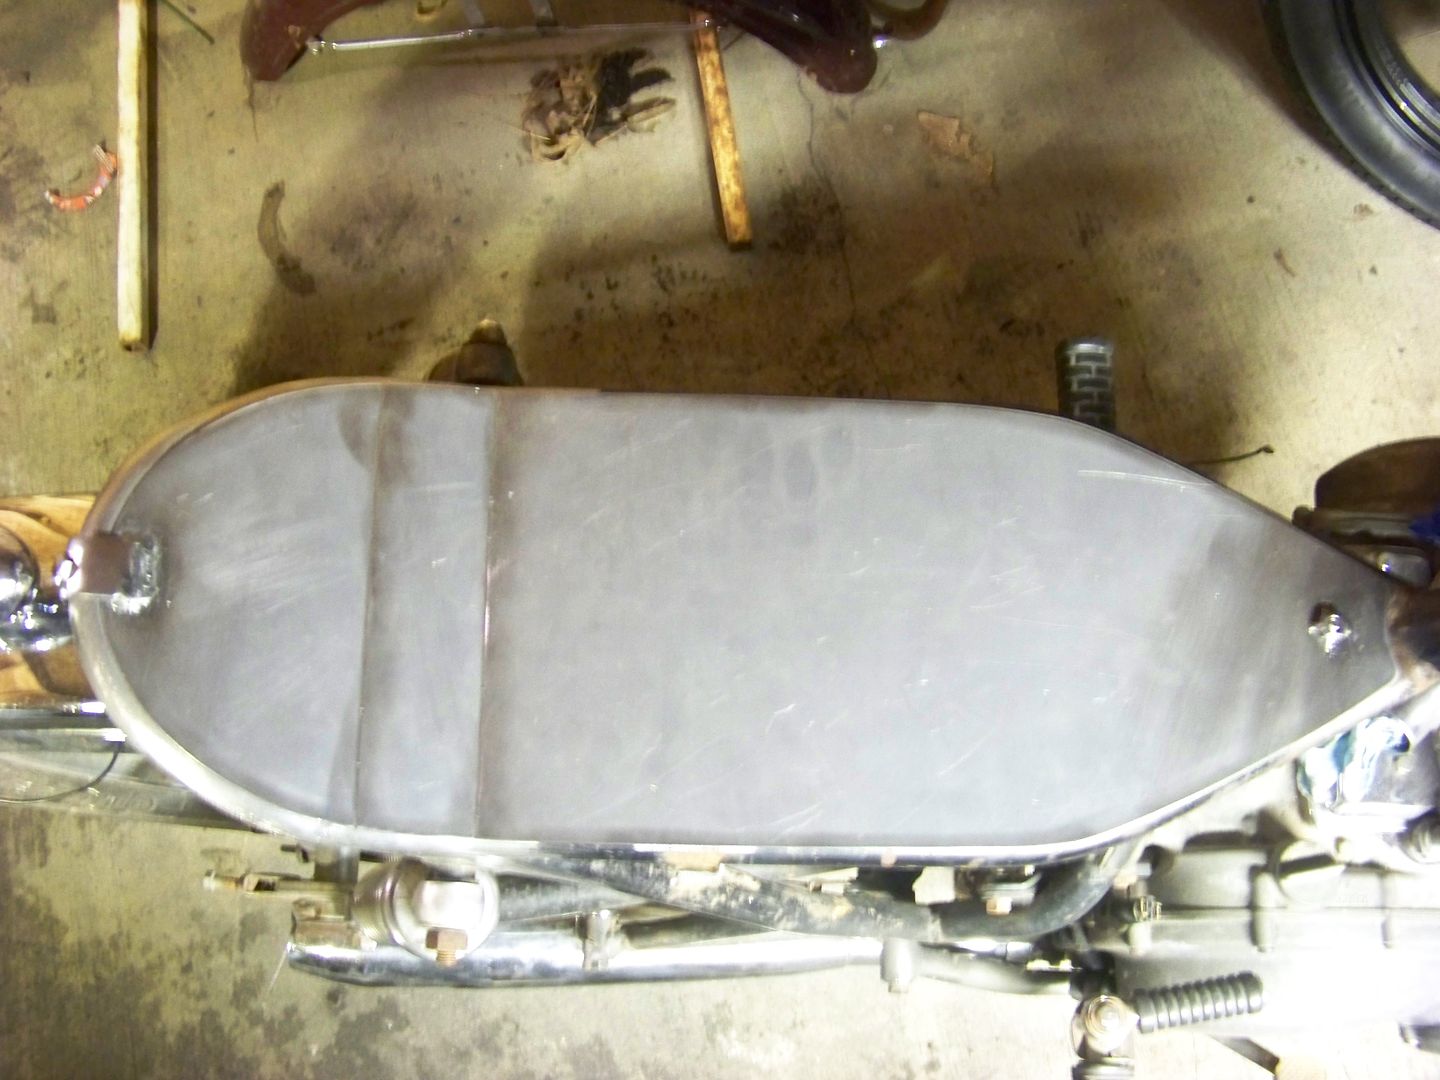
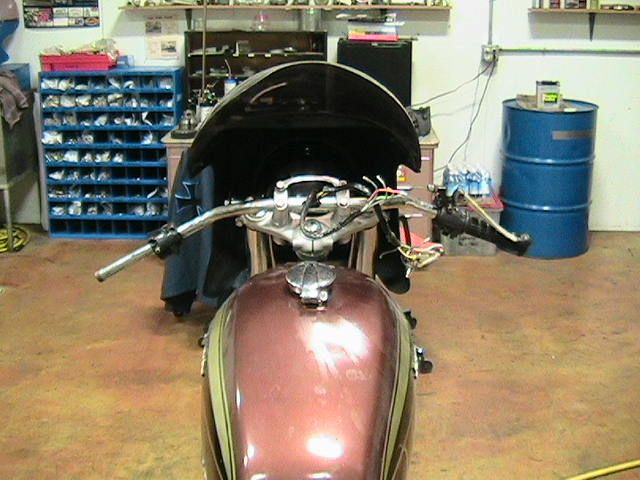
Finished welding and did lots of sanding and grinding on the tail. I also built and welded in a back panel and a mounted tail light ($10 off my budget - down to $145) Built a wooden base for the seat. Made some extensions and plugs and tacked my handlebars in place. Had to make them long for the master cylinder to clear the fairing but I think they are going to be comfortable.
Brad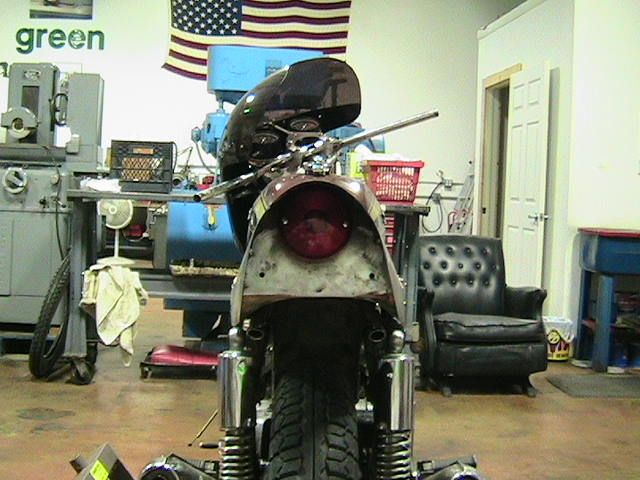

2/28/11
cb450 build/entry : part 7
kz400 build/entry : part 10
yeehaw for progress!
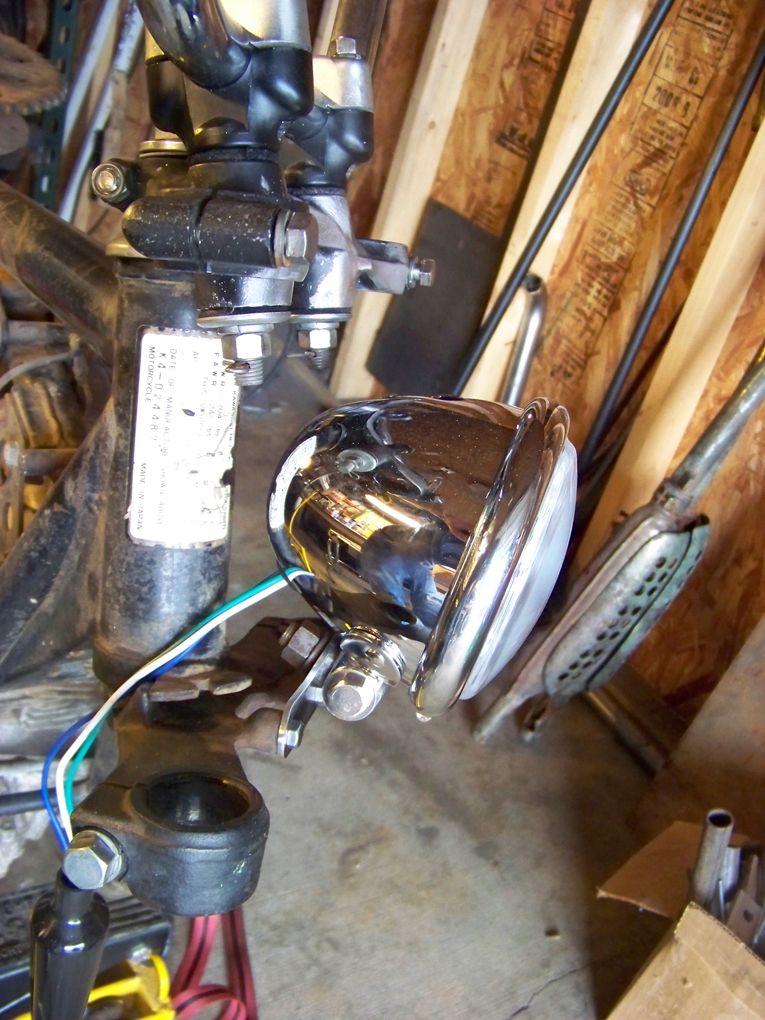
earlier in the week i received a package from a buddy on the kz400 forum. we were able to do some mutual parts swapping, which yielded me a new set of trees with removable risers. since these still have the tabs on them, it was time to cut the fat yet again and trim away. with that done, it was time to move on to the headlight bracket. a few minutes drilling, cutting, and filing produced a not so fancy bracket that will fit the bill.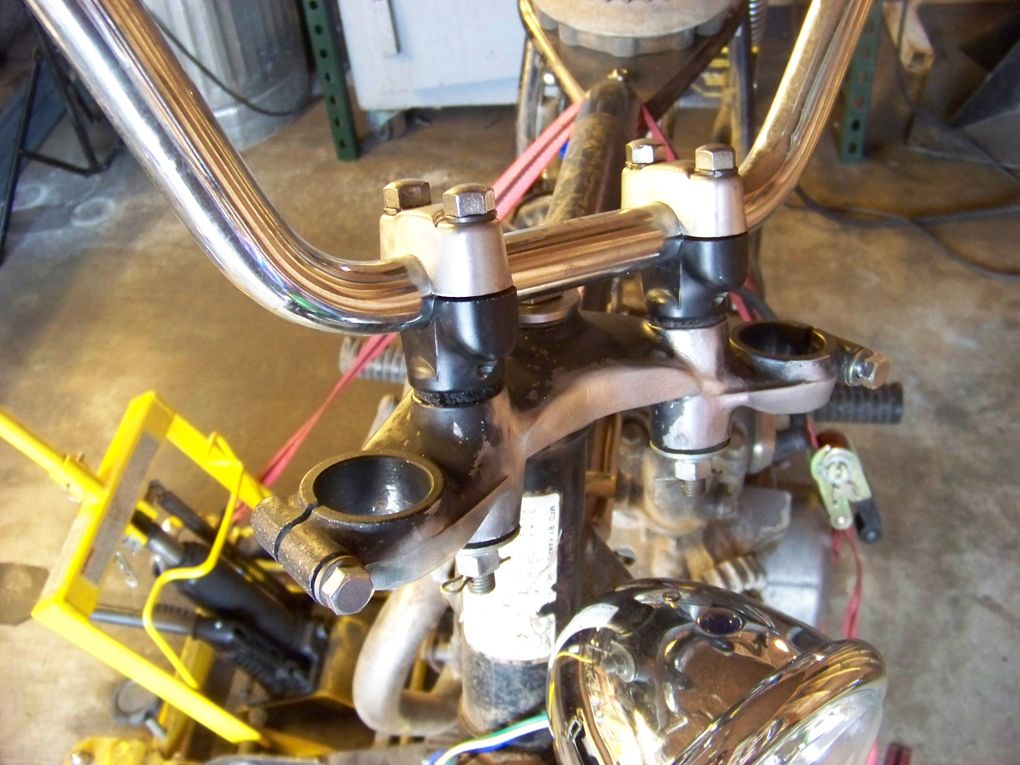
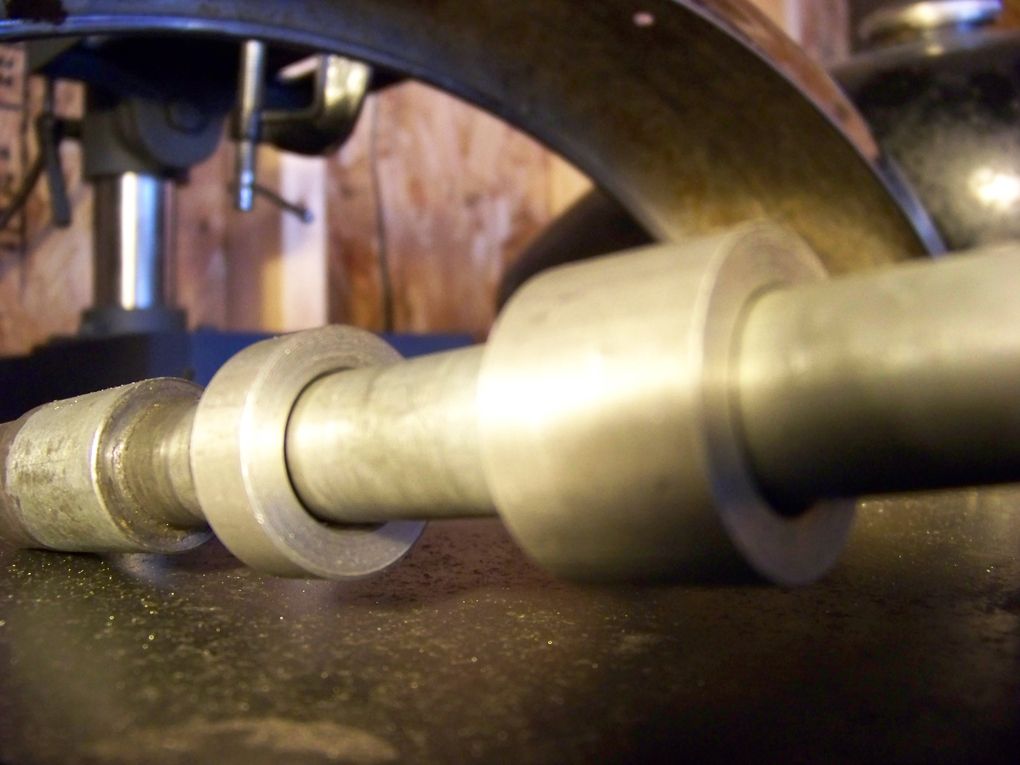
over the weekend, Brad was kind enough to lend a hand mounting the new Dunlop K70 tires, as well as turning some new axle spacers for the rd250 front wheel i got. we also were able to get the brake stay nub ready for weld on the fork lower, so things are really starting to progress. you couldn't meet a nicer fellow than Brad and it was nice to work with someone who knew what they were doing.
2/25/11
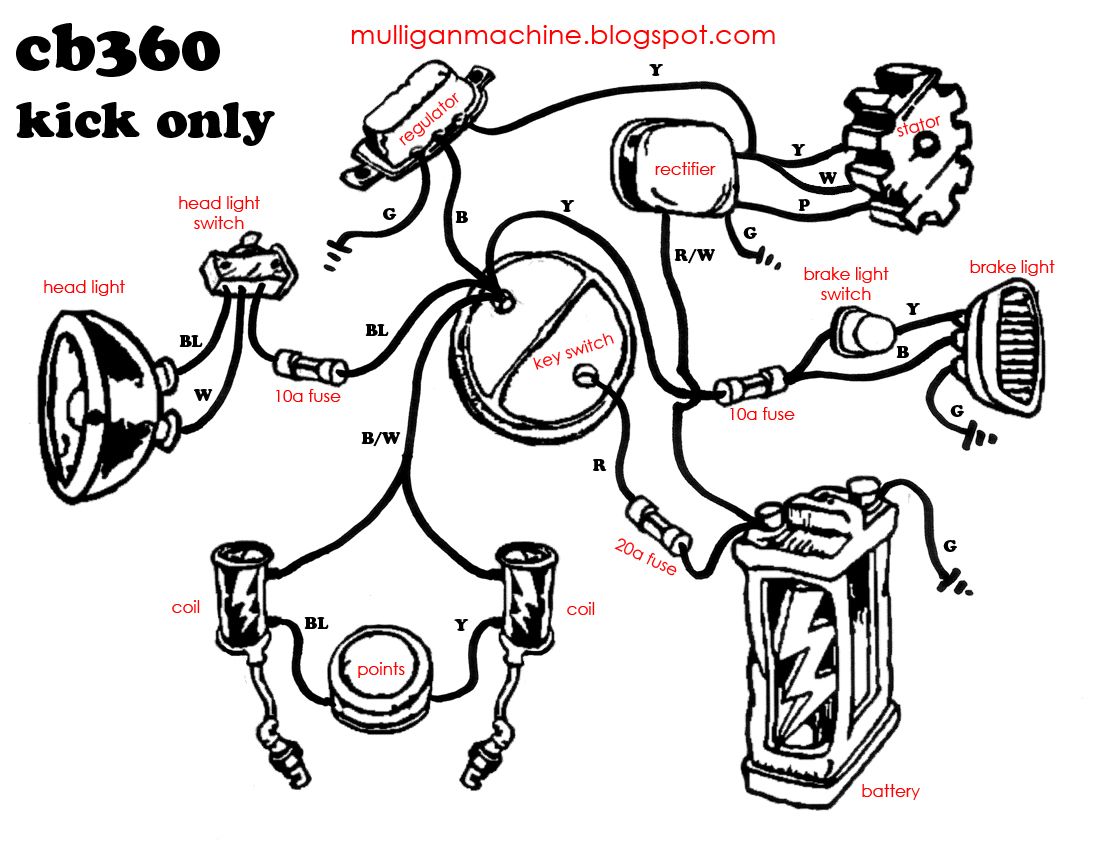
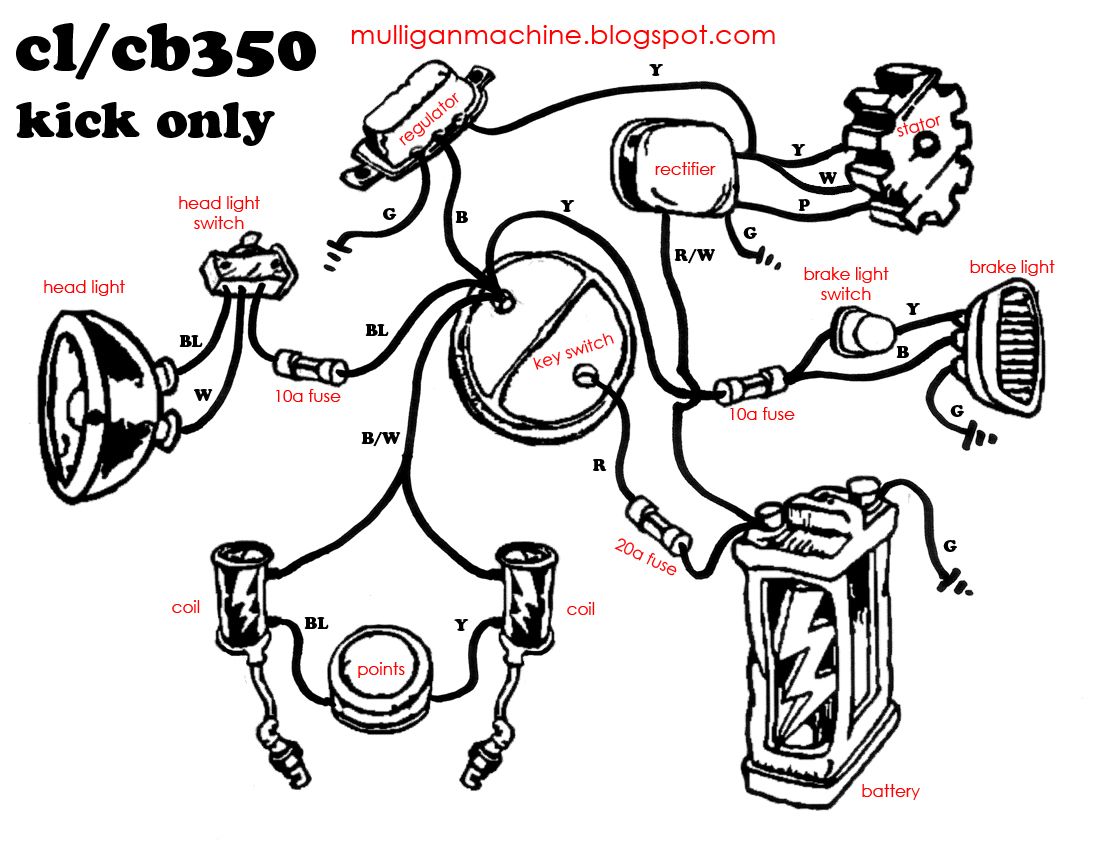
cl350 and cb360 project bikes
got a chance to snatch both bikes up for the low sum of $100 off the local craigslist. missing tanks, side covers, and seats for both, but that can be remedied rather quick. both motors kick through freely and can be resurrected from the dead, so that is reassuring. undecided on the plan of attack, but for now i just need to focus on the kz400.
2/23/11
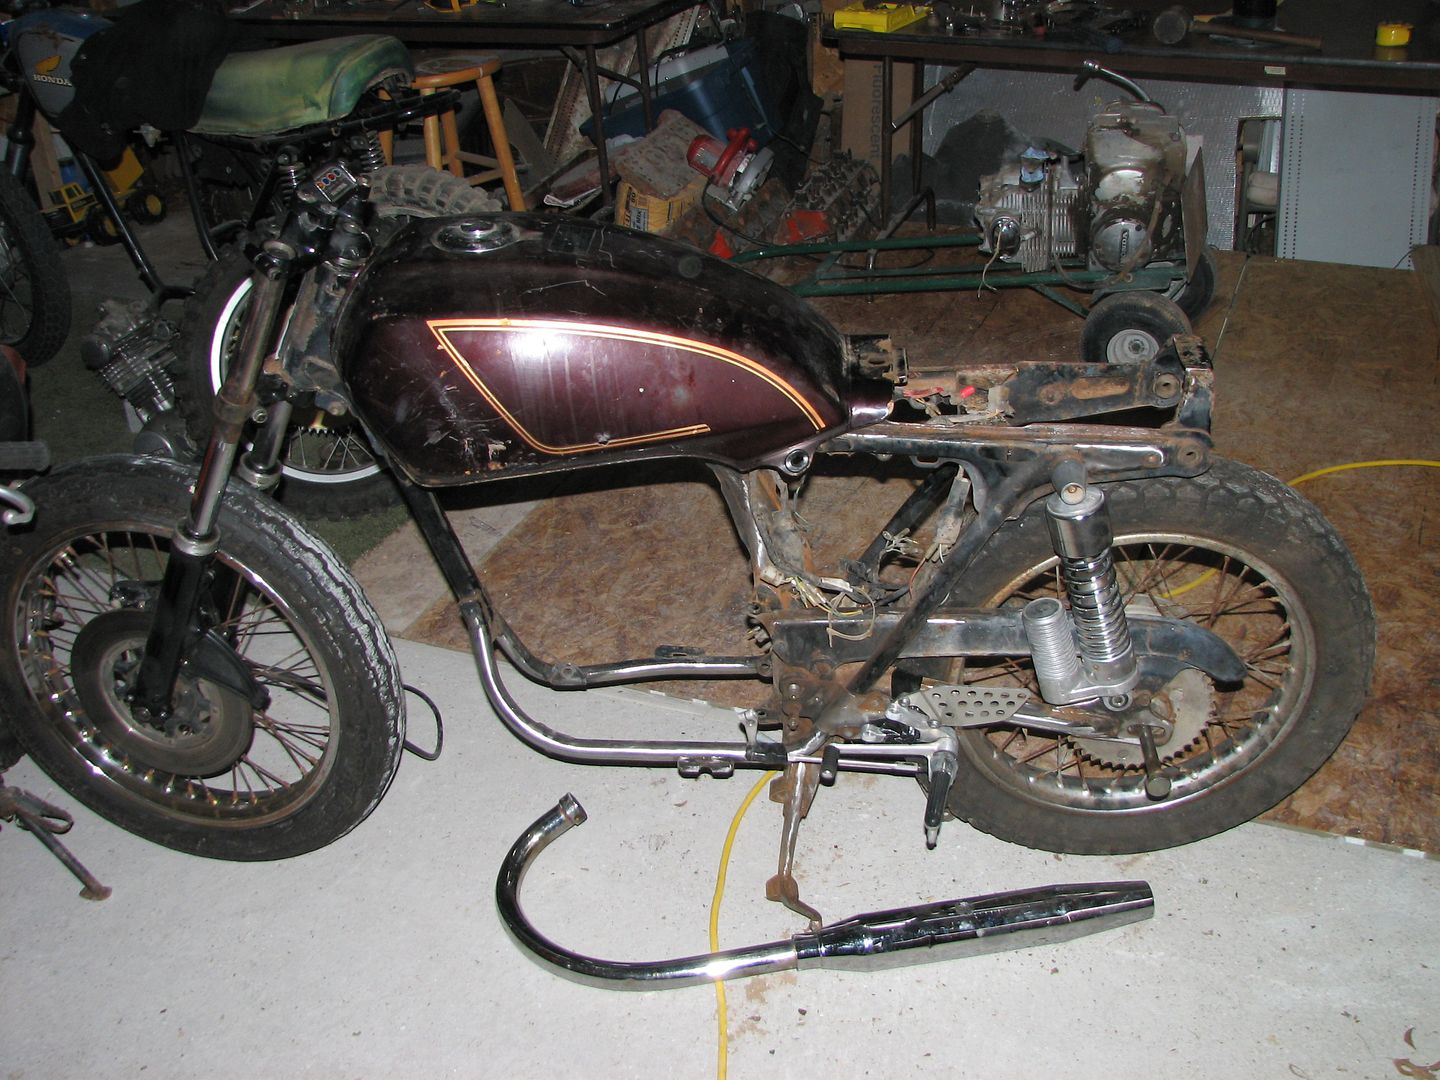
cb350 build/entry : part 1
Another build saga begins for the Ozark Mountain Scramble.
Here are a couple photos, to kick-off my Honda CB350, Vintage Roadracer project. First is the $20.00 frame. This is a basket case job, if there ever was one. I started cleaning-up the frame last night. By the time I got my old sand-blaster set-up and running, (dang mud dobbers) it was too dark outside, so I hit the rough spots with the angle grinder and an abrasive wheel.
My "new" tank had just come in the mail, ($18.00) so I couldn't resist taking a cheesy mock-up photo. First off, I know the tank looks huge. It's partly the angle of this shot, but the other thing is, it is really big. Guess I'm giving away my "race" strategy: tank twice as big = half as many pit stops. I'm not sure yet of the exact capacity, but the '82 Silverwing is just about the biggest Honda tank I have found. I'm thinking each leg should take around six gallons of gas. Even if the tank is that big, I'm not sure my old body can go all day without stopping. The color looks to be brown in the photo, but it's really more of a brandy-wine or burgundy. My first road bike was ('78 CB750F) this color, and it looked great, when it was near-new. Other than the frame, new paint might not fit in the budget.
The rear shocks look cool and should work pretty well. They're off a V45 Magna; paid twenty bucks for the set. The trick rear-sets are from a 2000 Honda CBR 929. I think they will be a stand-out feature of this bike after I hit them with the buffing wheel. I also, think they were a bargain at $25.00 each.
I picked up a pair of Sportster mufflers at the swap-meet last weekend ($20.00). They fit the stock head pipe perfectly. They aren't very old, but the reverse-cone style gives them a vintage look. The CB550F fork should be a bolt-on, once I get the right bearing races. Paid $65.00 for the set, complete with wheel and tire. I was surprised to see that it was so short. I've been messing around with dirt bikes lately, so I guess I expected something taller. I think it's a good choice. The rake and trail should be down in the sportbike territory. The small, early Honda fours had a strong reputation as canyon-carvers "back-in-the-day" (not sure if I like that new phrase, makes me feel old).
I was in high school in the late Seventies. That was before modern sportbikes had been invented. I read about custom-built Café Racers in the magazines. A Norton or "Triton" was the cat's ass back then. I couldn't afford one then. I still can't afford a Norton; think I'll call this build a "Compton". I always liked the little Honda twins. I'm stoked about this project. I think the scramble will be a lot of fun. The course looks like a blast. I like the challenge of the budget. The time-budget is also good for me. I've done my bargain-hunting (that's been fun too), now it's time to get on with the build. I'll give you another progress report soon.
Rand Man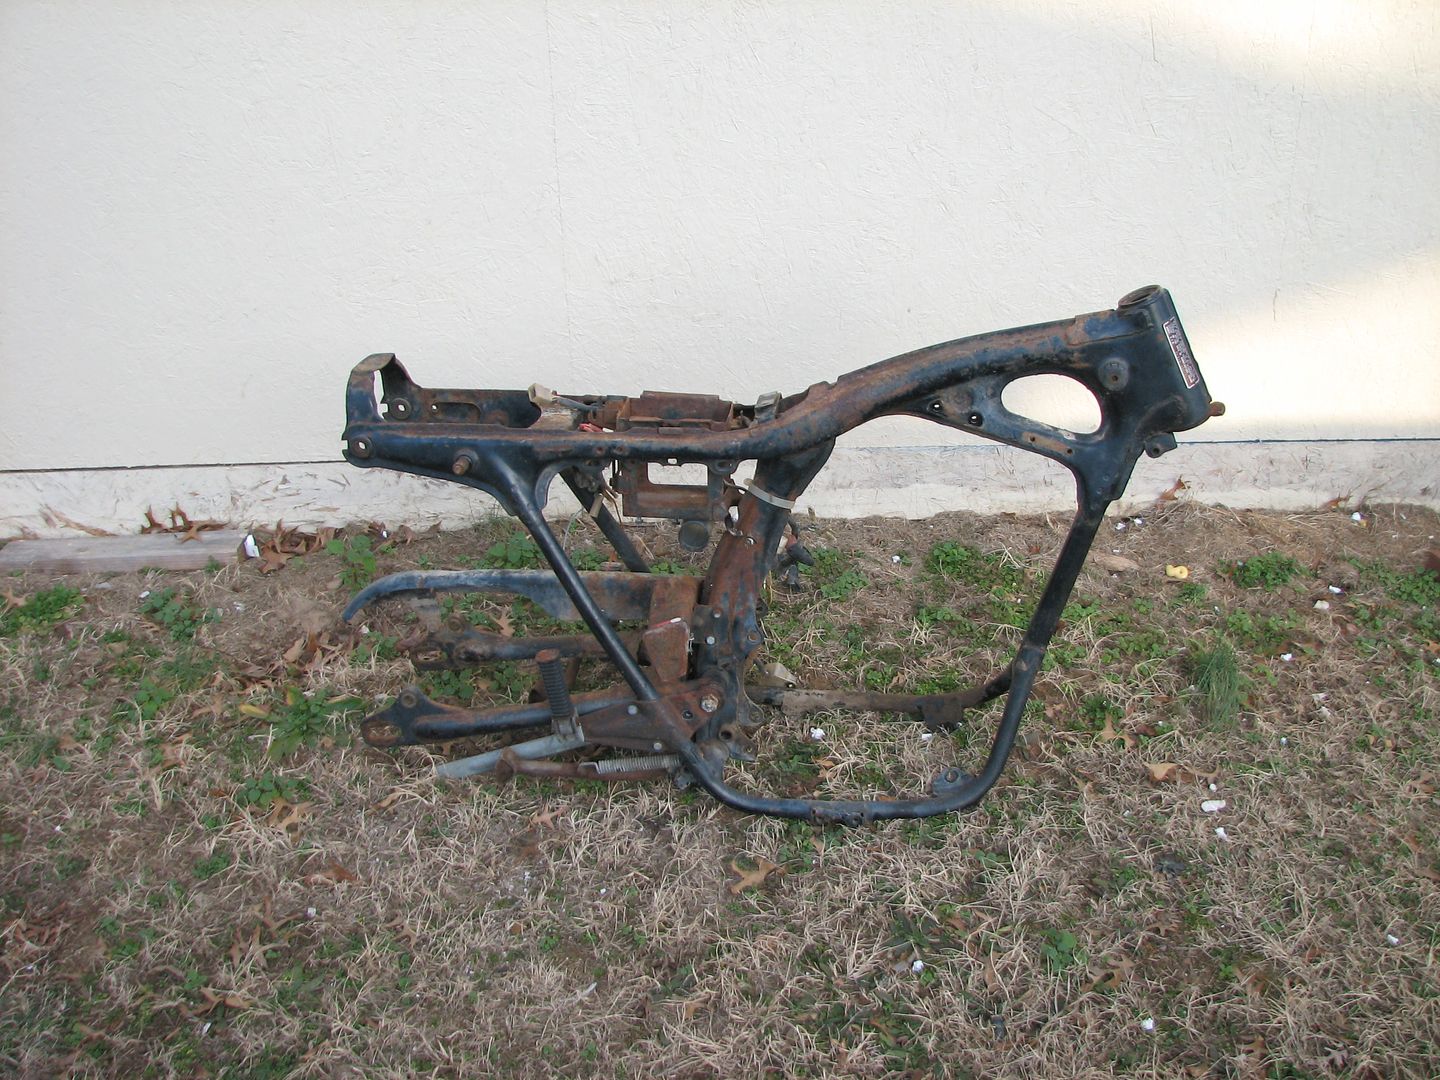
2/17/11
cb450 build/entry : part 6
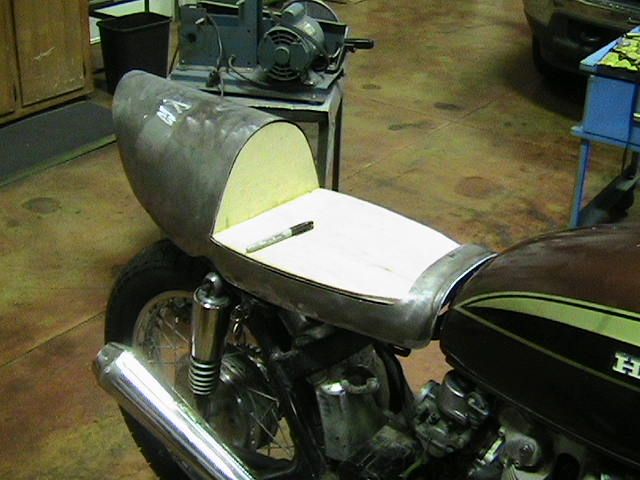
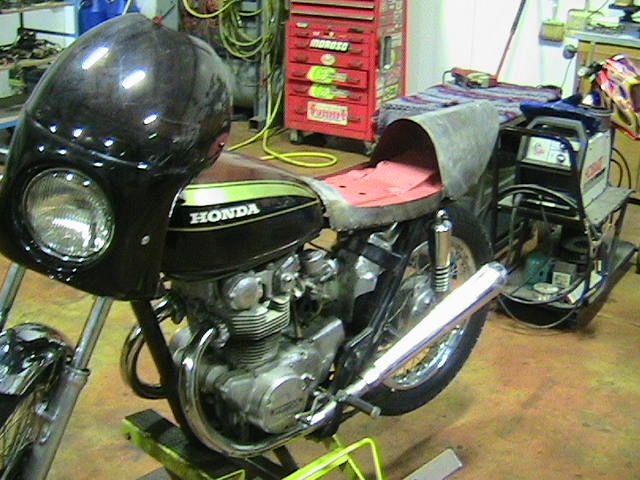
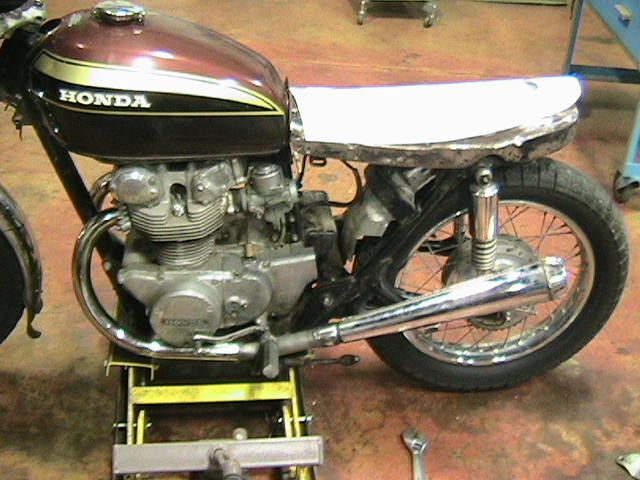
Got the other side pipe done and smoothed out the welds and made brackets for both sides. Started on my seat/tail. Got it cut out and tacked up. It looked a lot better with the poster board mock up but I am going to use it. I think it'll look better with paint. I am also going to make a hidden stash compartment in it since its kind of big.
Brad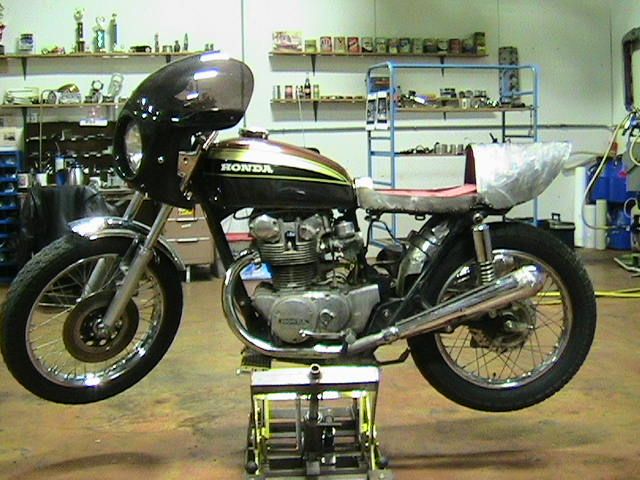
2/11/11
cb450 build/entry : part 5
Decided to work on the exhaust today. First I cut off the stock ugly foot pegs and welded on the passenger pegs which are smaller and better looking but still fold up if needed.
Then I cut my mufflers down and welded the ends back on. I basically removed the internal baffle section. Not on purpose but it turned out that way. I also had some really rotten spots on the bottoms so I scabbed some patches on those. I'll come back and smooth all my welds down some other day as I was running out of time today and wanted to get at least one side done.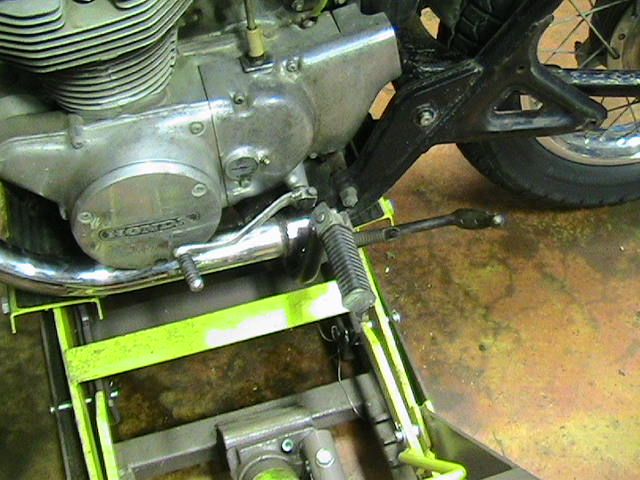
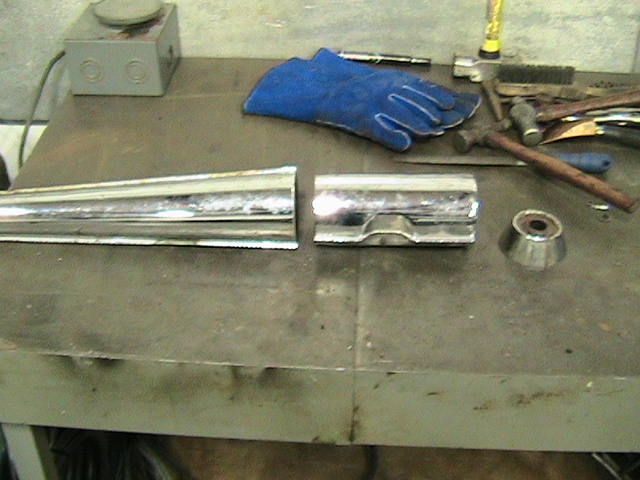

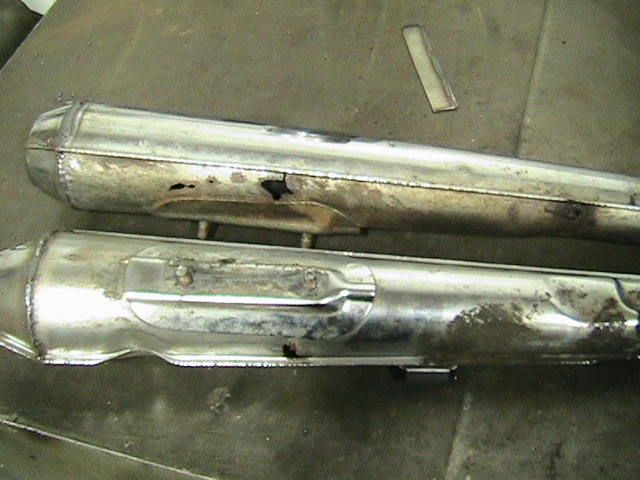
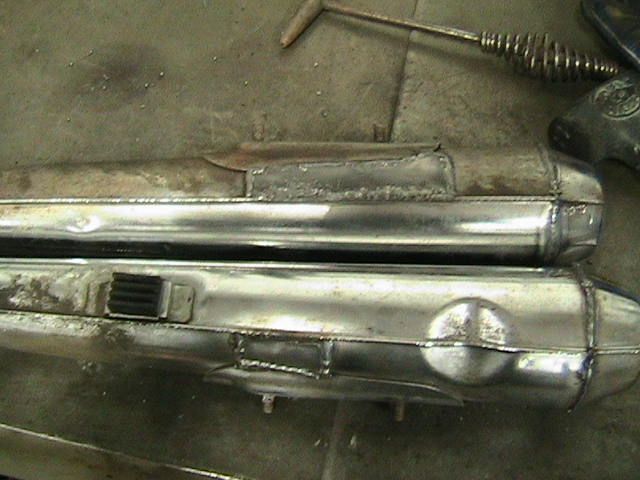
I wanted to kick the mufflers up so I got an old single cyl dirt bike pipe from a buddy and bead blasted the rust off. I cut a couple of bends and straights out of it to use. Cut my down pipe, inserted the bend and then welded it up. I am pretty happy with the way it turned out. I just hope I can get the other side to match perfectly.
Brad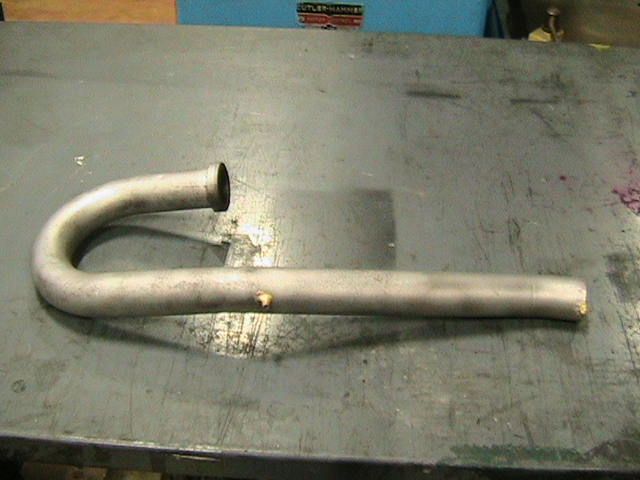

P.S.
I sold some of the stock parts from this bike on craigslist and ebay for $75 so I have $155 left in my budget to have this bike ready for hard riding....Should be OK and able to buy a front tire, chain and brake pads with enough left to buy some rattle cans for the paint job.
2/8/11
kz400 build/entry : Part 9
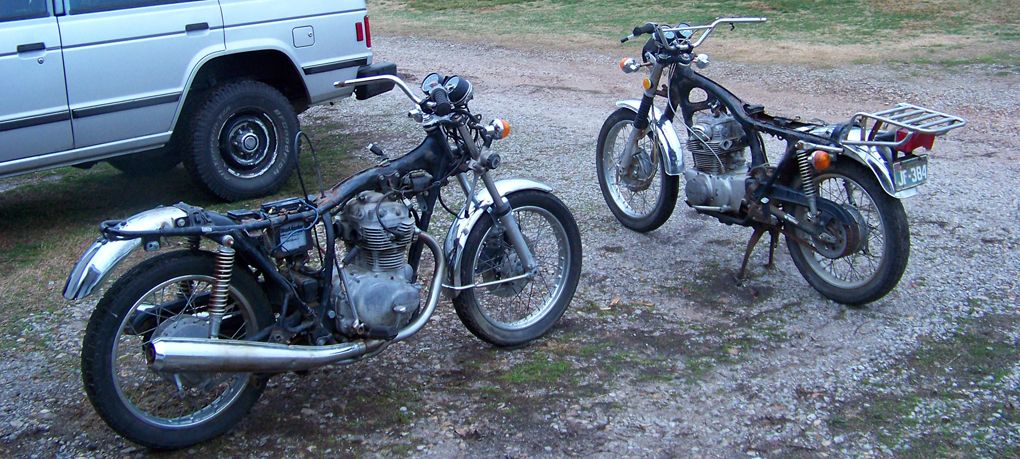
quick update. Brad has been sending in all these updates for his cb450 project, leaving me feeling rather slow and inadequate. i figured it was time to suck it up and get some work done regardless of weather and temperature.
silly me decided to redo the whole seat frame hoop shape and consequently had to redo the seat pan and mounts as well. i just didn't dig the profile from all angles, and i knew it had to be fixed now rather than after getting it covered. the rear mount isn't my favorite idea, but it works to make things functional and simple to remove when on the side of the road. also received my new fancy shmancy tires and headlight, so hopefully i can get those mounted up with the quickness this weekend.
Brad has been kind enough to offer tools and his right arm to help out in any way, so i plan to take him up on that. his lathe will make quick work of my axle spacers, while a possible TIG hookup can finish the front brake stay on a fork lower. all around he has become an invaluable asset to not only this run, but the bike i am building specifically for it. i couldn't possibly thank him enough.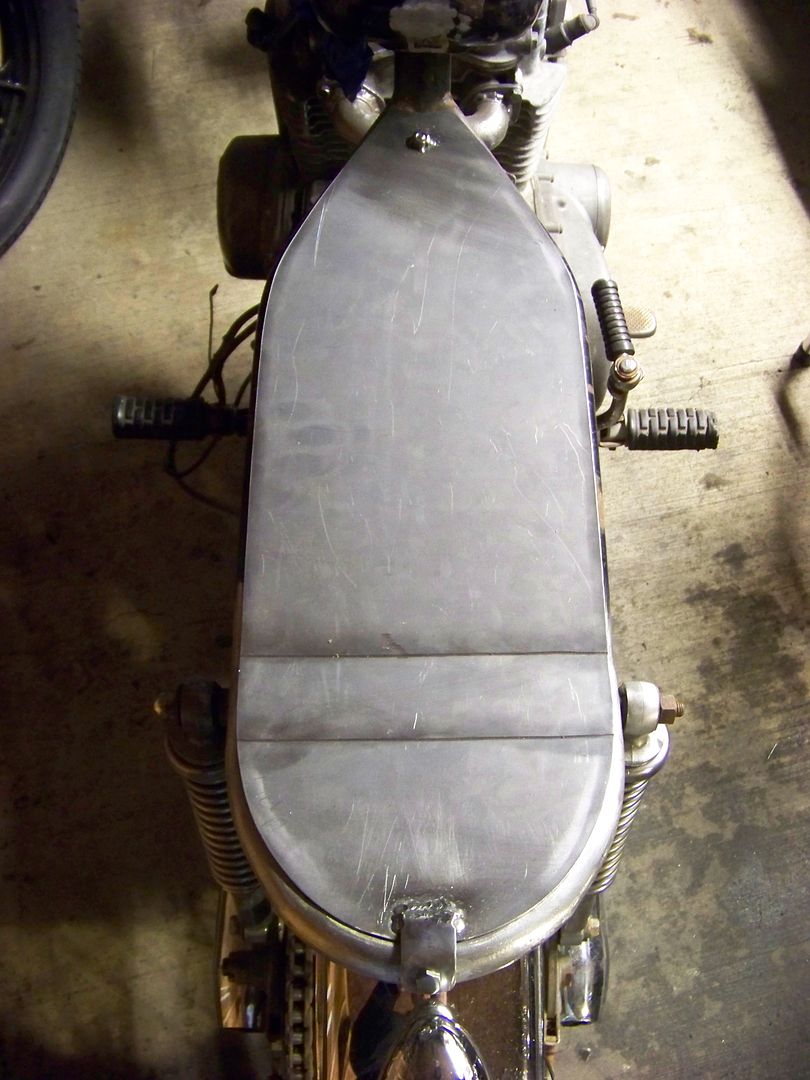
2/4/11
cb450 build/entry : part 4
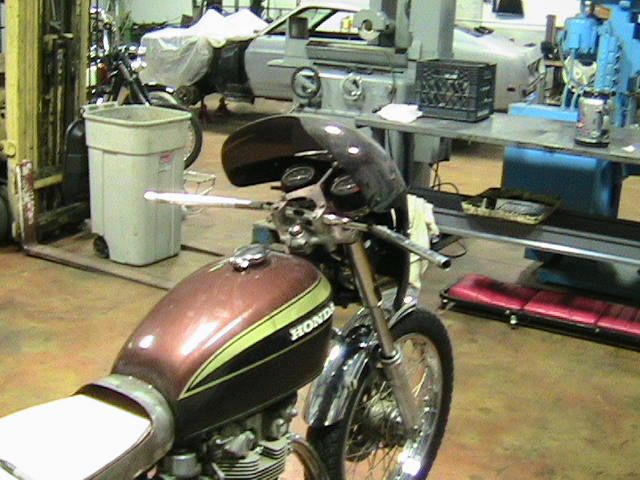
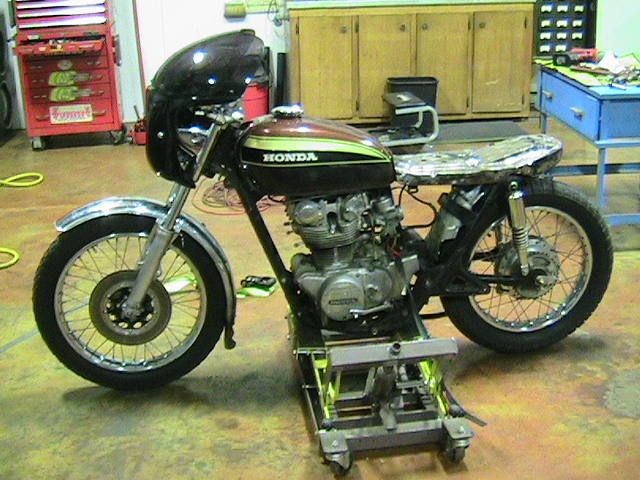
This morning I finished the top fairing mount and stuck the wheels on. Made some marks on the front fender as I figure out if I want to trim it or just leave it off. I am also going to try to use the original seat pan for my cafe seat/tailpiece combo. Its a bit wide but it hinges and locks which will be nice because my electronics will be under there. We'll see how that turns out I guess.
Brad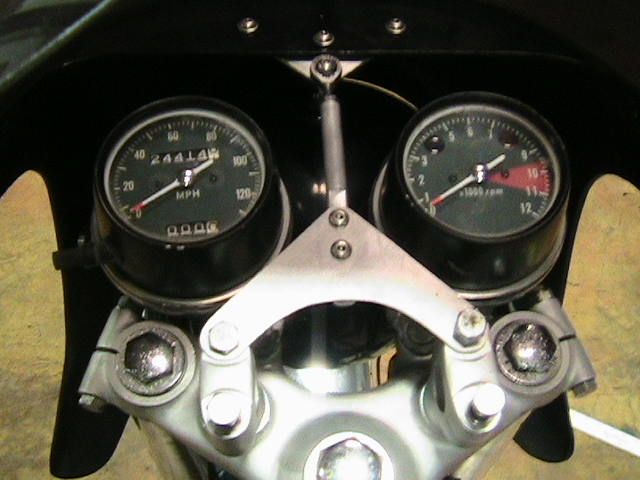

2/3/11
cb450 build/entry : part 3
Mounts for the fairing. First the sides and then a top mount that's adjustable so I can raise and lower the headlight/fairing. Just have to make the part that will bolt to the top of the fairing and connect to the top link then the fairing mounts will be done.
Brad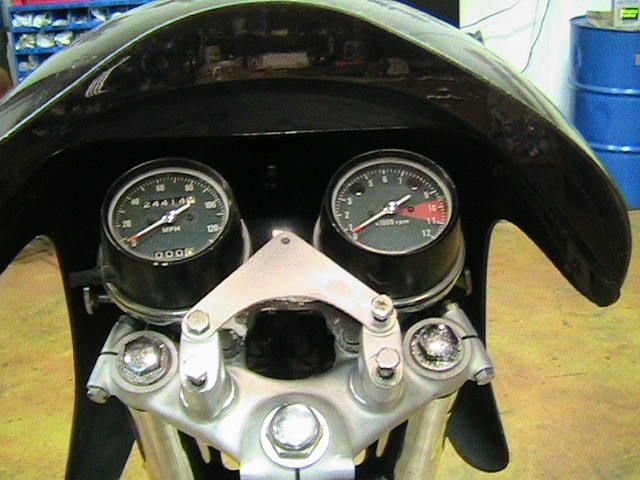
cb450 build/entry : part 2
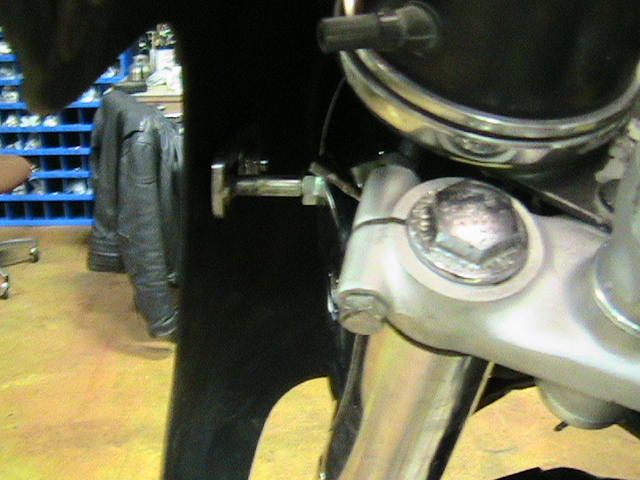
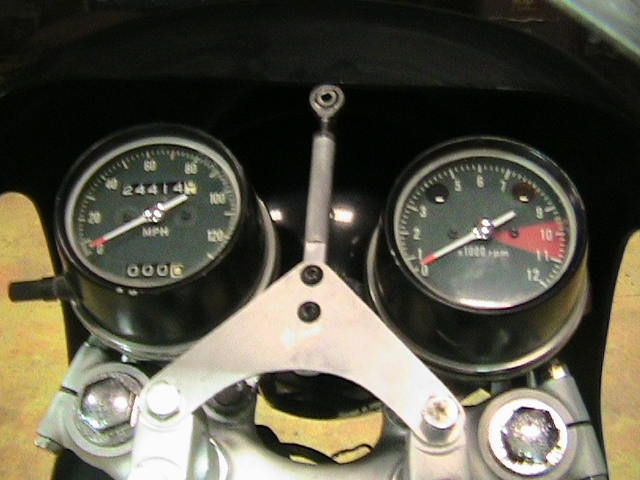
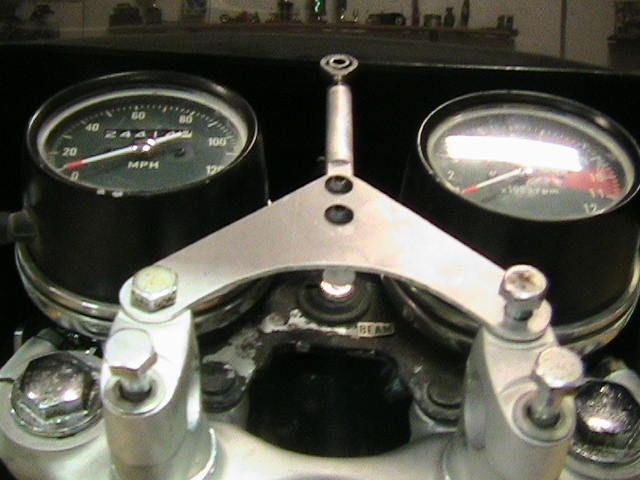
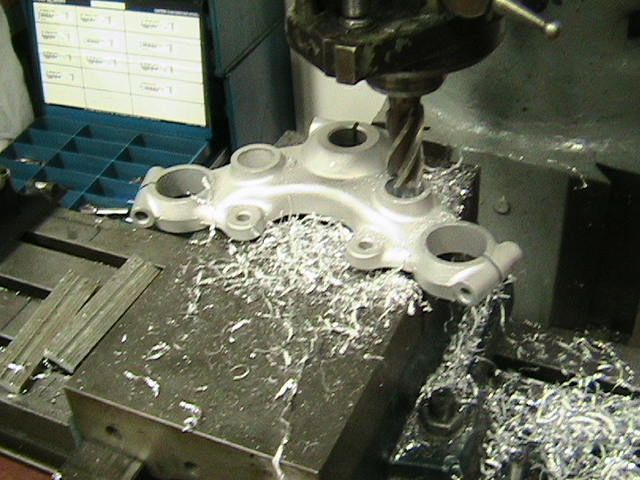
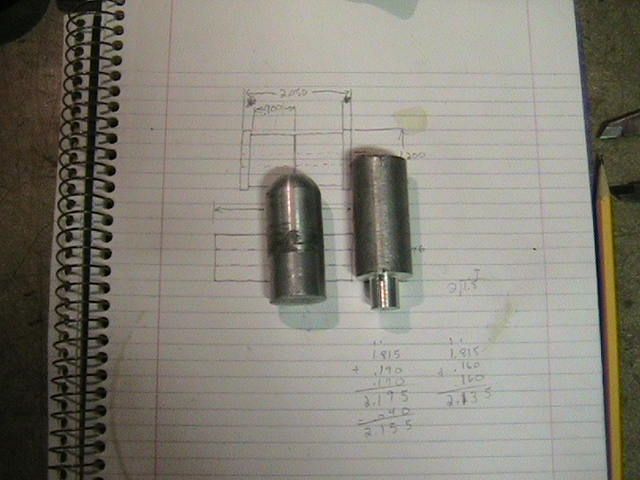
Decided before I pulled the engine and got it all shiny I needed to do a complete mock up of the bike front to rear. First picture is of my recently bead blasted, cleaned, and painted front end parts. Before I assemble them for mock up I needed to make some handlebar riser bushings as the tapered rubber originals are junk. I made some solid aluminum bushings. The second picture is the top tree in the mill. I had to bore the holes out straight since they were tapered from both ends. Next I found some 1" round scraps (third picture), face cut them to length and turned them down to tightly fit the 7/8" bores I had made (fourth picture) and then bored them for the risers to bolt through.(fifth pic).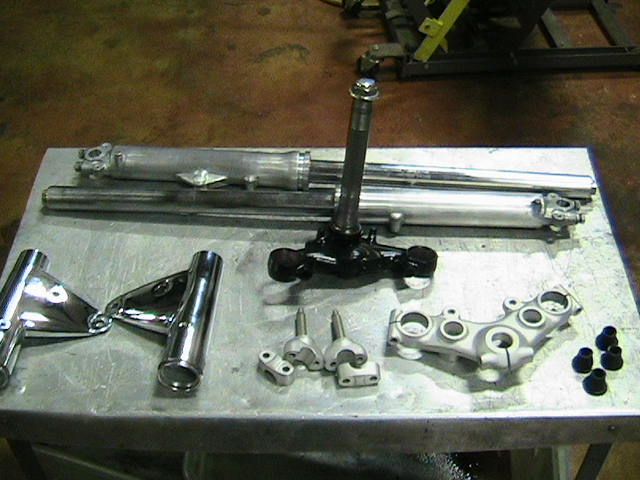


Next picture is of the finished bushings and the parts ready to assemble. Then the following picture is the finished assembly - I used anti-seize on everything since it was all aluminum with a tight fit.
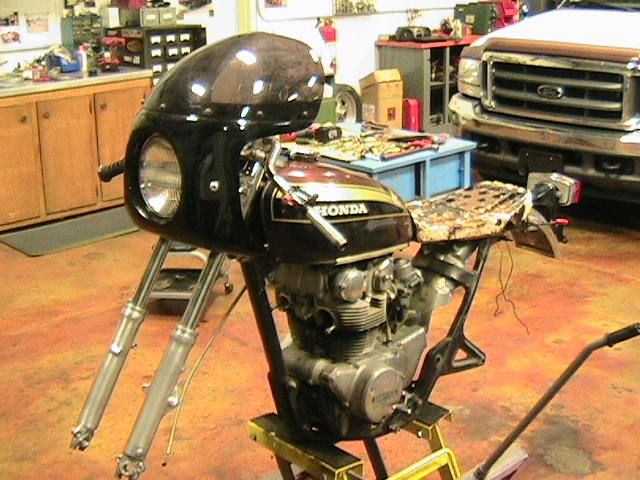
I stuck the front end together and put it on the frame. I zip tied the fairing in the approx location to start designing and building mounts for it. I am planning on cutting my handlebars up and making some poor man's clip ons - which is a good thing because as the last picture shows they are bent badly.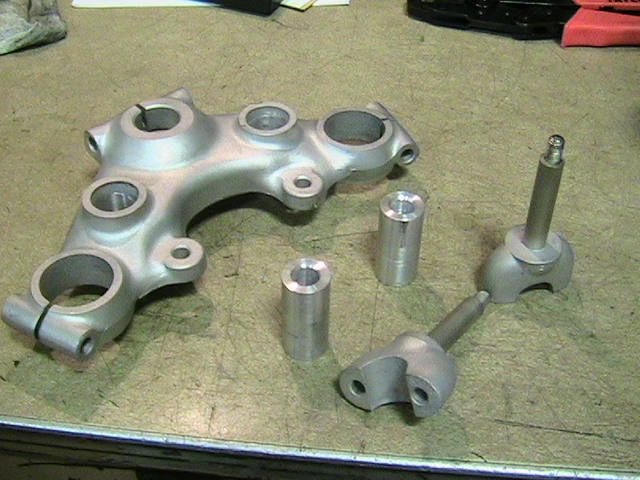

Brad
Subscribe to:
Posts (Atom)