
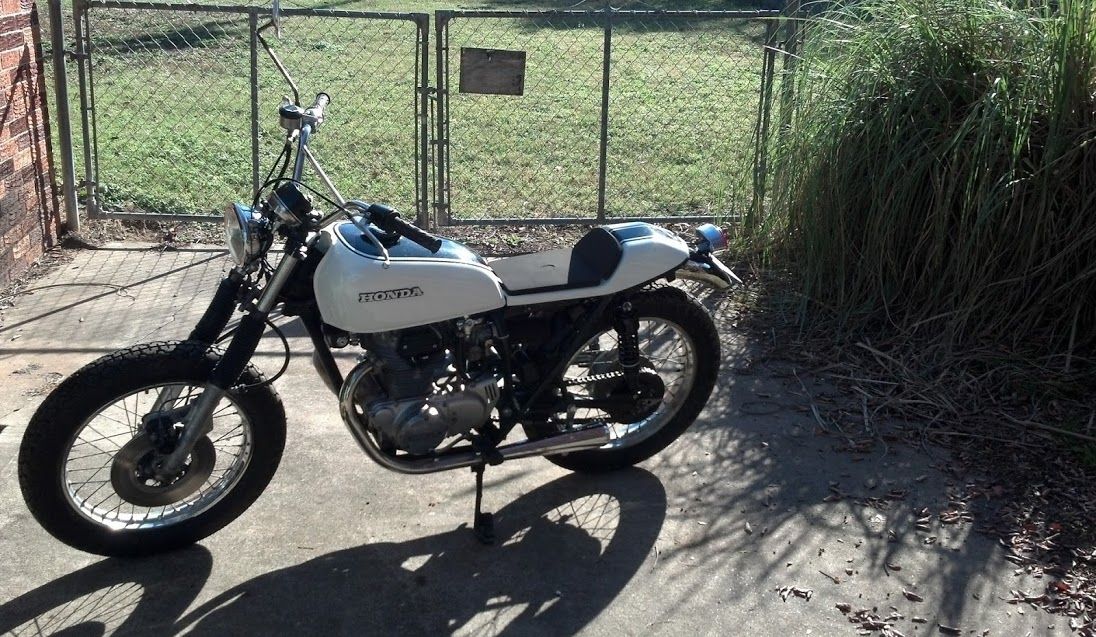
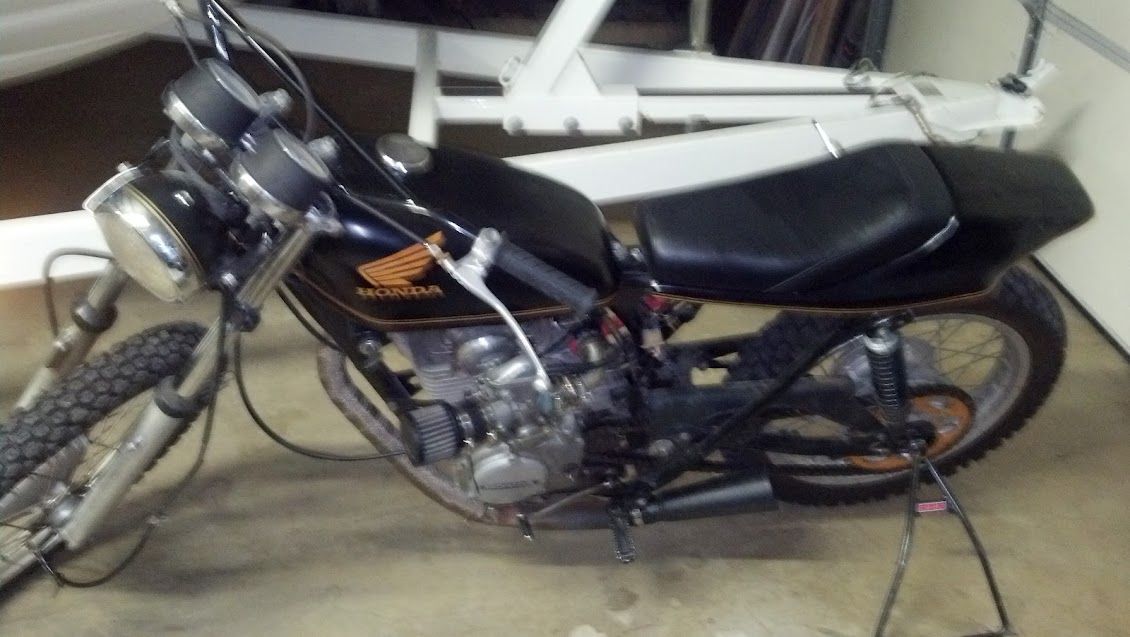
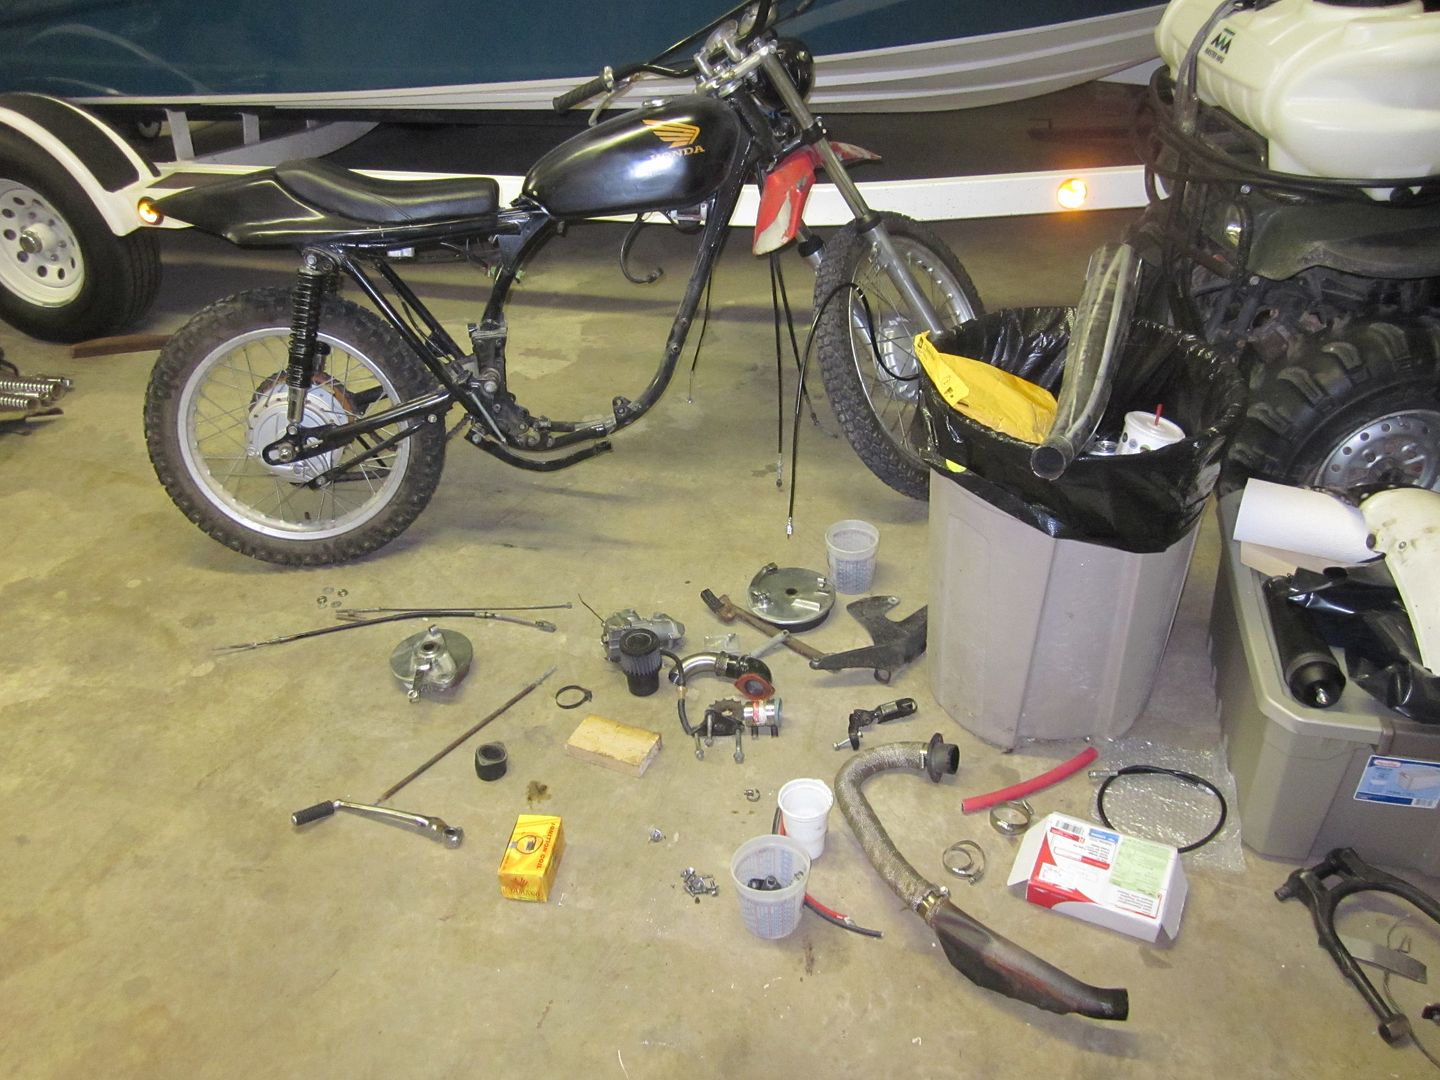
As of this weekend my bike will pretty much be ready for the 2013 Scramble. Since last year's last minute oil seal snafu on my CB360, I assessed the situation thoroughly and decided to give the bike another chance at glory. I have replaced a few seals, added a presentable seat pad, changed out the pods for foam filters, swapped out the worn out shocks for some new ones, and simplified the electrical a bit more. Sounds like a bit much, but since I have been rewarded for my efforts in fiberglass seat design because of this bike I had a little more room in my budget. I don't expect to be breaking any land speed records with this little 360, but it should be plenty potent enough to break the speed limit a few times a long the way. I'm looking forward to ripping through the Ozarks once again.
Andy

11/26/12
cb360 build : part 1
11/9/12
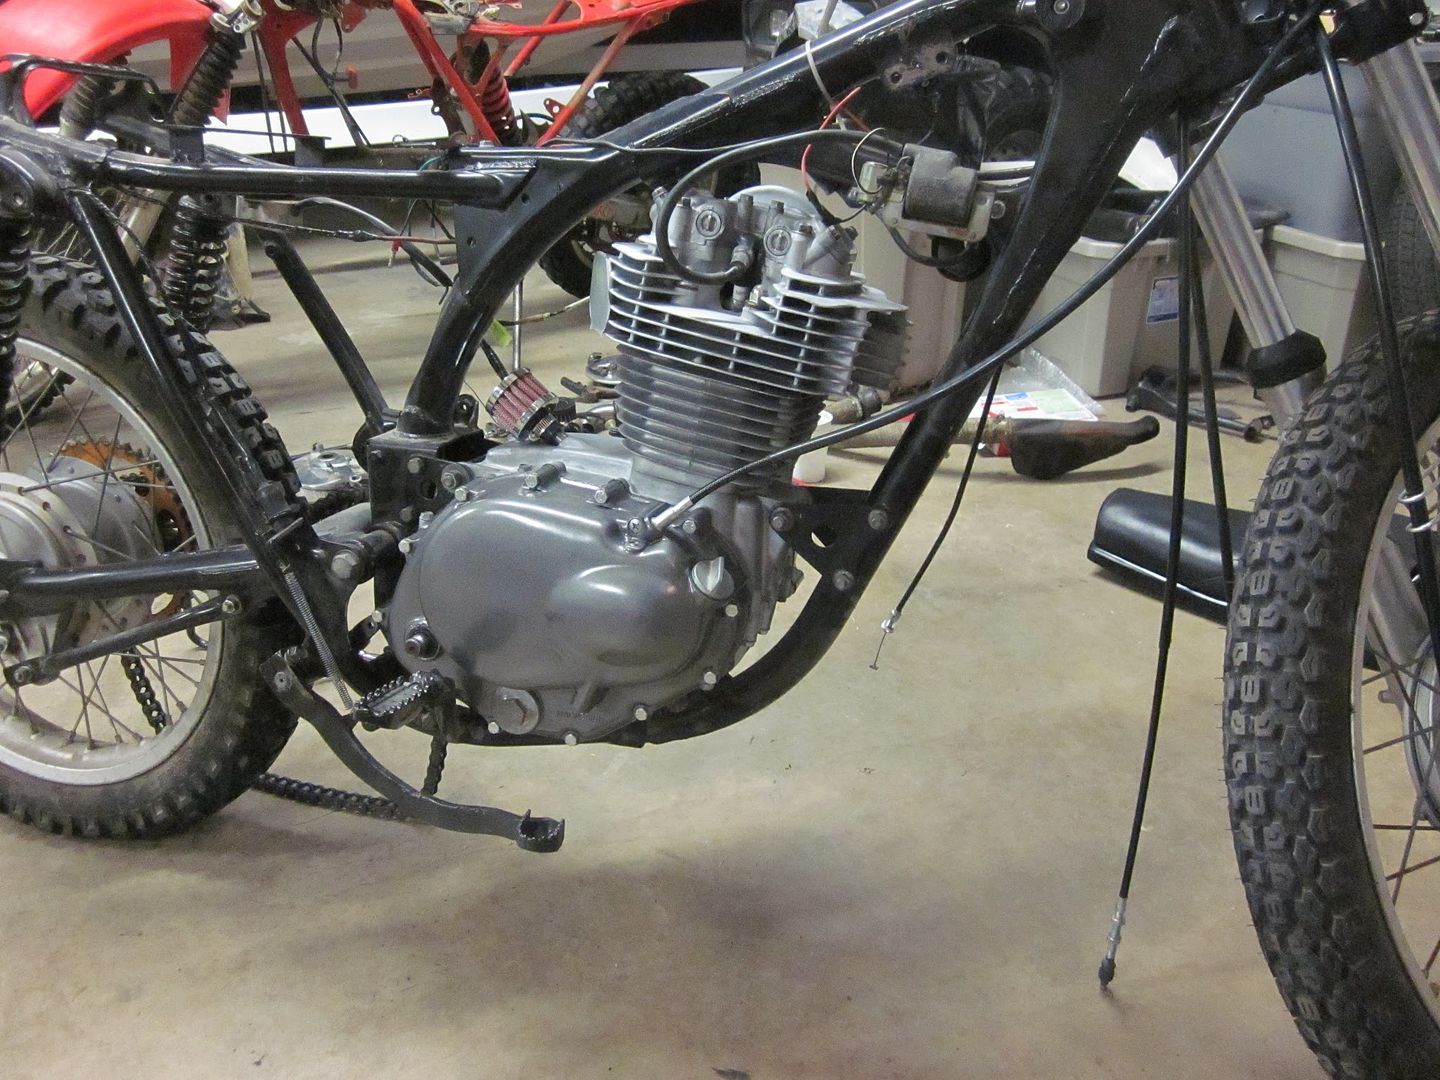
tt500 build : part 5
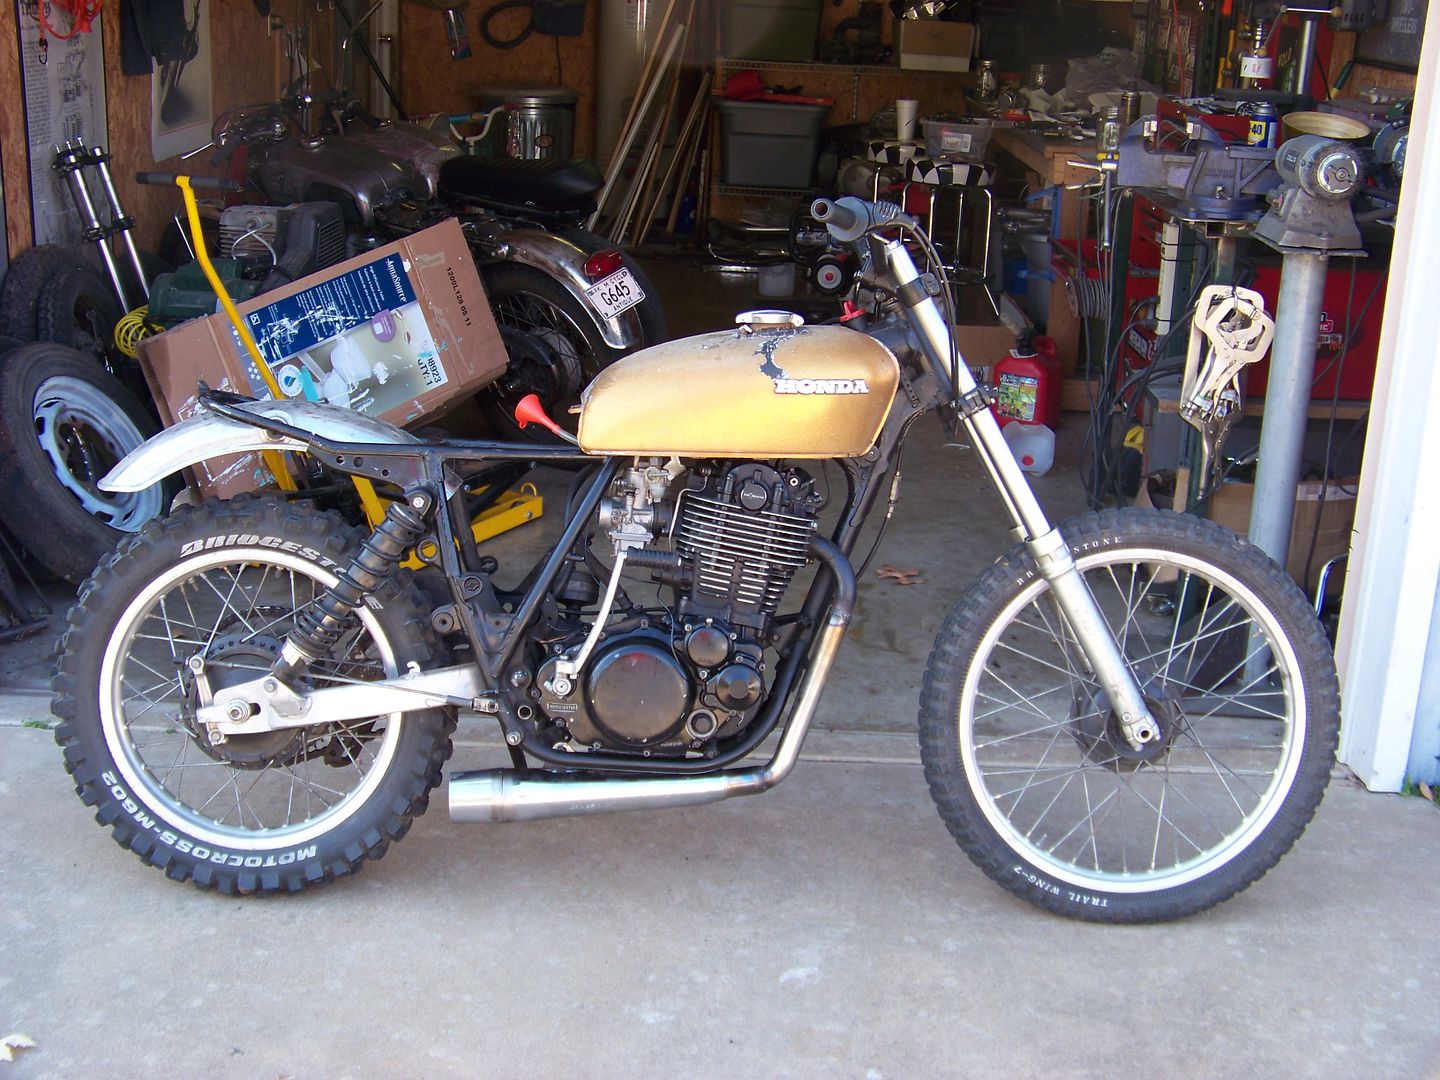
I found a good deal on some new forks with a matching set of trees for a 77 model to replace the leading link ones. Unfortunately I have to figure out what to do with my brake plate now. Apparently the earlier model brake plates were spaced differently, so I need to remove some meat to get it all to fit right.
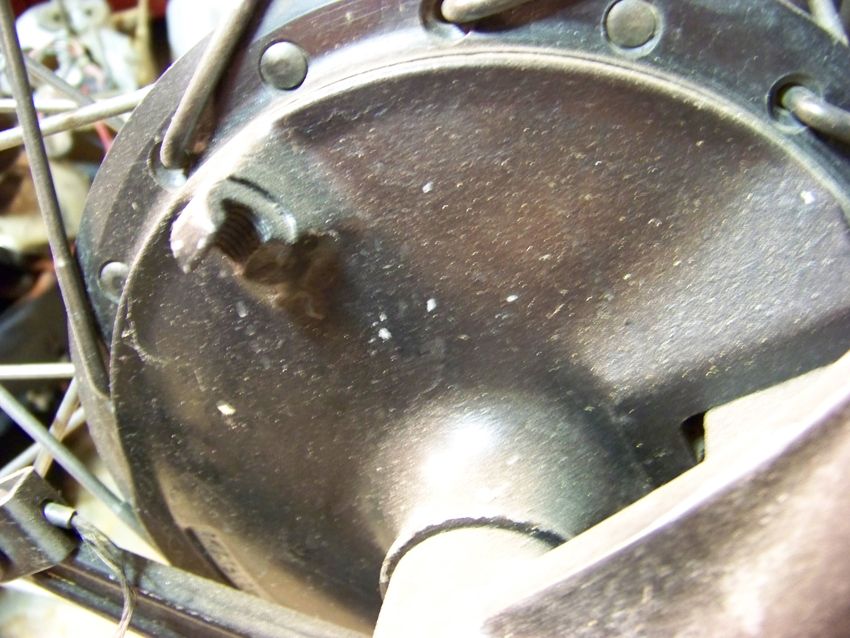
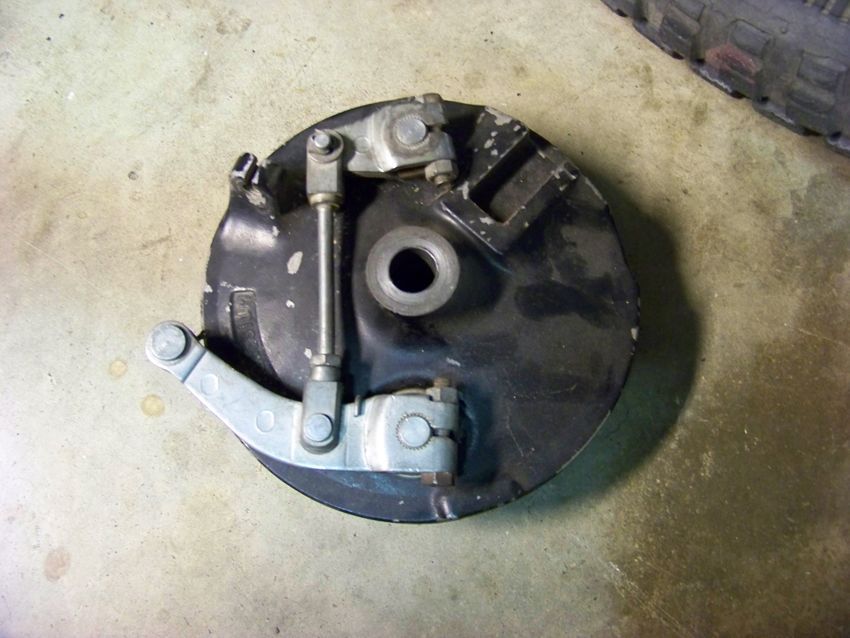
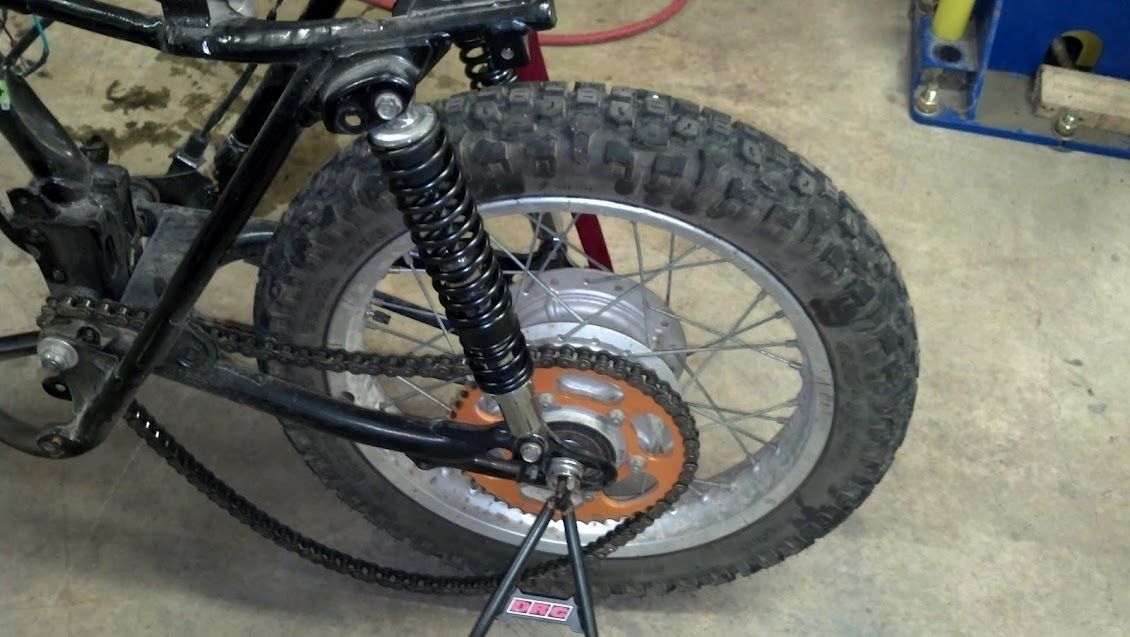
Speaking of brake plates, I found that a yz something or other shares the same size brake plate with the exception that the yz is a twin leading shoe and the tt is a single. What's cool about that is I've had this wheel leftover from my old xs650 project, so it's a freebie and extra braking power. The tt plate cable boss is broken anyways, so it works out rather well.
Broken stock plate.
Tls yz plate.
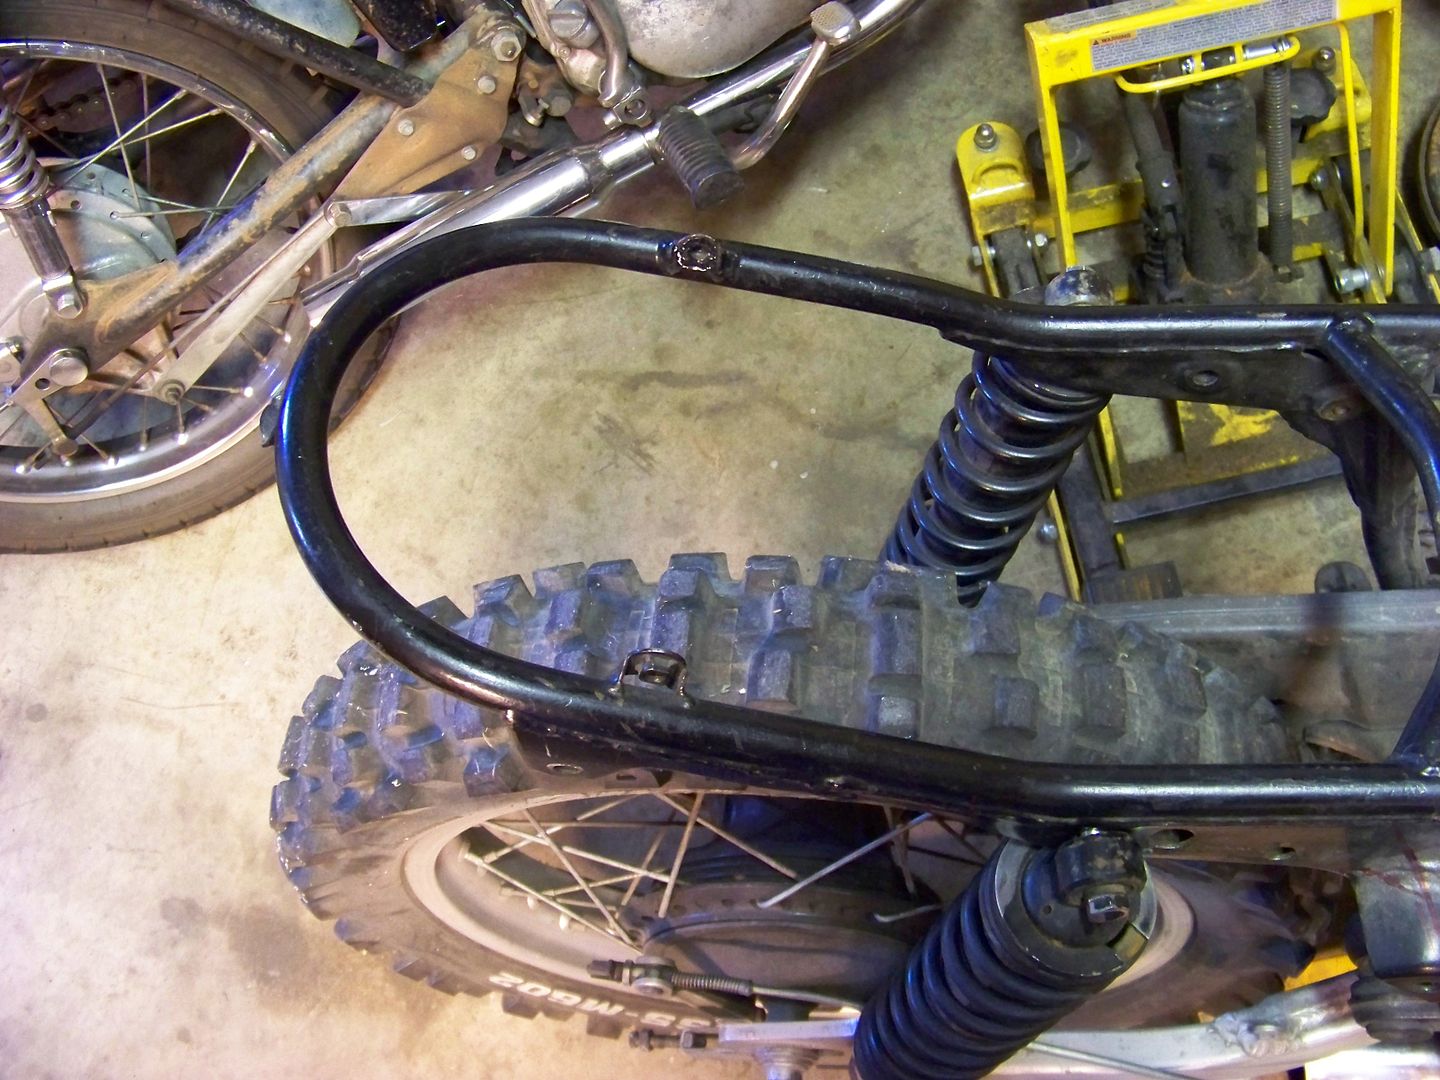
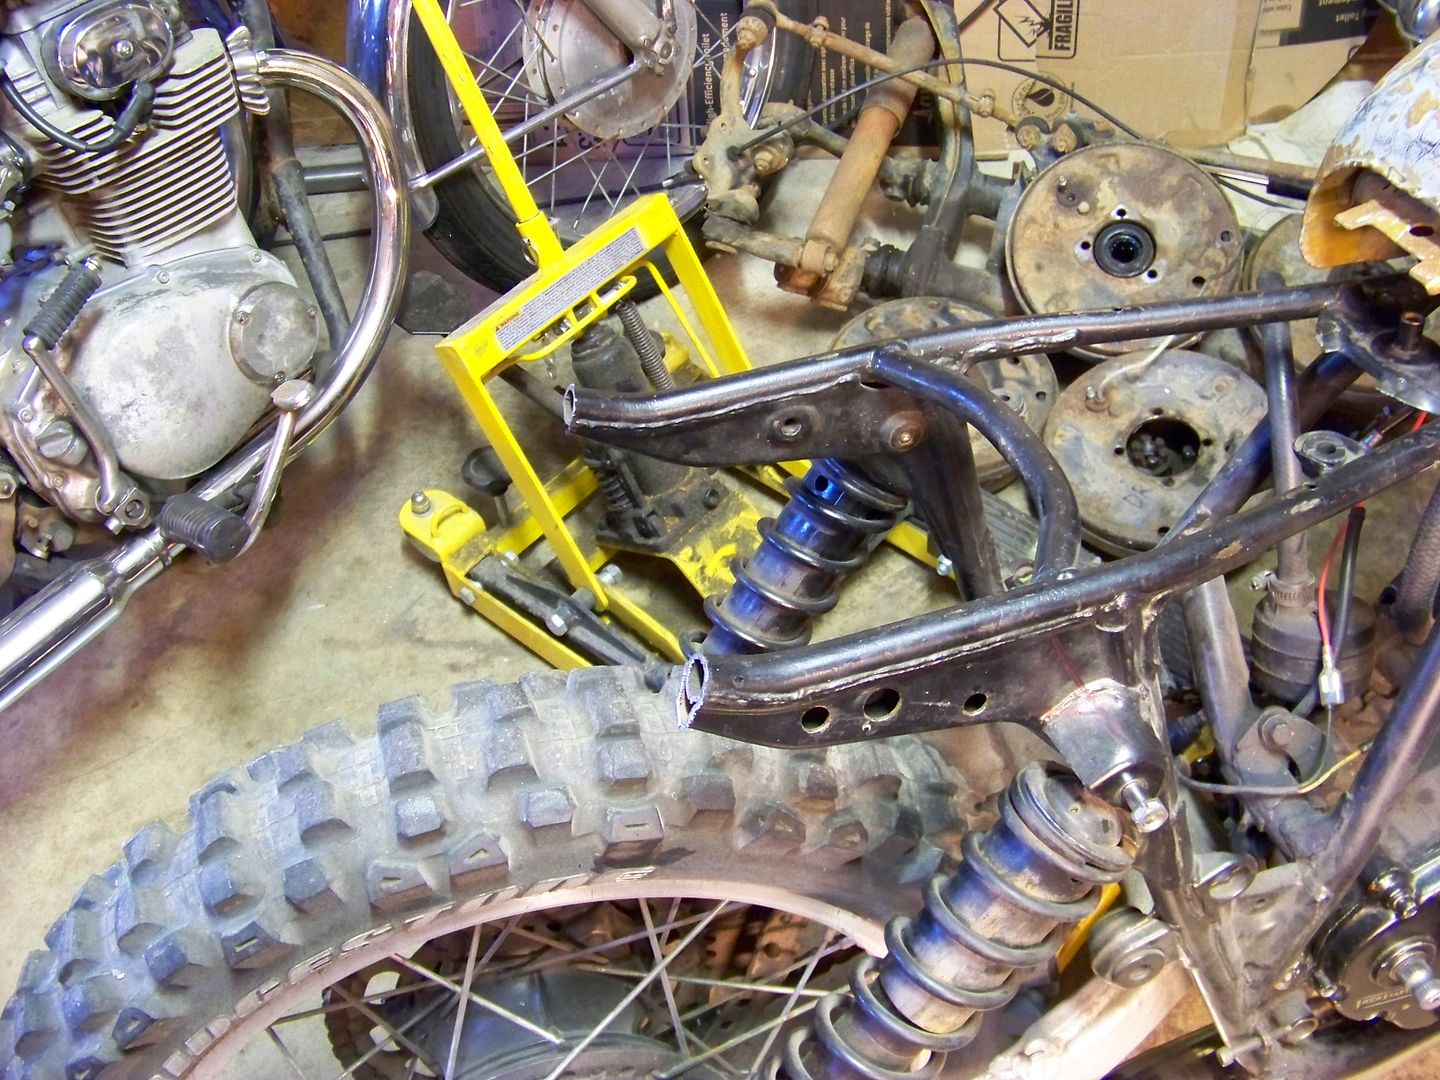
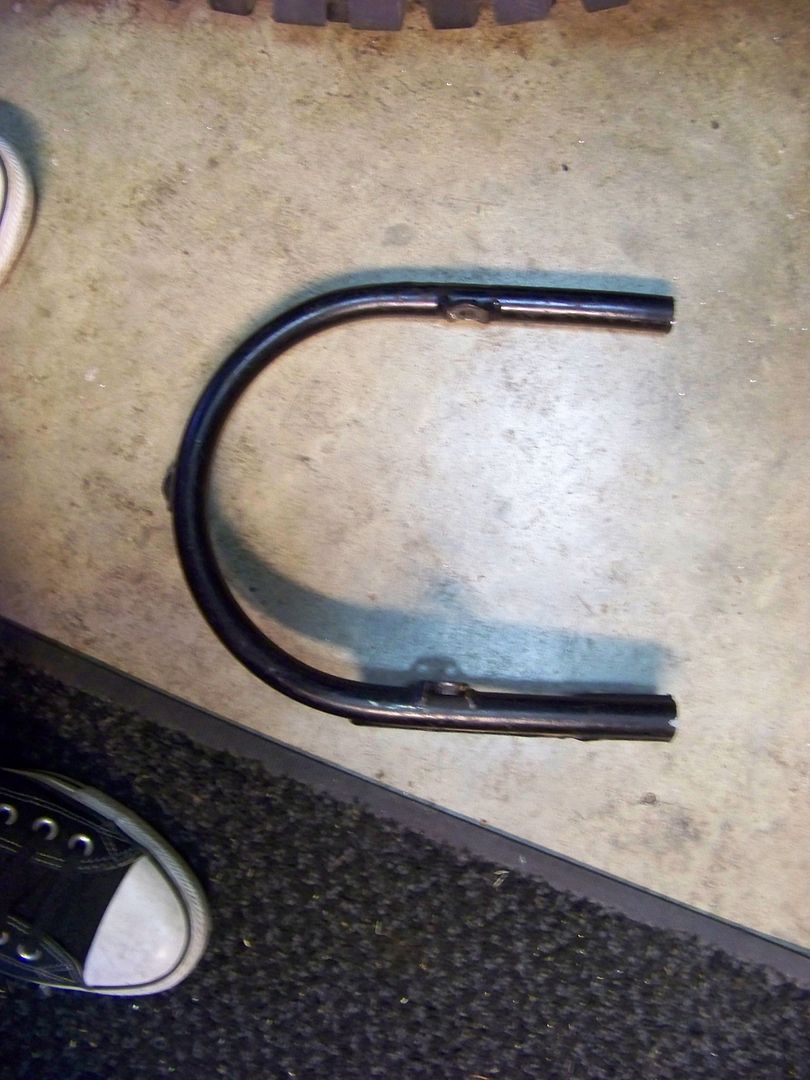
Started hacking into the frame a bit.
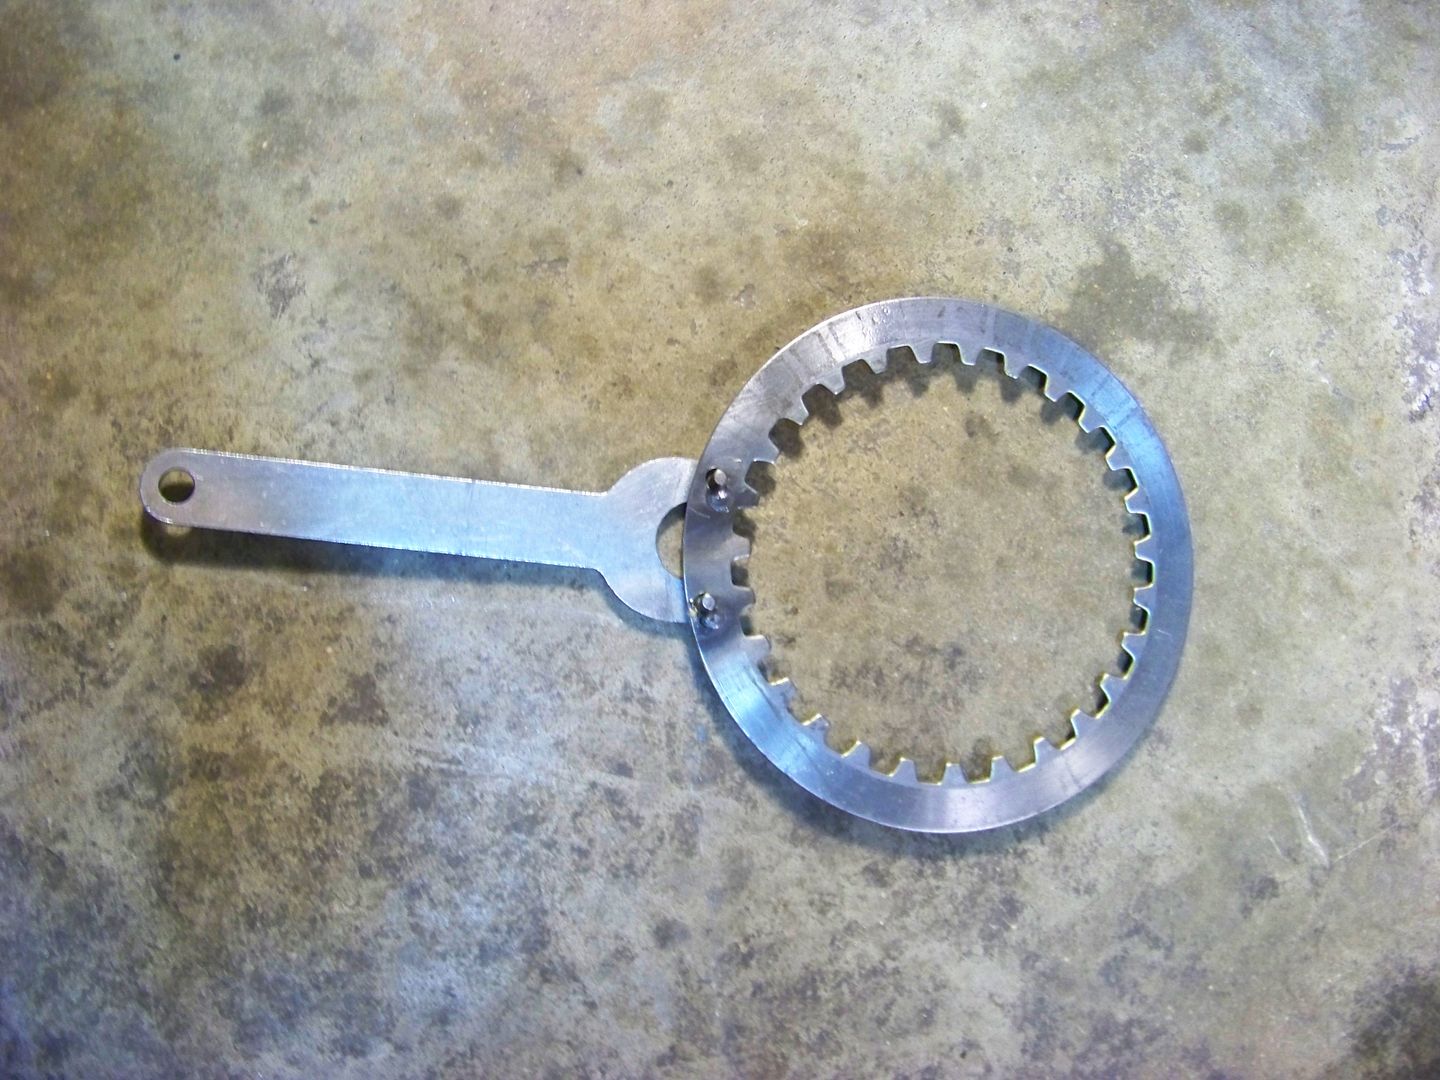
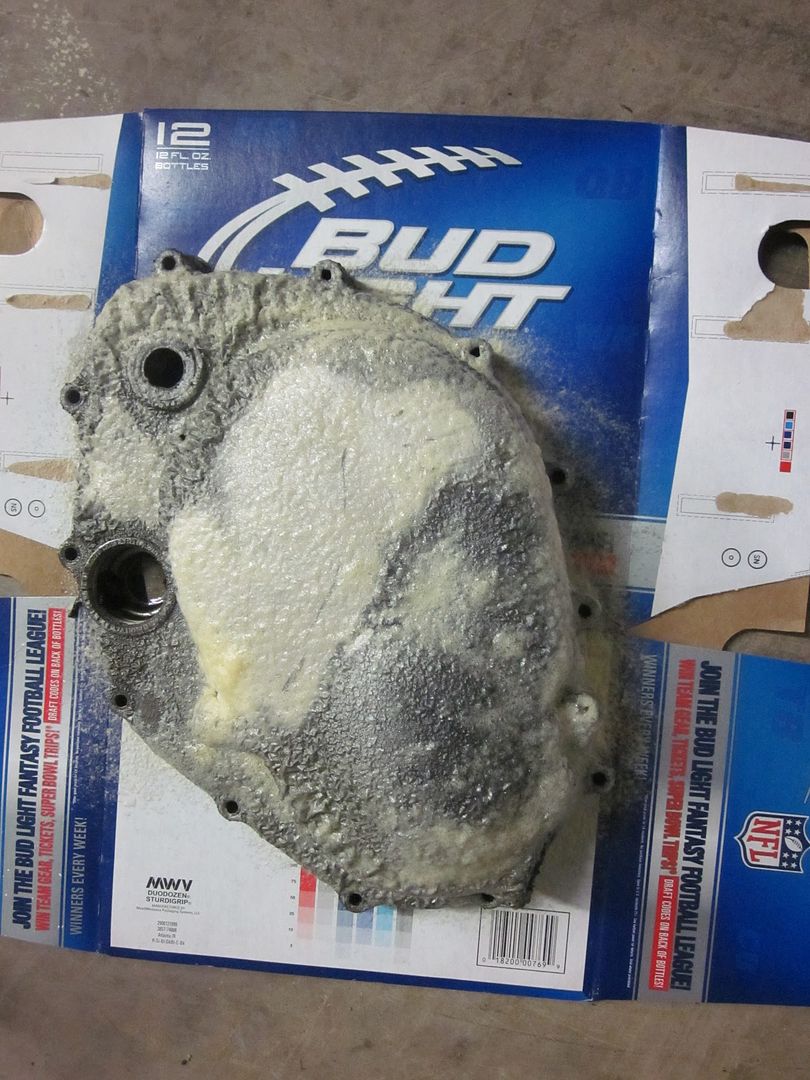
I needed a clutch tool, so I took a grinder disc tool, drilled a couple holes in a roached clutch plate, and tack welded it in place. Worked great.
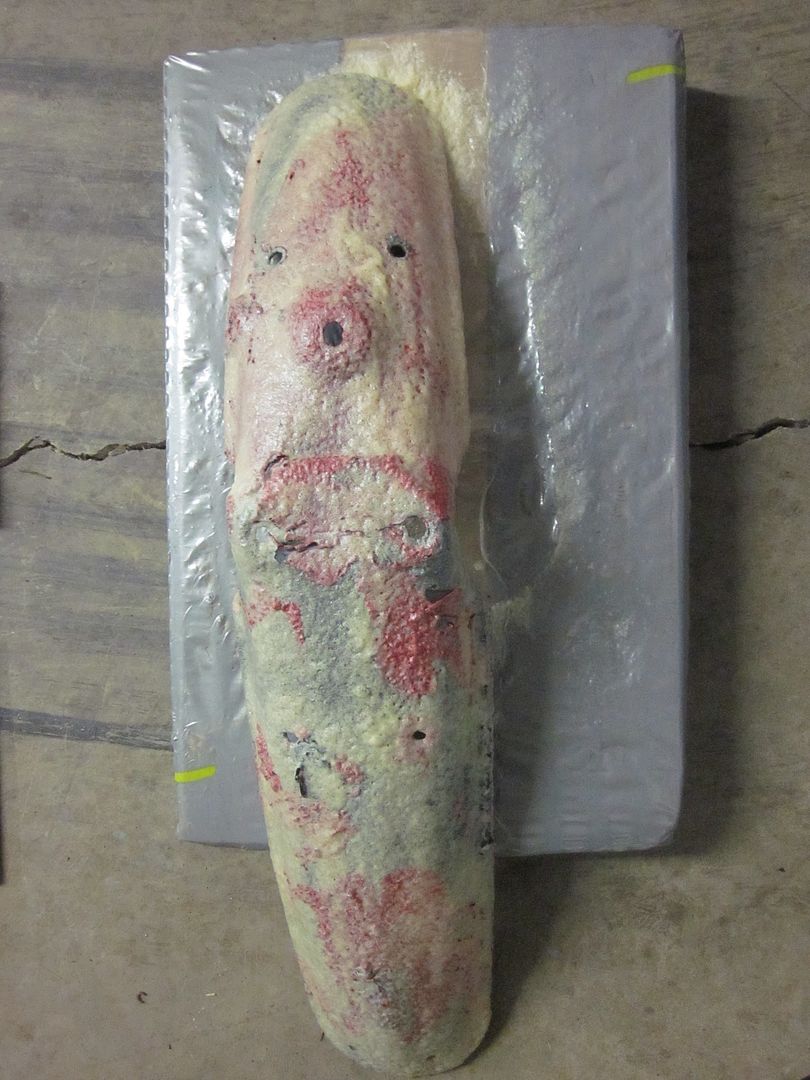
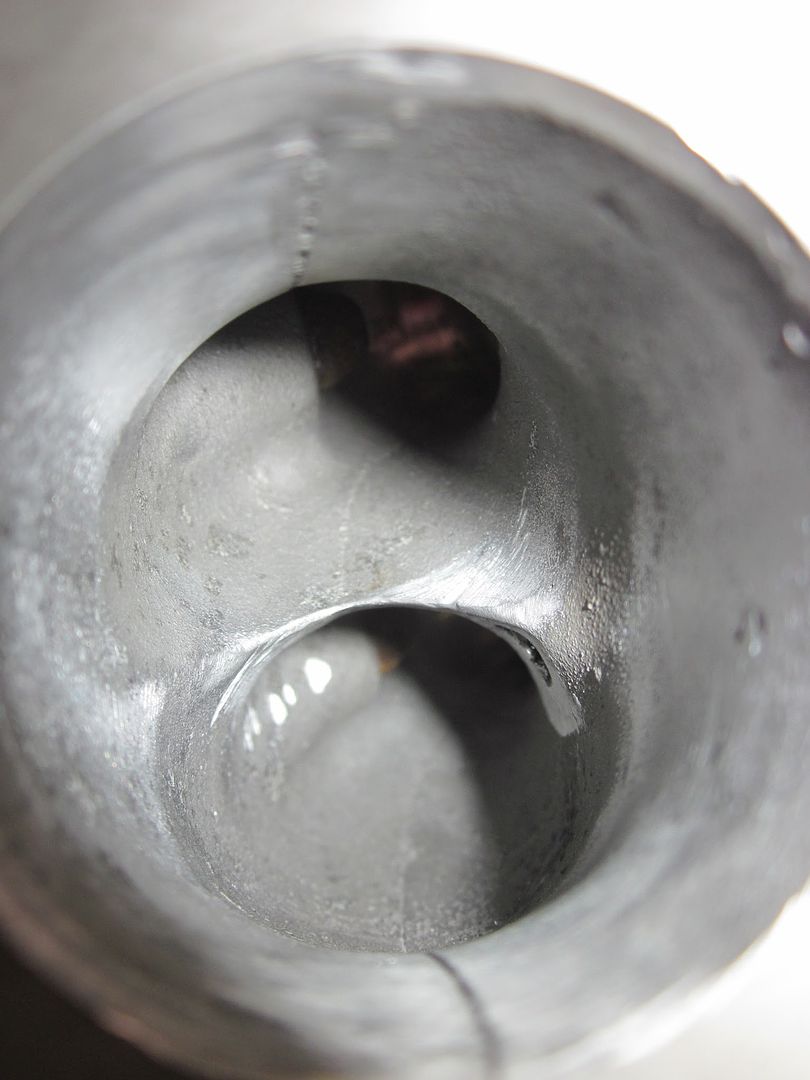
Before putting everything back together I realized I never cleaned the screen of the downtube filter. Glad I did, because it was nasty.
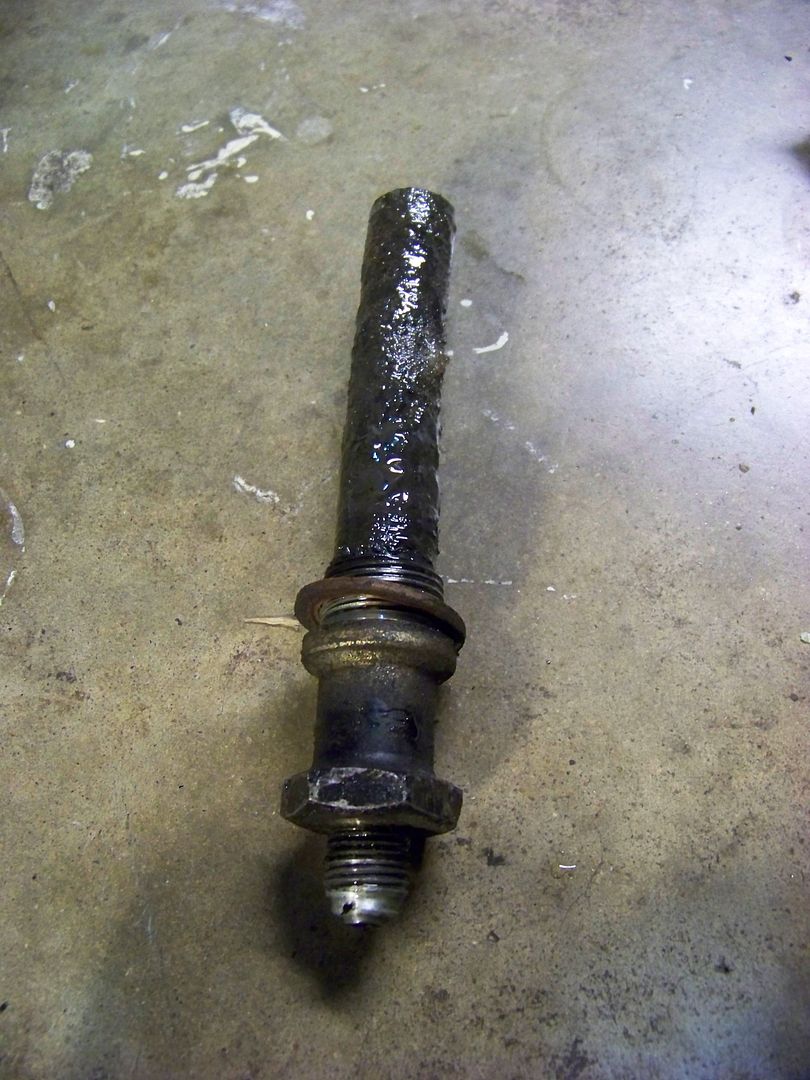
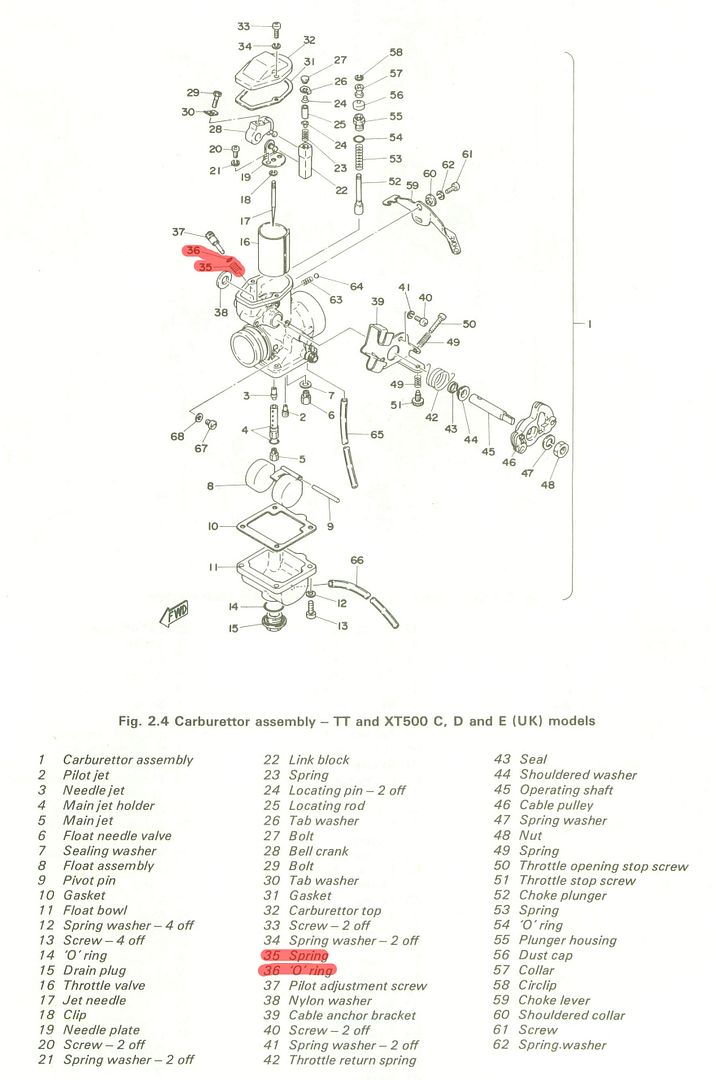
Fresh oil. Key on. Fuel on. I got a ball of flame twice, but that's it. I kicked and kicked and kicked and kicked. Nothing. Spark is nice and fat. Static timing is spot on, so I decide to dig into the carb and see if there is anything that looks wrong. The float looked like it was in a car accident, cause it was bent in every direction possible, and neither side were remotely where they should have been. With everything apart I decided to clean all the jets, body, etc. When putting it all back together, I noticed the pilot screw was missing a spring and o-ring. I think I can find something in my parts stash that should work, but not sure yet. The parts are now considered obsolete, so that's pretty awesome. If anyone has those parts laying around, let me know. Good news of the night was the oil made it to the bleeder!
After a few more hours scratching my head last night re-checking everything over and over and over with the same result, it was obvious something in my timing wasn't right. So far I had only got a couple balls of flames, and that was a rare occurrence at that. You know what they say, 99% of all carb problems are electrical. A quick google search of "tt500 backfire" and 5 minutes of reading later I found out the issue. When I put the points cam gear in place, I didn't line up the dots on the proper stroke. The manual doesn't mention the importance of this, or even make mention other than just that the dots need to be lined up. I don't recall which stroke it should be on at the moment, but you obviously have a 50/50 chance and I drew the crap straw. Since the advancer can't be installed 180 or the points plate be rotated 180 and still be able to put the cover back on I pulled the clutch cover and did the rotation to the points gear.
It took less than 10 minutes, then the moment of truth. On the second kick it roared to life! Went to fire it back up this morning, and once again on the second kick it fired right up. I've got some carb tuning to do, but glad this thing is finally running. I'm ready to rip down the streets and see how everything I fixed holds up. Here's a quick video I shot this afternoon.
It's definitely not running great right now, but I can get it to start first kick now, so that seems like a huge win already. Looks like it's getting way too much fuel, I didn't get much time to tinker.
Derrick
10/23/12
cl350 build : part 14
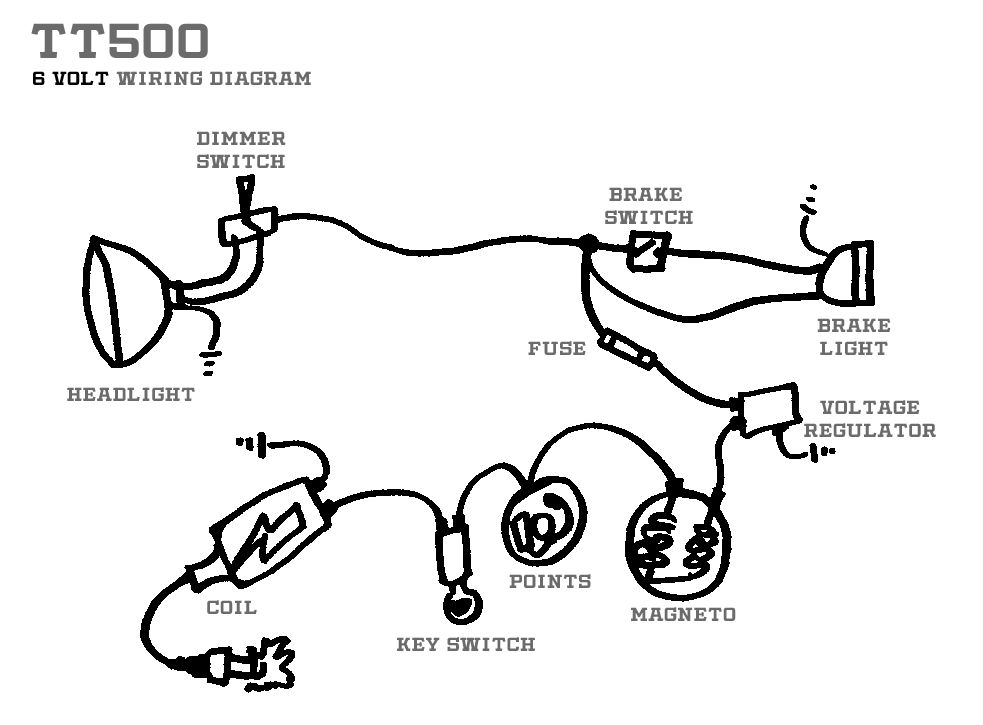
Time for a quick update on the cl350. I've been riding it off and on this summer, and not completely satisfied with the charging system. I had been planning to upgrade the regulator and rectifier to a Kohler combo unit I've been reading about on hondatwins.net. Since I've been spending most of my "bike" time recently with the tt500, some electrical information popped up that should come in handy for both bikes. Apparently a common upgrade for the xt/tt500, is to hook up a cheap 12v scooter 4 pin ebay regulator rectifier combo unit to replace the stock 6v system. It appears this should work the same way as the Kohler unit mentioned previously, only I paid $6.99 shipped, and it is intended to be used on a motorcycle, not a lawnmower.
Disclaimer, I am still in the testing phases to see how it all works out, and if it truly is an upgrade or even comparable to stock standards. Please don't go buy one to run and expect amazing results yet. I'll keep posting updates as time passes.
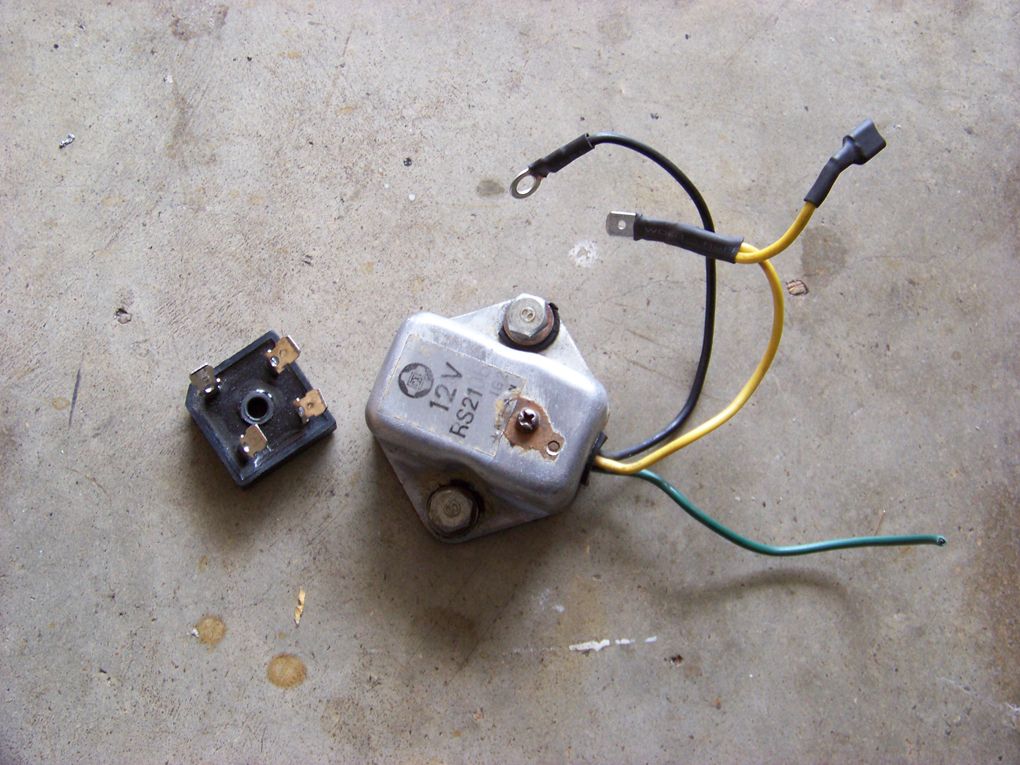
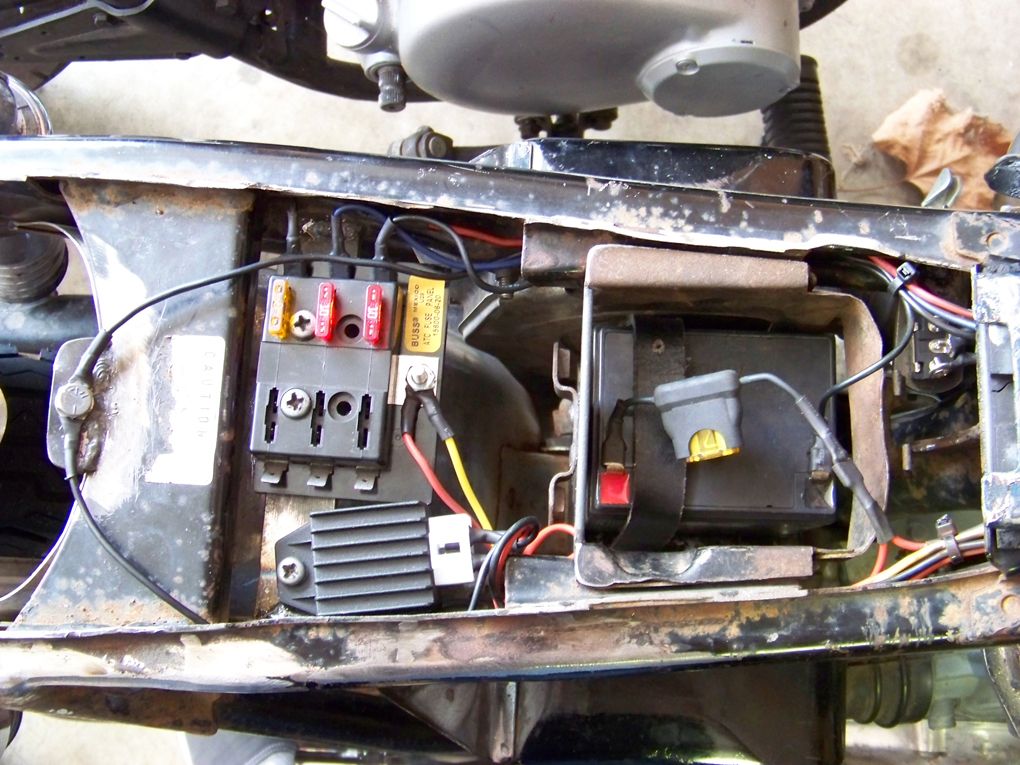
New unit next to the old Radio Shack rectifier and stock regulator.
Old stuff removed.
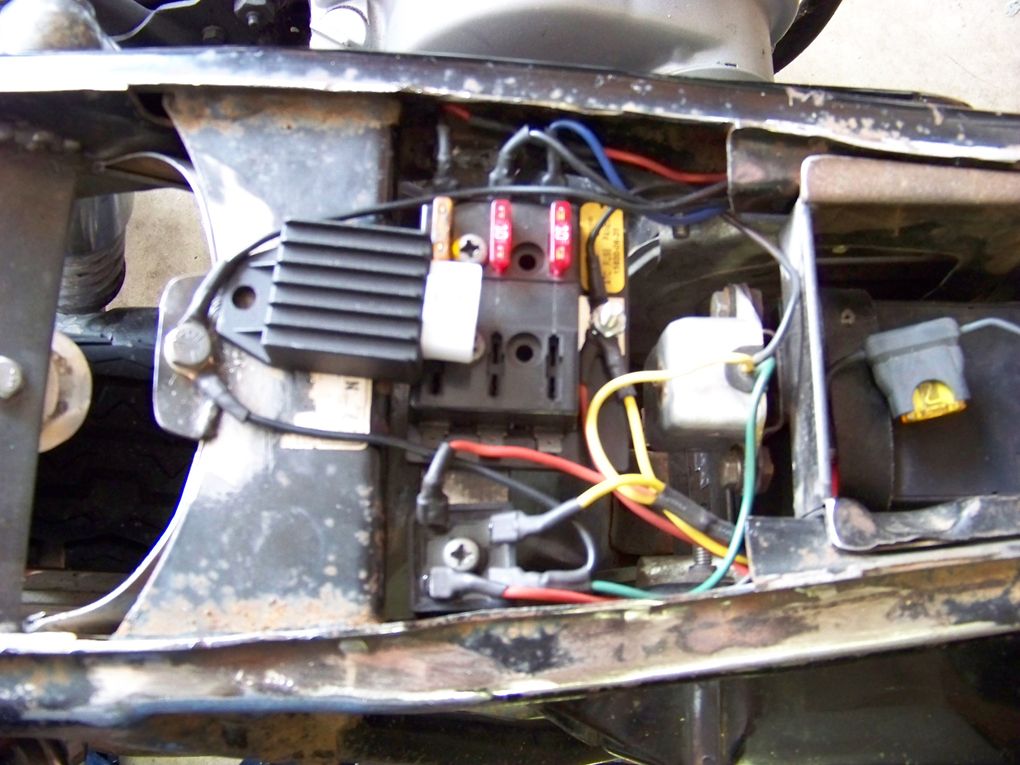
New unit installed.
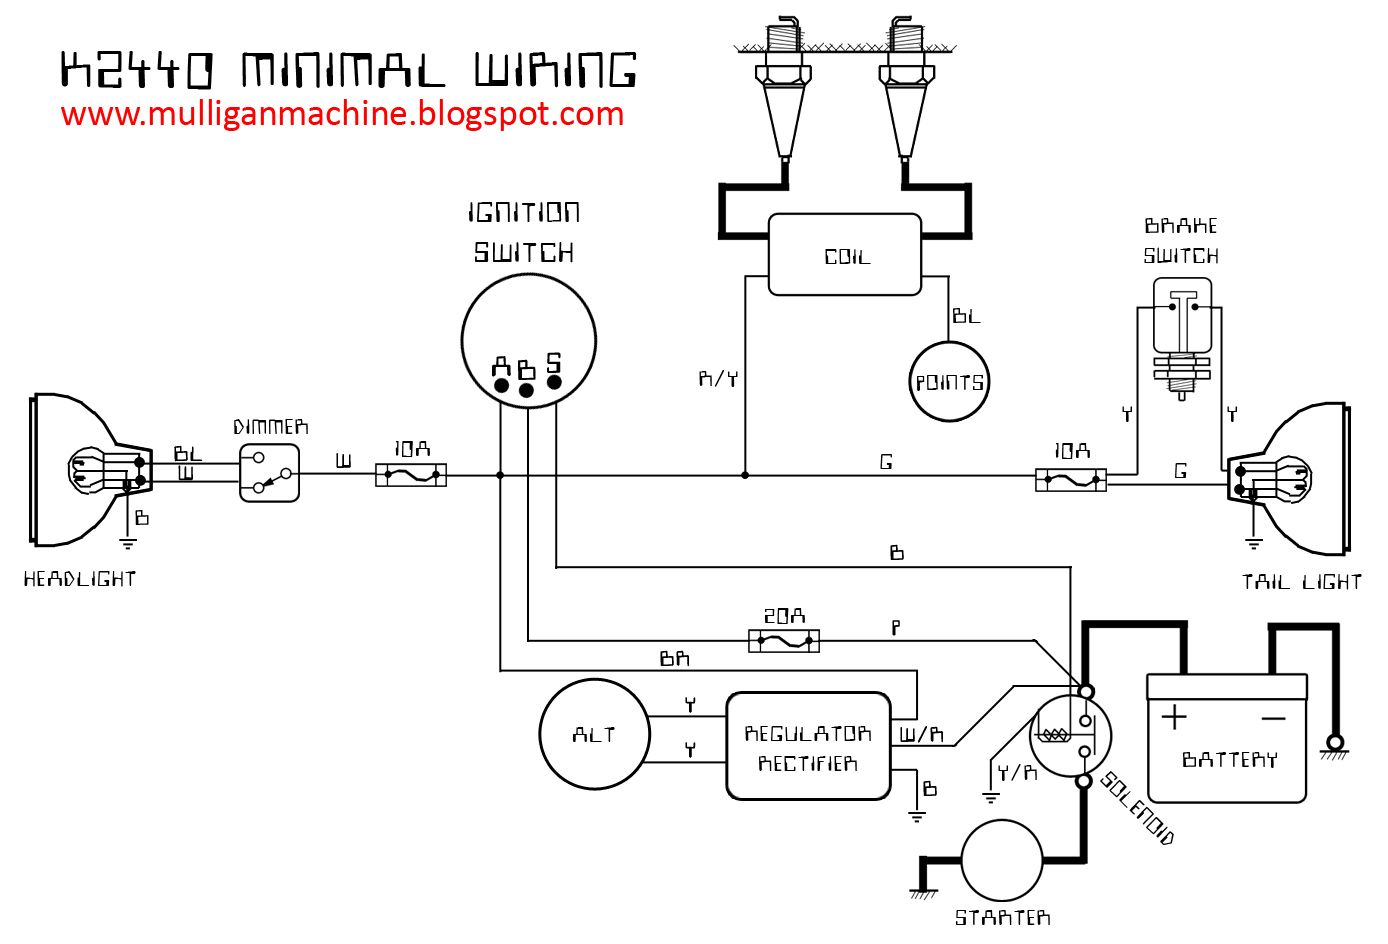
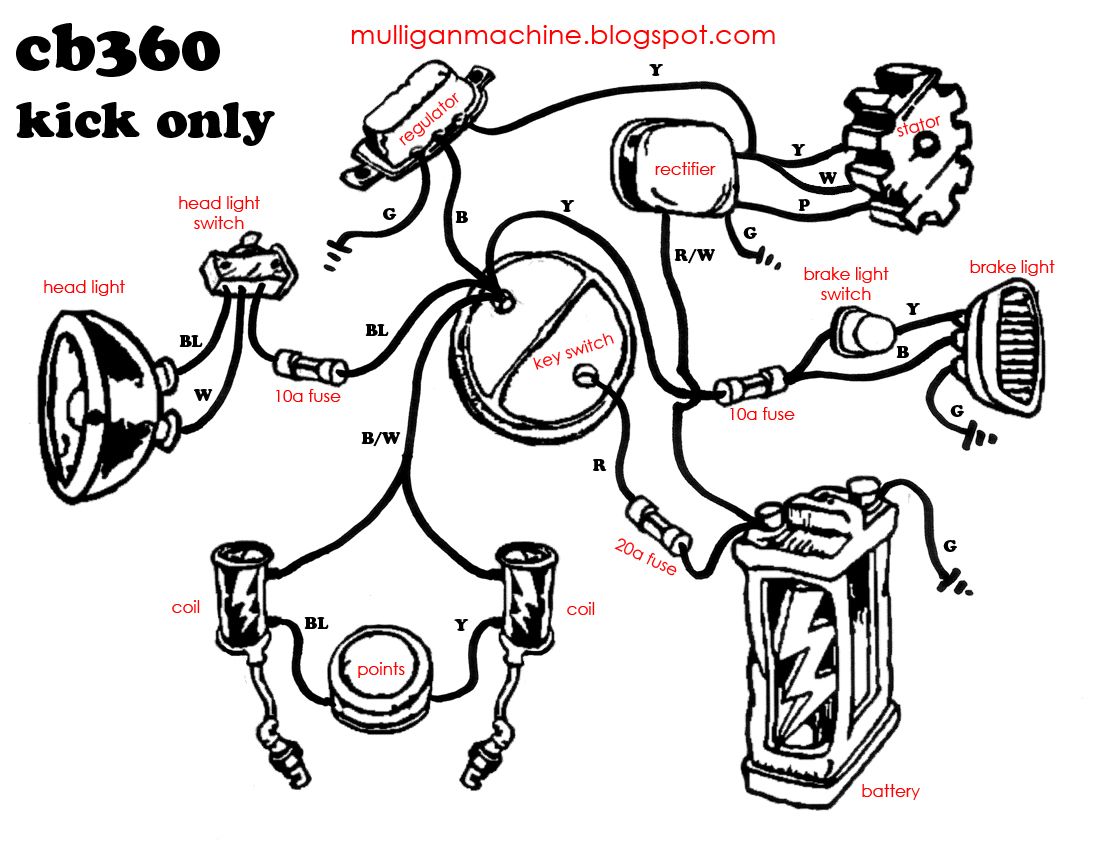
How to wire the unit.
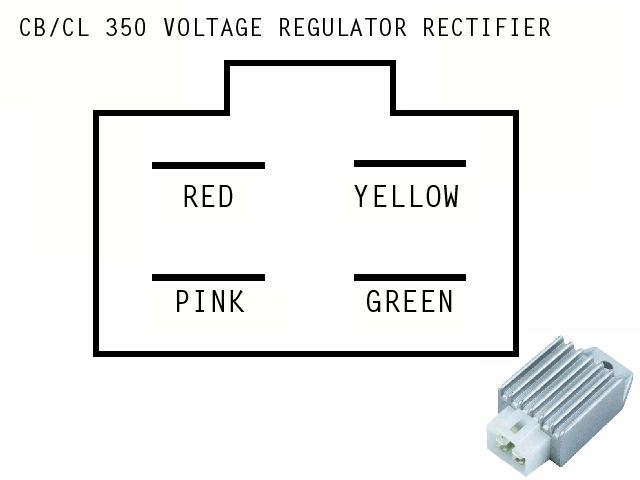
Plug your wires from the stator as follows: positive from battery to Red, Green to ground, Yellow from stator, and Pink from stator. Unplug the regulator connections and remove unit. It's that simple. I only have a few miles on it so far, but it's doing what it's supposed to at the moment.
UPDATE: As of 04/25/2013 the unit is cooked or just not functioning anymore. Originally I wanted to blame it on the stator, however after hooking the old regulator and Radio Shack rectifier back up it was charging great again. Luckily I didn't get completely stranded when it decided to take a shit, but it wasn't exactly convenient either.
10/17/12
tt500 build : part 4
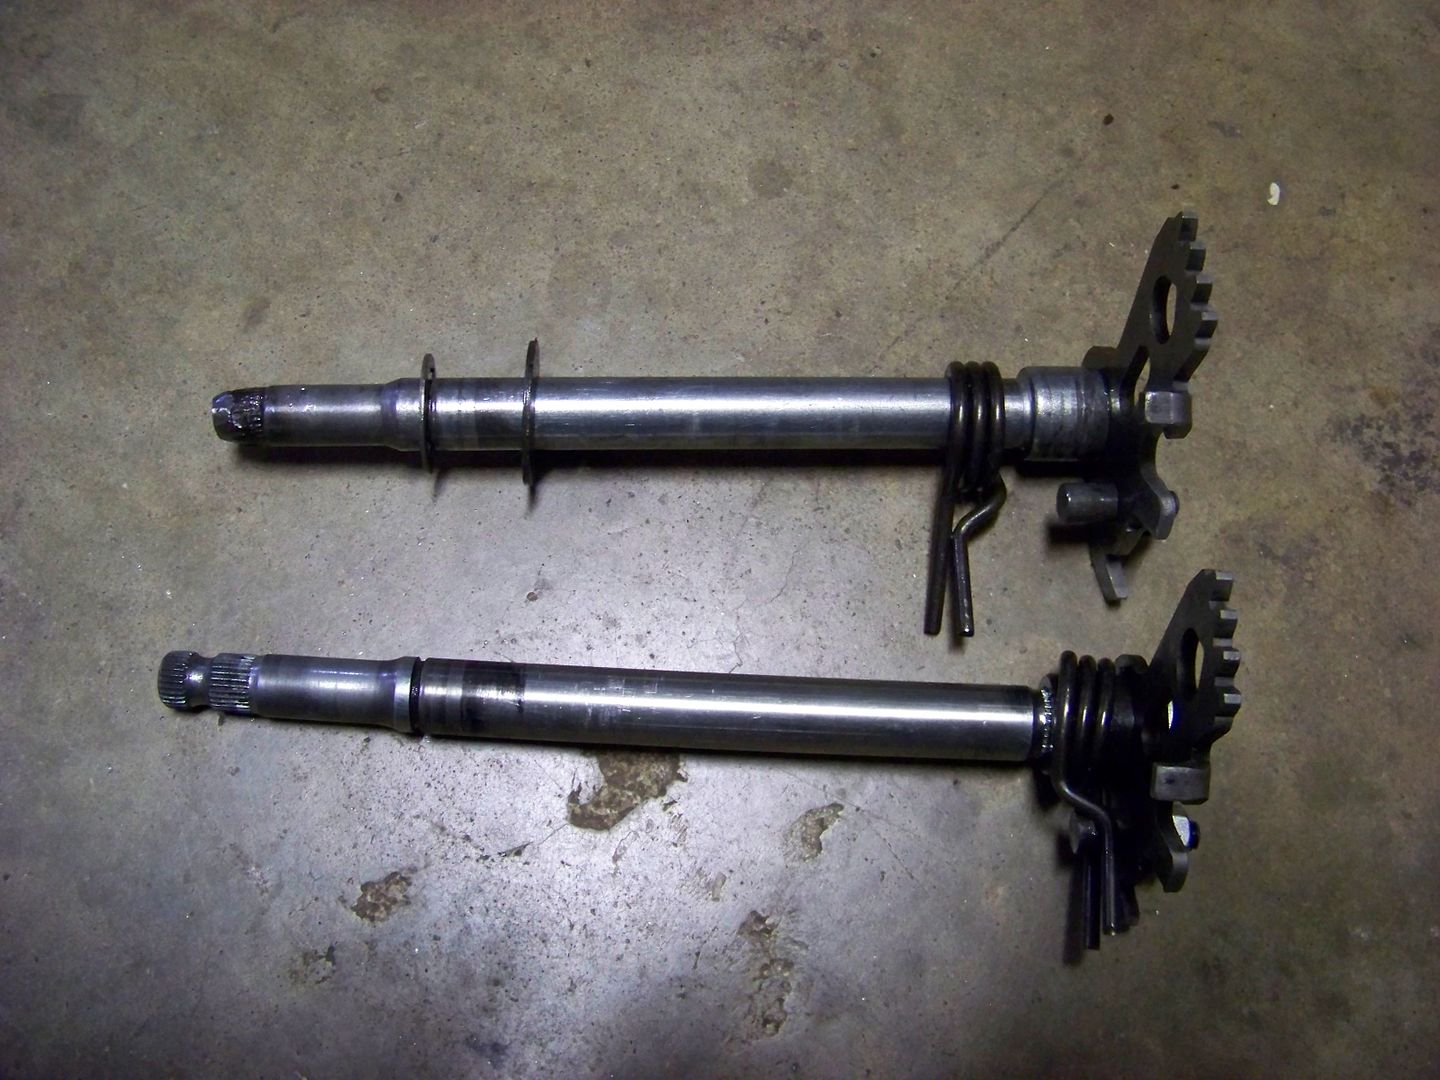
Got the new shift shaft in. Slid in place like butter.
1 step forward, 16 steps back. My steel clutch plates were warped and pitted pretty bad, so I snatched up a used set to make one good set.
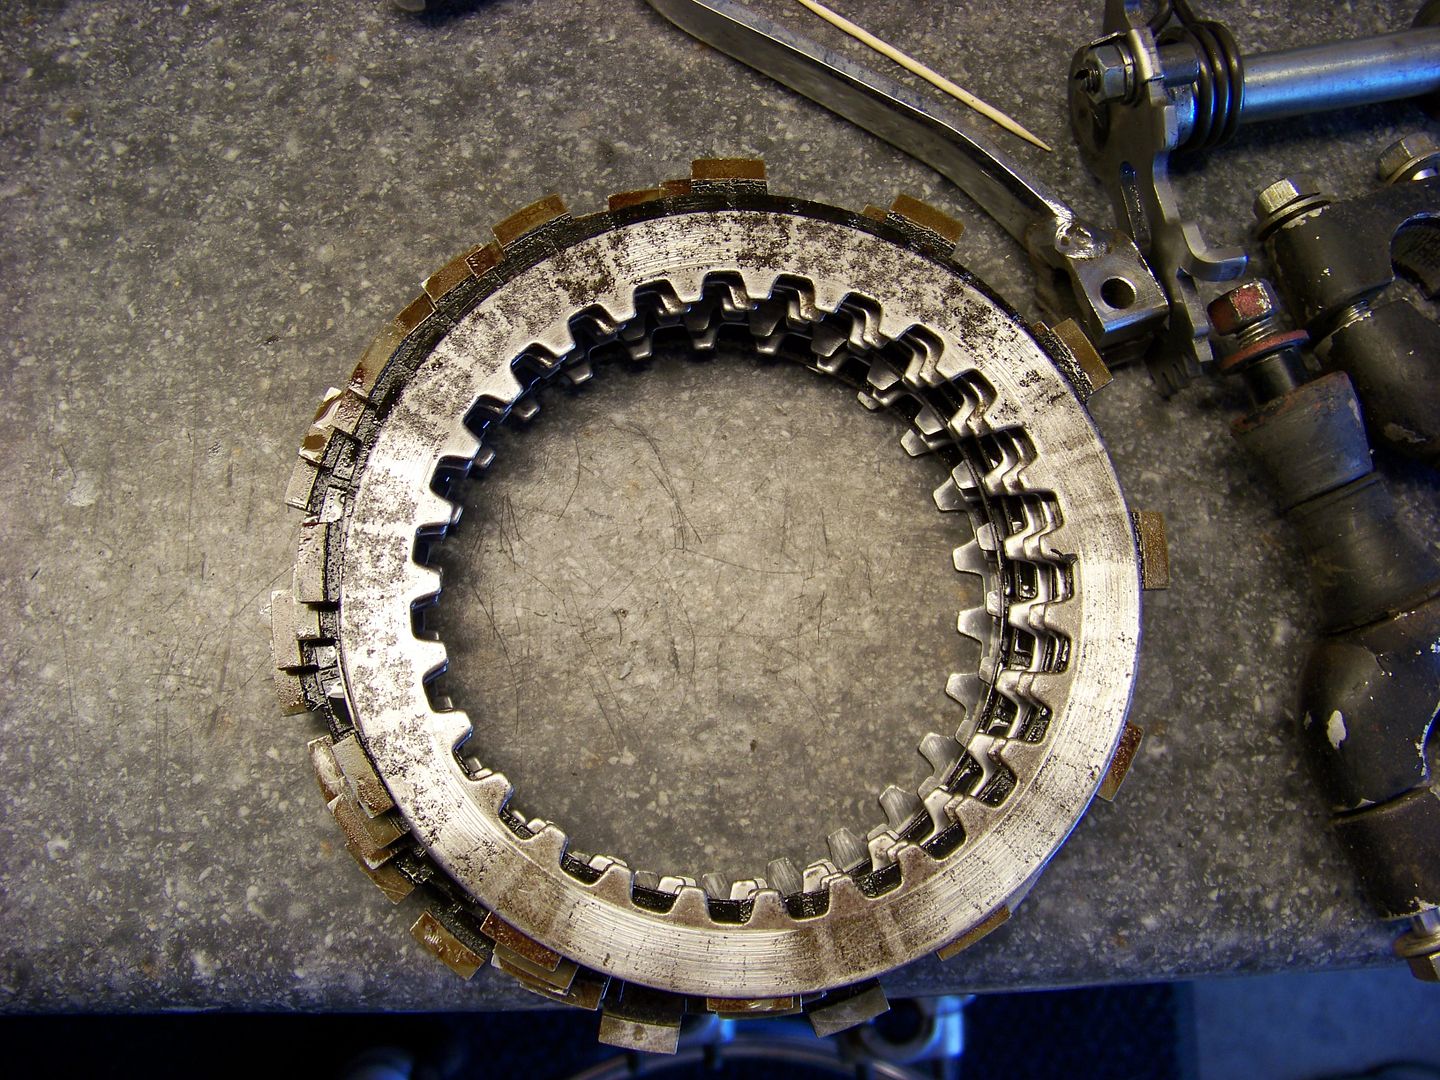
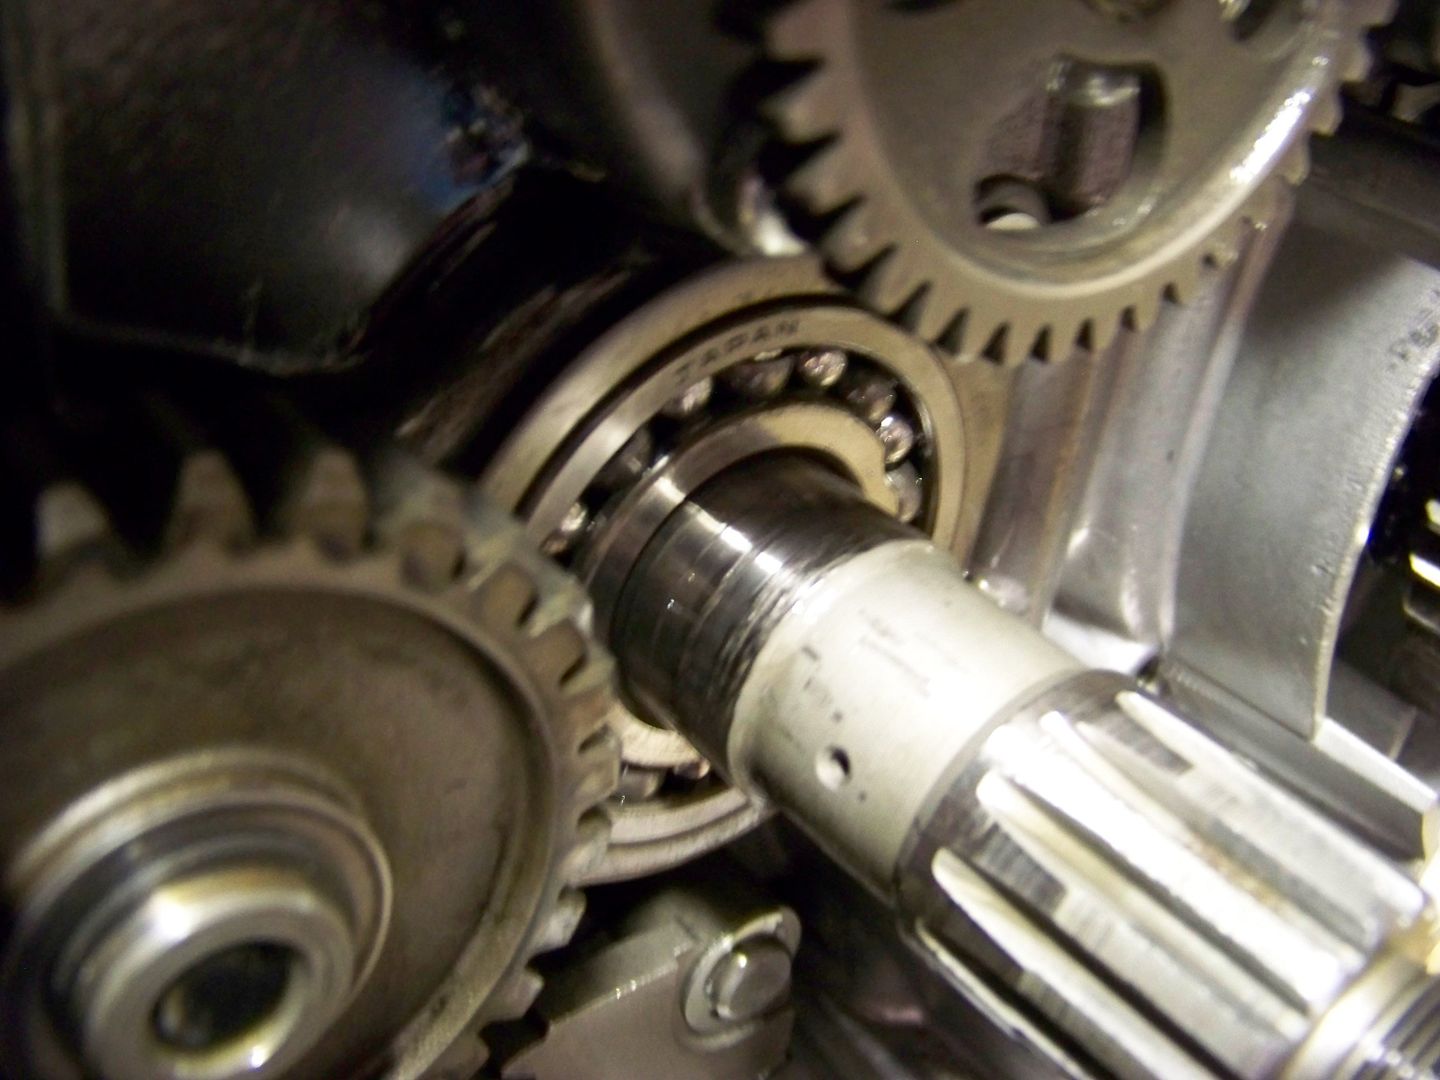
When I went to put them all together, I noticed the count of fiber plates to be 7 instead of 8. Easy fix since I had spares now. When reassembling the clutch, things just weren't fitting together right. I started pulling everything back out and noticed a good crack on this gear as well as a nasty wear mark from the missing tooth on the kicker idle gear.
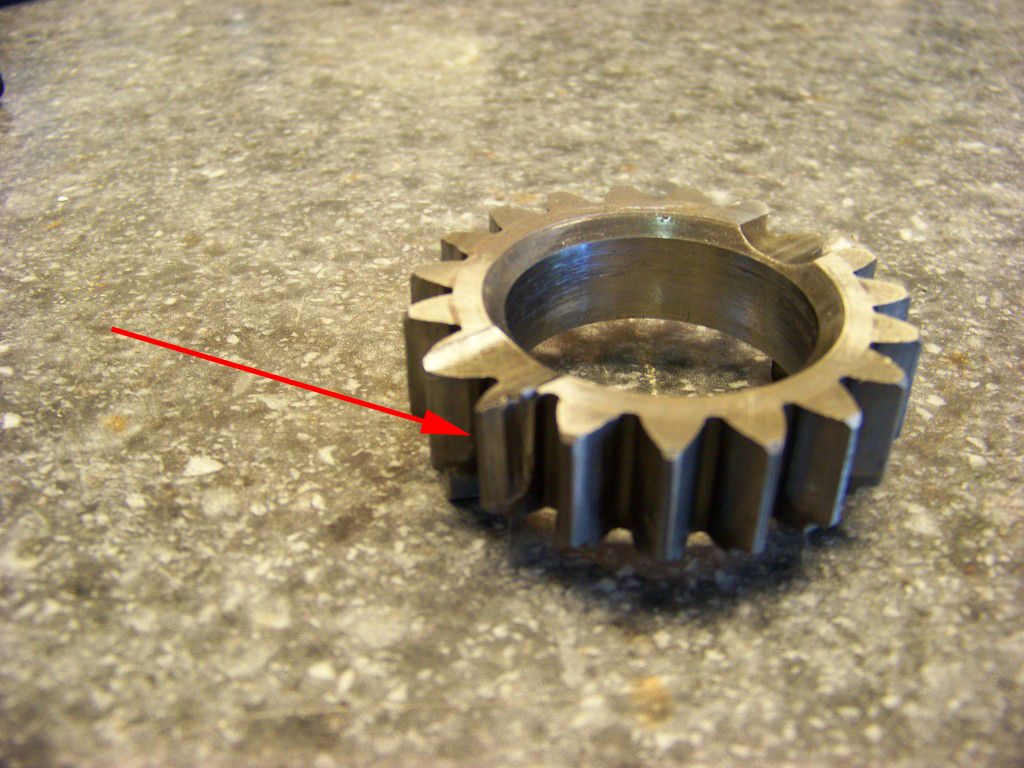
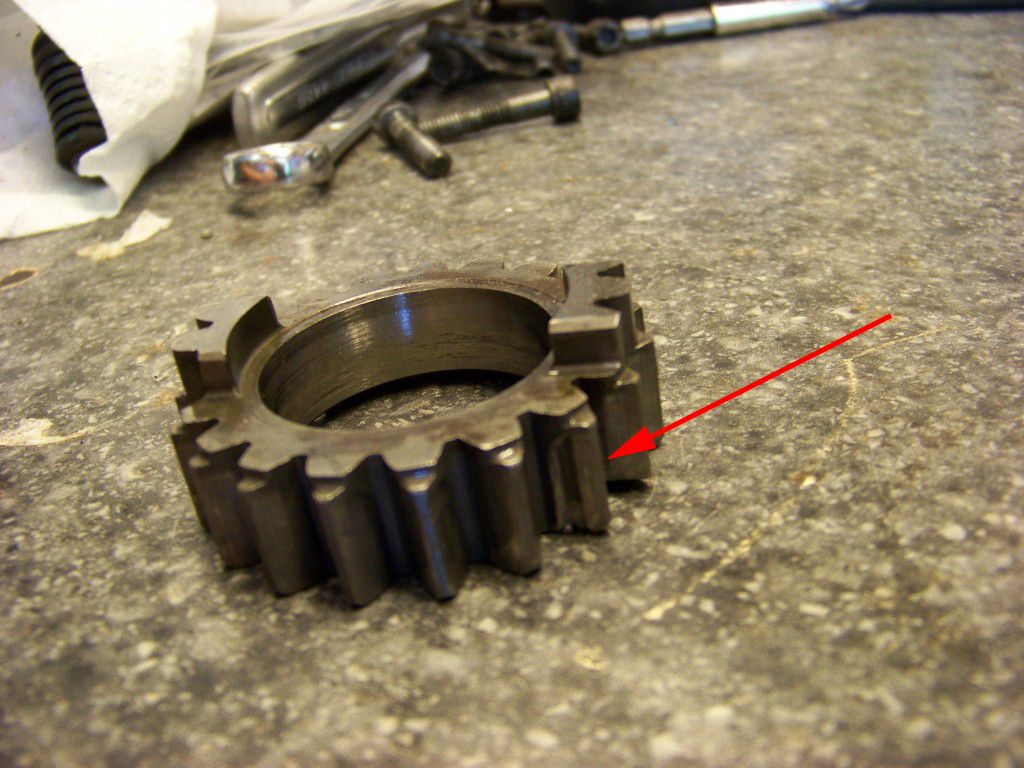
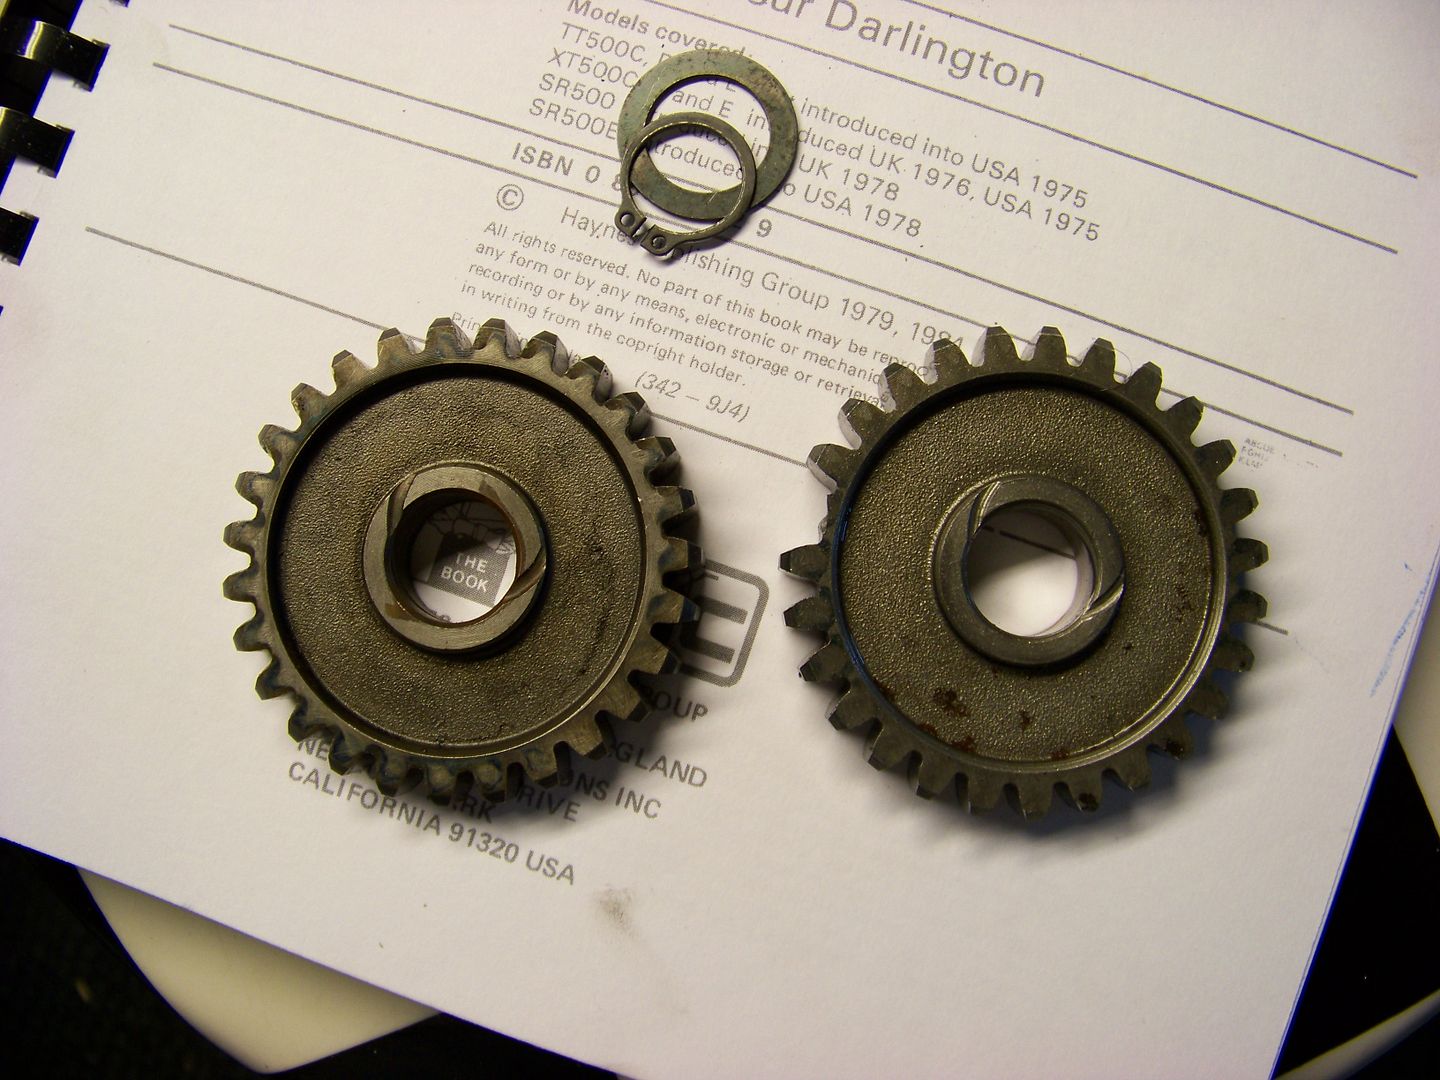
The old kicker idle gear next to the new one. Thanks for nothing stupid gear.
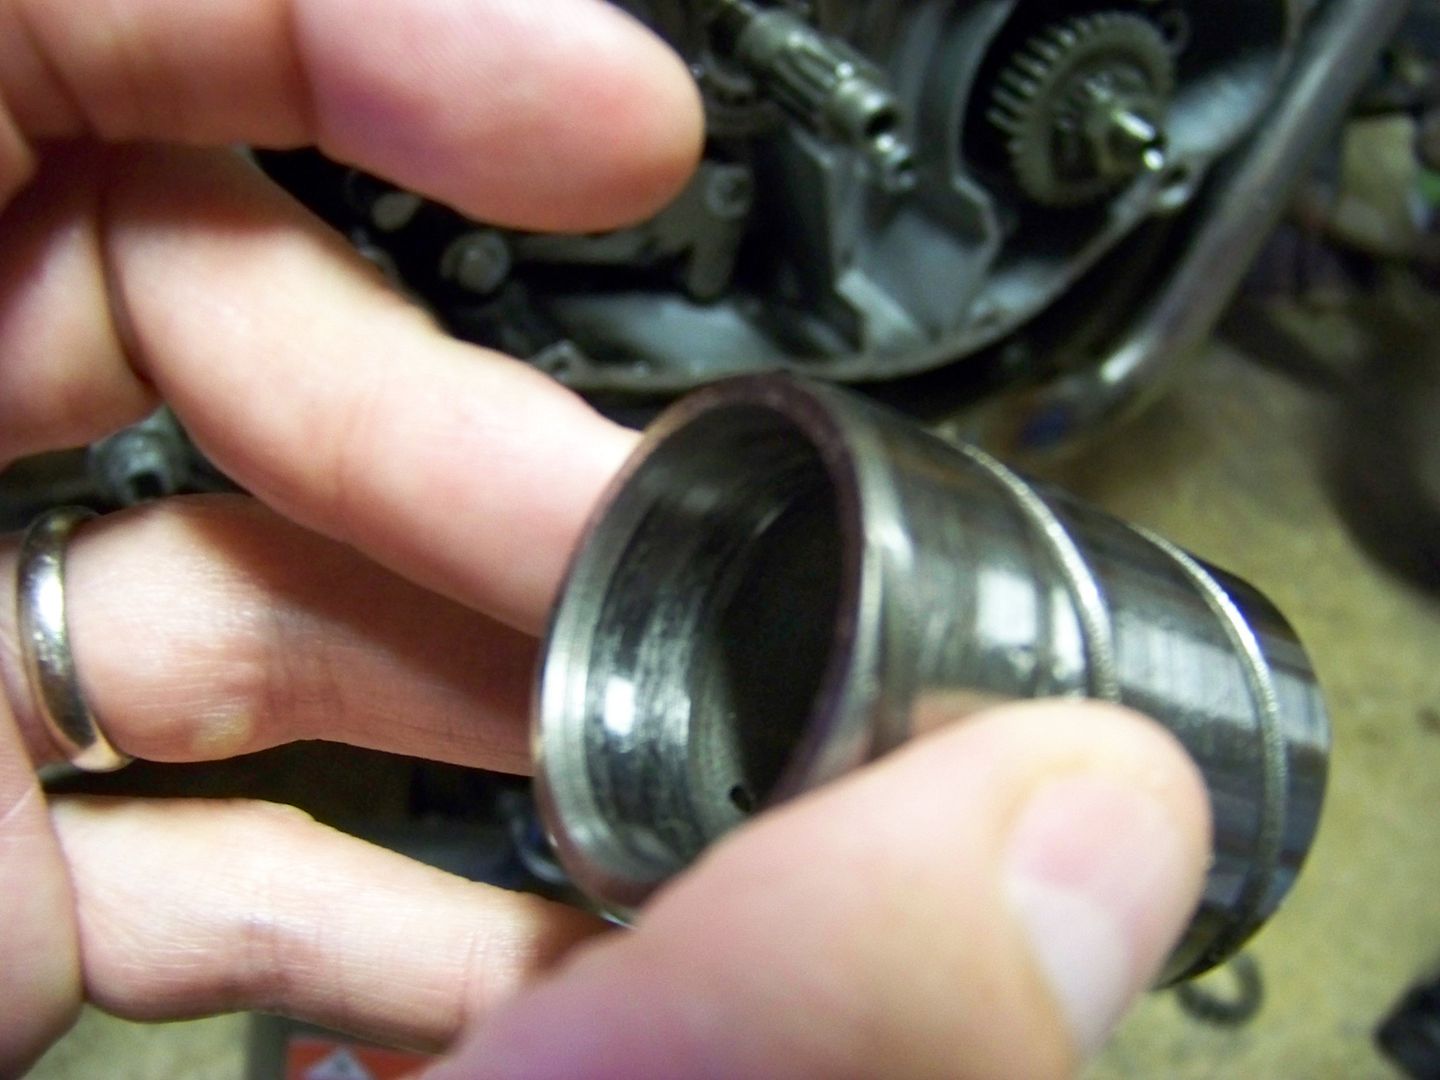
For some reason number 10 in the diagram just wouldn't come loose without a heavy amount of prying.
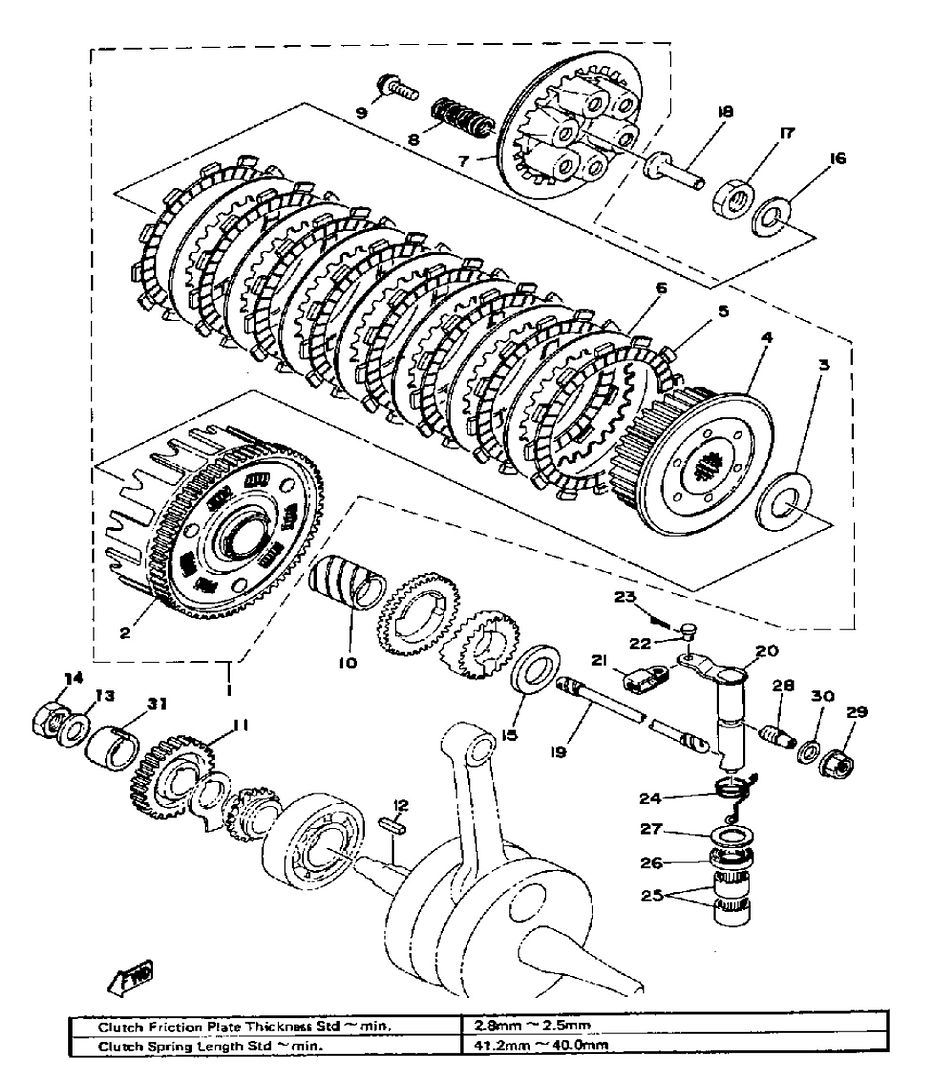
Which unveiled a whole mess of carnage.
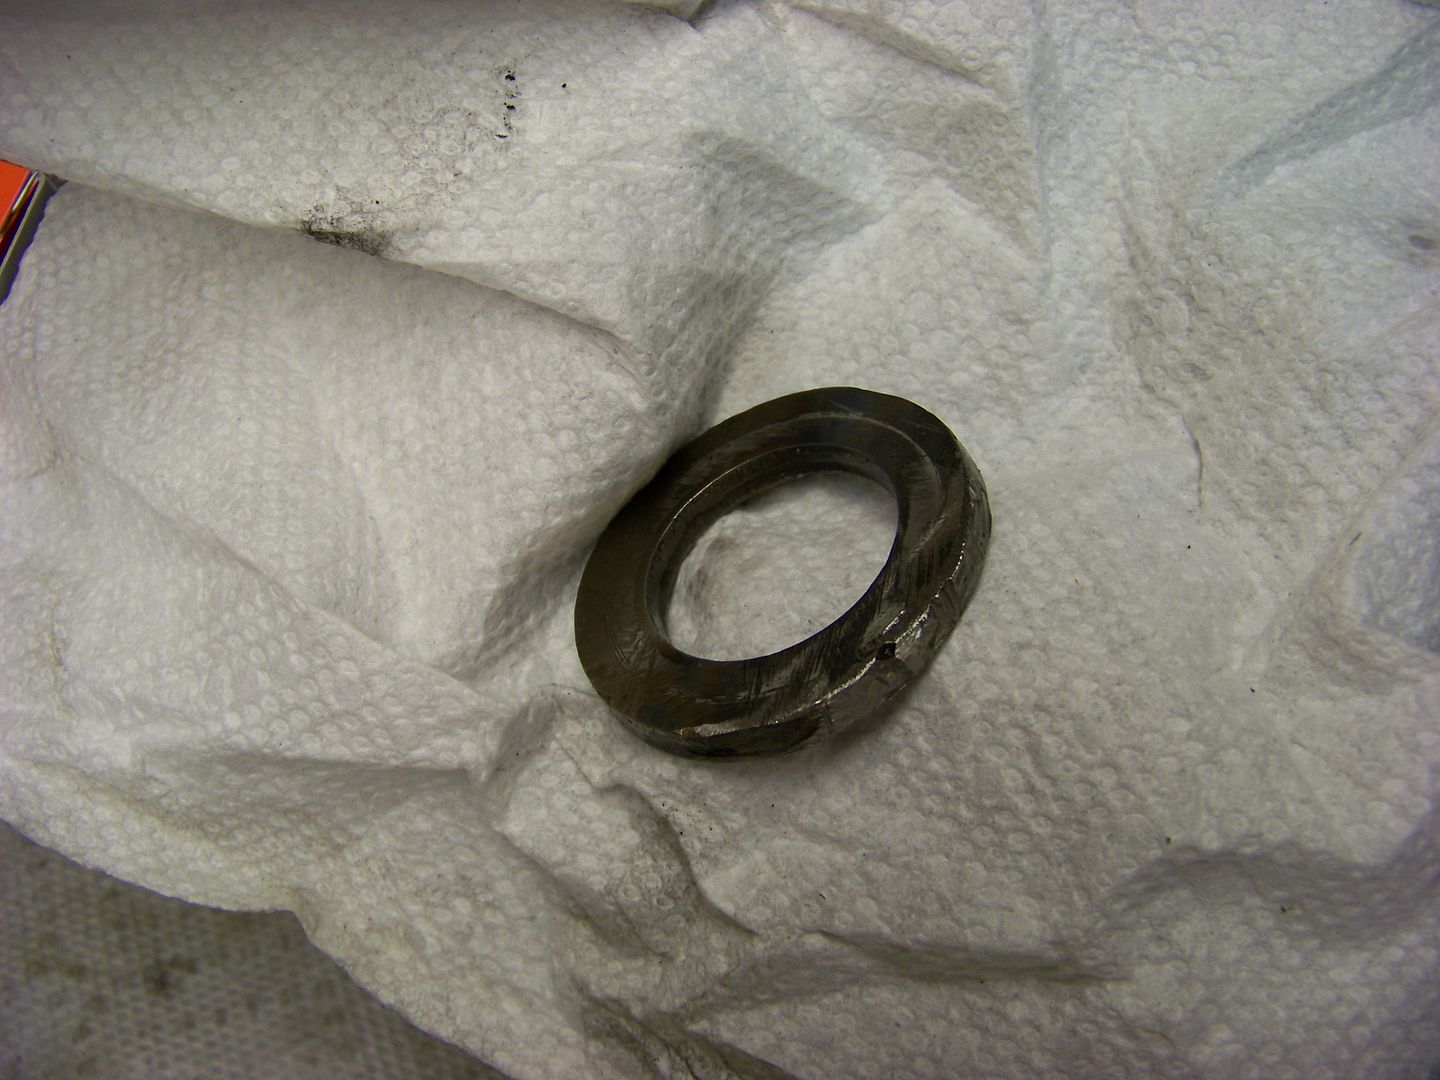
Trans mainshaft markings.
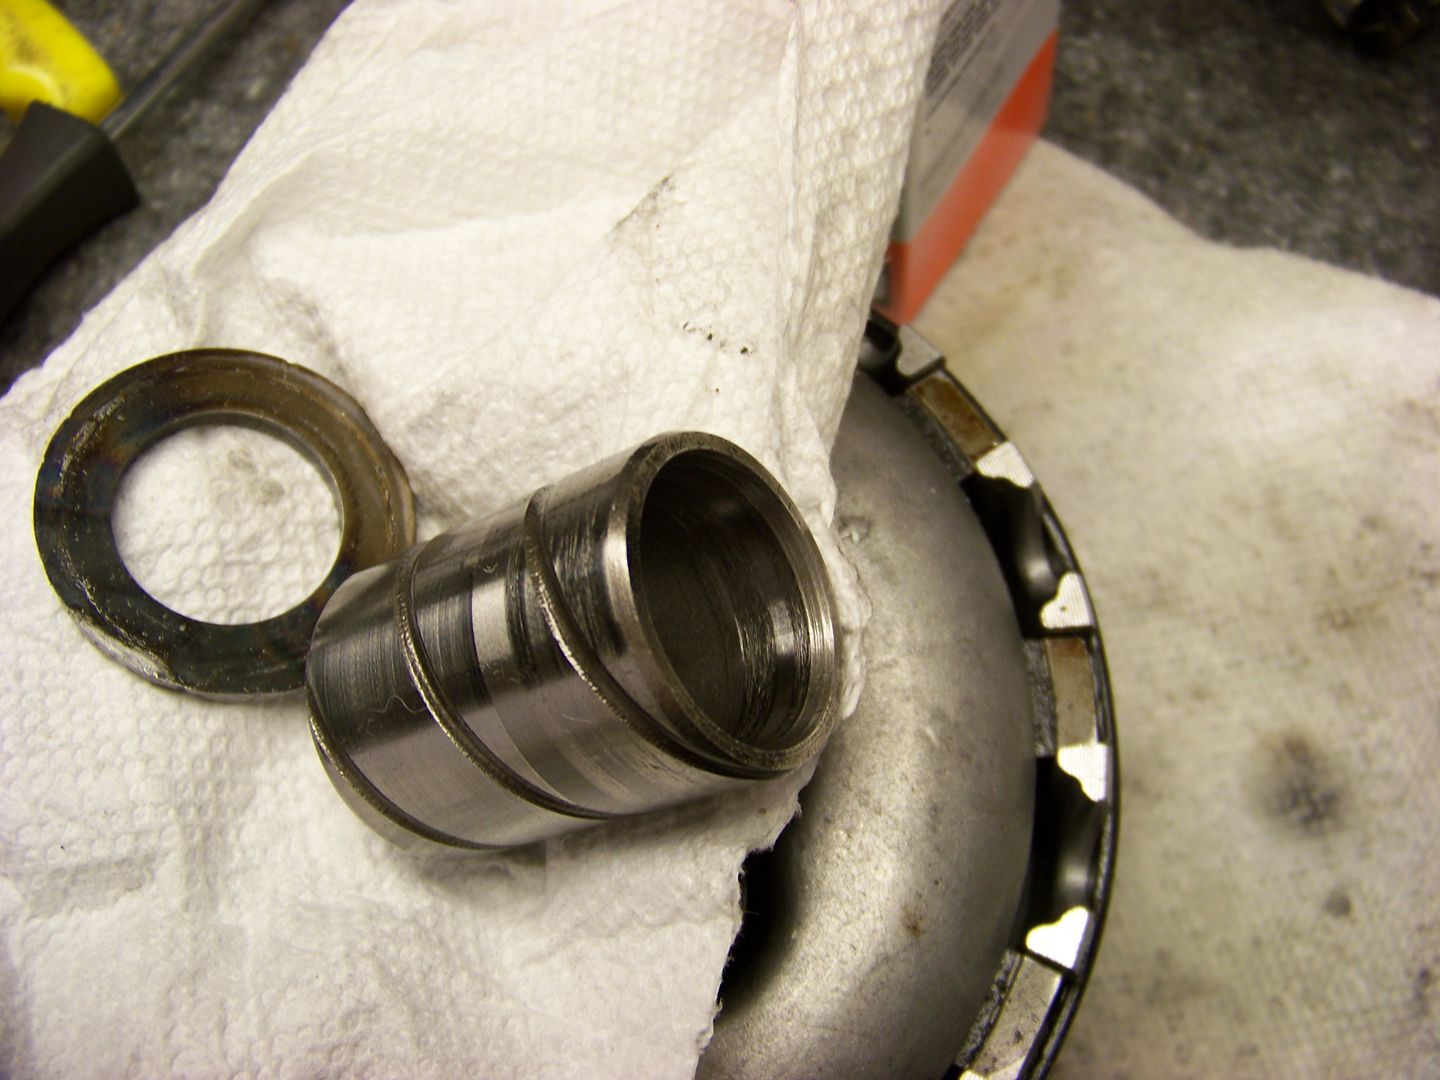
With the guidance of those smarter than me, I have decided to replace the gear, spacer, washer, and then polish up the mainshaft with an oil stone. Replacement parts are now in route, but who knows if that will be the end of my battle getting this motor back together.
Derrick
10/10/12
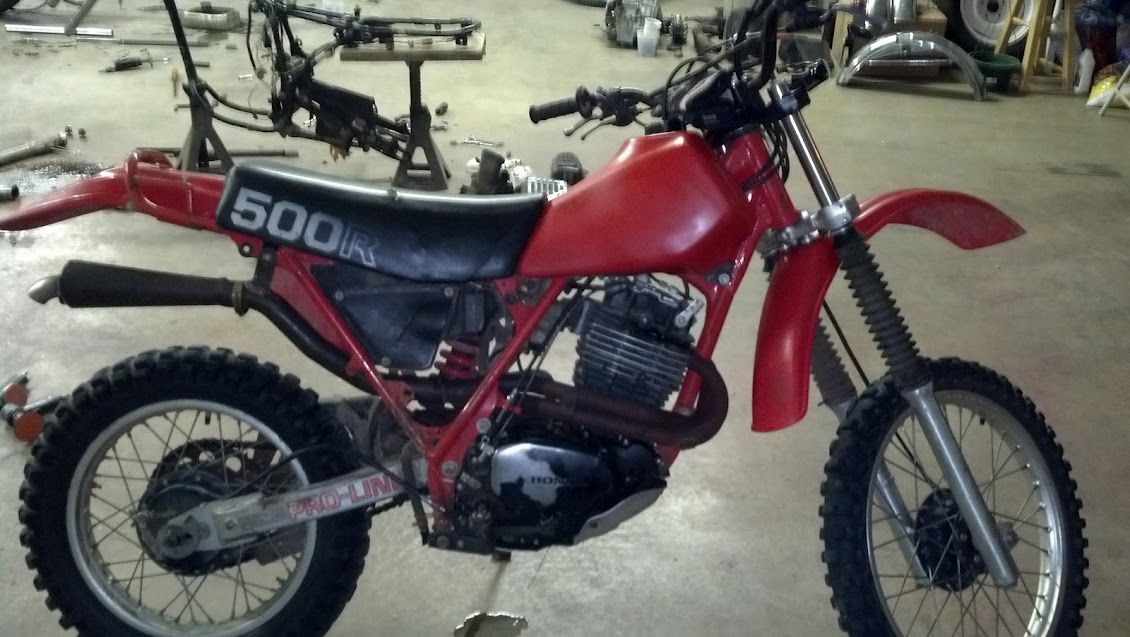
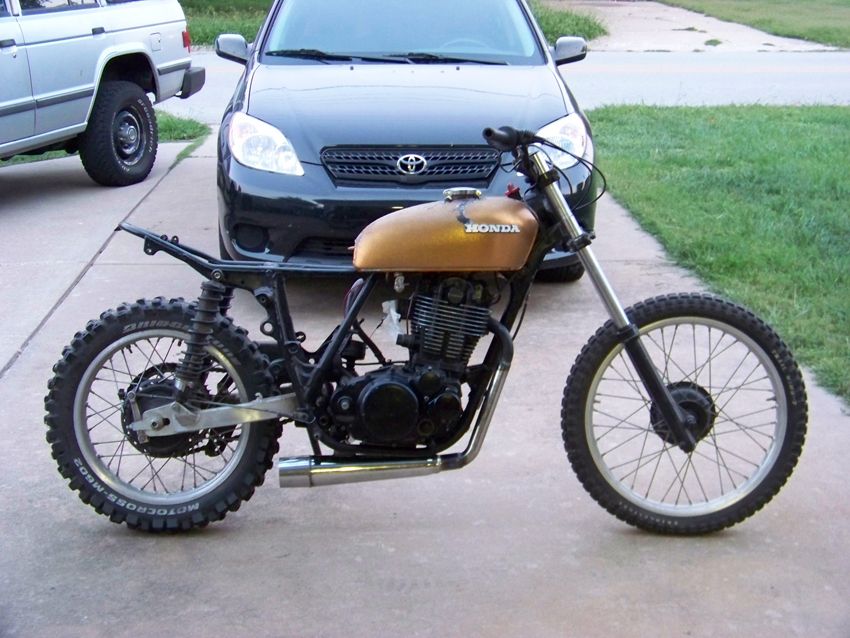
xl350 build : part 1
My Name is Trevor and I am a friend of Andy. I watched Andy prepare for and complete this ride last year and decided it looked too fun not to do myself. I'm not a "motorcycle guy", I've never owned a road going motorcycle, and I don't have a motorcycle license. But it looks like I still have several months.
So, I bought a combo deal about a month and a half ago- one 82 XR500 and two XL350s, all for $950. I sold the XR500 for $400 and some drywall work after it ate my favorite shorts. The leftover XL pile was torn down and the best parts chosen. I went with the '74 model as it was kind of a runner and had a title. Biggest problems were the incorrect head causing the need for the extra long fitting collage of an intake and the totally fried valve train that probably was a result of a completely clogged oil screen. Strange, somebody had just built this engine, I mean it was squeaky clean inside with new gaskets, seals, and piston,
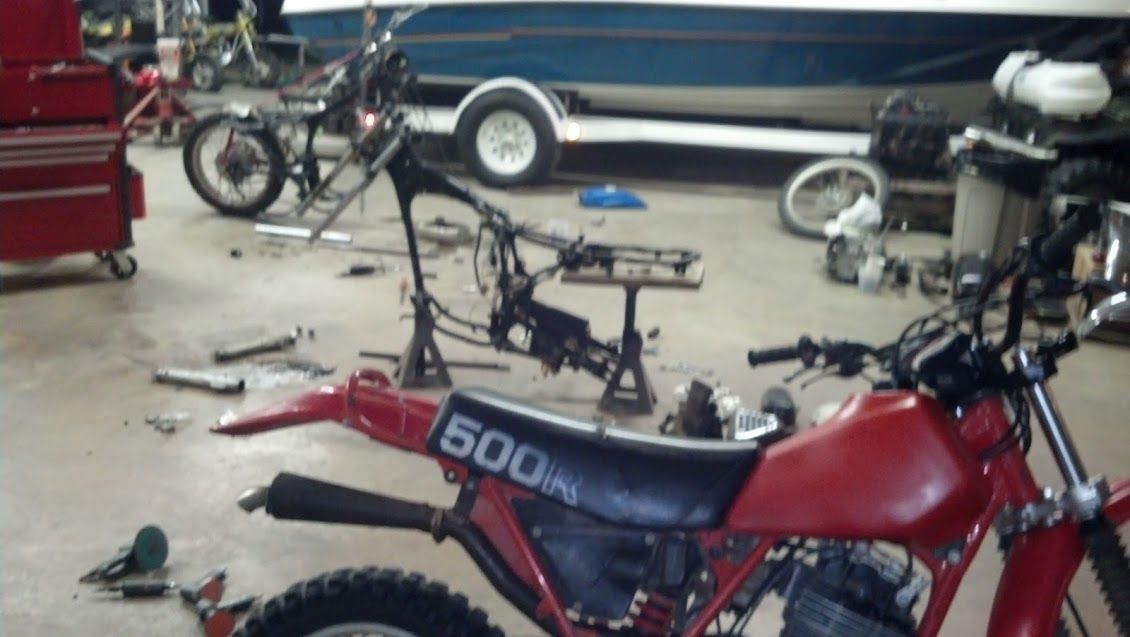
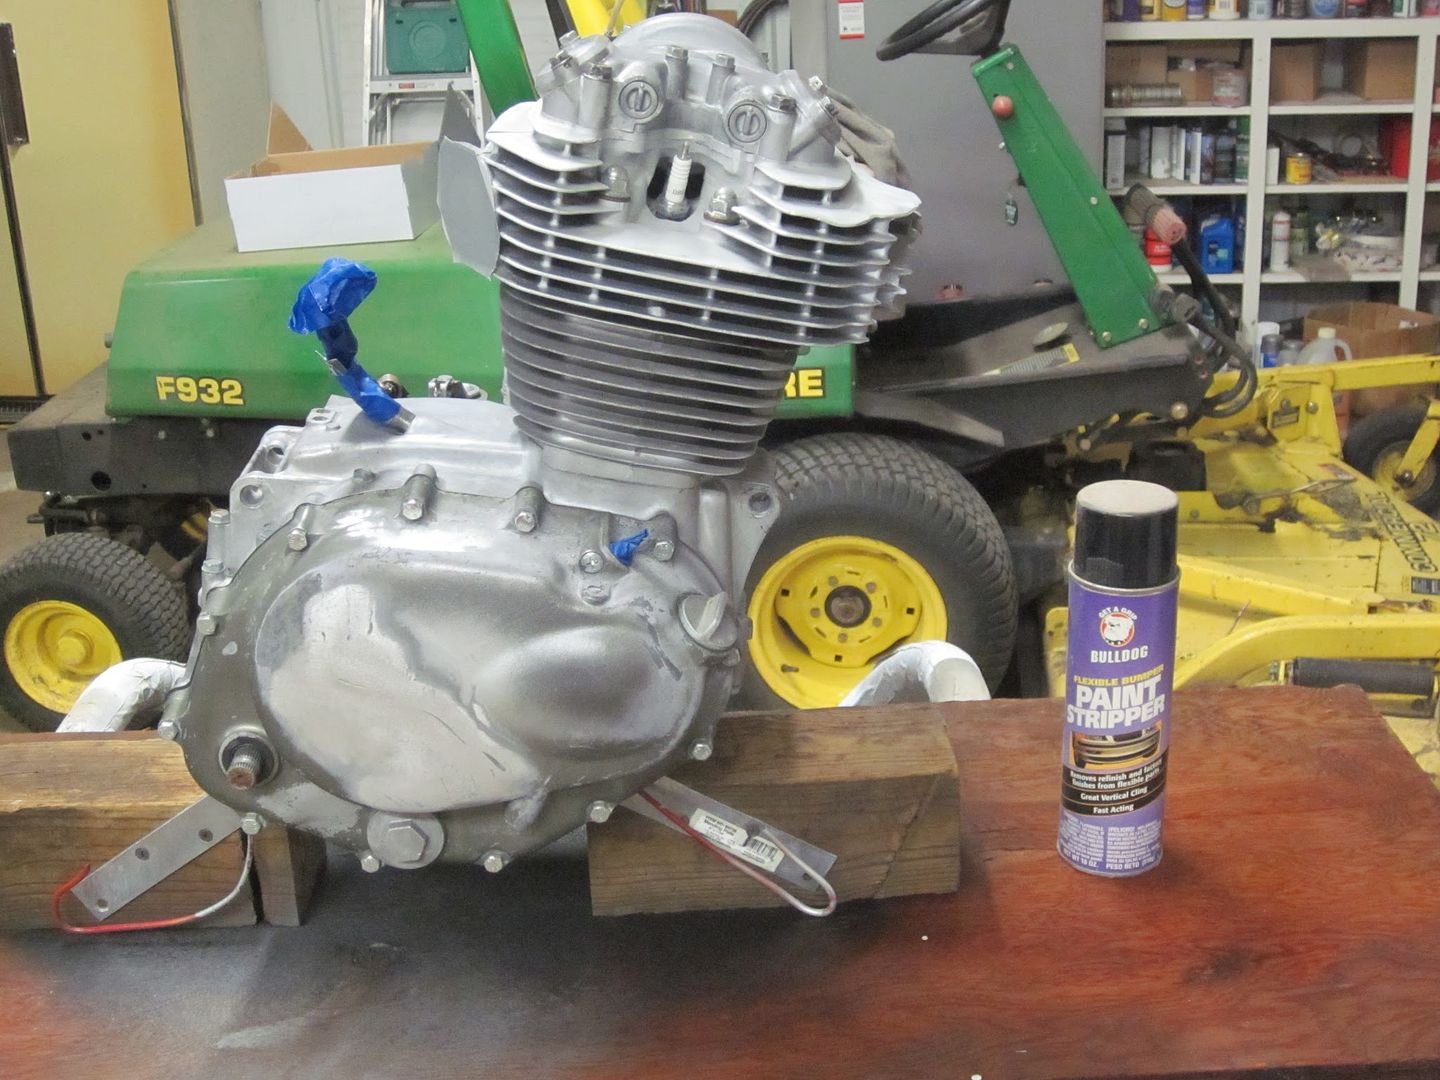
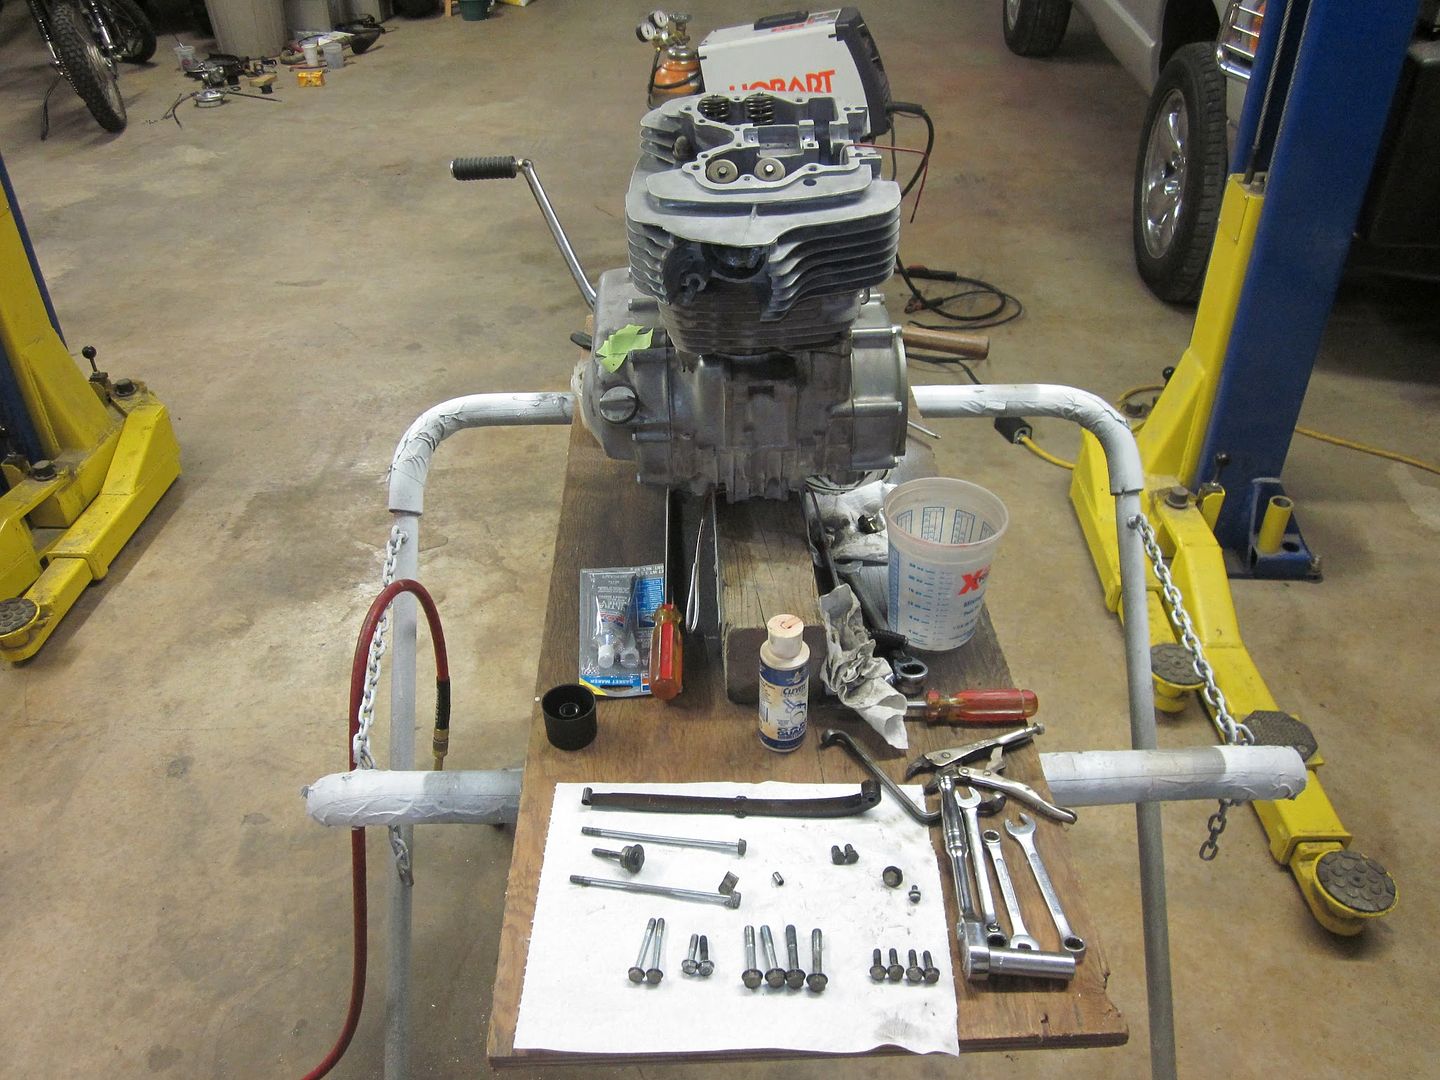
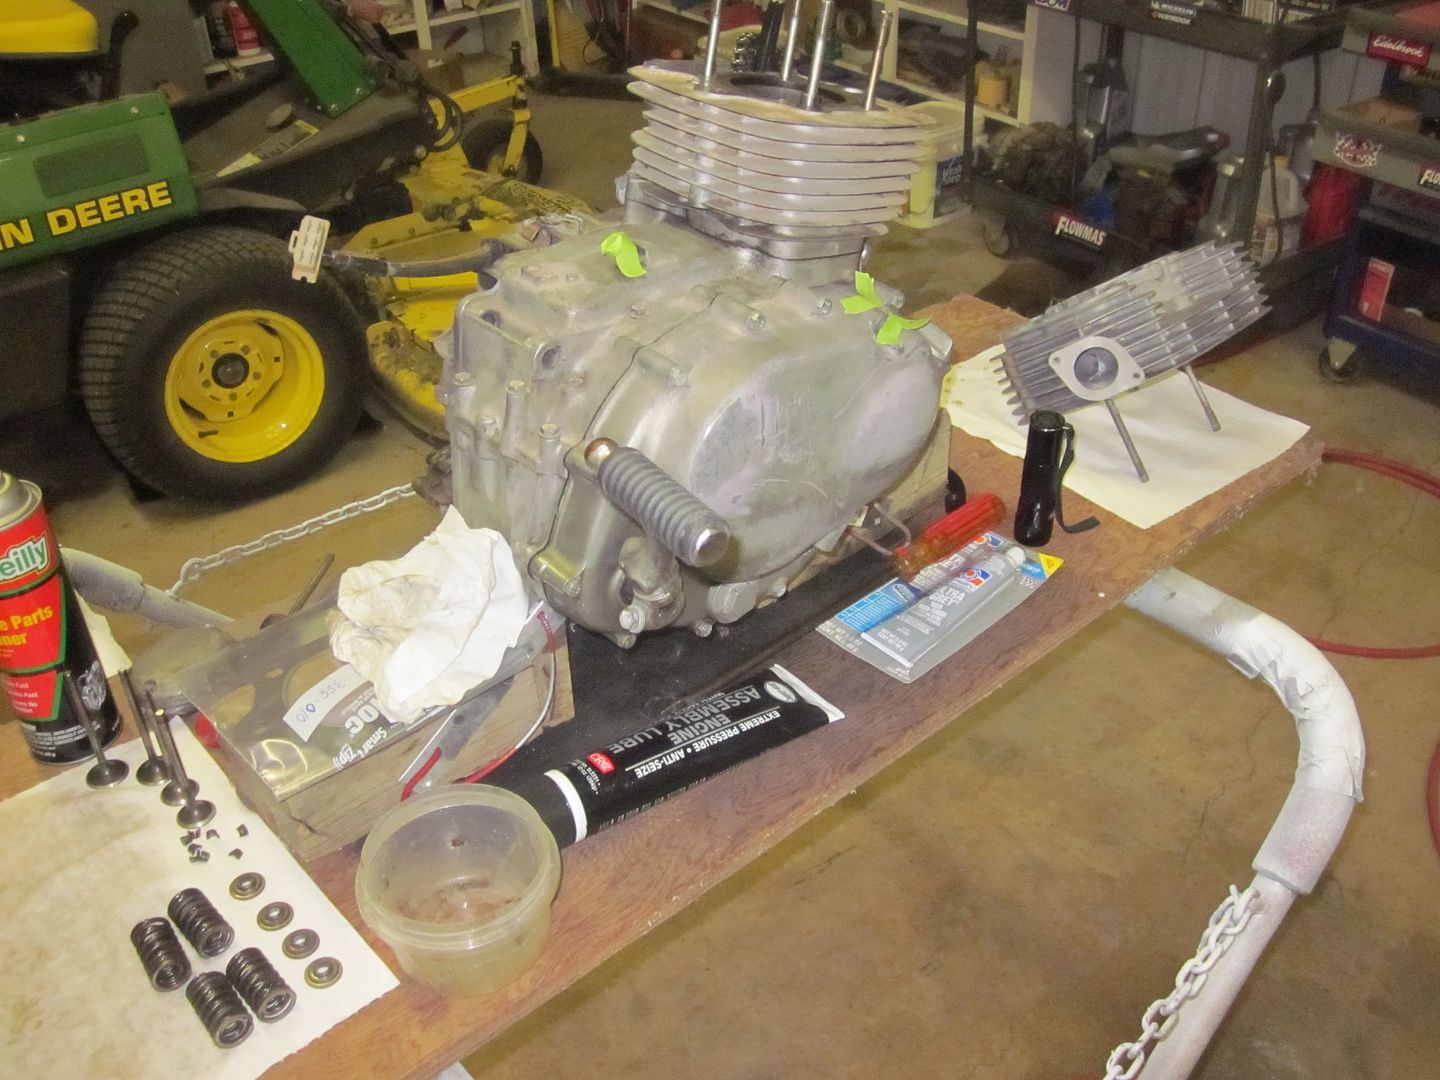
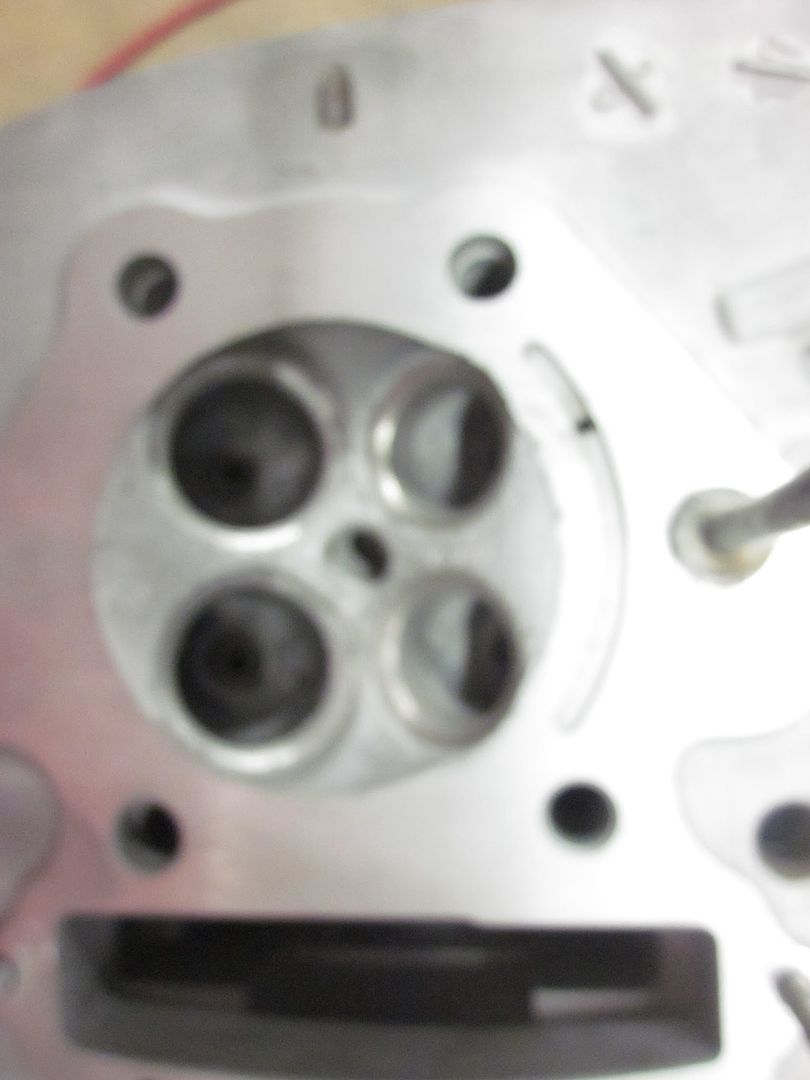
but whatever. K, so I swapped around the rear shocks and springs to get the height and damping I could get from the pile-o-parts, put new seals and oil in the forks, added a chinese socket to each fork for spacing to eradicate some of the plushness, swapped the front wheel for one with good bearings, swapped for '76 brakes, and went through my speedo and tach (they were stuck on 0 with old stiff grease). That was the first weekend. I had much help from friends. So, at my next opportunity I tore the top and sides of the engine down to swap my center port head for the correct side port head. My donor head was pretty rough, having spent some time in someones yard growing moss. A friend bead-blasted and hot-tanked it and after grinding the seats it was good to go. Next step- a quiet evening cleaning up the bowls and ports. Came out good. Installed head, went through engine looking for trouble, stripped, painted reassembled, found a bad advancer (dunno what its called- you know the weights and springs doohicky) anyways it was all stuck together as it happens so I disassembled, soaked in chem-dip and greased and put back together. Fired up last weekend- broke in cam, adjusted cam chain tension, rode twelve miles, smiled like monkey, rode wheelies 1st and 2nd, puked oil out breather doing that, froze cause I forgot jacket, and liked doing all of that. So I still have some moneys left and parts to sell so doing OK, but have wiring issues and paint and body yet to deal with. We'll see. It's a scary POS, but getting better fast. Thanks for putting together such a COOL idea. I'll get back to you.
Trevor


10/4/12
tt500 build : part 3
While waiting on parts to roll in, I decided to mess with the exhaust. Money spent on motor parts has to come somewhere from the budget, so a store bought stainless header and megaphone were the first to go. I had some kz440 mufflers given to me laying around, leftover 1 1/2" mandrel bent tubing from my old xs650 project, and the head pipe from the tt.
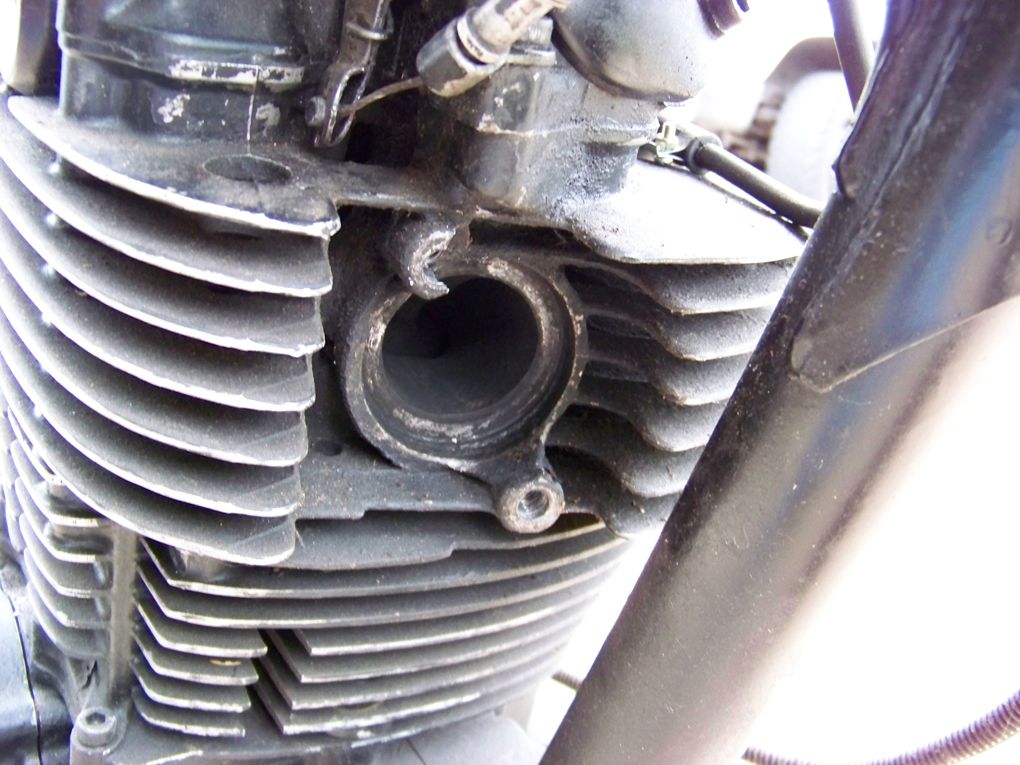
Took off the stock pipe and was greeted with this lovely mess. Someone has already tapped what's left of the threads for a larger bolt, and it amazingly enough has a good grab. I'll see about sourcing a cheap secondary head to swap out if it starts to fail on me.
kz440 muffler and headpipe.
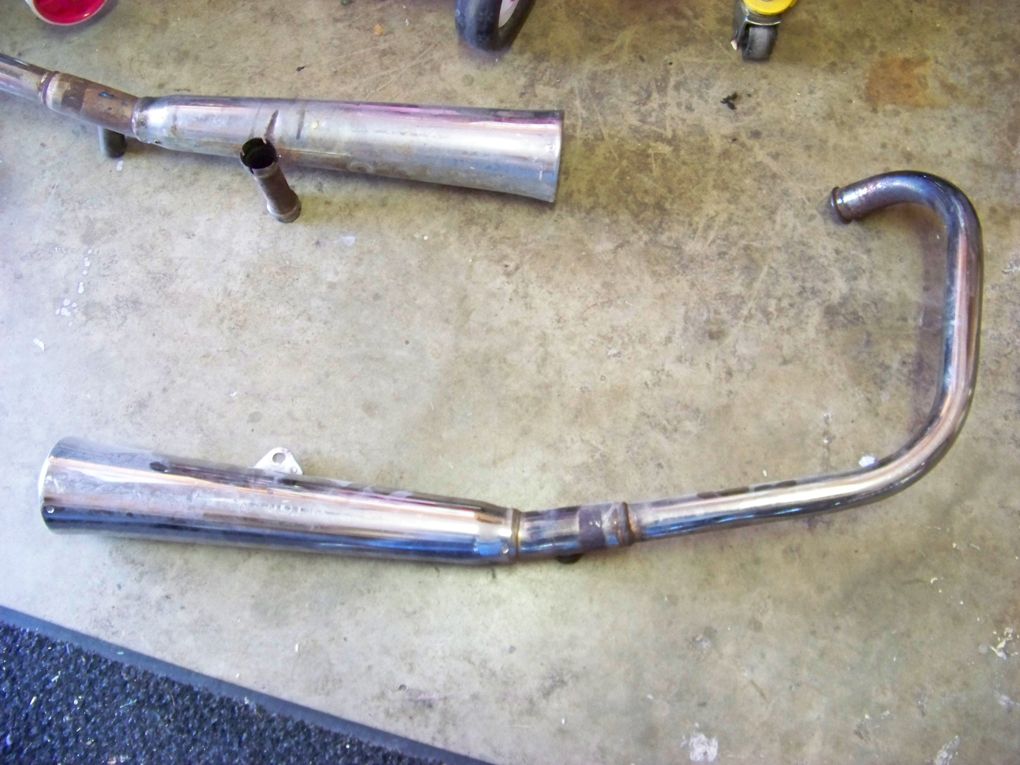
tt500 headpipe cut.
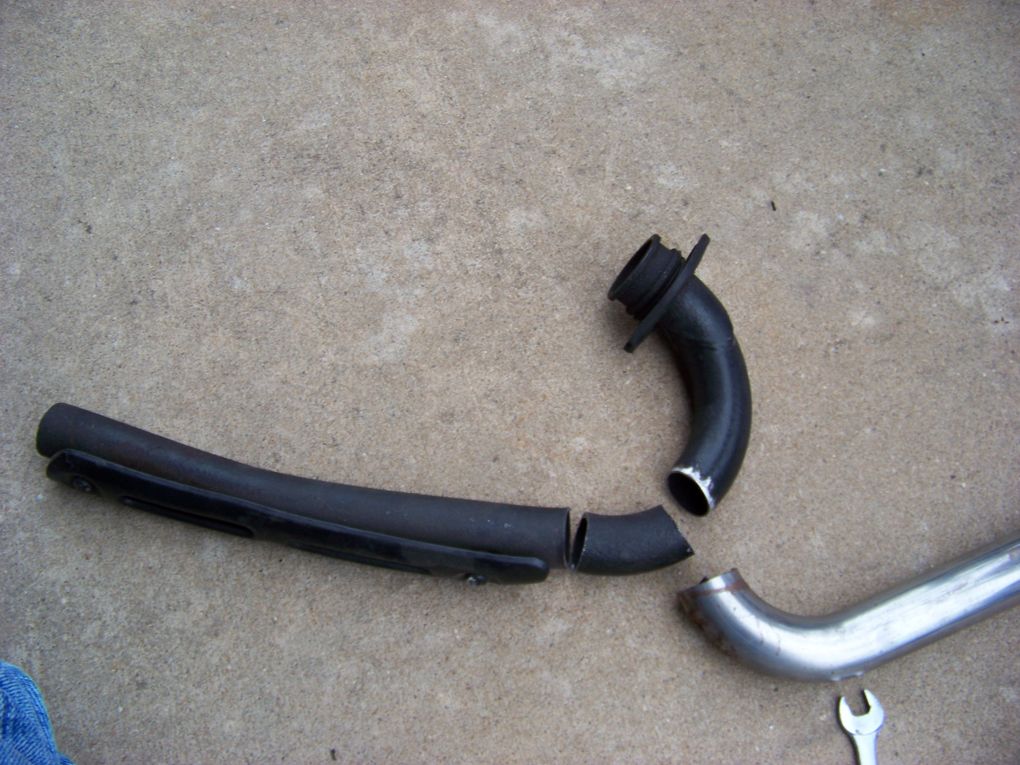
Old scrap mandrel bend.
Muffler cut here.
And here.

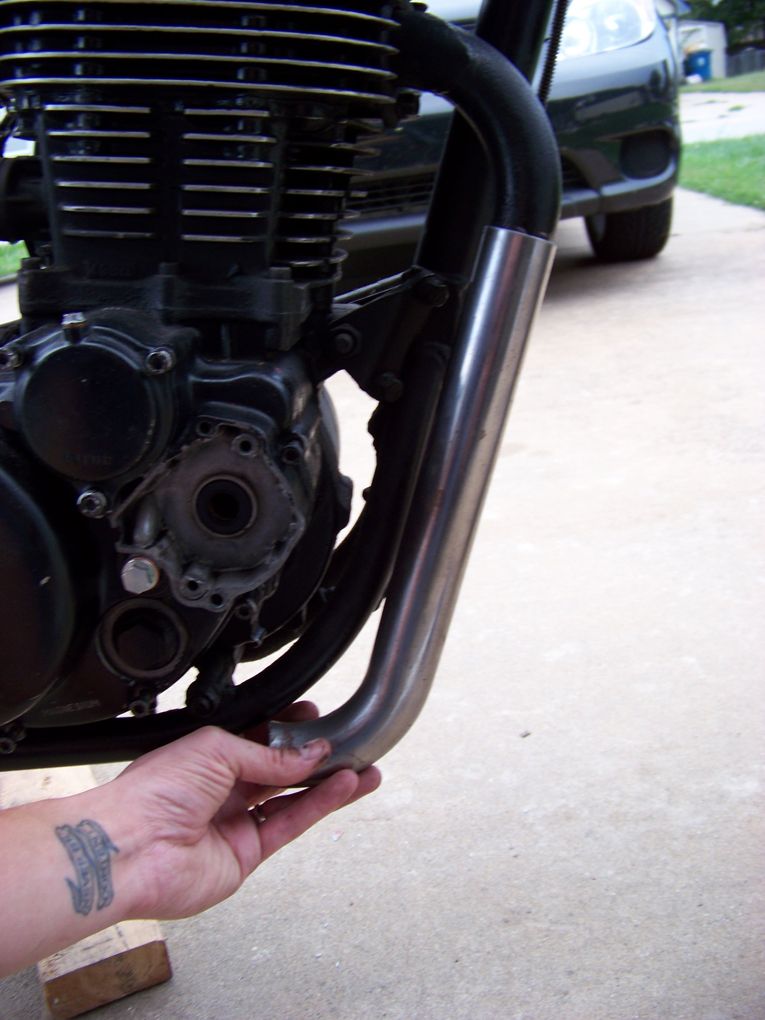
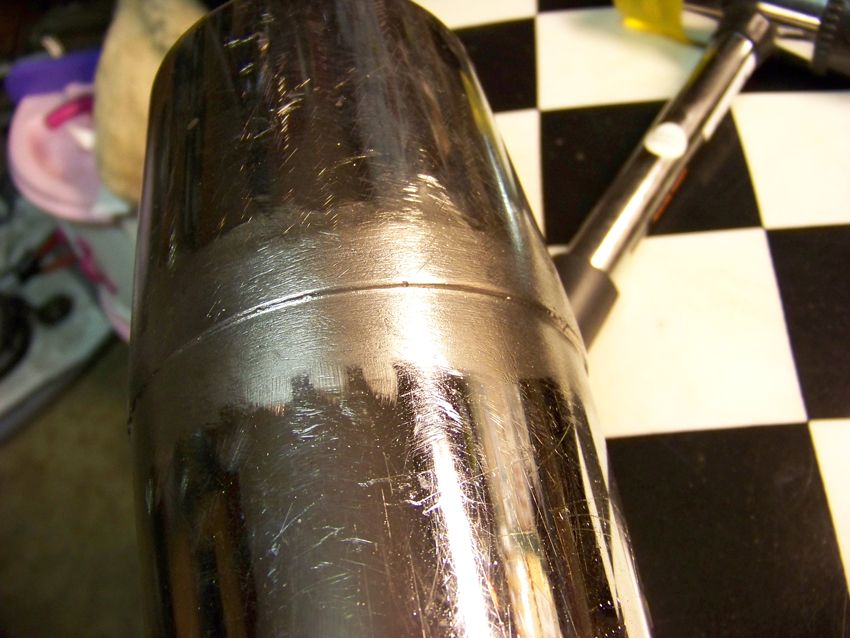
Trimmed and hammered the lip tight to the 1 1/2" tubing.

This never happens. The fit was perfect.

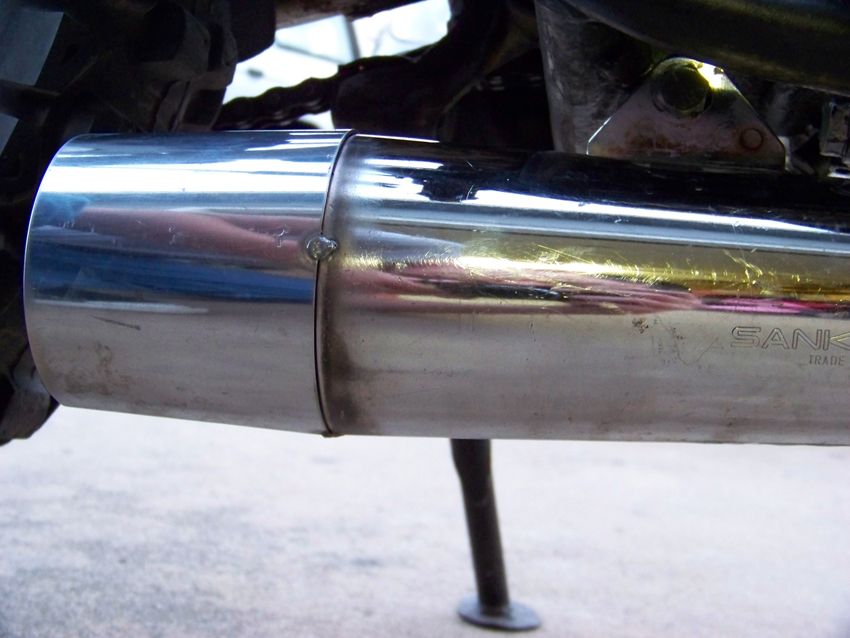
Tacked together. The rearward mount consists of the stock kz440 muffler mount attached to an unused tab on the frame.
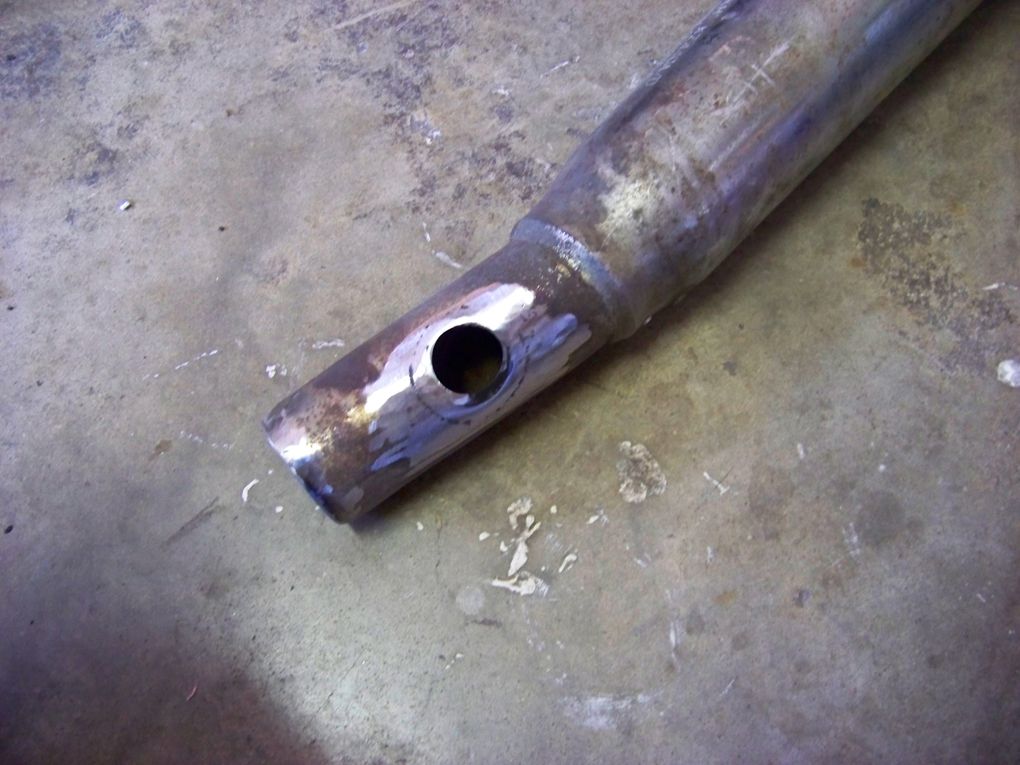
Welded up hole.

Gutted muffler body.
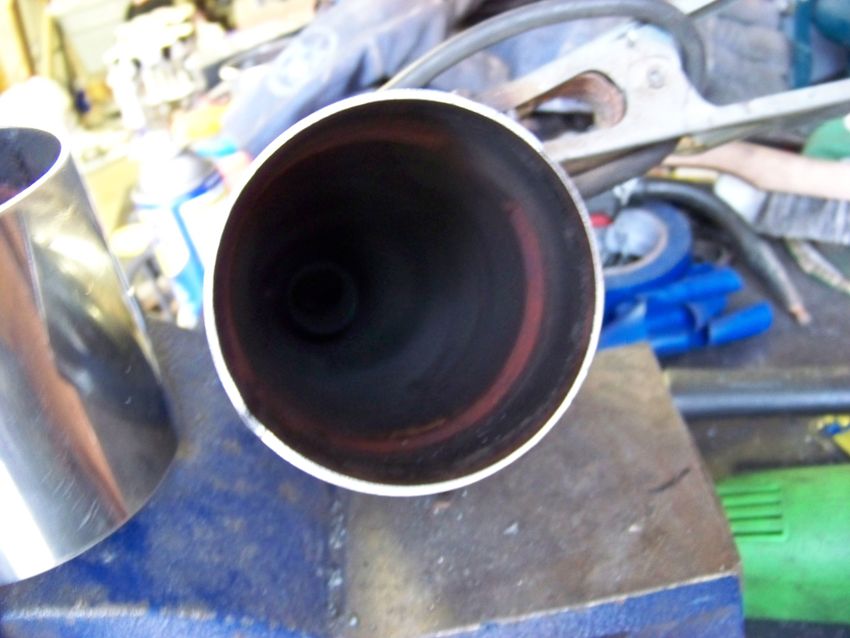
Cone cut from another muffler and tacked.
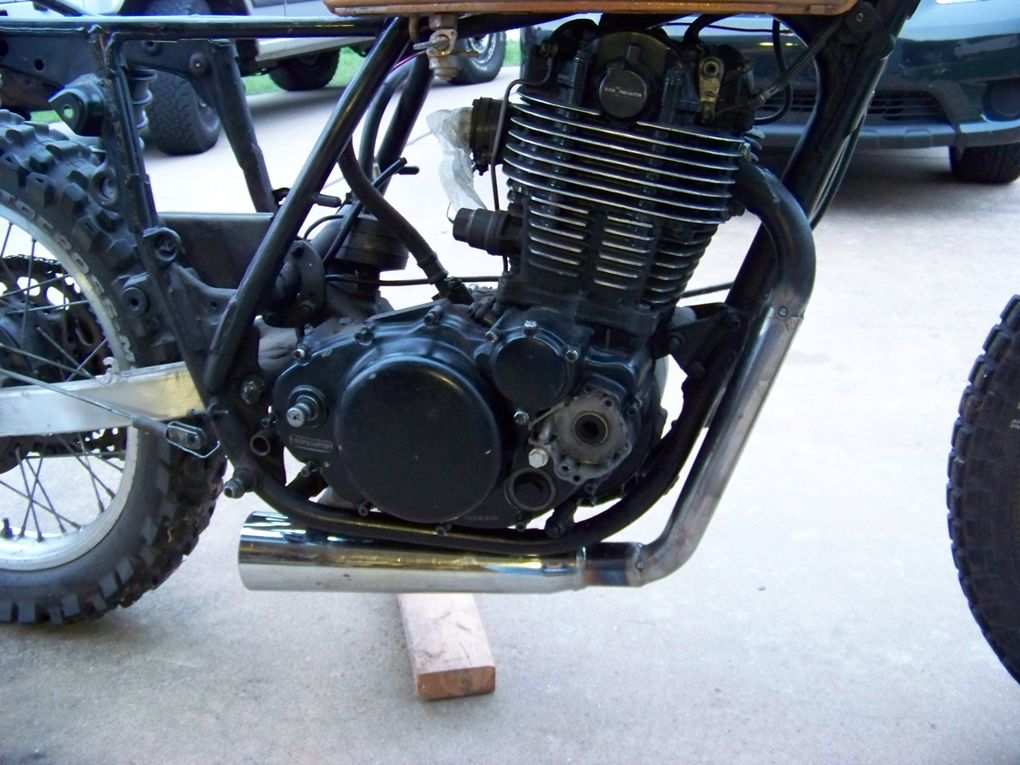
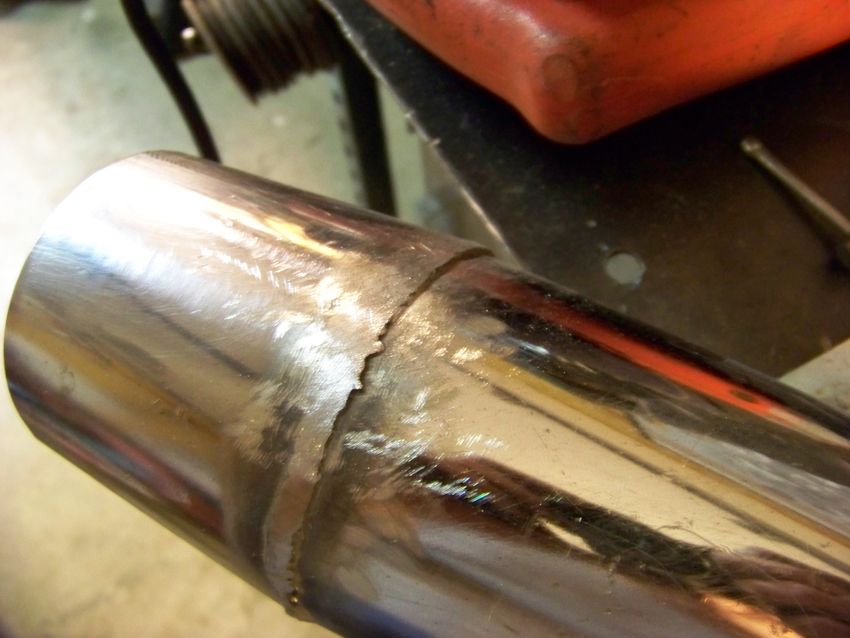
Welded and started shaping with a file.
An hour or two later. Not the prettiest, but finished.
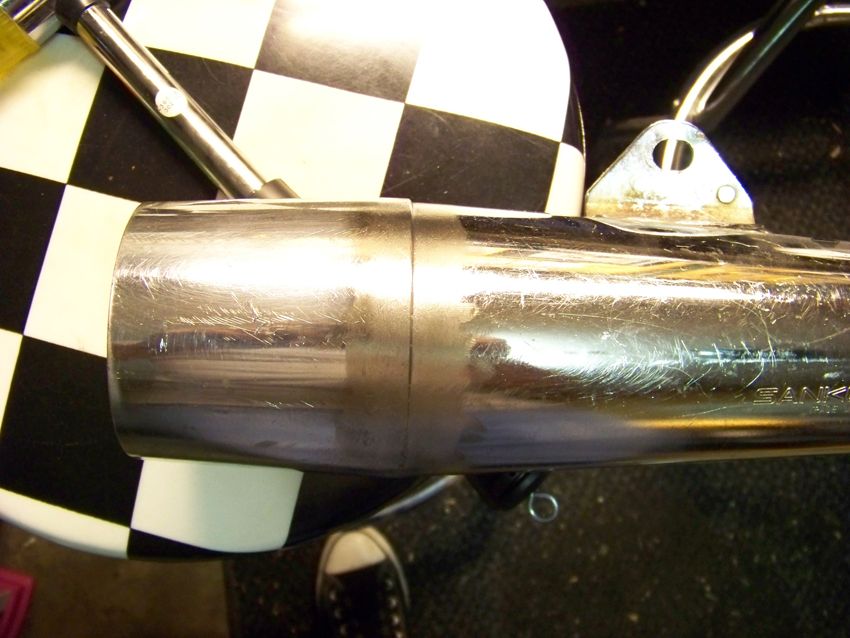
Hung.
Derrick