
I know it's a bit unorthodox for the most part, but the Ozark Mountain Scramble will be held on 3 consecutive weekdays. There are a couple reasons for this, and I figure now is a good time for some explanation. First and foremost, this ensures a low pedestrian traffic count for everyone riding through the mountains. There is nothing more annoying than day after day of being held up by a band of rubber neckers when you could be dragging a knee/peg/spleen instead. If the run was held on a weekend, I can assure you the time spent cursing the driver in front of you would grow ten fold. Since this run ends on a Friday, that also leaves Saturday and Sunday to get back to your lives/home. This worked out great last year, and I'm sure will work great for many years to come. So there you have it, mark the days on your calender, and get your vacation time approved.
1/30/12
weekdays bro
1/27/12
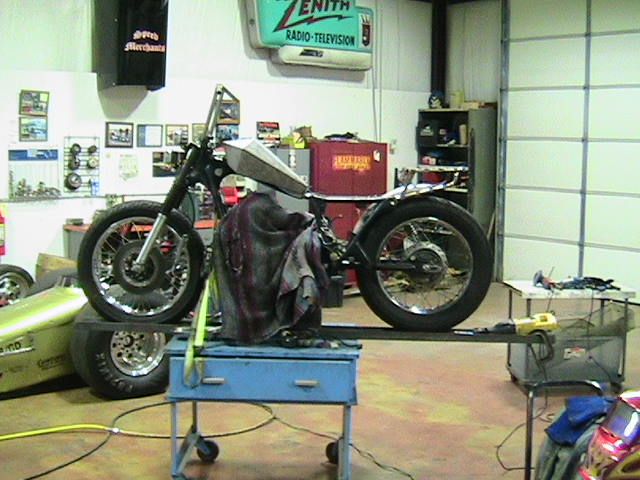
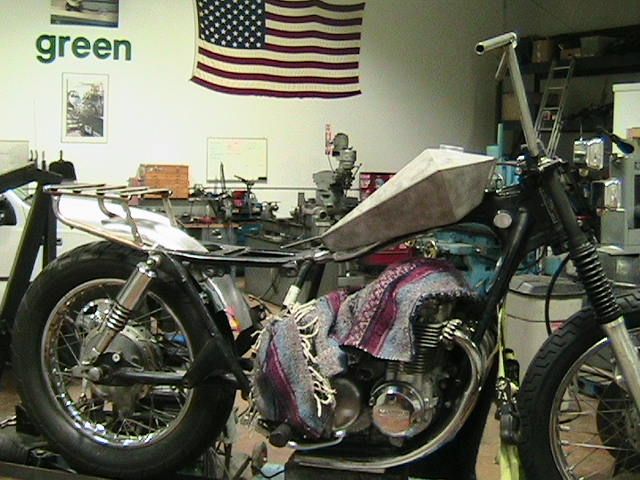
cb550 build/entry : part 5
Got the gas tank mounted and a bunch of welding and sanding done. I was going to make a luggage rack but then was digging through some junk and found this rack I got with the CB450 I ran last year and decided to make use it because I'm lazy....
Brad
p.s.
Forgot to mention that even though I generally think luggage racks sucks I do believe they are necessary for the scramble if you don't want to wear a backpack so mine is easily removable with 2 pins.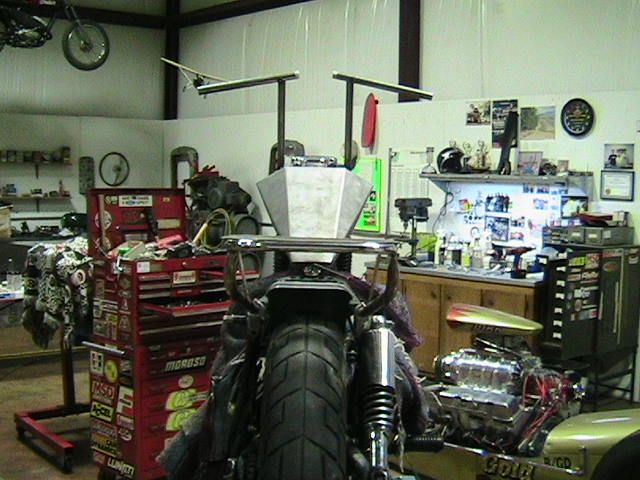

1/19/12
tt500 project part 1: concept
I've been trying to leave this bike alone so other projects can get finished, but I guess a day at work with little to do leaves room to let the brain boil. Here's the plan with a few tweaks.
I would prefer to run laced aluminum wheels with a wider 18" or 19" out front, a wider 18" out back, and a silver motor compared to the rendering. We'll see.
Nasty busted up points cam gear carnage.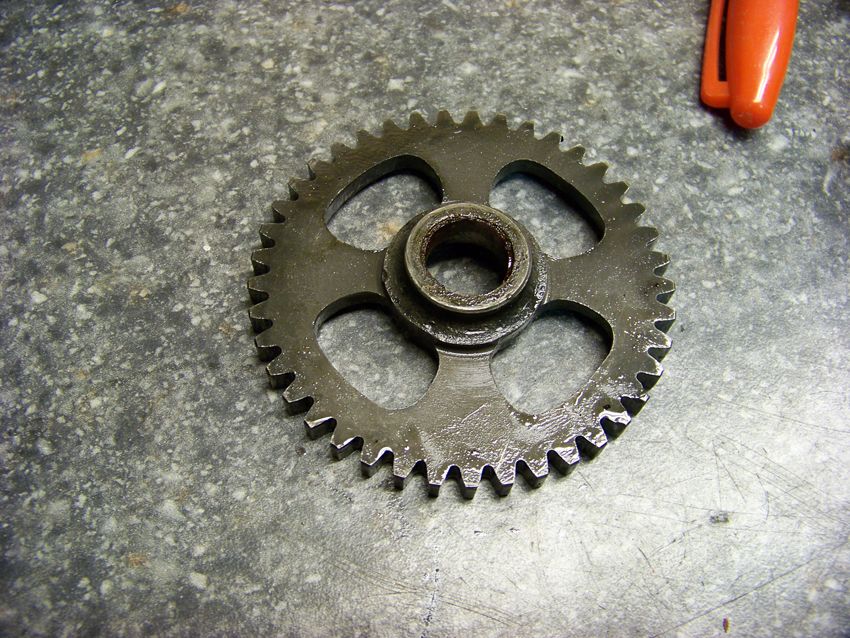
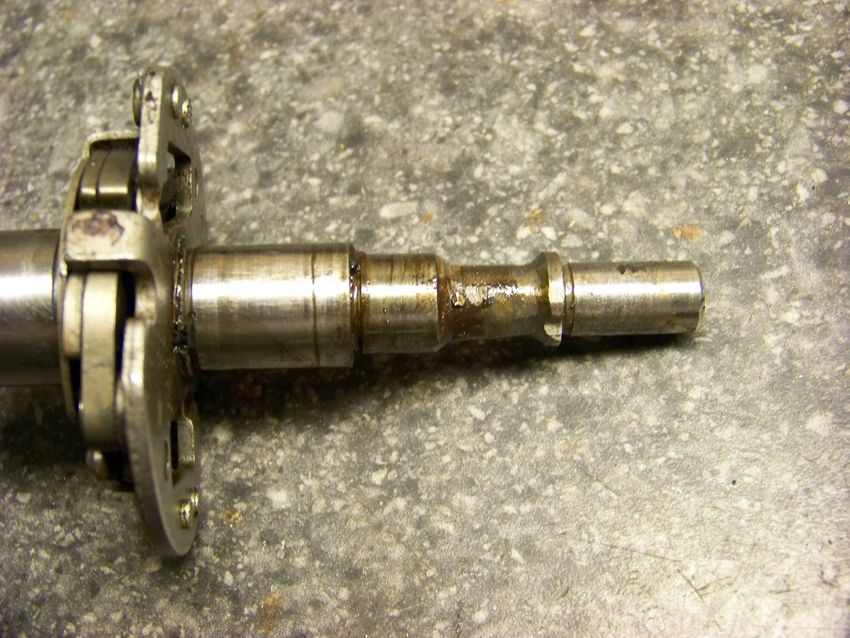
It's supposed to be a press fit, but it's sloppy as hell. I got a used one in the other day only to find out I'm missing a shim. Once I get that sorted, I can see about making a runner out of it. Vroom vrooom.
1/18/12
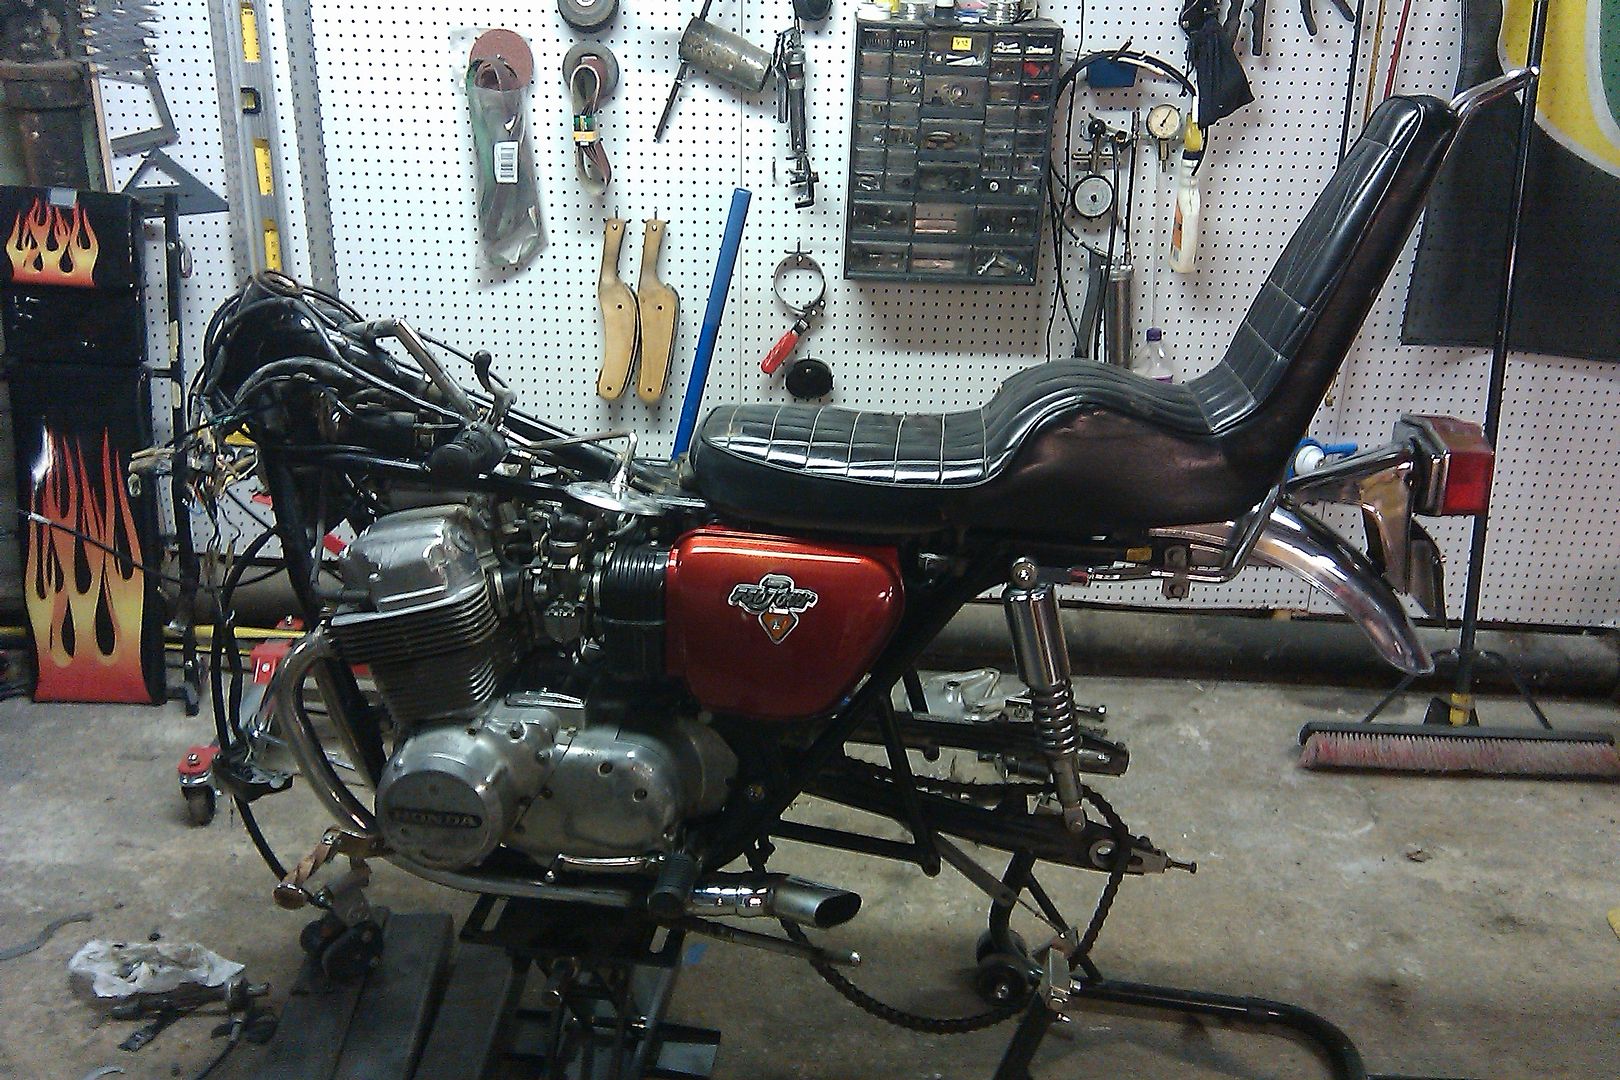
cb750-1 build/entry : part 3
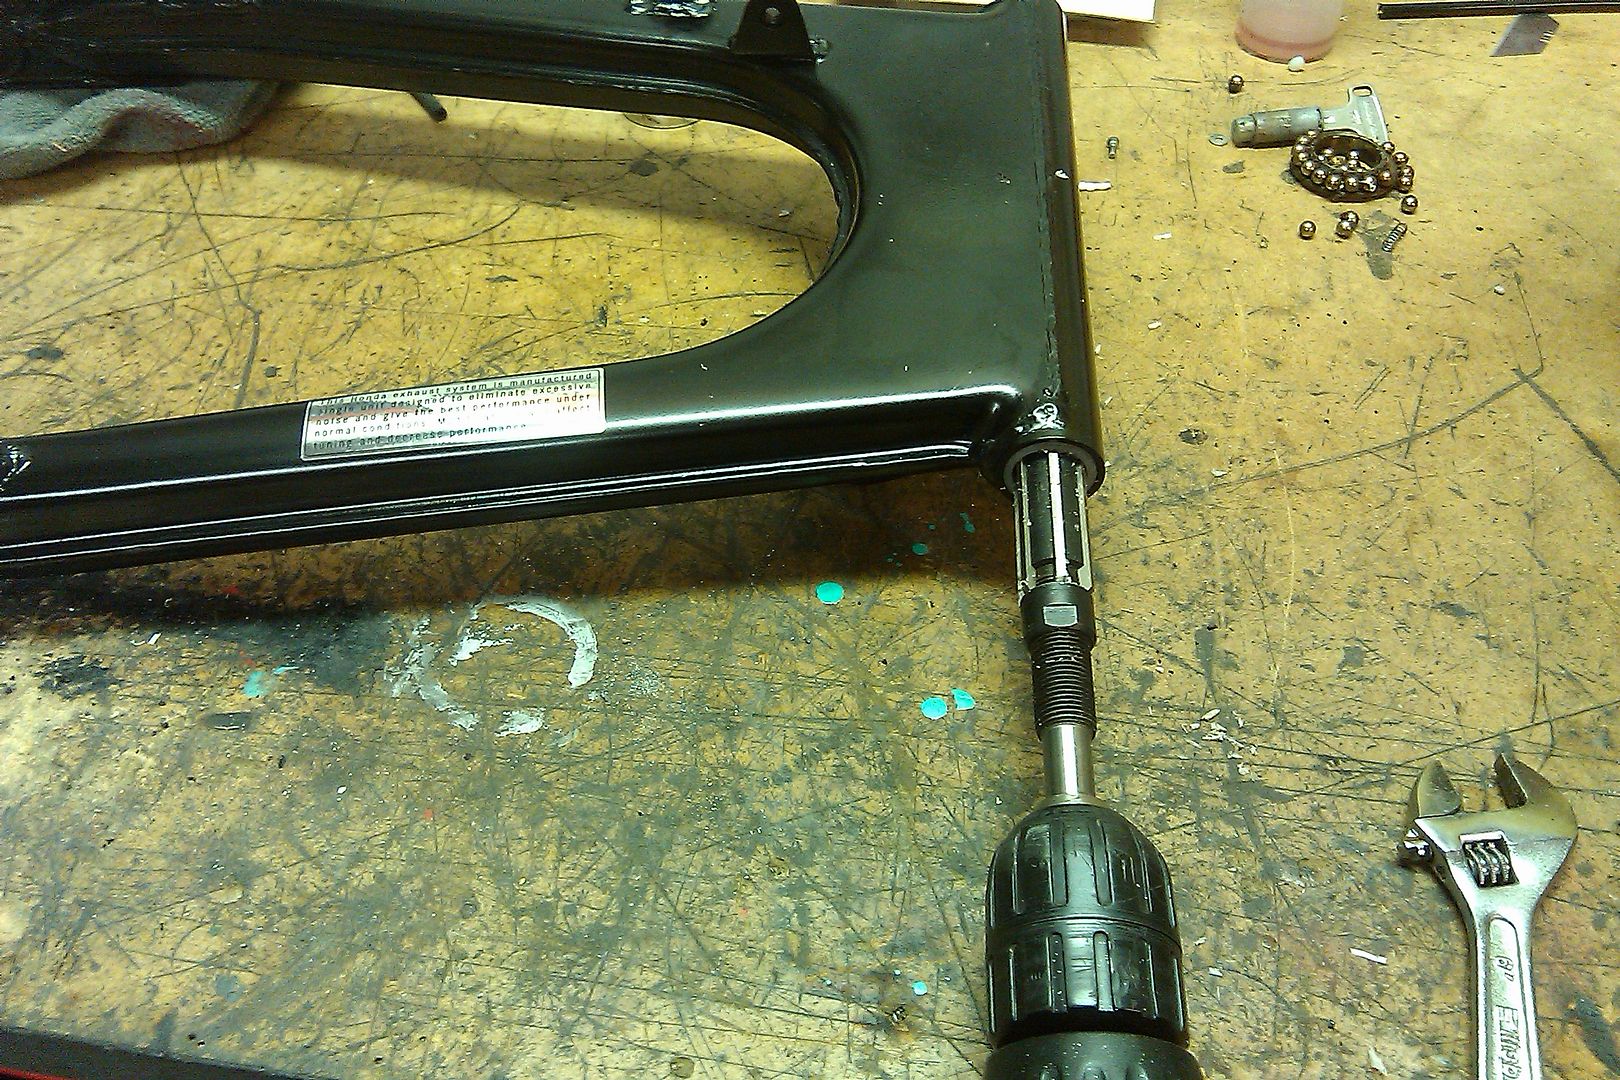
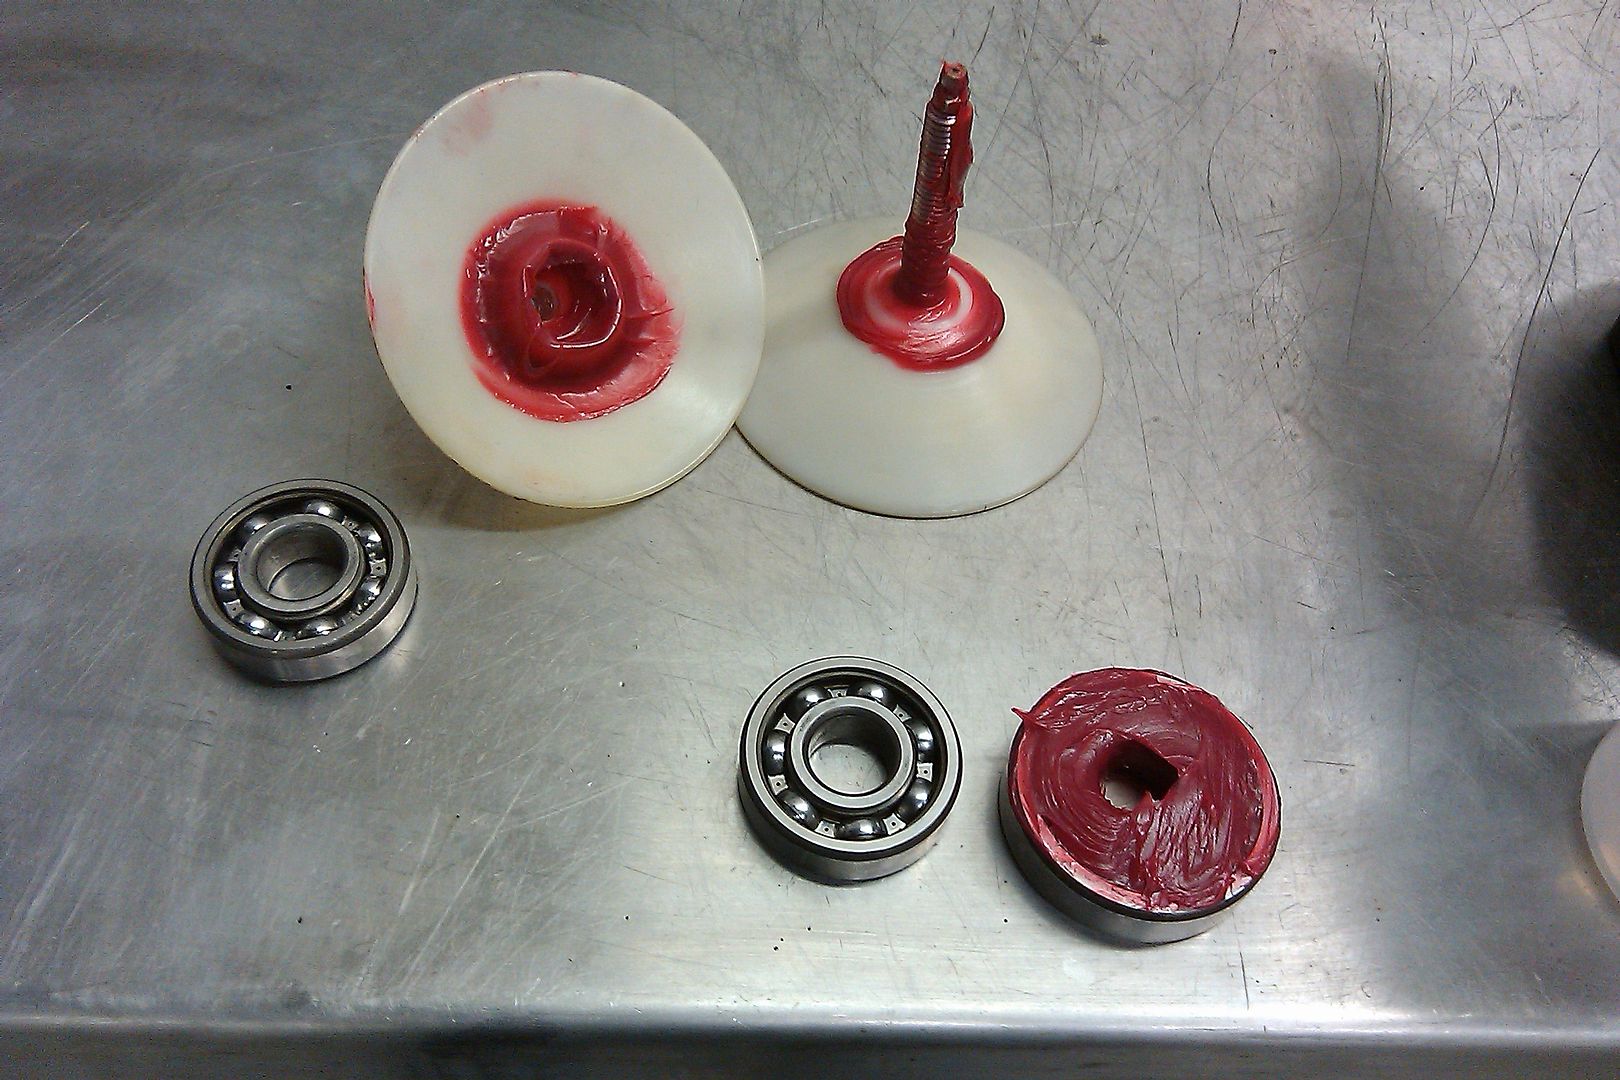
On my pre-rebuild test drive I noticed a lot of movement from the rear end. The swing arm moved about 0.5 inches sideways! So, out it came, got a quick sand blast and powder coat. The swing arm bushings were badly worn, and the rusty swing arm shaft needed attention, too. Instead of buying new bushings I used a piece of scrap Delrin and turned them on my lathe. After de-rusting and polishing the shaft, I pressed the bushings into the swing arm, and sized the Delrin bushings with an adjustable reamer to the shaft dimensions.
Michael
Nashville/TN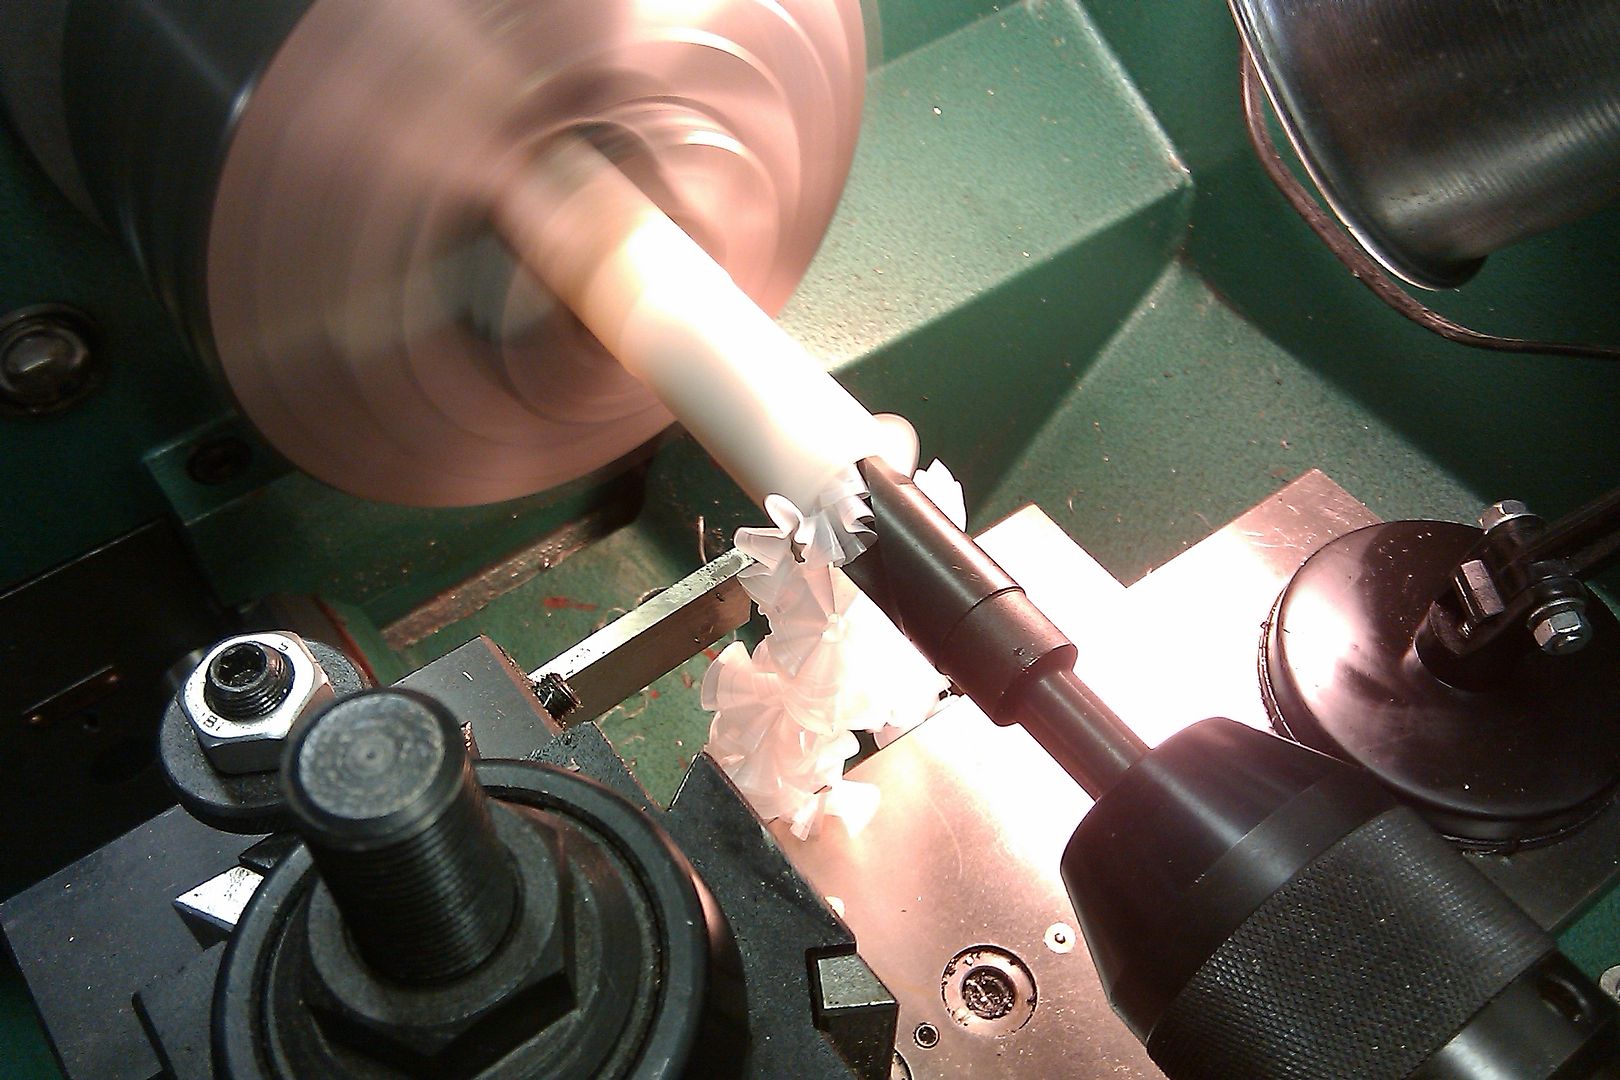
1/17/12
cb750-1 build/entry : part 2
The wheels were quite corroded. Re-lacing was out of the budget, so I simply glass bead blasted them and clear powder coated the whole wheel. Good thing to have a oven (barely) big enough to hold the rims. Although I had to leave the oven door a crack open for the front one... worked anyway.
All the wheel bearings turned out to be in good shape, so a good cleaning and fresh grease gave them a second life. I switched the headstock bearings to good used tapered ones that I salvaged off another bike. After glass bead blasting and powder coating the triple trees and lower forks, sanding and polishing the 6 inch over fork legs, the front end went back in the frame.
Michael
Nashville/TN
cl350 build/entry : part 6
Frame horns trimmed. I still need to fill the bolt holes, weld the seam, and add some bracing back in.
Fork ears trimmed. I will be removing the fork lock, and making a headlight bracket that attaches with the lower fork pinch bolts.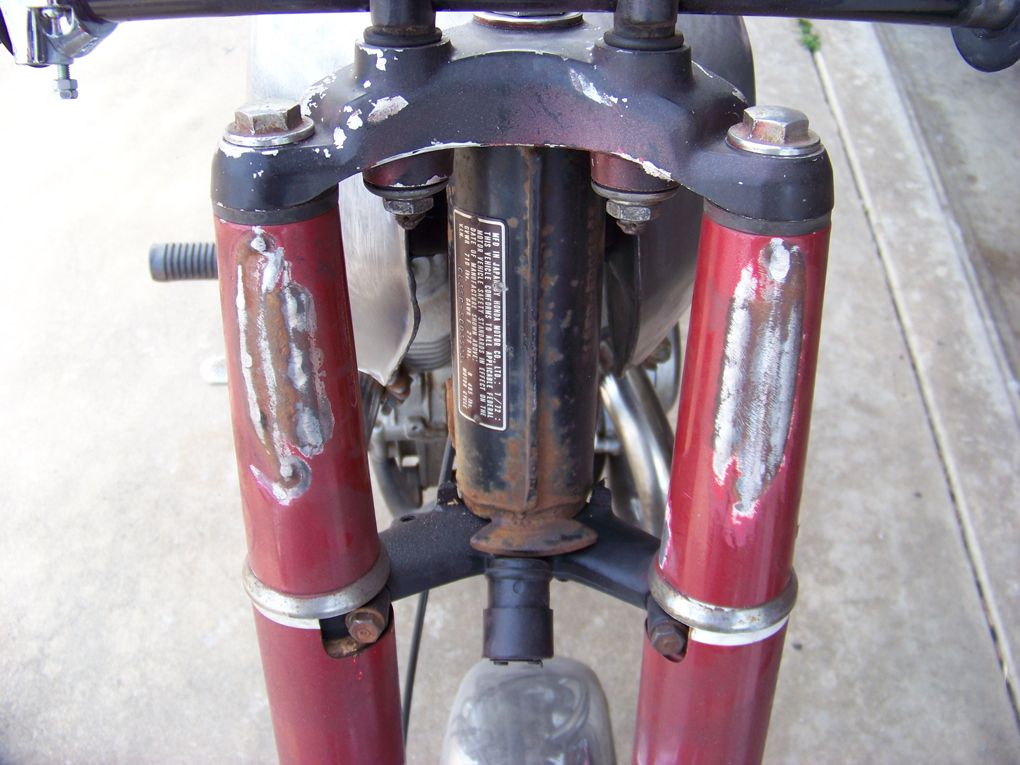
Need to fill these holes on both ears.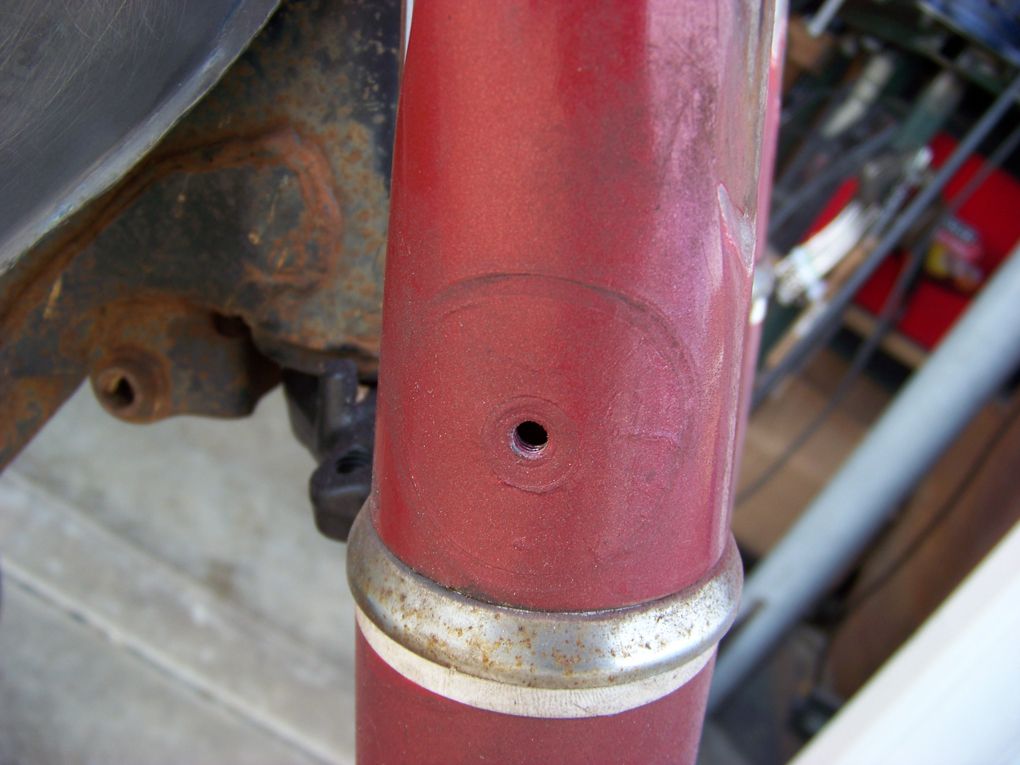
Rear profile.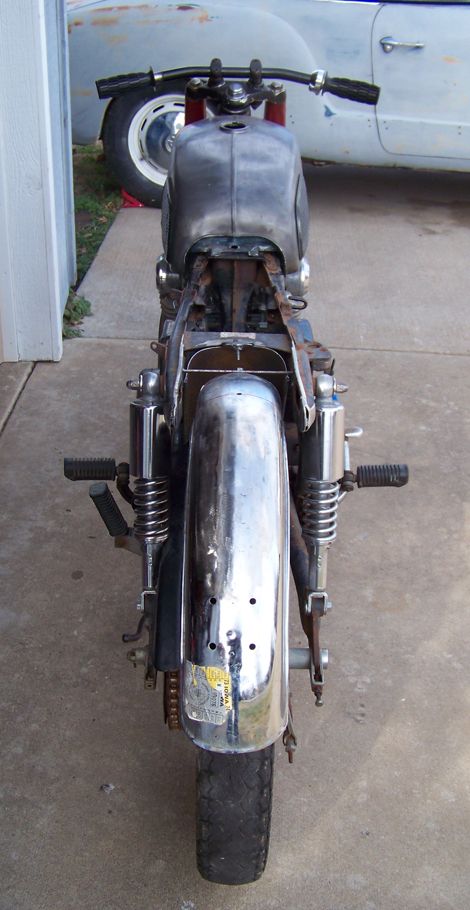
Side profile.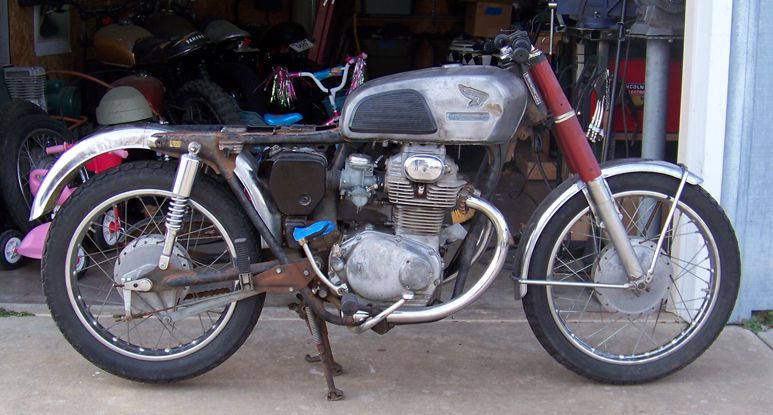
1/16/12
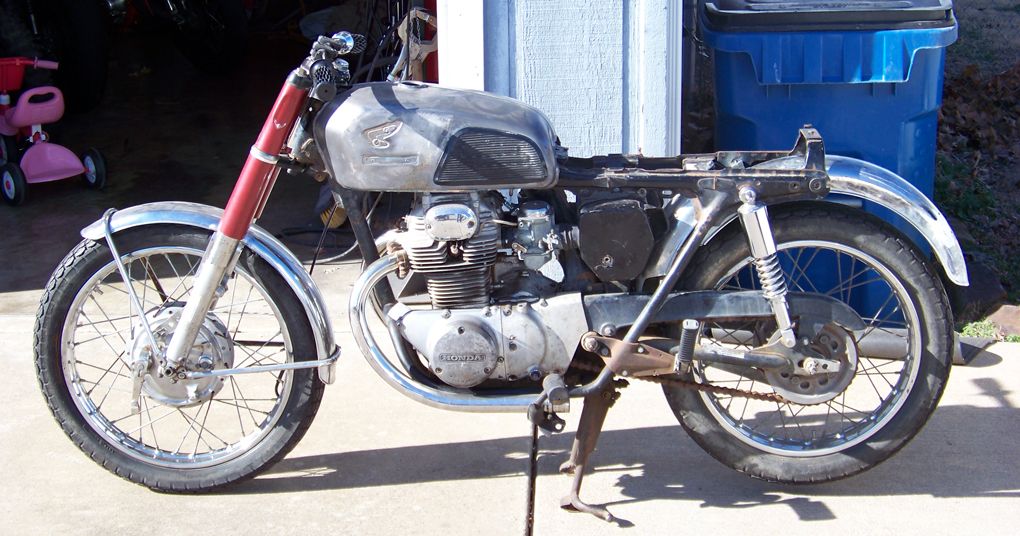
cl350 build/entry : part 5
Wow. I've been pretty lazy/busy as of late. No more excuses, time to knuckle down and finish what I've started.
The original plan was to run earlier model cb350 plastic sidecovers, however eBay prices are dictating otherwise for old cracked units. As luck would have it, a buddy snatched up some OG air filter elements and enclosures in trade for a set of cb360 units I had laying around.They actually look good without the sidecovers on, so the new plan is to clean them up and paint them silver to match the rendering. A little mesh here and there at the big openings should keep the nasty bits out.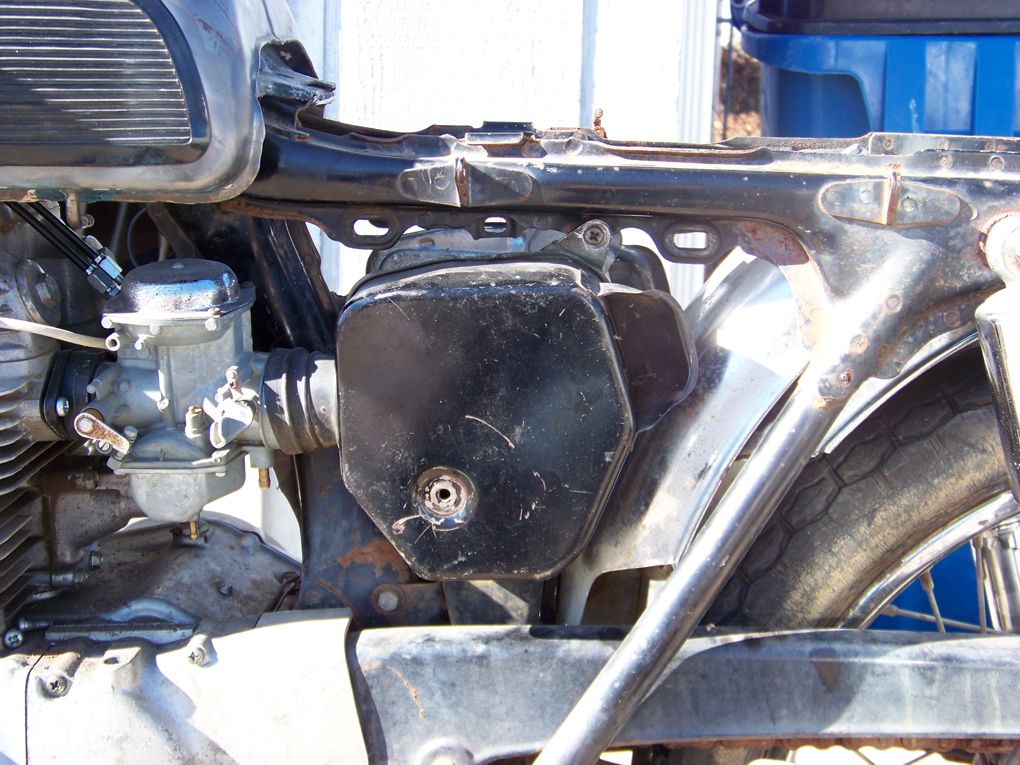
On to the rear fender. I have been looking at the side profile of a ton of bikes to try and get the right look. I finally settled on a cb125 rear fender which leaves me to figure out which way to mount it. It's been a real head-scratcher to say the least. There were a ton of brackets that were spot welded on GOOD, so a couple of hours of careful grinding yielded the proper profile I have been looking for. I ended up using the innermost part of the stock cl350 as a splash guard, and am currently finishing up the mounts for the cb125 section. The side profile is pretty damn close to what I envisioned, so things are on the right track. I also got a chance to start carving up the frame horns at the rear, but haven't snapped any pics of them in the daylight yet.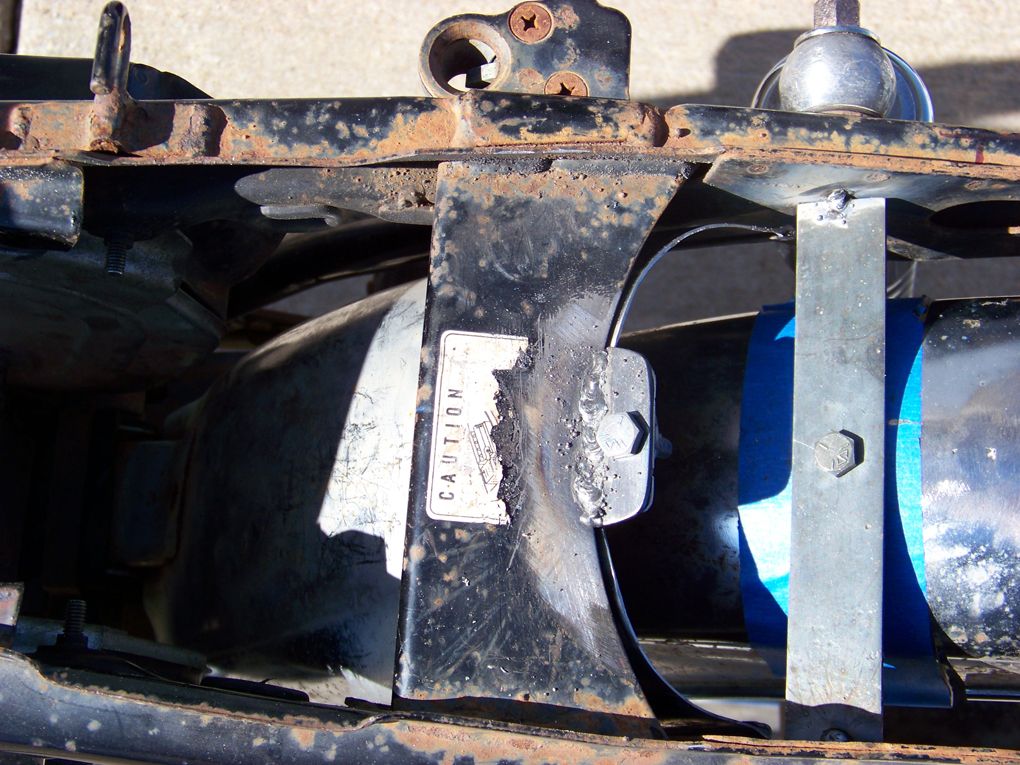
1/13/12
cb750-1 build/entry : part 1
Hi!
Here is my mail again, saw on the website that you lost it...
The bike is already on the road, runs strong!
Previously sent message:
When I learned about the OMS, I had to be in it! A week earlier I came across a cool CB750 Chop, that had been sitting since 1981. The bike is a typical 70's chopper, with 6" over forks, King and Queen seat and a 16" Harley rear wheel. The price was right at $750, so I bought it. I will only clean her up and make her safe, and keep the 70's vibe.
So far I spent $175 on tires, $17 on fork seals and 20 bucks on oil. Gonna be tight for the new chain...
See you!
Michael
Nashville/TN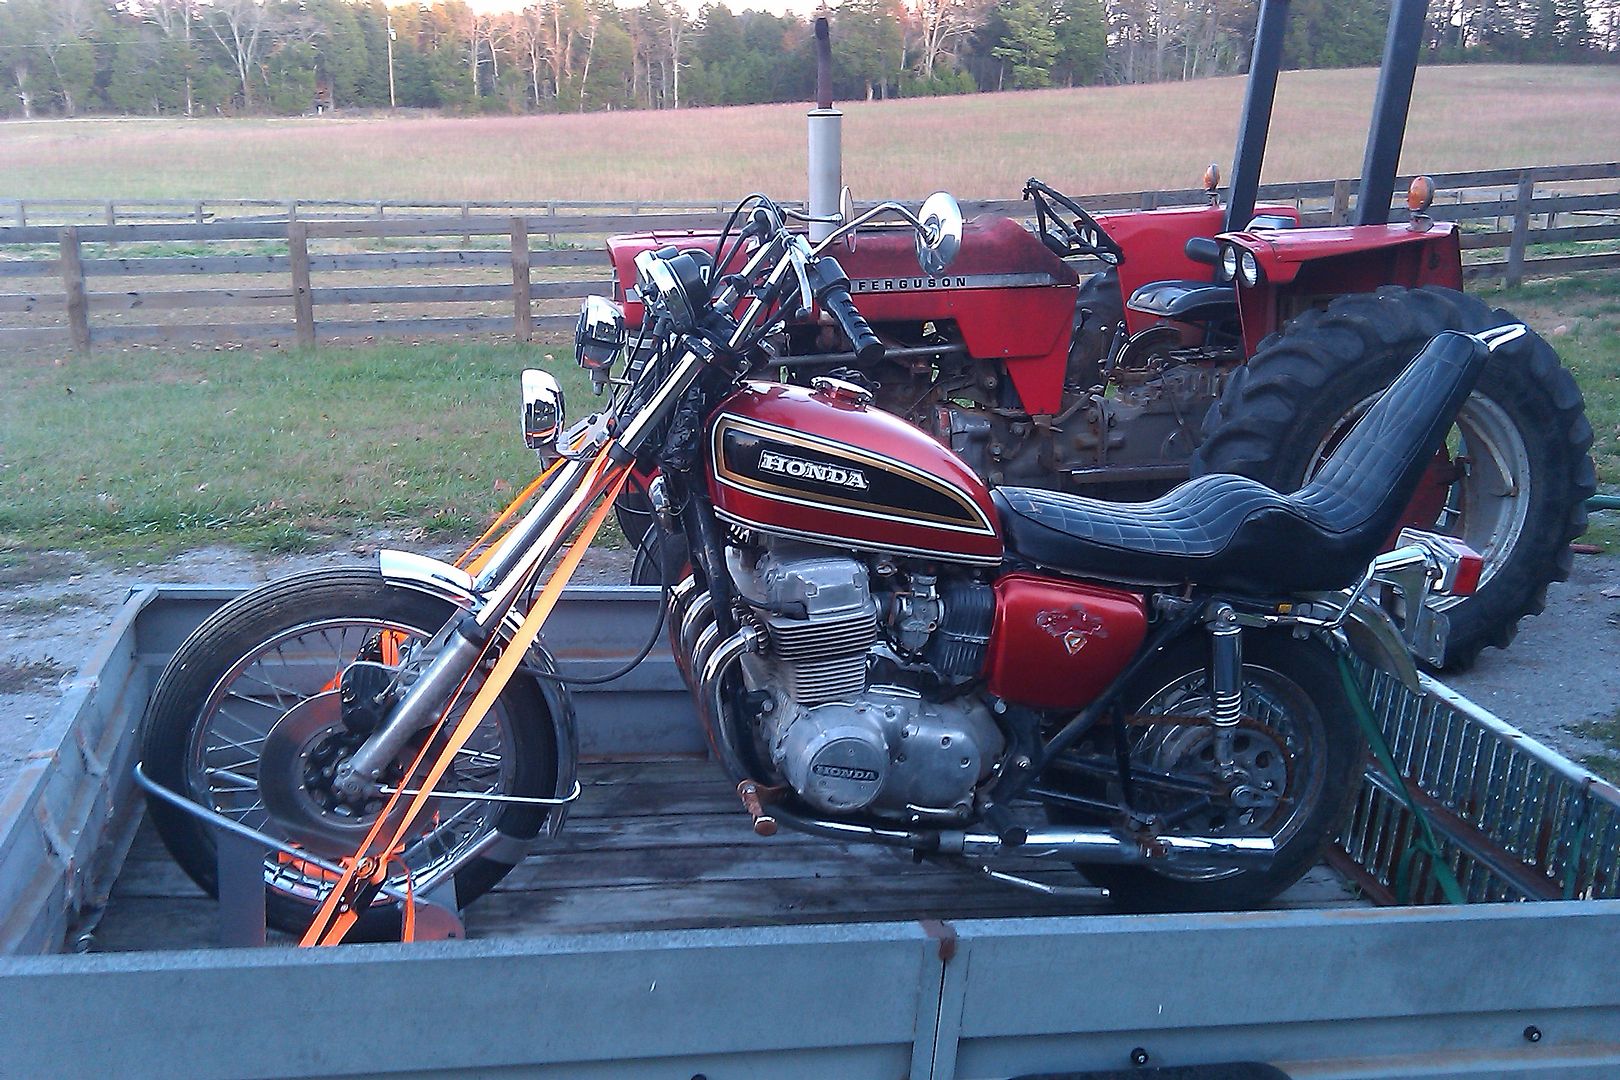
1/11/12
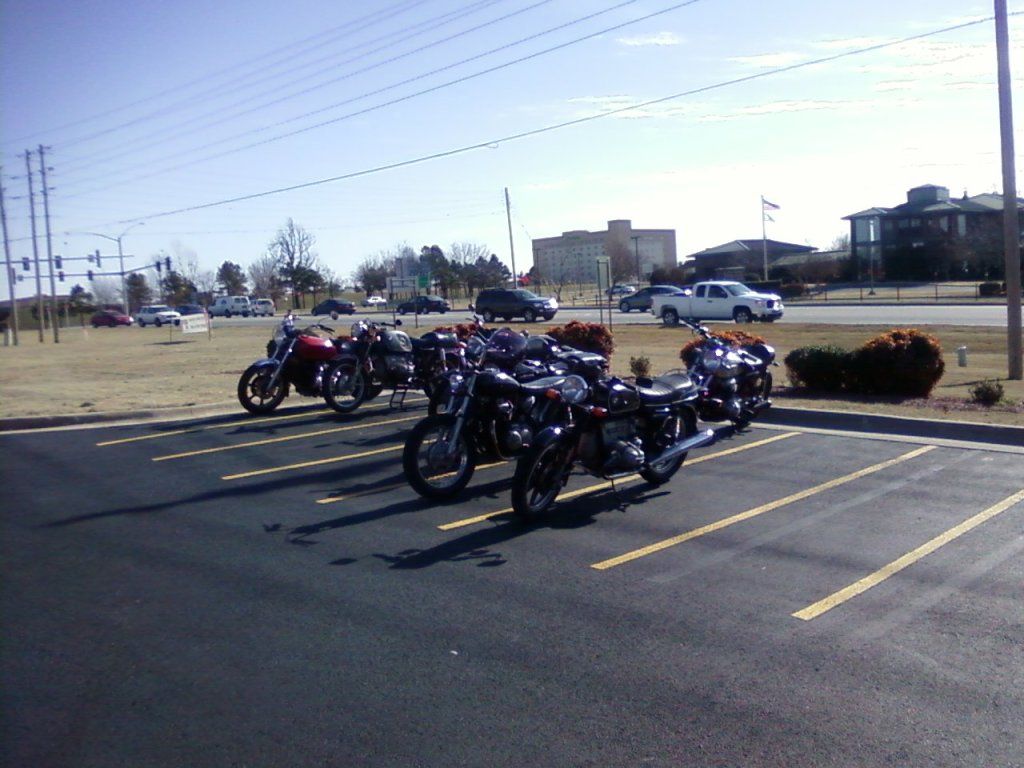
going away party
Had a quick ride through the local area Saturday to see off a good buddy that's moving to Australia. Decent coffee, shitty food, good times. Hopefully we can squeeze in another good ride or two before he officially leaves the country. If not for this guy, I wouldn't have met a fraction of the riders in this area that has eventually morphed into a riding club. Thanks bud.
1/10/12
cb550 build/entry : part 4
Got my ebay prism tank today. Its well made of heavy steel. Its going to take some serious mods to mount it and make it look right but in the end it fits the look I'm going for. I may end up cutting the back bone out of the frame and welding in a new one. Obviously the coils will have to be moved but that's no big deal as long as I can put new longer plug wires on them. Never done that before, and the wires almost look like they are molded into the coils?? Anybody done this before and want to chime in???
Brad

xl500 build/entry : part 2
Mike 47 Update:
Dropped it 6" with the cb360 front end and another 2 1/2 of fork tube shortening. 26 degree front end? Oh fun. Got the front wheel mocked on there. Ryan did a sweet job of turning my 12MM front axle from 4130 moly. I'll make the spacers next. The spacers are gonna be the axle retainers as well as the adapters to get the 12MM axle held in the 20MM fork holes.
Jay Carr is my hero for finding me the stem nut. I'll get crackin' on that real soon so I can wrap up the steering bearing issues and a steering stop set.
Did some looking at the rear wheel in place and I said screw it and ordered up a '82 swingarm. Gonna keep some cushion this time. Probably need to rework the axle plates to work with my rear wheel but I can cut and weld ok. I found a pit bike shock with a super heavy spring for free-score!!!!. That'll bring the ass down. Hoping to have it all rolling for real in a few weeks. for now it looks like this: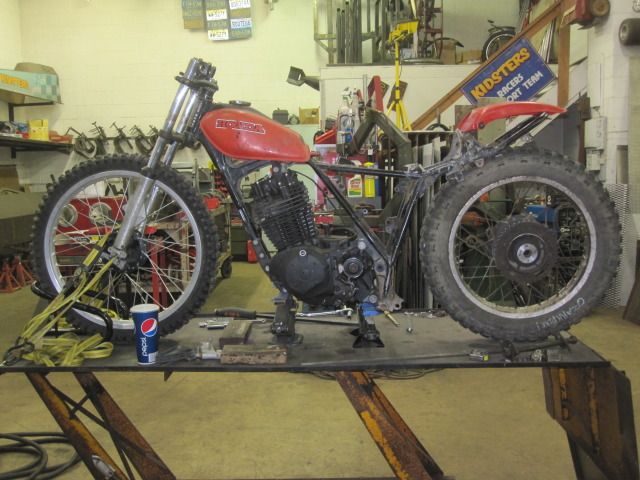
1/5/12
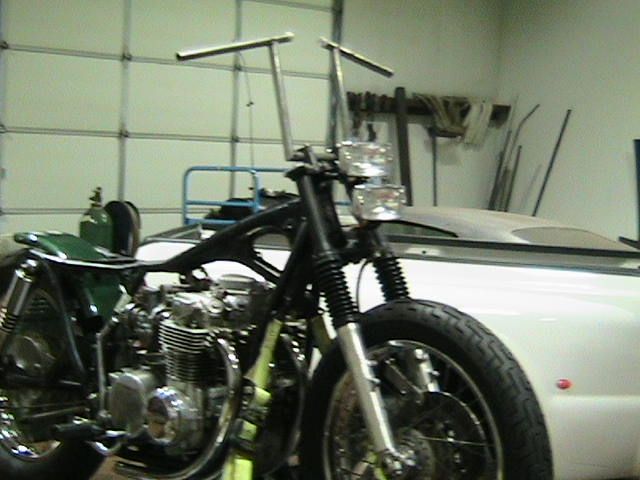
cb550 build/entry : part 3
Got some cheap fog lights off of ebay. Made a bracket and mounted them. Also got a prism tank on the way. This turd is going to be 70's fabulous.
Brad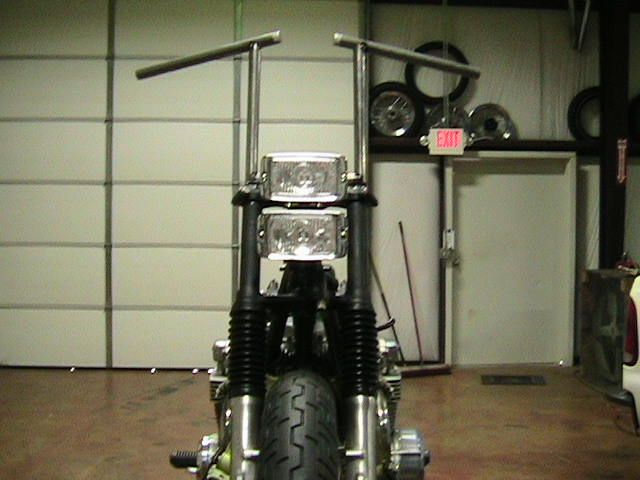

1/4/12
cb750 build/entry : part 1
Hey, I'm down in Little Rock and this seems like fun. I have a $500 76 cb 750 that does not need much, if anything, to do the ride. Maybe just a little in the style dept. It even has Arkansas plates now.
Jonathan

1/3/12
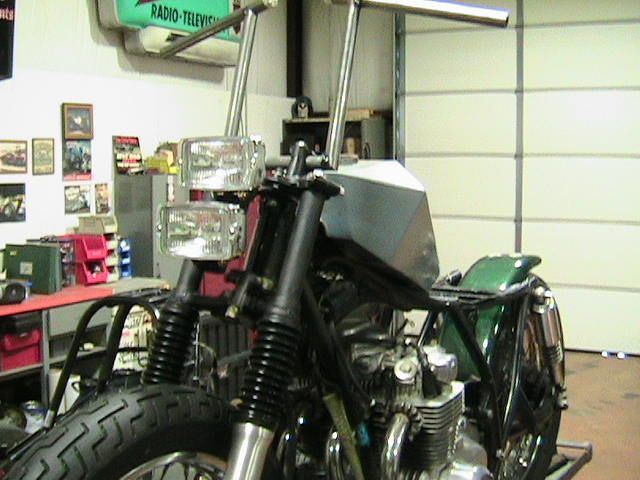
xl500 build/entry : part 1
So I scored the frame I need. Still waiting on the title to arrive for it but I think it'll be a non issue. So in light of that I decided to pull a few parts out of the pile to see what I can come up with. The chosen few include my newly acquired 1979 Honda XL 500 S frame ($200)The rest has been sitting here waiting for other ideas I've had that have come and gone but the run down is: a cb360 front end($30), an XL something or another gas tank and rear fender($10), a Suzuki something 21" front wheel complete with killer knobby tire ($5), and '82 FT500 Timken bearing kit that just might work ($30). That's $275 already!! Shit. Oh well, hopefully I can sell the cb front wheel off the front end to recover a few $$.
So I mocked up the front wheel, front end and frame and of course nothing fits. Not even close. The front hub used a 12mm axle, the cb front end was 20 mm, the steering stem is 3" too long and the bearing races don't fit in the frame. I need to get going on fixing all that crap later this week. More updates to follow but here's a pic to get started: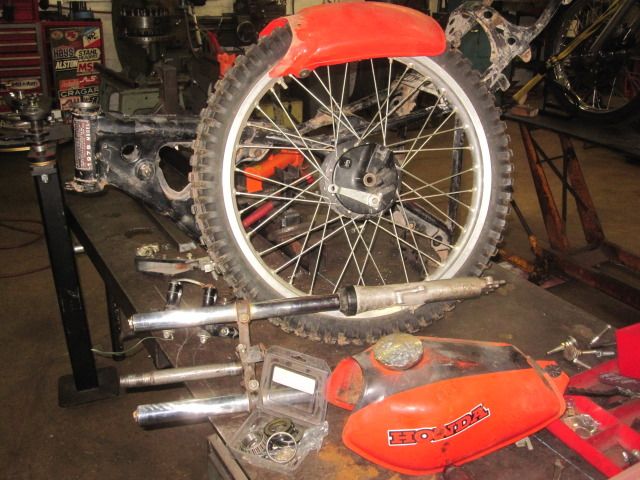
I'm going for some kind of dirt bike chopper thingy. Not really sure where it will go or if it'll work out or what. We'll see what happens.
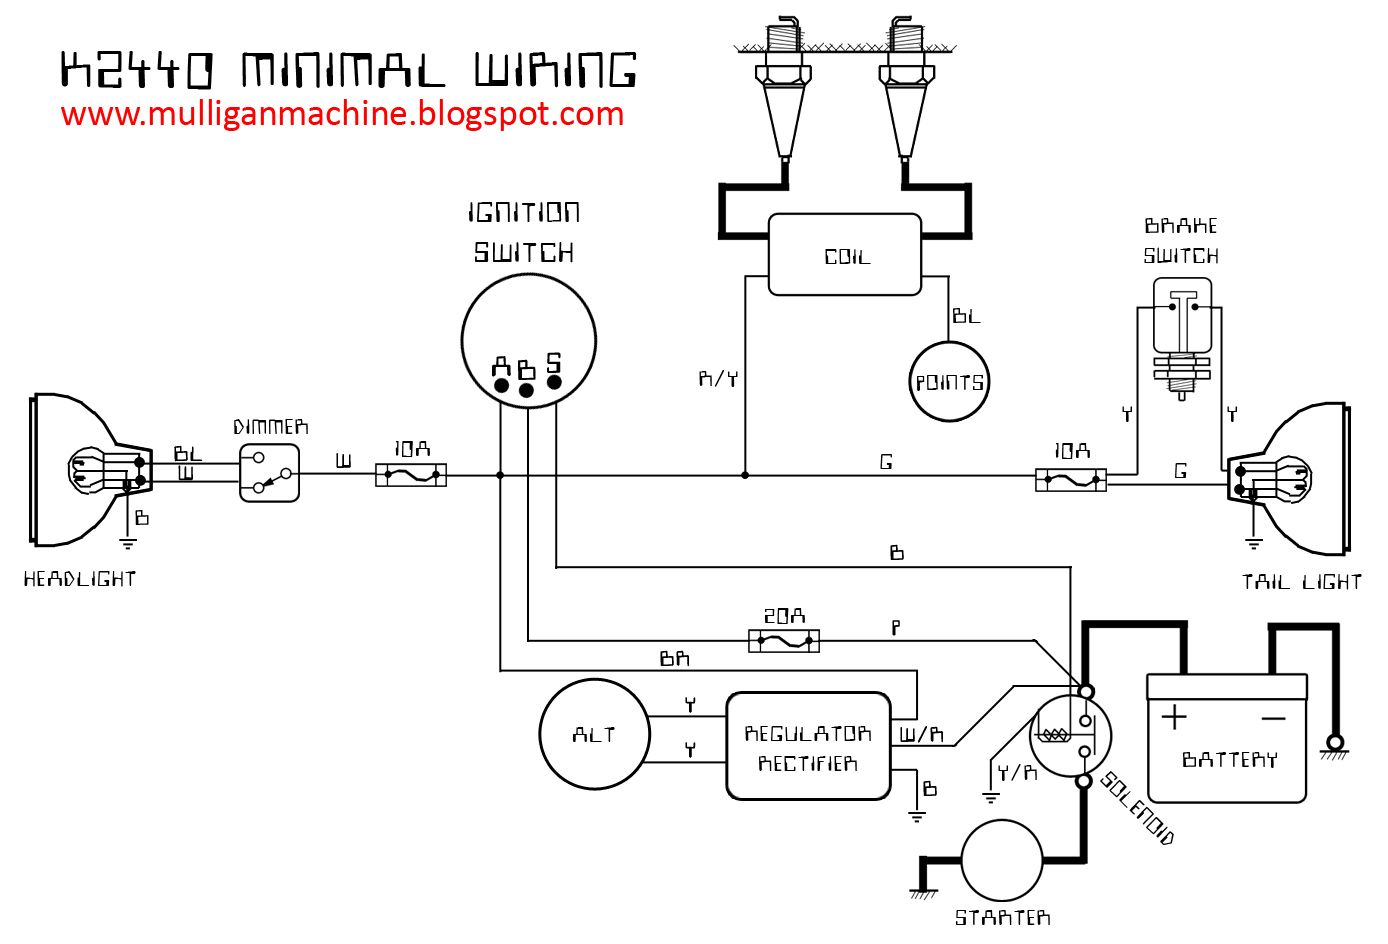
kz400 build/entry : part 1
I’ve chosen two bikes for the OMS. (Yes, I know I can only ride one at a time.) One is a 1974 Yamaha RD350 that I’ll write about later, and the other is a 1977 Kawasaki KZ400. I spent some time Christmas Eve checking it over, and I’ve already learned that while the bike is a 1977 model, the engine has been swapped in from a KZ440, probably from 1981. (The frame should be the limiting factor for the OMS age requirement, so I think we’re in the clear on that.)

1977 Kawasaki KZ400
An initial list of things that will need to be addressed, or perhaps just ignored to stick to the budget:
- The rear sprocket is pretty ugly, so it would be good to replace it. That means replacing the front sprocket and the chain, too.
- The fuel tank is ugly on the outside, but what matters is that it’s rusty inside. I’ll treat it with either Caswell’s or POR-15 so that rust doesn’t end up getting into the carburetors.
- Tires, tubes, and rim strips should probably go without saying, since the bike hasn’t seen a road in many years. The OMS route is about 600 miles, and the ride out and back will add another 1000 or so miles.
- The steering head bearings are a lot loose. Regardless of that I’ll need to clean and regrease them, but “loose” often means “screwed up,” too. If the parts are cheap enough I might just replace them for good measure.
- I’ve already removed the carburetors, and they don’t look all that bad inside. They’ll get new o-rings and rubber plugs where needed and maybe rebuild kits for good measure. The carb holders are pretty well ruined, so I’ll order a new set. The airbox-to-carb boots look good enough, though I suspect they’re not a perfect fit.
- The headlight and chrome trim that holds it in place are both missing. Since I believe in stock motorcycles, I’ll probably try to get stock parts for this. Adding an LED headlight could be amusing and might fit the budget, but it would be weird to use a modern component here without changing anything else from stock.
Oh, and then there’s the right muffler rubbing on the rear brake arm, plus the angle of the luggage rack relative to the fuel tank, handlebars, etc. Based on the evidence so far, I suspect this bike was crashed at some point, and that as soon as I get it to where I can do an actual road test, I’ll find that the frame is “tweaked.” Whether I try to remedy this problem will depend on just how badly it rides. Fingers crossed on that one; I’d really rather not have to convert this into a parts bike. (Or maybe it will give me a chance to learn frame straightening, because that’s a great idea.)
Note to self: a previous owner put later-era cast wheels onto this bike, which means it takes tubeless tires. Besides being better than tube-style tires (easier to fix punctures), this saves me money on both tubes and rim strips, since they’ll be unnecessary. Maybe I’ll splurge and install new valve stems.