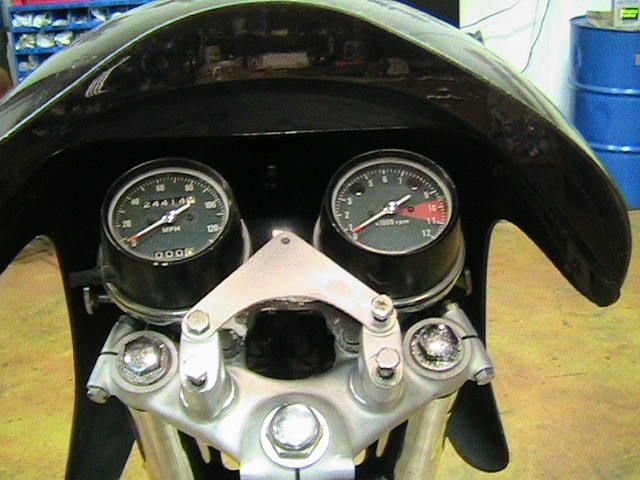
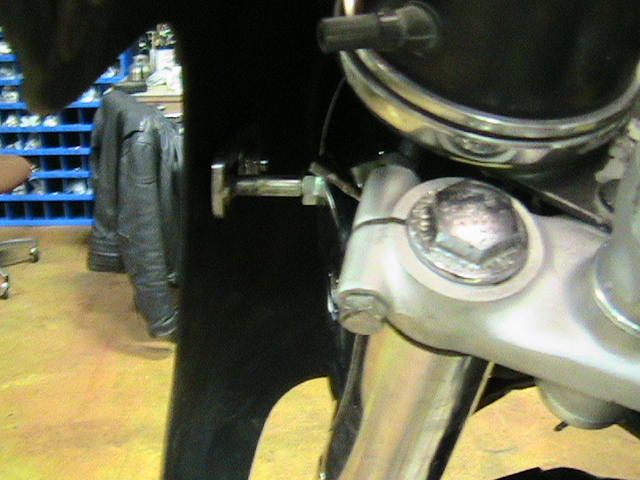
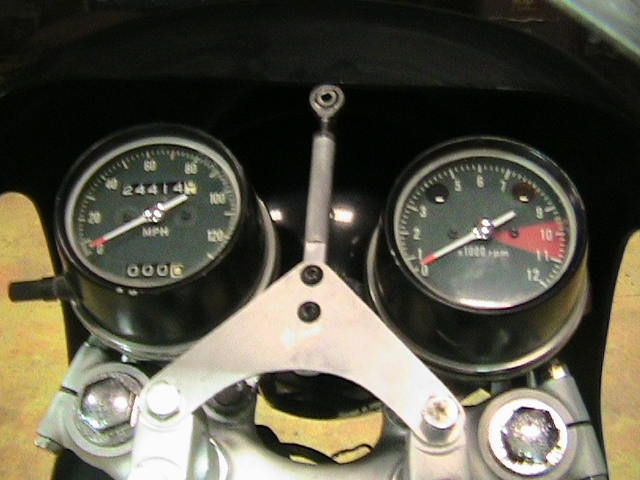
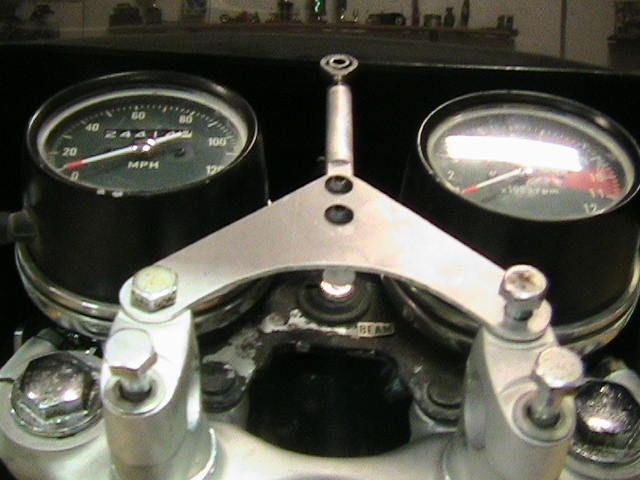
6/1/11
5/19/11
cb450 build/entry : part 12
4/2/11
cb450 build/entry : part 11
3/31/11
cb450 build/entry : part 10
3/15/11
cb450 build/entry : part 9
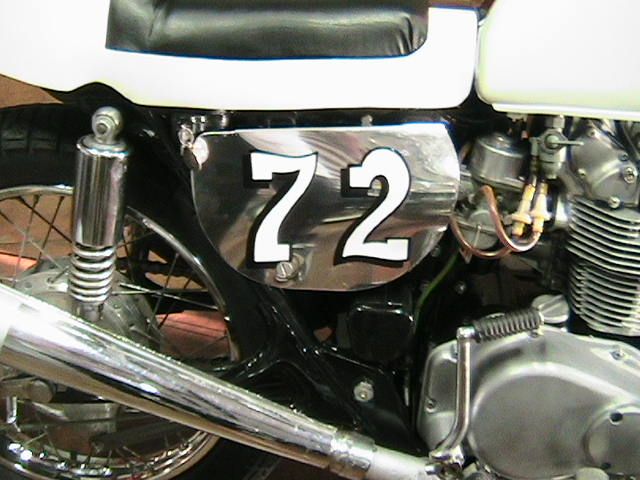
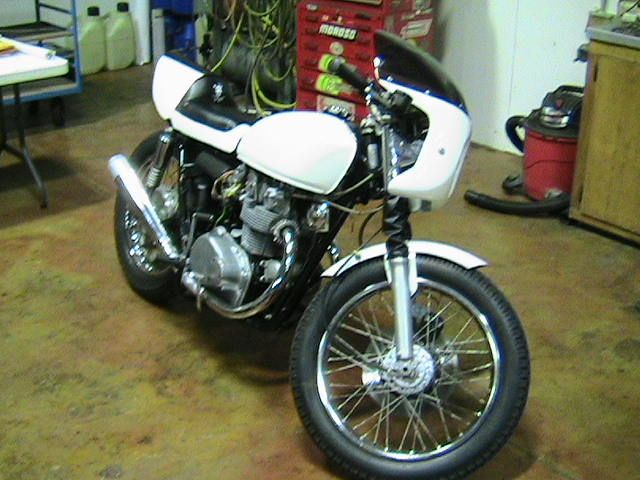
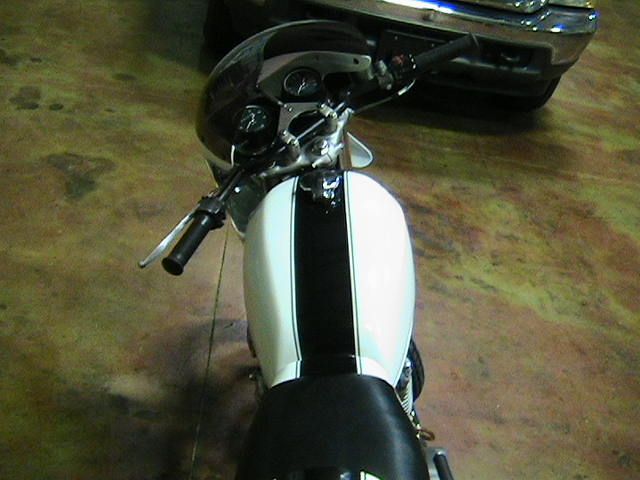
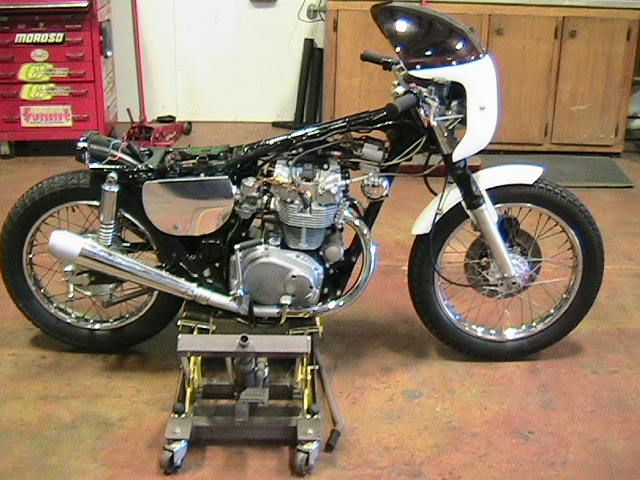
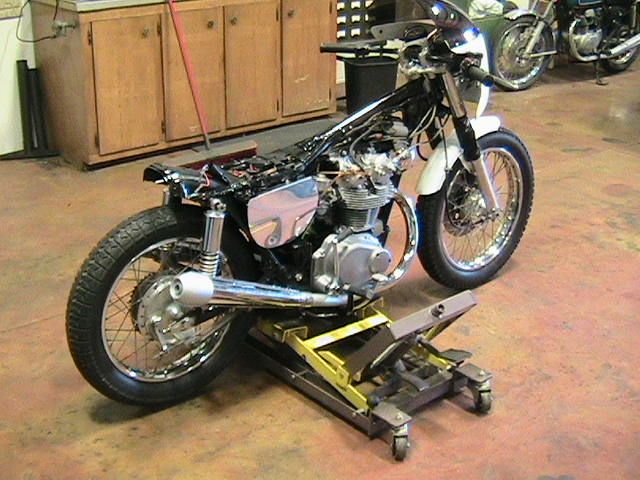
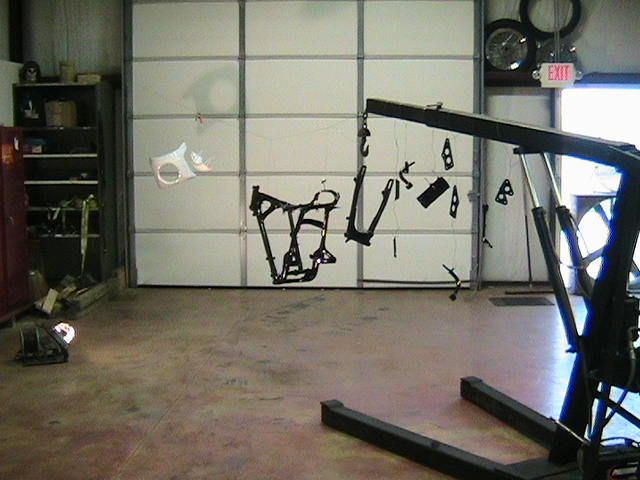
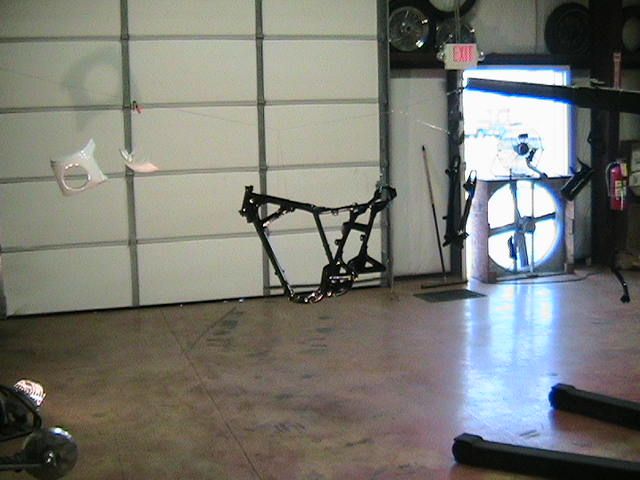
All the fab work is done. bike is blasted apart for final cleaning, detailing, paint and reassembly. It has been a little slow going on the engine since I am cutting all my own gaskets etc but here's a picture of it so far. Simple semi gloss black on the cases and cam covers, just a good scrubbing on the jugs and head, and beadblast/scotchbrite on the side covers and cam adjuster covers.
Brad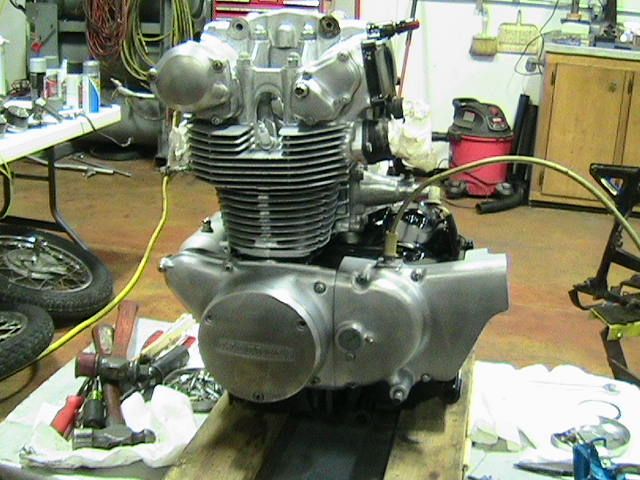
3/2/11
cb450 build/entry : part 8
2/28/11
cb450 build/entry : part 7
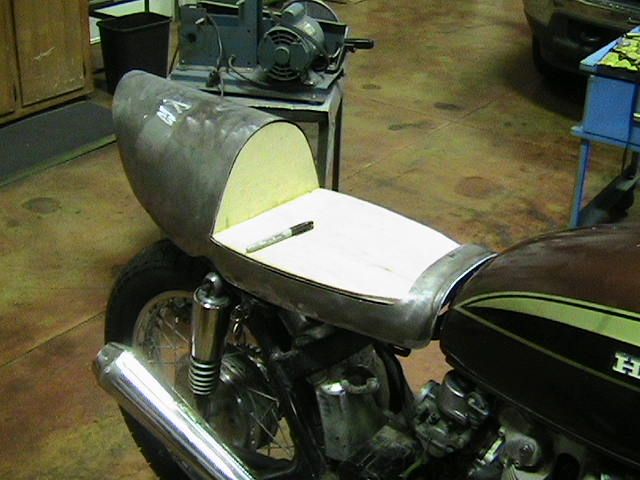
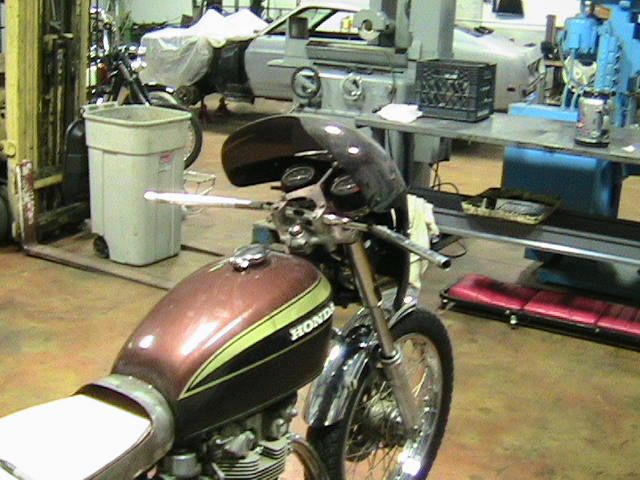
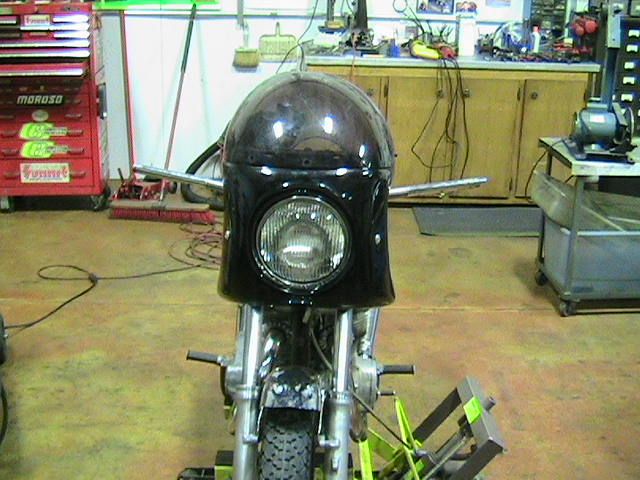
Finished welding and did lots of sanding and grinding on the tail. I also built and welded in a back panel and a mounted tail light ($10 off my budget - down to $145) Built a wooden base for the seat. Made some extensions and plugs and tacked my handlebars in place. Had to make them long for the master cylinder to clear the fairing but I think they are going to be comfortable.
Brad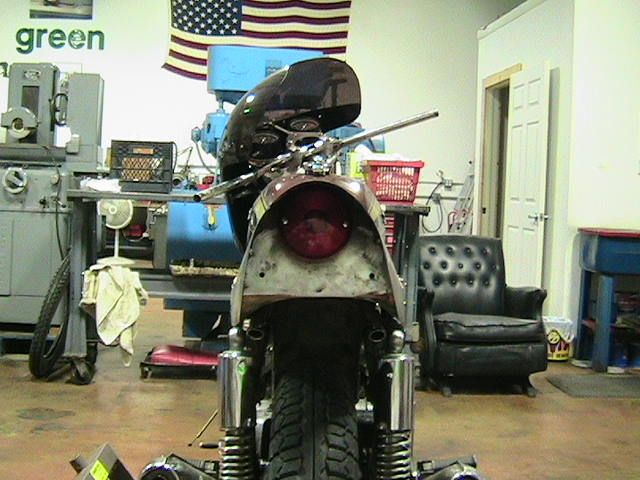
2/17/11
cb450 build/entry : part 6
Got the other side pipe done and smoothed out the welds and made brackets for both sides. Started on my seat/tail. Got it cut out and tacked up. It looked a lot better with the poster board mock up but I am going to use it. I think it'll look better with paint. I am also going to make a hidden stash compartment in it since its kind of big.
Brad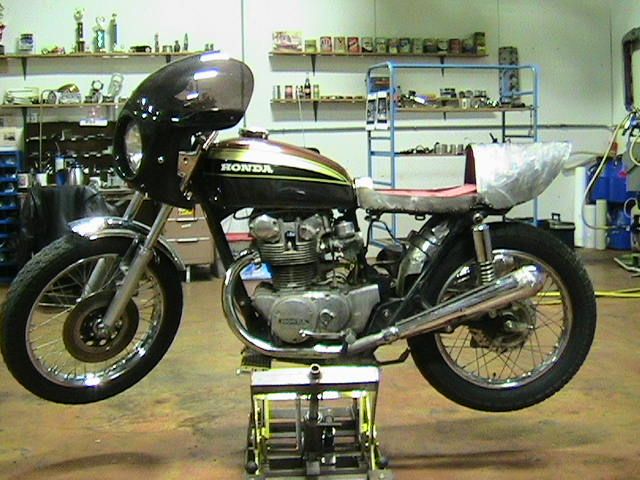
2/11/11
cb450 build/entry : part 5
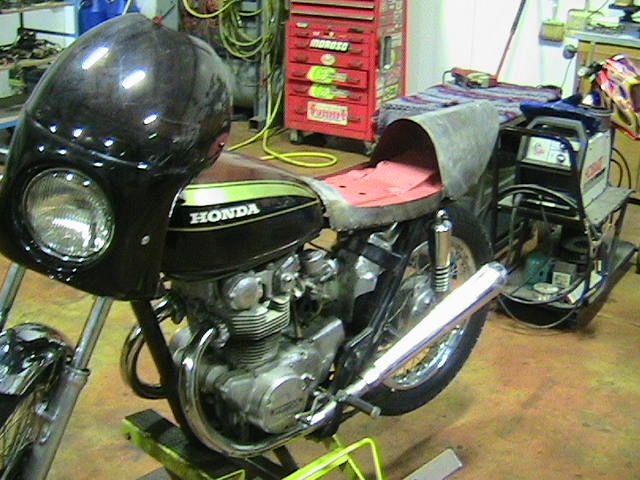
Decided to work on the exhaust today. First I cut off the stock ugly foot pegs and welded on the passenger pegs which are smaller and better looking but still fold up if needed.
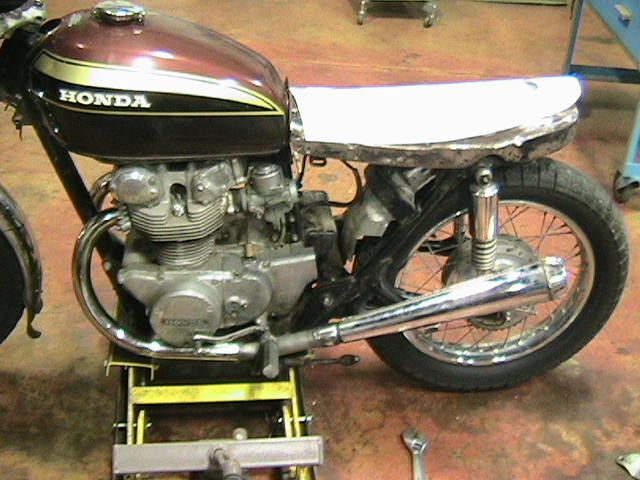
Then I cut my mufflers down and welded the ends back on. I basically removed the internal baffle section. Not on purpose but it turned out that way. I also had some really rotten spots on the bottoms so I scabbed some patches on those. I'll come back and smooth all my welds down some other day as I was running out of time today and wanted to get at least one side done.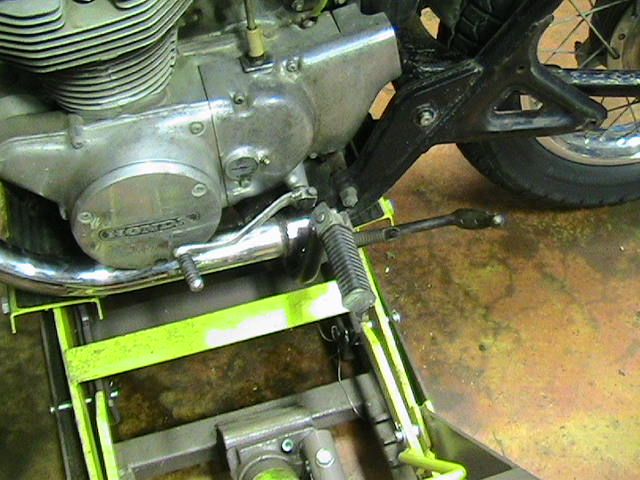
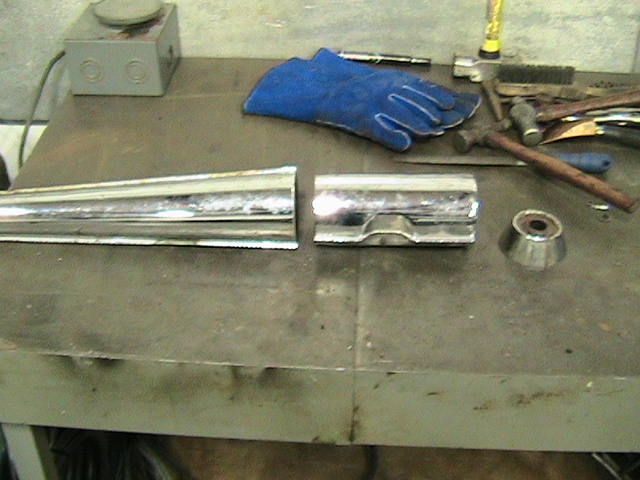
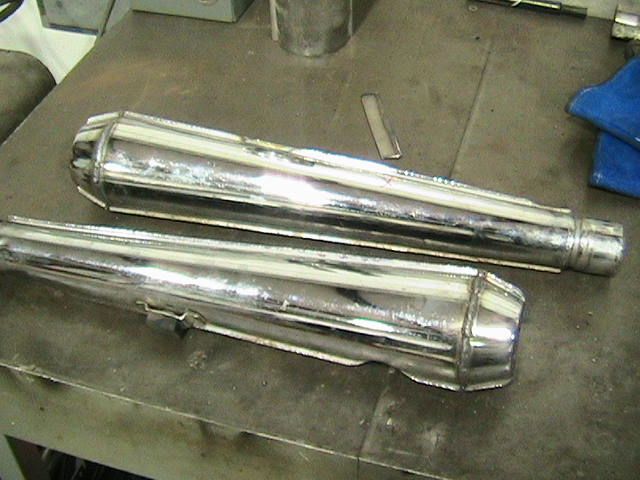
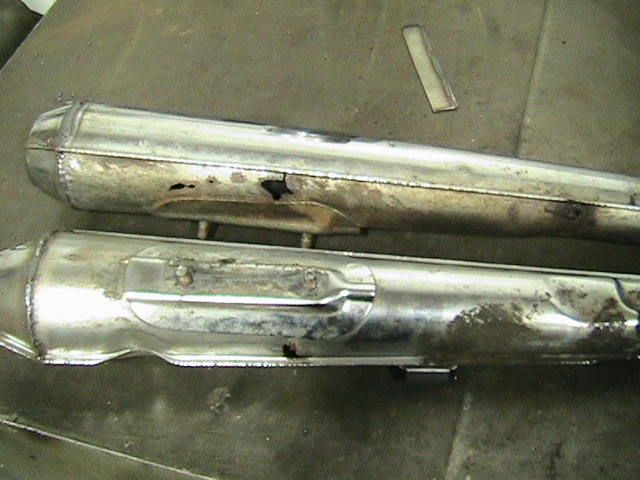
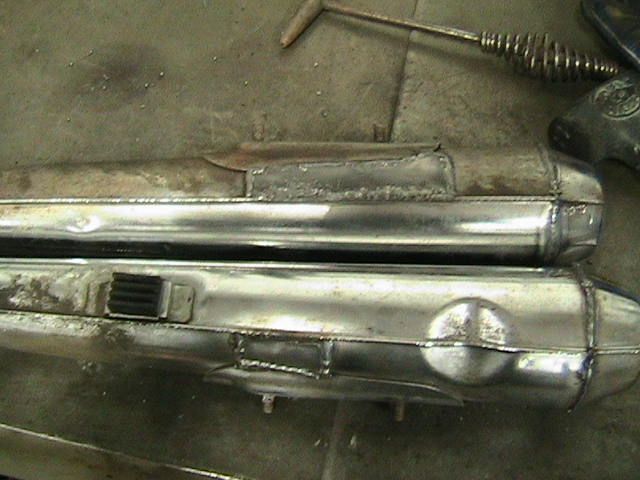
I wanted to kick the mufflers up so I got an old single cyl dirt bike pipe from a buddy and bead blasted the rust off. I cut a couple of bends and straights out of it to use. Cut my down pipe, inserted the bend and then welded it up. I am pretty happy with the way it turned out. I just hope I can get the other side to match perfectly.
Brad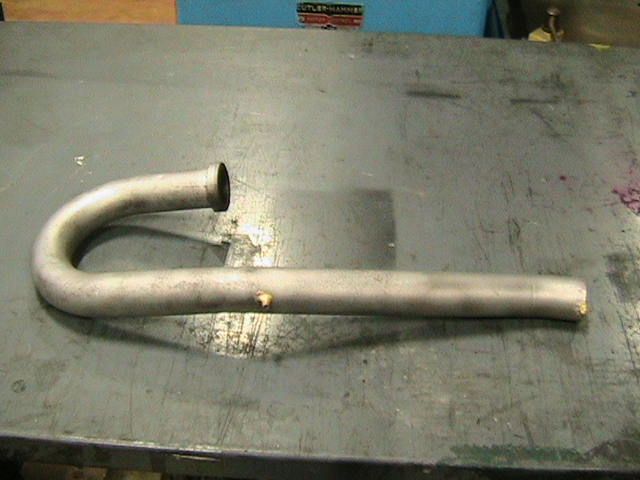

P.S.
I sold some of the stock parts from this bike on craigslist and ebay for $75 so I have $155 left in my budget to have this bike ready for hard riding....Should be OK and able to buy a front tire, chain and brake pads with enough left to buy some rattle cans for the paint job.
2/4/11
cb450 build/entry : part 4
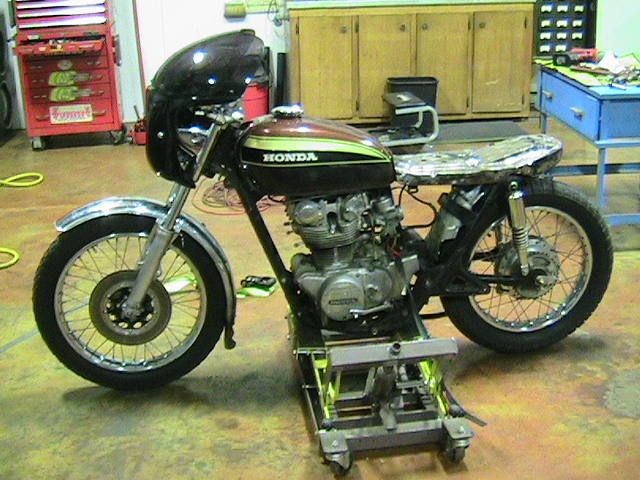
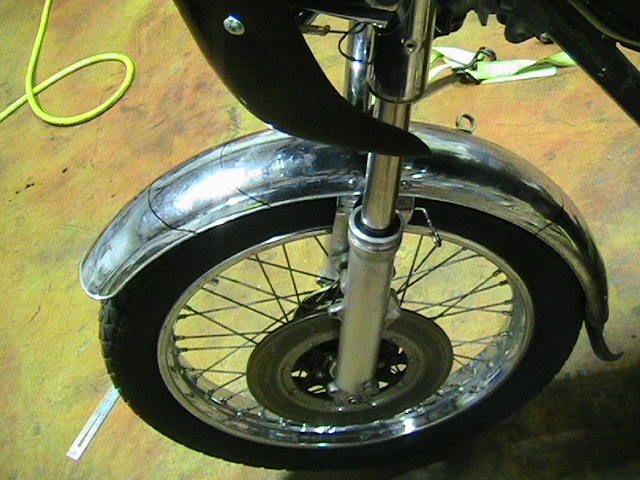
This morning I finished the top fairing mount and stuck the wheels on. Made some marks on the front fender as I figure out if I want to trim it or just leave it off. I am also going to try to use the original seat pan for my cafe seat/tailpiece combo. Its a bit wide but it hinges and locks which will be nice because my electronics will be under there. We'll see how that turns out I guess.
Brad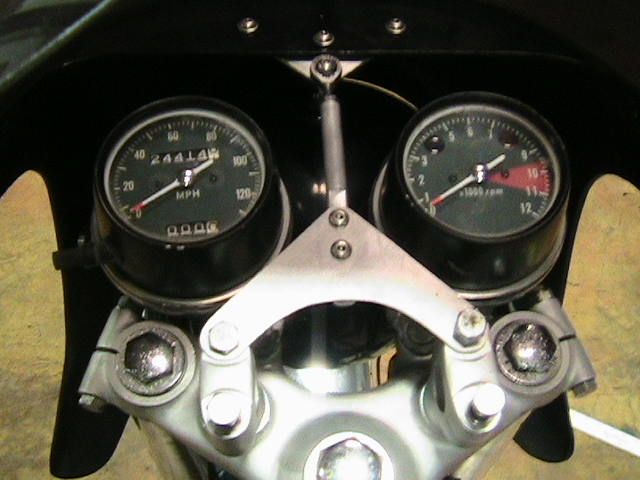
2/3/11
cb450 build/entry : part 3
cb450 build/entry : part 2
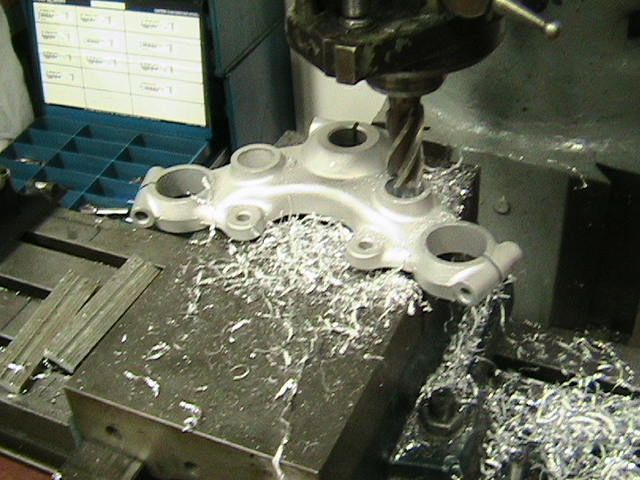
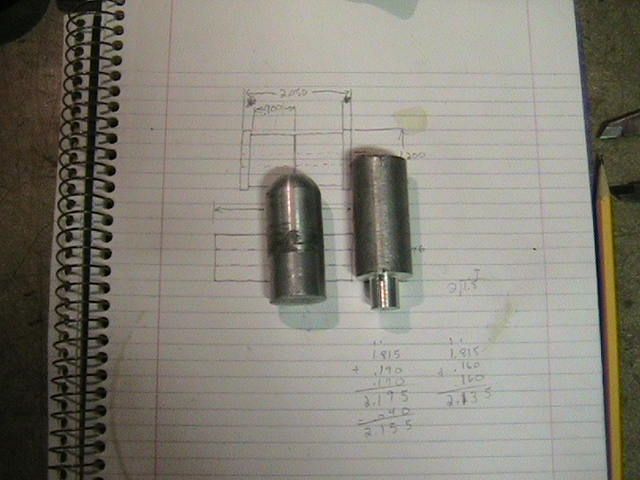
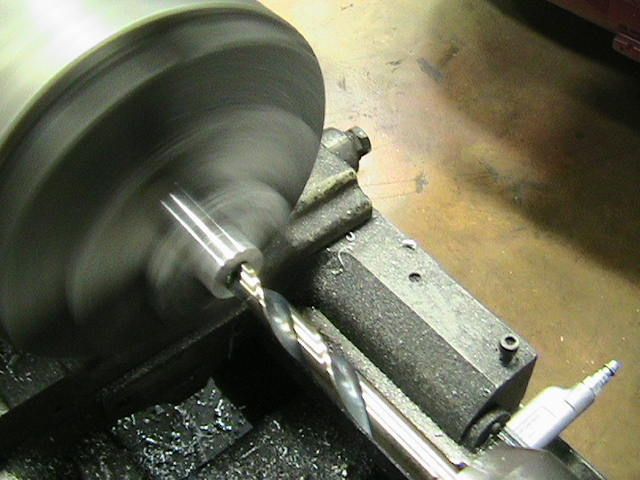
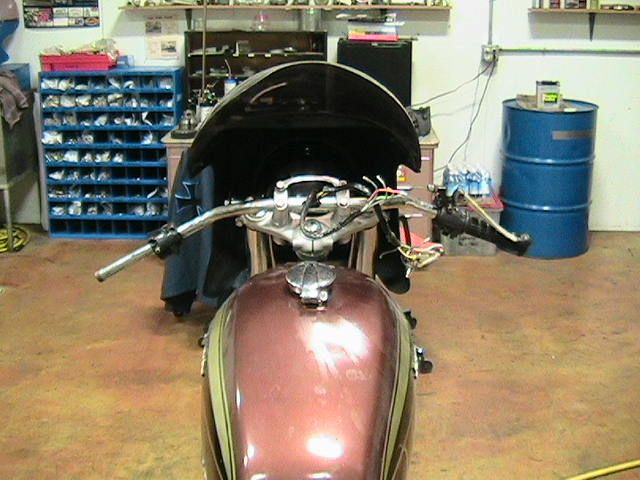
Decided before I pulled the engine and got it all shiny I needed to do a complete mock up of the bike front to rear. First picture is of my recently bead blasted, cleaned, and painted front end parts. Before I assemble them for mock up I needed to make some handlebar riser bushings as the tapered rubber originals are junk. I made some solid aluminum bushings. The second picture is the top tree in the mill. I had to bore the holes out straight since they were tapered from both ends. Next I found some 1" round scraps (third picture), face cut them to length and turned them down to tightly fit the 7/8" bores I had made (fourth picture) and then bored them for the risers to bolt through.(fifth pic).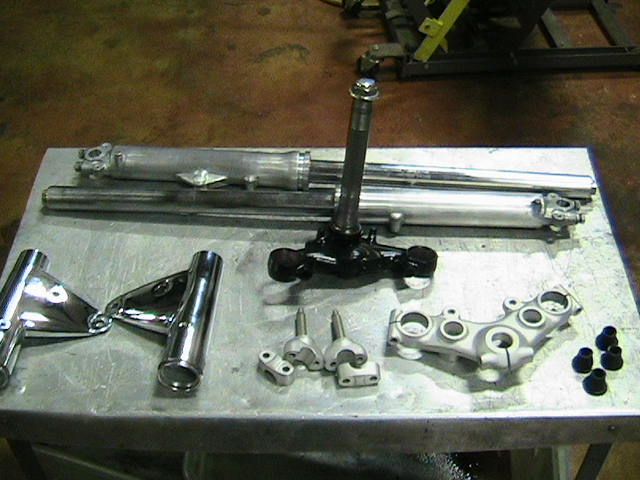

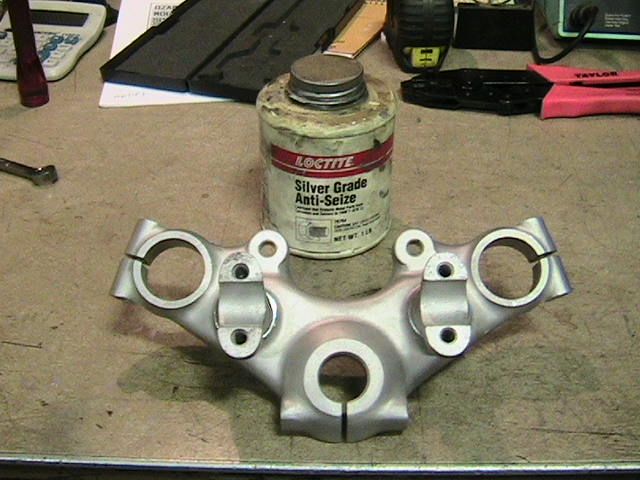
Next picture is of the finished bushings and the parts ready to assemble. Then the following picture is the finished assembly - I used anti-seize on everything since it was all aluminum with a tight fit.
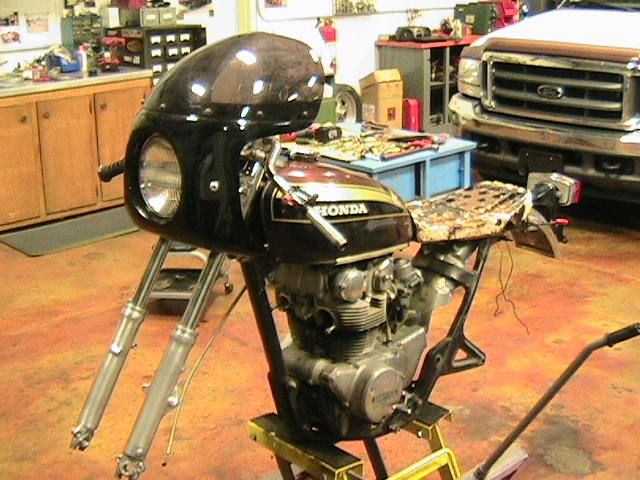
I stuck the front end together and put it on the frame. I zip tied the fairing in the approx location to start designing and building mounts for it. I am planning on cutting my handlebars up and making some poor man's clip ons - which is a good thing because as the last picture shows they are bent badly.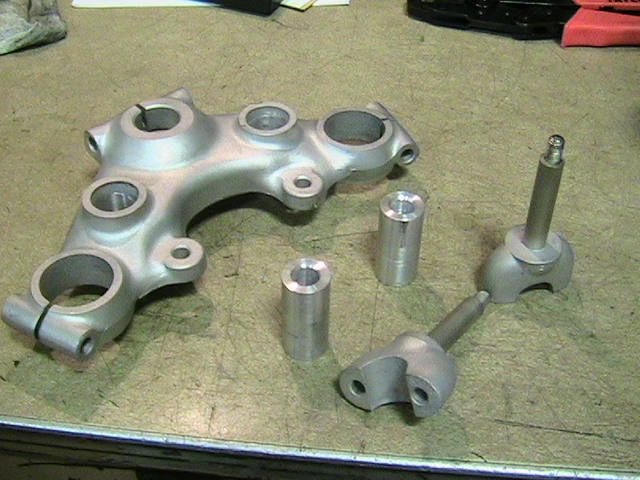
Brad
1/31/11
cb450 build/entry : part 1
Brad sent me some pics and a little background on the start of his build for the ozark mountain scramble. couldn't be more stoked to have others start to make a commitment to the run, let alone as much help Brad has been willing to shell out. here's the skinny from the horse's mouth...
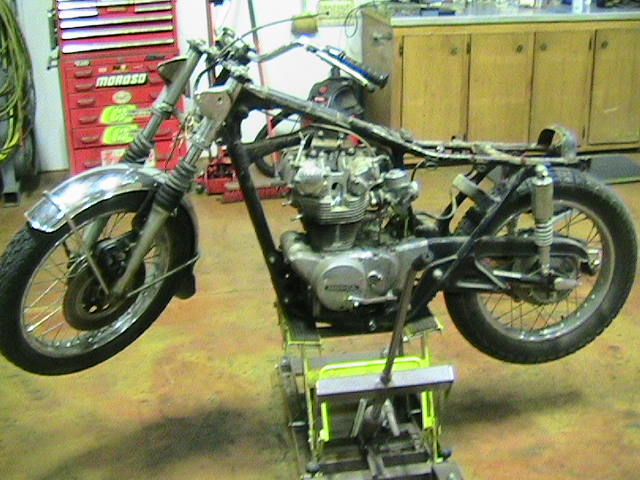
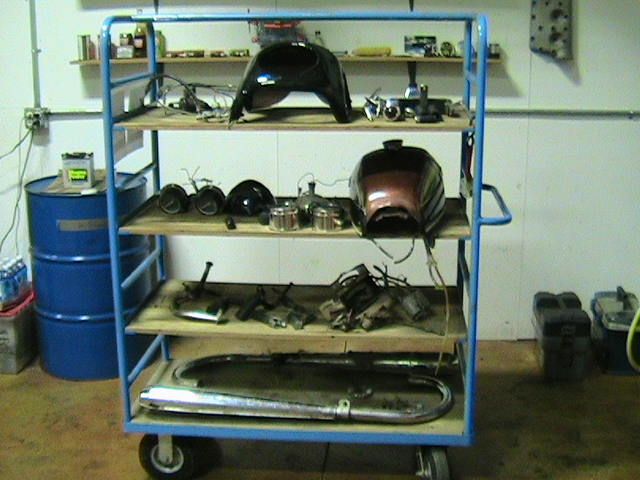
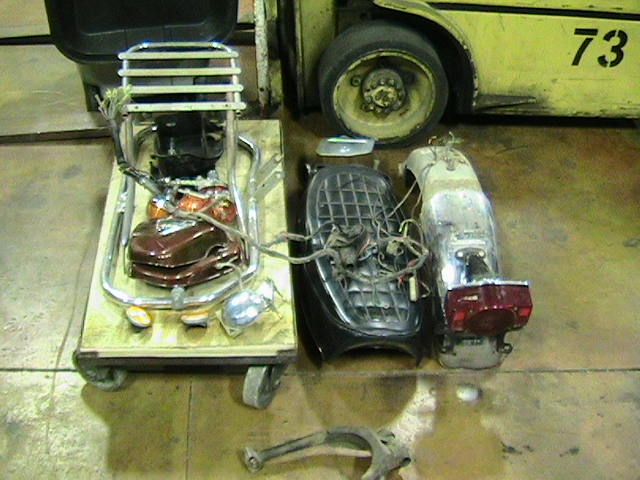
The first picture is the 72 CB450 as I purchased it. A 24K mile unmolested original. I am lucky because I get to be the first to molest it! The bike looks a lot nicer in the picture than it really is. Underneath the seat, tins and tank it is very crusty.The second picture is after I spent a few hours stripping it down this morning. The 3rd pic is the parts that will go back on the bike in one form or another. The last picture is of all the parts that I am going to try to sell to fund the build. I was careful with the wiring harness hoping to sell it as a complete, unmodified original harness. I got a crash bar and luggage rack with the bike that will hopefully be able to bring in a few bucks. I spent $900 to buy this bike. My thinking is that spending extra for a very good engine/trans etc would reward me because I can do most of the rest of this build with rattle cans, elbow grease and scrap metal. I paid $20 for the black 1/4 fairing in the third picture so I am at $920 on a $1000 budget. I am hoping to sell most of the take off parts and maybe pump another $100 back into the budget so I'd have $180 for paint, chain & misc - maybe a new front tire. Of course there will be things I didn't plan for so I need some extra $$.
I really like the CBs that Dime City Cycles is pumping out so I am doing a mild "Manx" style early Cafe build with this Honda.
Brad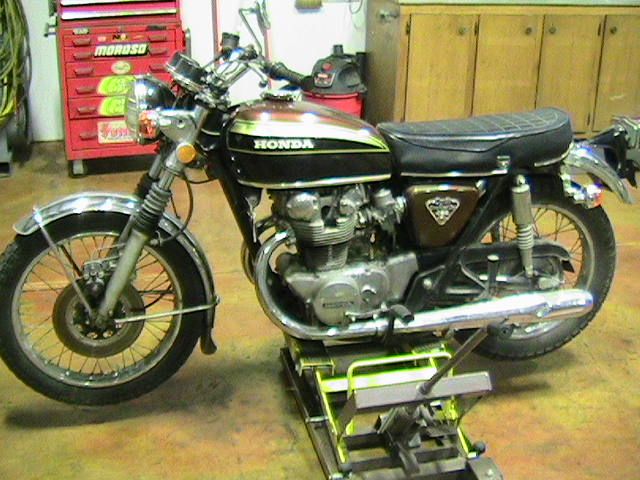
if you would like to submit any build pics/information regarding your ozark mountain scramble entry, send them to hatchethairy@yahoo.com

