These are the official hotels of the run. In order to get the group discount you need to mention you are booking with the Ozark Mountain Scramble. If you don't want to save a few bucks, ignore that bit of information. Wanna camp? Go for it. I'm sure there are places to do so, however it's up to you to get all of that sorted.
Day One:
May 29th
La Quinta Inn
111 East Harrell Drive
Russellville, AR 72802
479-967-2299
Your choice of the following:
$85 standard king bed
$90 queen double bed
Day Two:
May 30th
Quality Inn
1210 US 62/65 N
Harrison, AR 72601
870-741-7676
Your choice of the following:
$76.49 standard king bed
$76.49 queen double bed
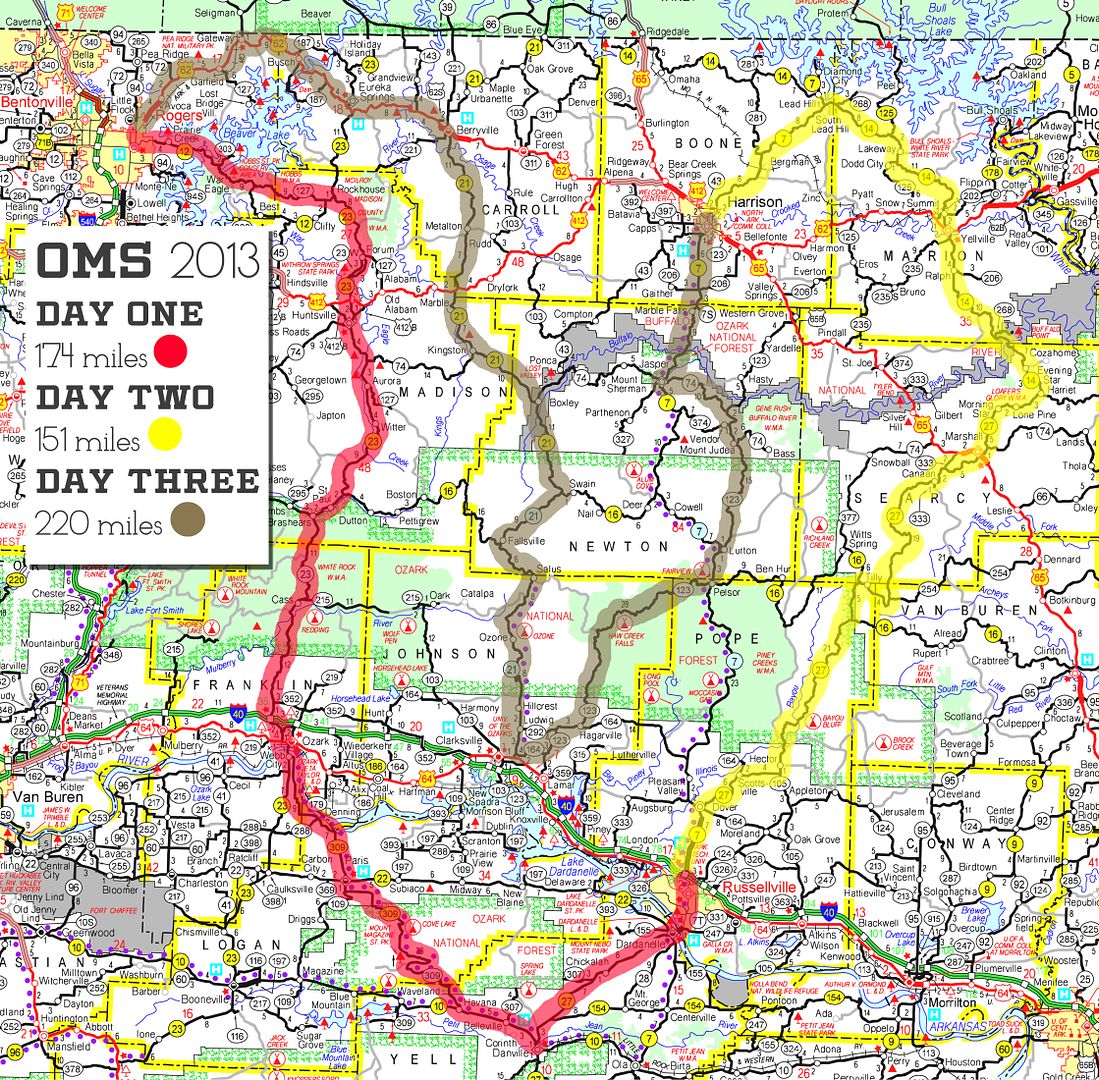
I've also put together a new map for this years ride. These maps will be available for free when we meet on day one as well as some daily maps when I get them finished.
5/1/13
ozark mountain scramble lodging and route map

4/15/13
ozark mountain scramble 2013
It's getting closer to the 2013 Ozark Mountain Scramble already. The last two have literally changed my life. The friends, the roads, the stories, the scenery, etc. If you missed out on the previous years, put this one on your to do list. With that said, this post will hopefully cover everything you need to know about the run. If you can't find the info you seek here, send an email to hatchethairy@yahoo.com and I'll do my best to address your needs and edit details accordingly.
GENERAL INFORMATION:
This is not a race, and was created for street legal bikes only. We intend to ride all miles at a brisk pace, however we ask that you respect the road, locals, camp grounds, hotels, etc. There will be no chase truck, so make sure you are plenty prepared for your battle through the mountainous slab terrain. If you think your wrist pin is about to go, or a crank bearing has little life left in it, it is best to fix it now and spare yourself the catastrophic failure deep within the Ozarks. Keep in mind that all riders on this run will be flogging a machine no younger than 33 years old! I cannot stress enough, that you will need to be self sufficient at all times. Familiarize yourself with the maps and do your best to help out others that may stumble along the way.
RULES/MANIFESTO:
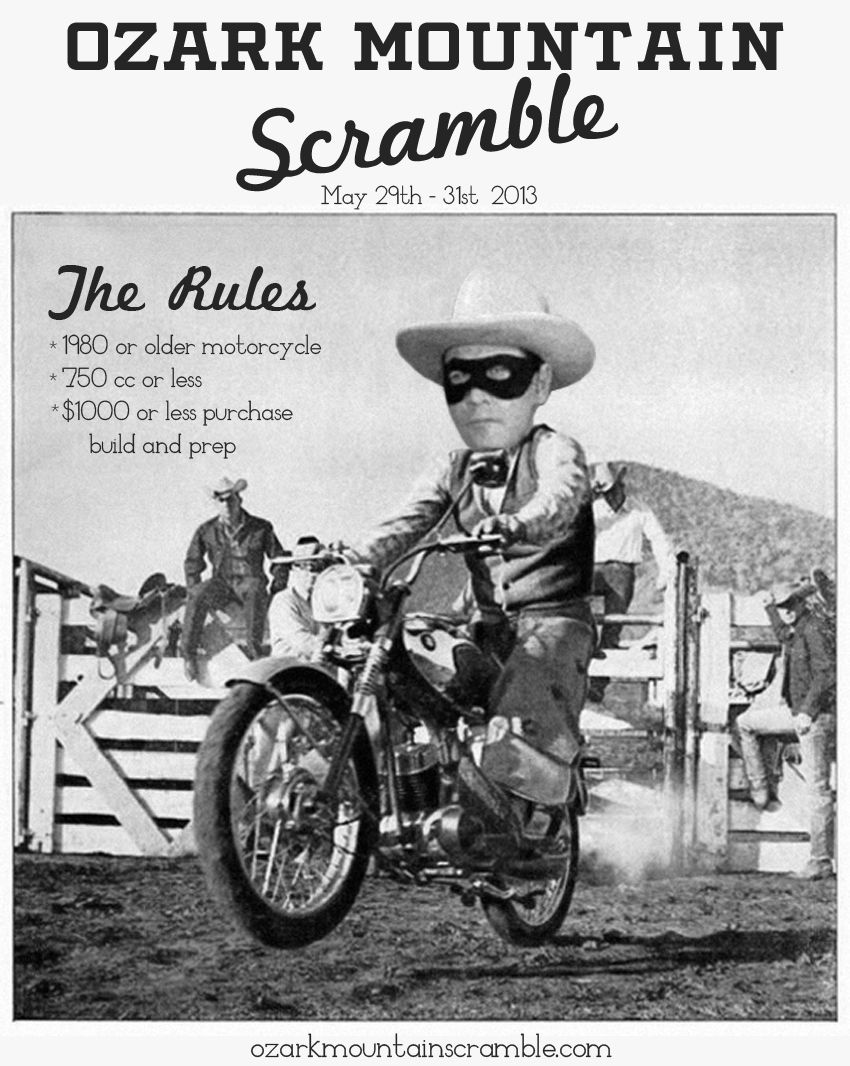
This run is geared towards those who challenge their wallets to a duel, and rise victorious. Those who stretch the dollar to its limits for the sole purpose of cheap thrills on a two wheeled freedom machine. If this doesn’t remotely sound like you, it is time to click the back button on your browser. Below are the requirements needed to join the run.
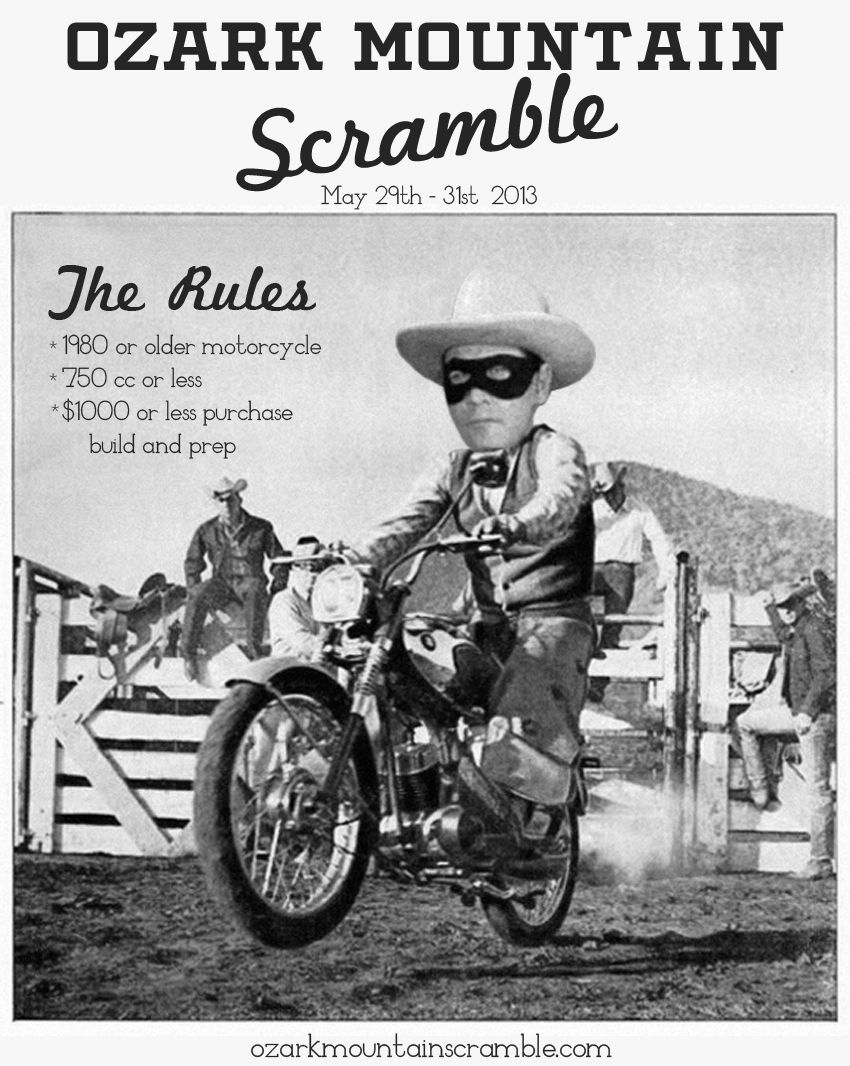
* 1980 or older motorcycle
* spend no more than $1000 on purchase, build, and prep
* total displacement of motorcycle cannot exceed 750cc
Often I get asked at the end of each run if any of the rules will be changed. Whether it be year, price, or motor size, a quick and simple answer is NO. After a considerable amount of debate, it has been decided there are no legitimate reasons to change the rules. 13 people made it last year, and 5 the year before that, so why try and fix something that isn't broken? Anyone can put together a bike following the rules, you just have to WANT to do it. If that means that we stay below 20 riders every year, then so be it. Personally I have put together a bike under budget for each run, and while it isn't easy, it can be done. Let's all just have fun riding old cheap motorcycles through the mountains.
WHERE:
The Ozark Mountains throughout the Northwest and Central regions of Arkansas. Check out the map for more details on exact locations. Route options may change, so try to keep up with this site for any updates along the way.
WHEN:
May 29th - 31st 2013
I know it's a bit unorthodox for the most part, but the OMS is held on 3 consecutive weekdays that runs Wednesday through Friday. There are a couple reasons for this, so let me explain. First and foremost, this ensures a low pedestrian traffic count for everyone riding through the mountains. There is nothing more annoying than day after day of being held up by a band of rubber neckers when you could be dragging a knee/peg/spleen instead. If the run was held on a weekend, I can assure you the time spent cursing the driver in front of you would grow ten fold. Since this run ends on a Friday, that also leaves Saturday and Sunday to get back to your lives/home. This has worked out great both years now, and I'm sure it will work great for many years to come. So there you have it, mark the days on your calender, and get your vacation time approved. Luckily there is still plenty of time to get started on your build and/or tune ups.
DEPARTURE:
We will meet at 9 am on day one at a predetermined spot. Everyone can meet, greet, and go over the days route before departure at 9:45 am. If you choose to ride separate from the group that is fine. I will post an overall map, daily maps, and specific road maps for each day as the final route is ironed out. The more prepared you are, the better for the group overall, so show up with a tank full of gas.
COST:
The OMS has no entry fee, and I intend to keep it that way. If you went through the trouble to build and/or restore a bike back to a functional machine, then you have paid your dues already. The only cost to you will be fuel, lodging, and food/beverages. Simple as that.
LODGING:
These are the official hotels of the run. In order to get the group discount you need to mention you are booking with the Ozark Mountain Scramble.
If you don't want to save a few bucks, ignore that bit of information.
Wanna camp? Go for it. I'm sure there are places to do so, however it's
up to you to get all of that sorted.
Day One:
May 29th
La Quinta Inn
111 East Harrell Drive
Russellville, AR 72802
479-967-2299
Your choice of the following:
$85 standard king bed
$90 queen double bed
Day Two:
May 30th
Quality Inn
1210 US 62/65 N
Harrison, AR 72601
870-741-7676
Your choice of the following:
$76.49 standard king bed
$76.49 queen double bed
GAS STOPS:
There are quite a few gas station options from day to day, however there are a handful that only accept cash without any ATMs near. Be prepared and bring a couple Lincolns in your man purse.
BUILD LOGS:
I strongly encourage you send in any build, purchases, or random updates on your budget built steed. It's fun to see what people are putting together, but not a requirement. Any information you would like to share is more than welcome, and will be posted at your discretion. If you are looking for inspiration, take some time to browse previous build logs listed off to the right.
3/12/13
tt500 build : part 9
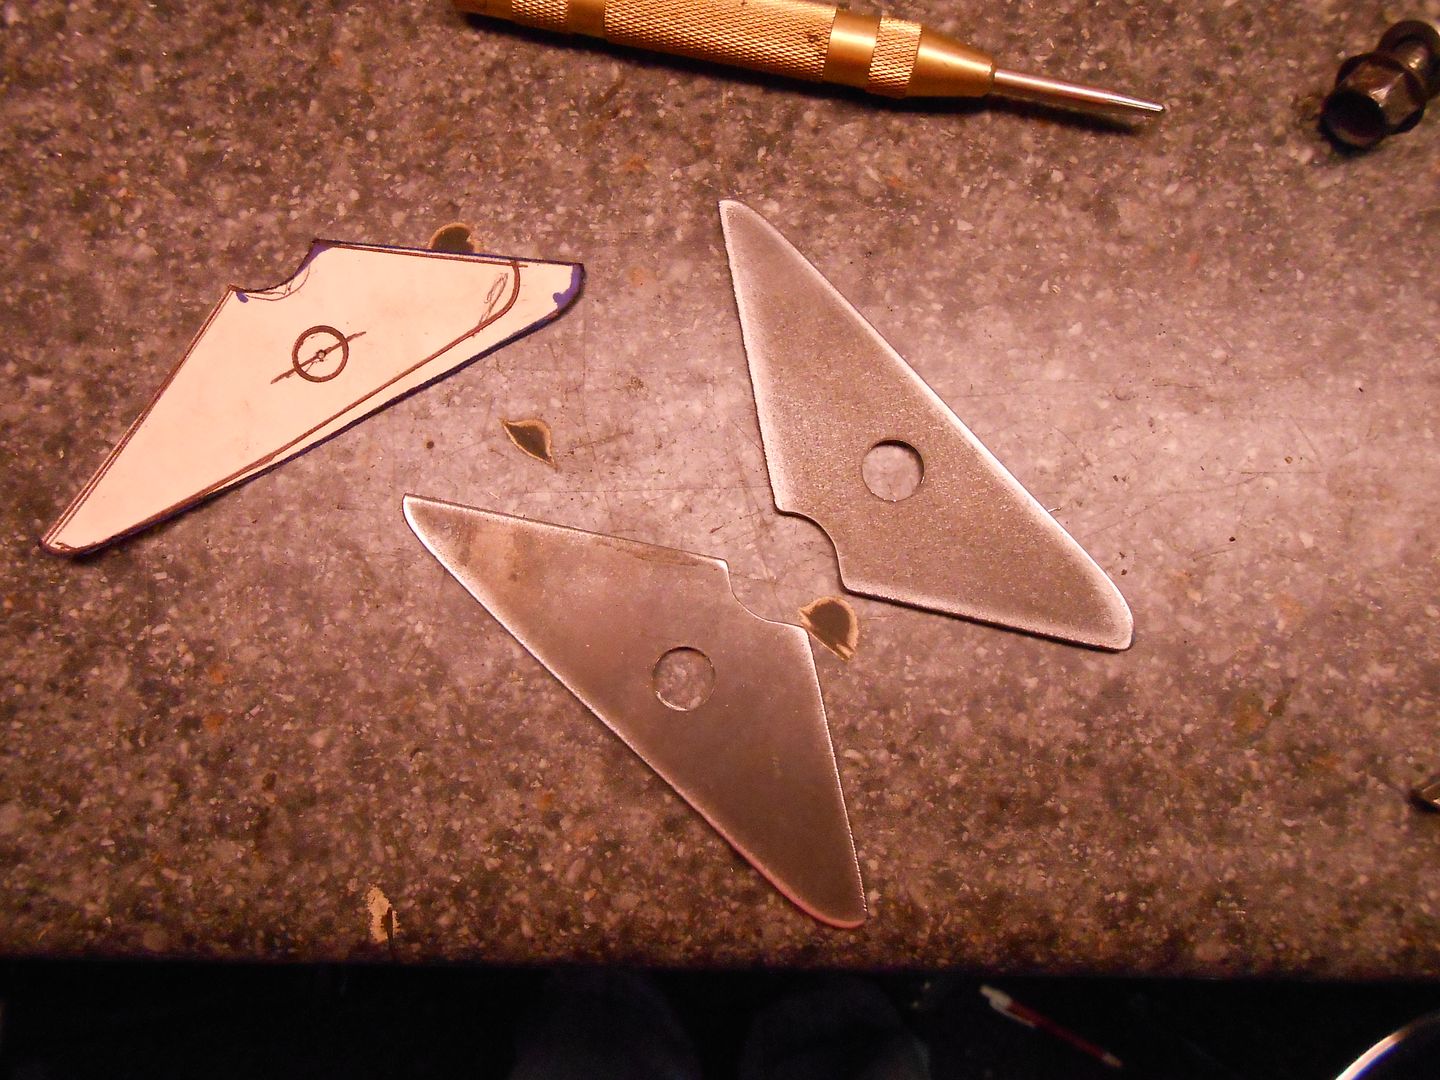
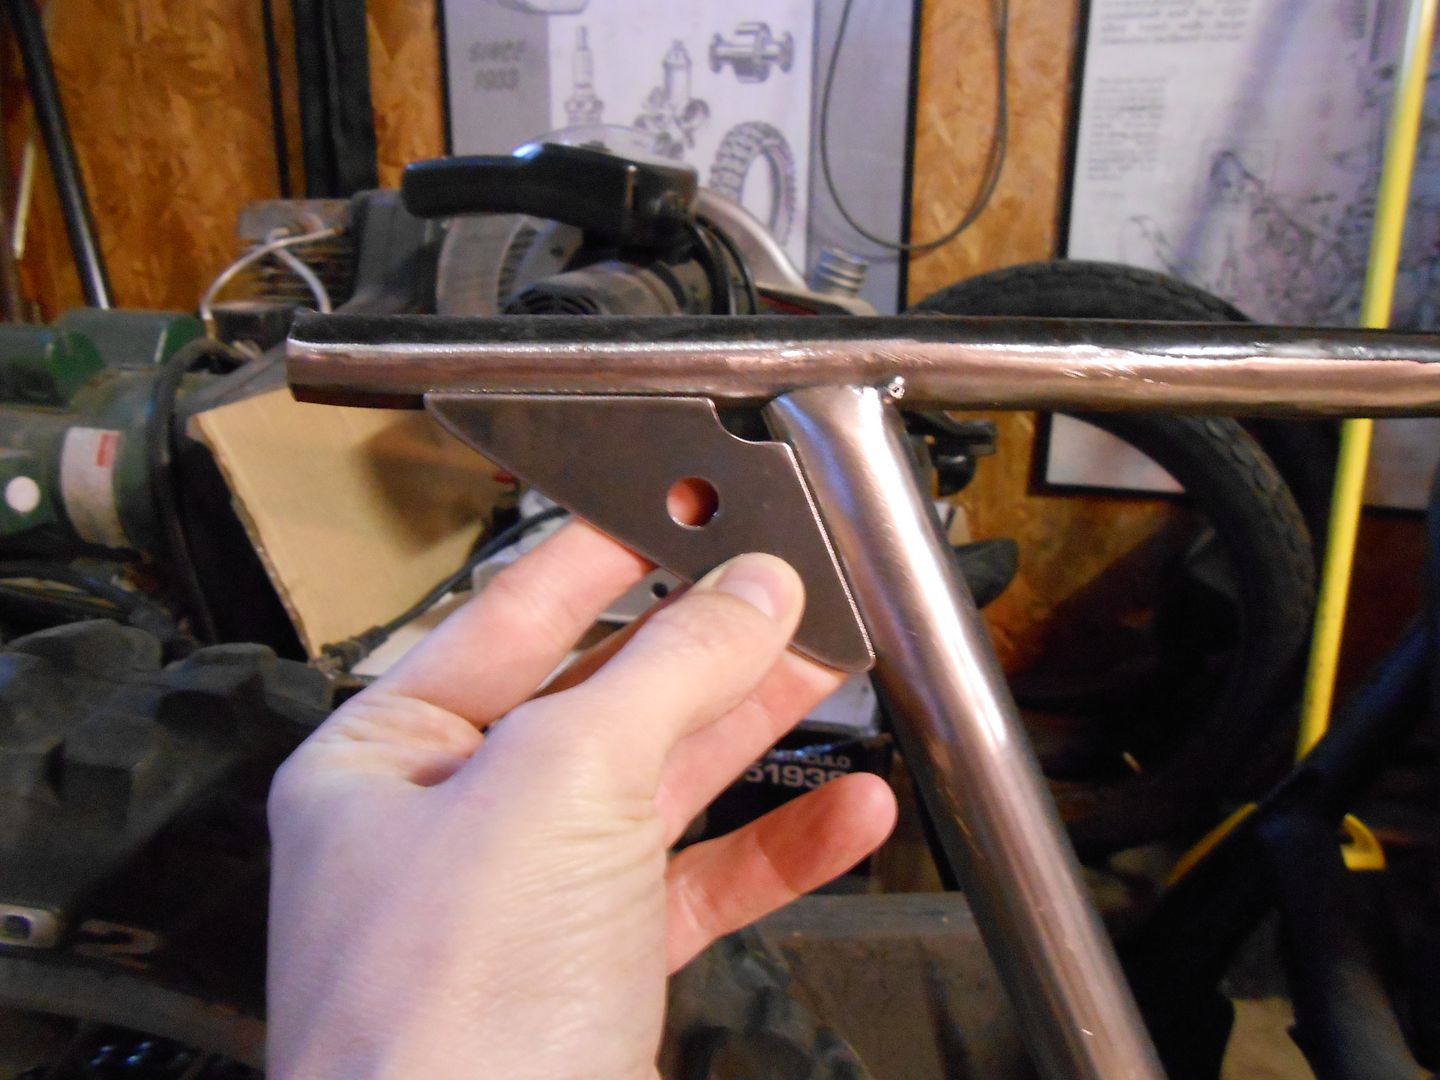
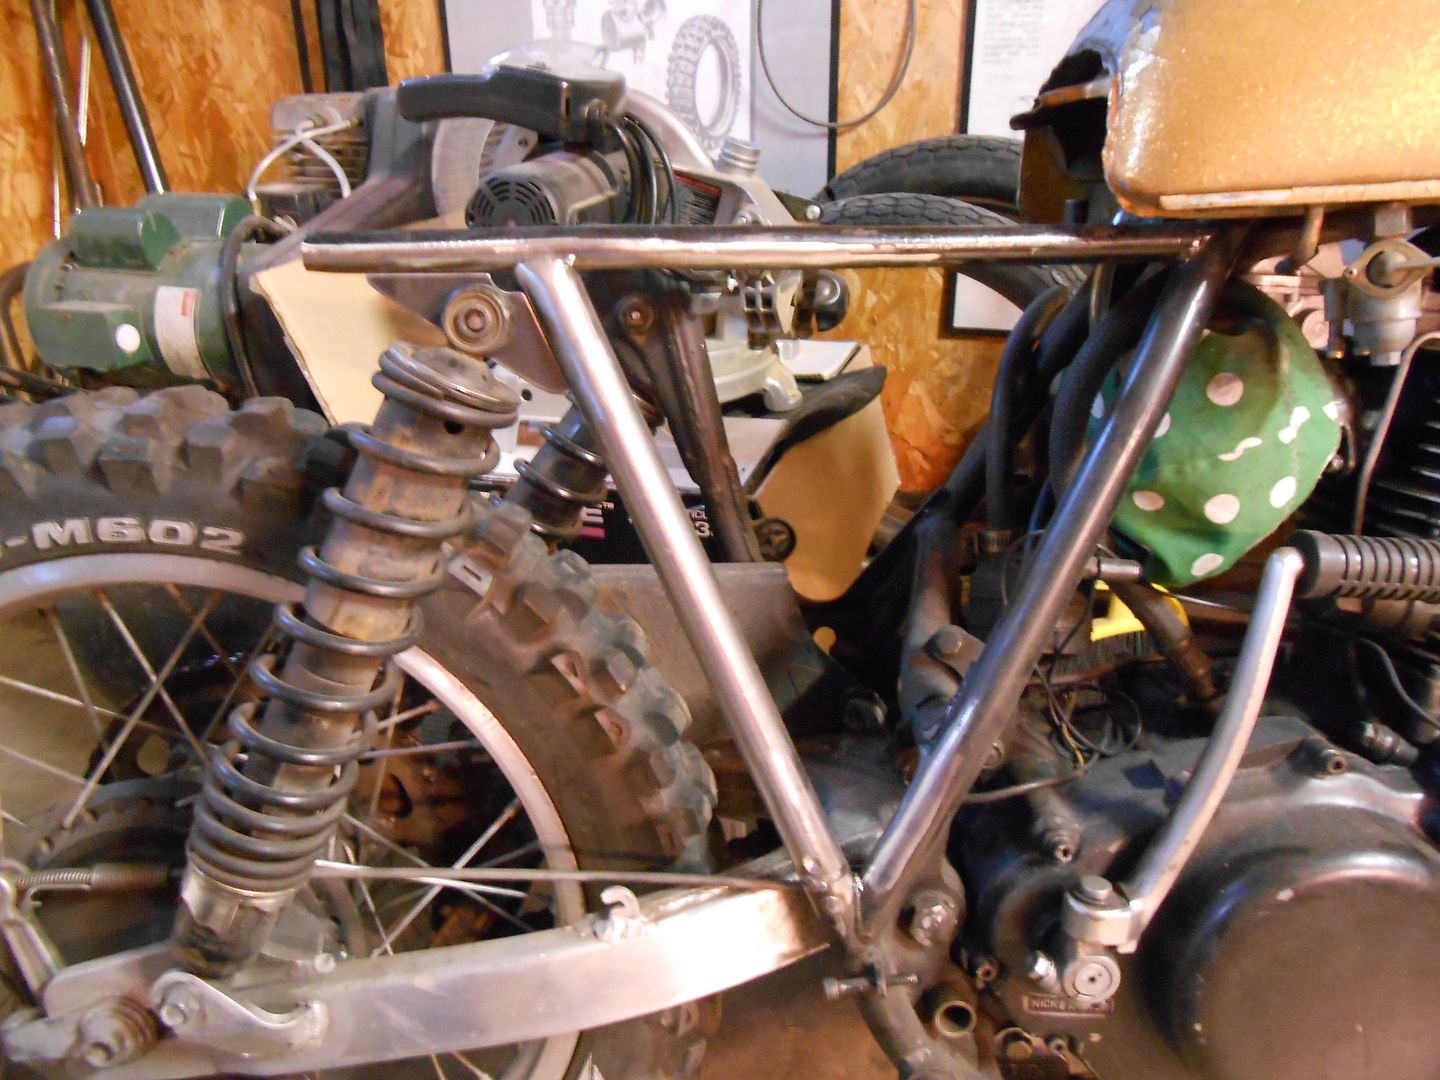
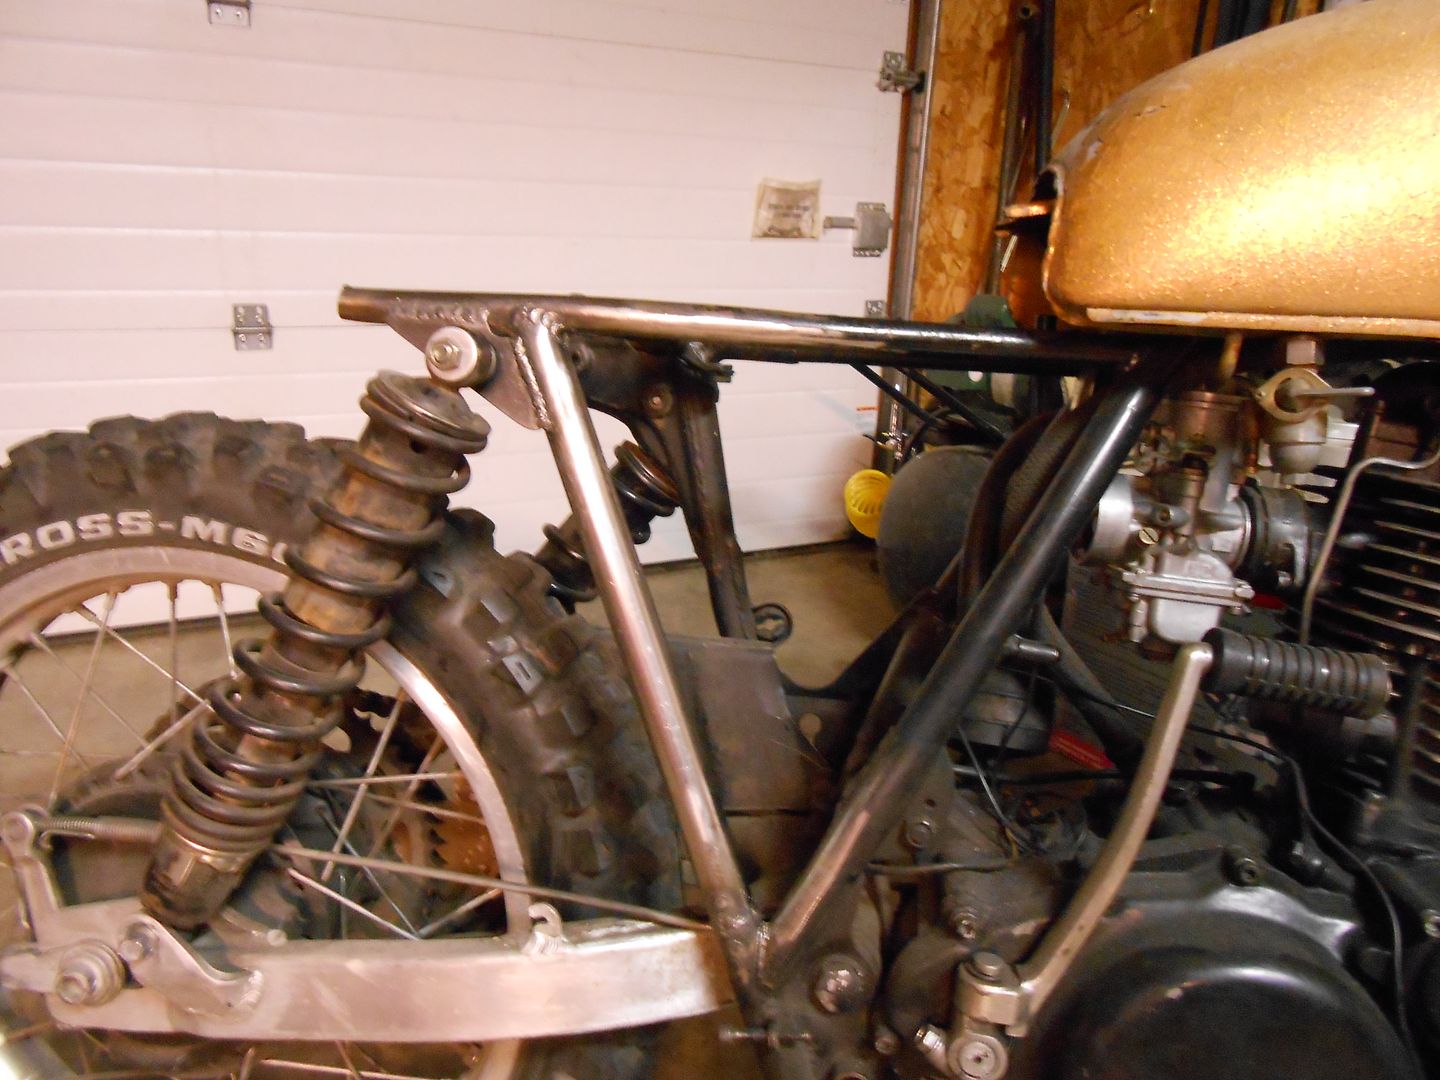
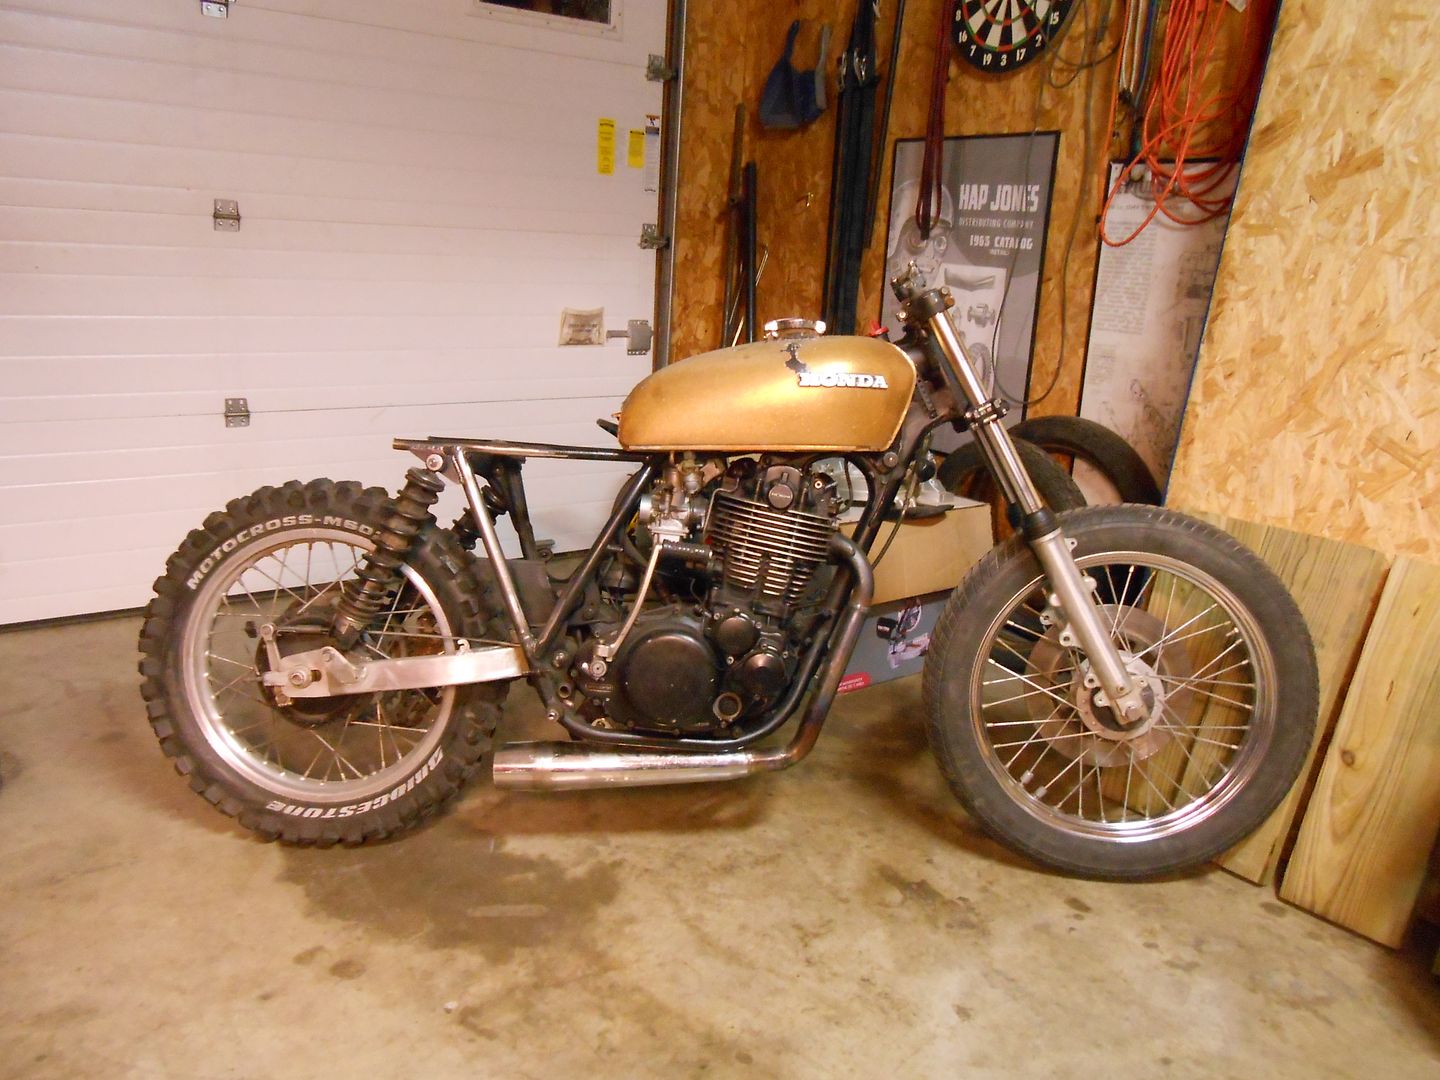
The right side of the frame is almost done, needing only one gusset added to the lower part of the triangle. Luckily I cut two brackets at the same time, so the left side should go a tad quicker other than careful measuring to make things symmetrical.
Derrick
3/8/13
tt500 build : part 8
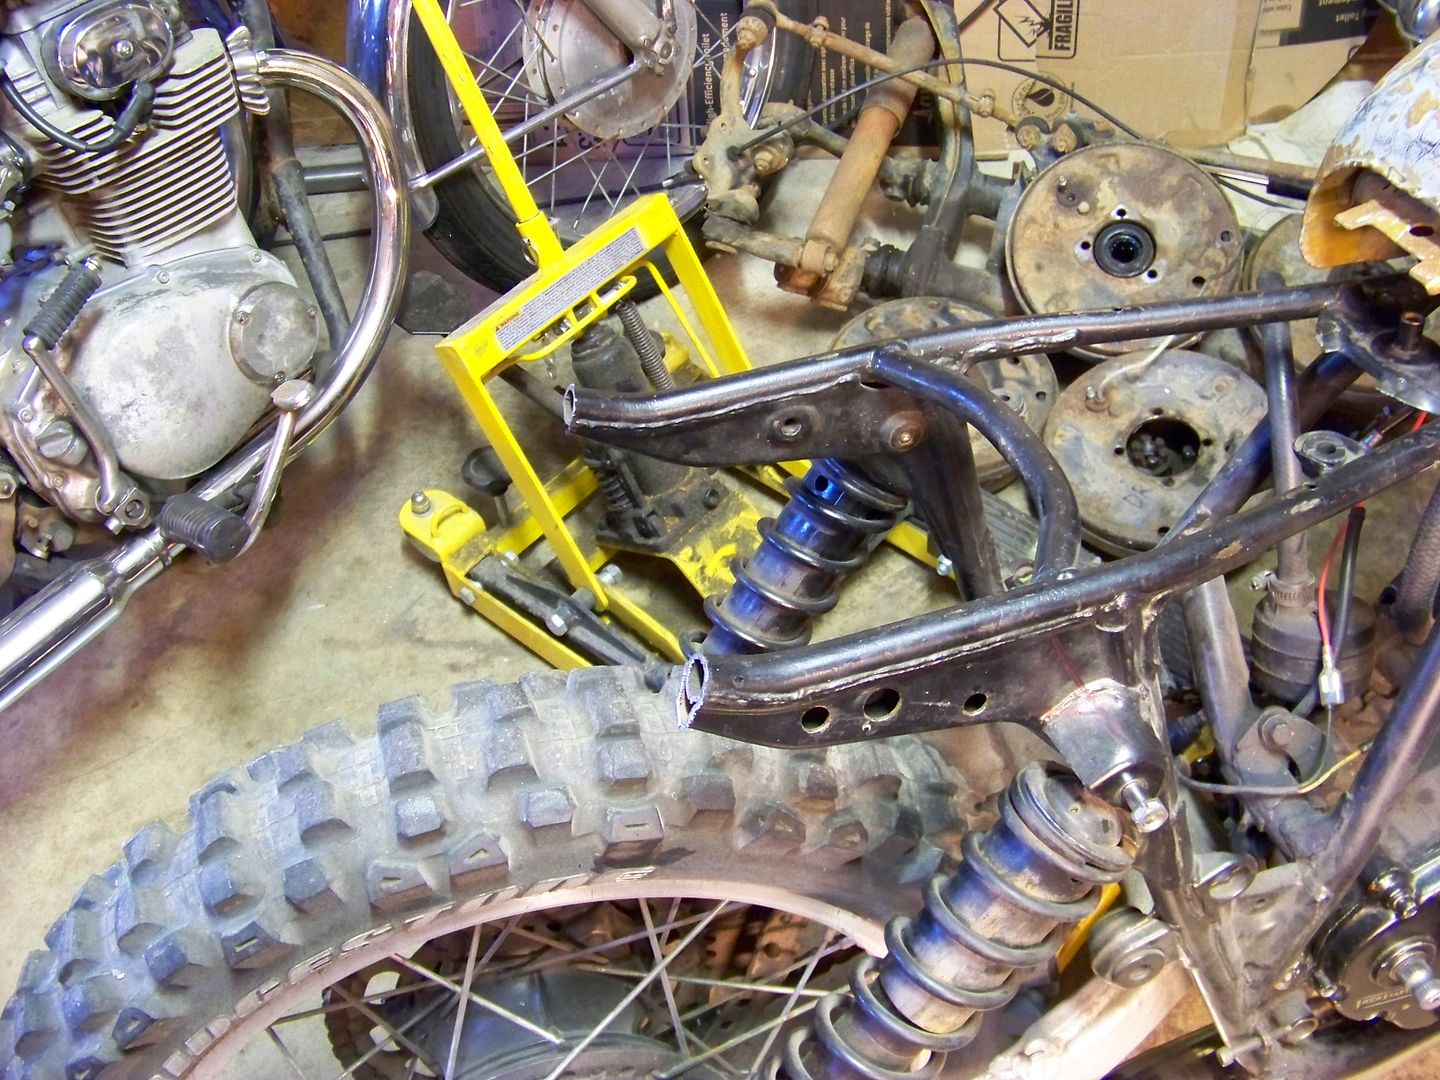
I have wanted to relocate the upper shock mount, and replace all the ugliness in the stock frame junction at the seat sub-frame since I first acquired the bike. After staring at it for a year, I decided it would be best to cut it all out and start from scratch.
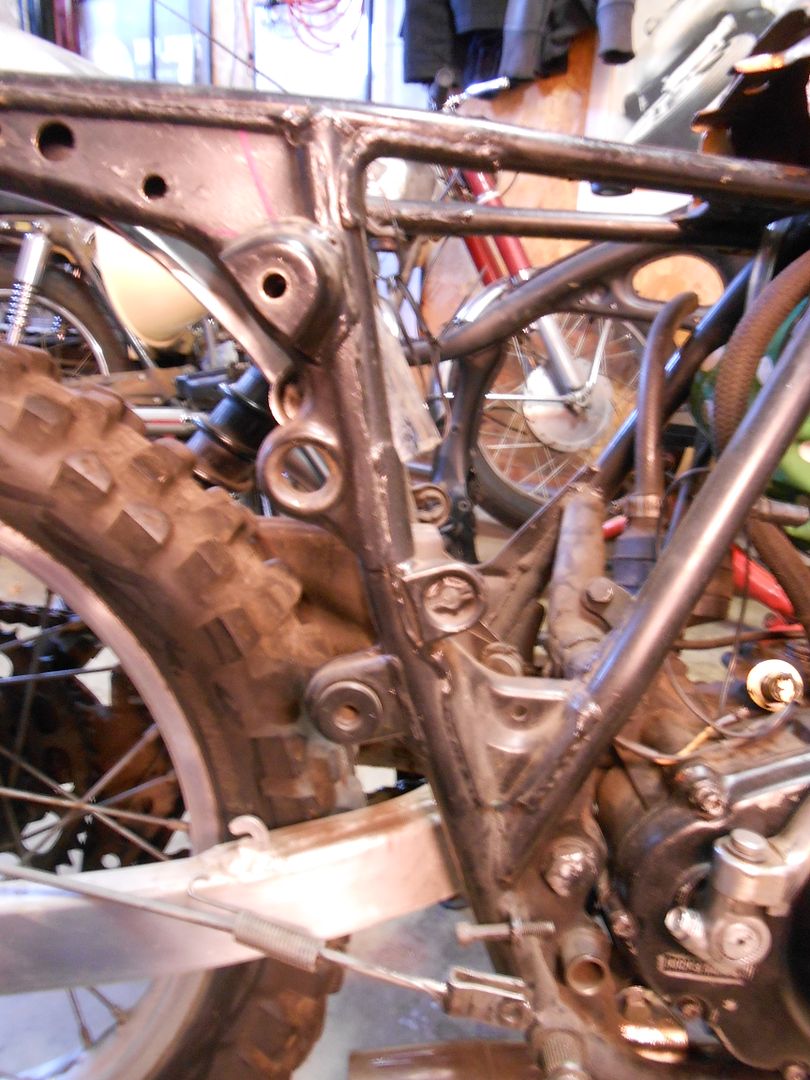
Does this make it a chopper now?
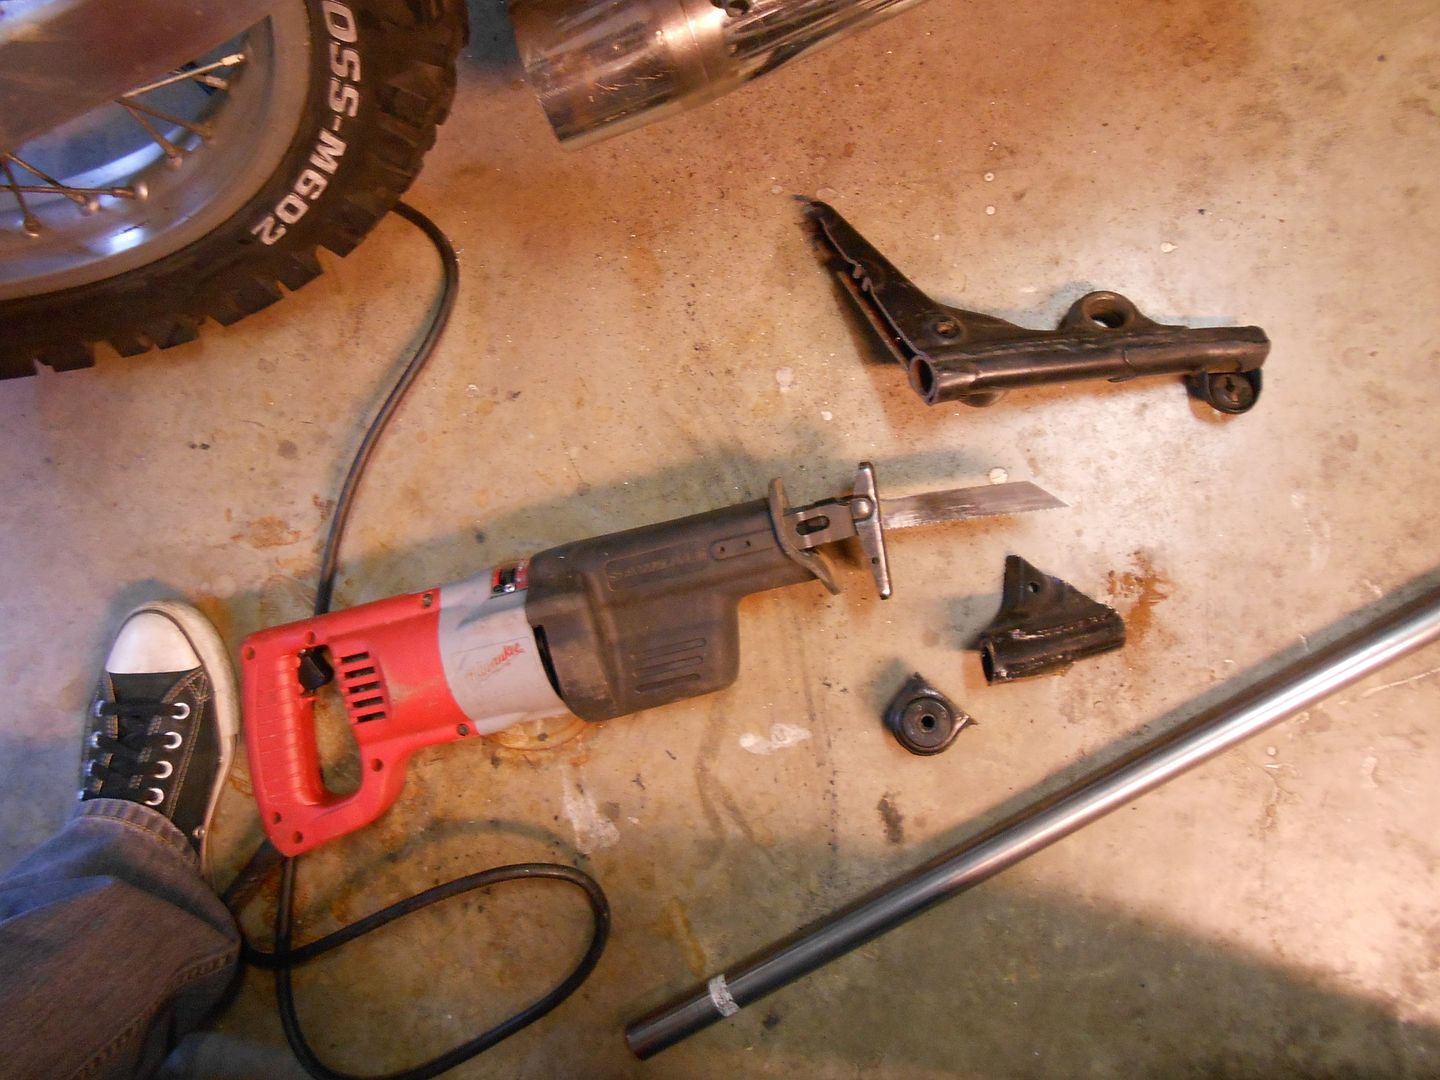
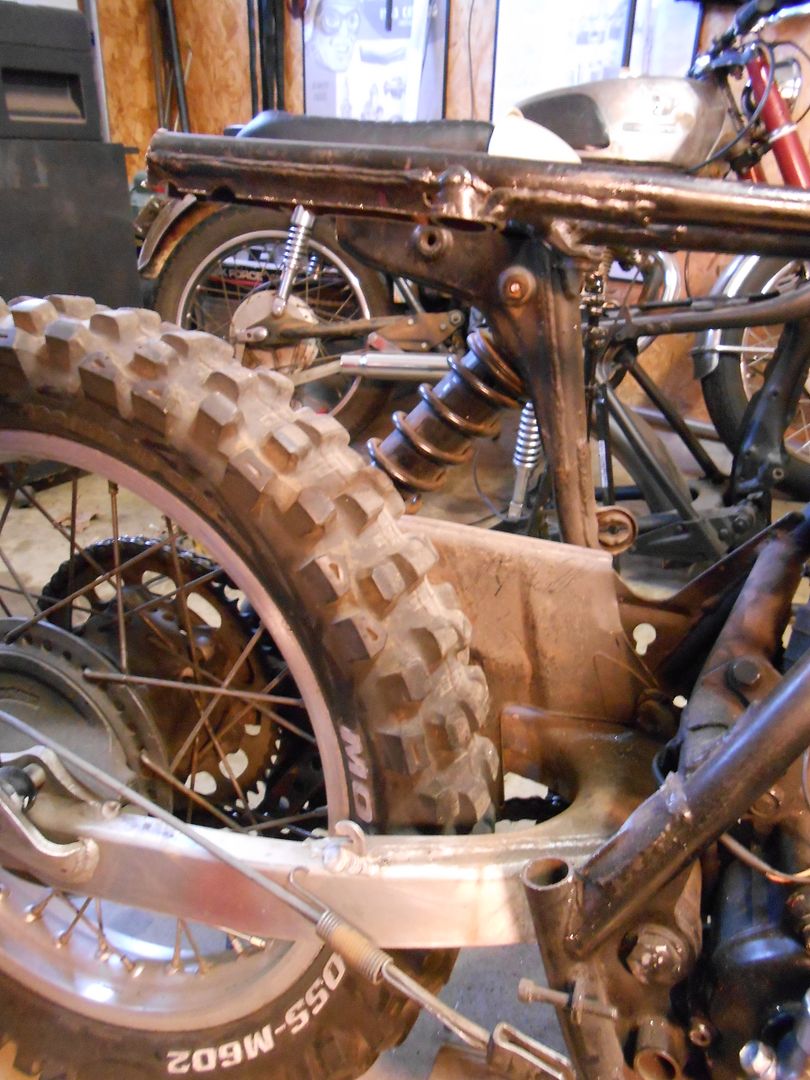
Zip tie suspension in full effect.
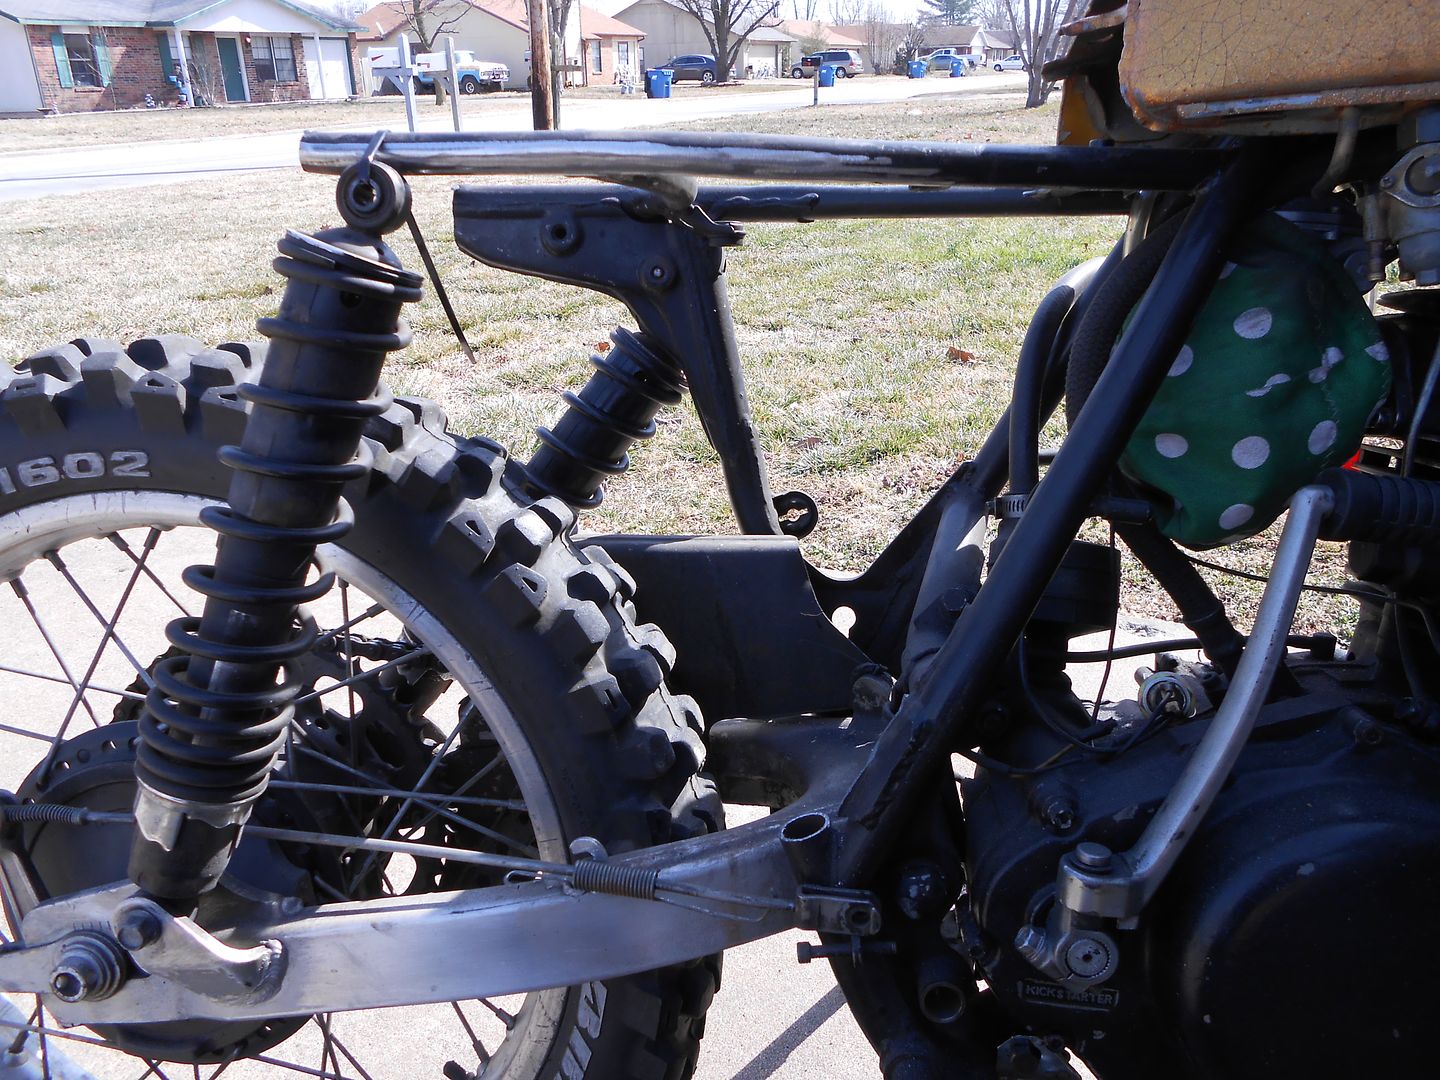
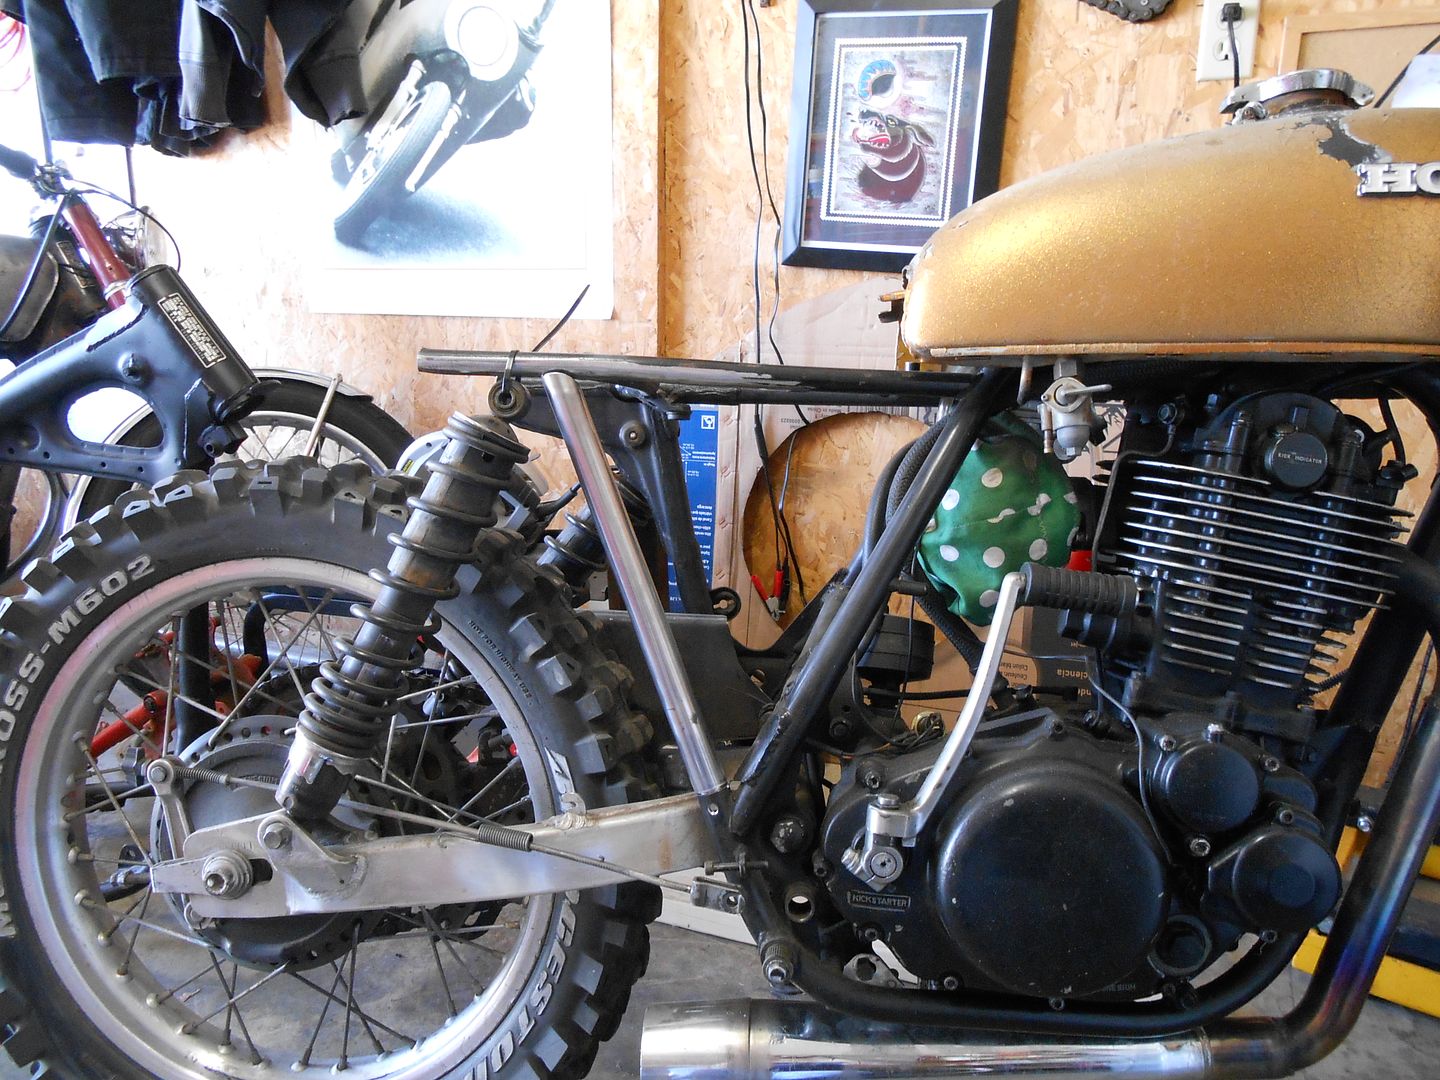
Much better already.
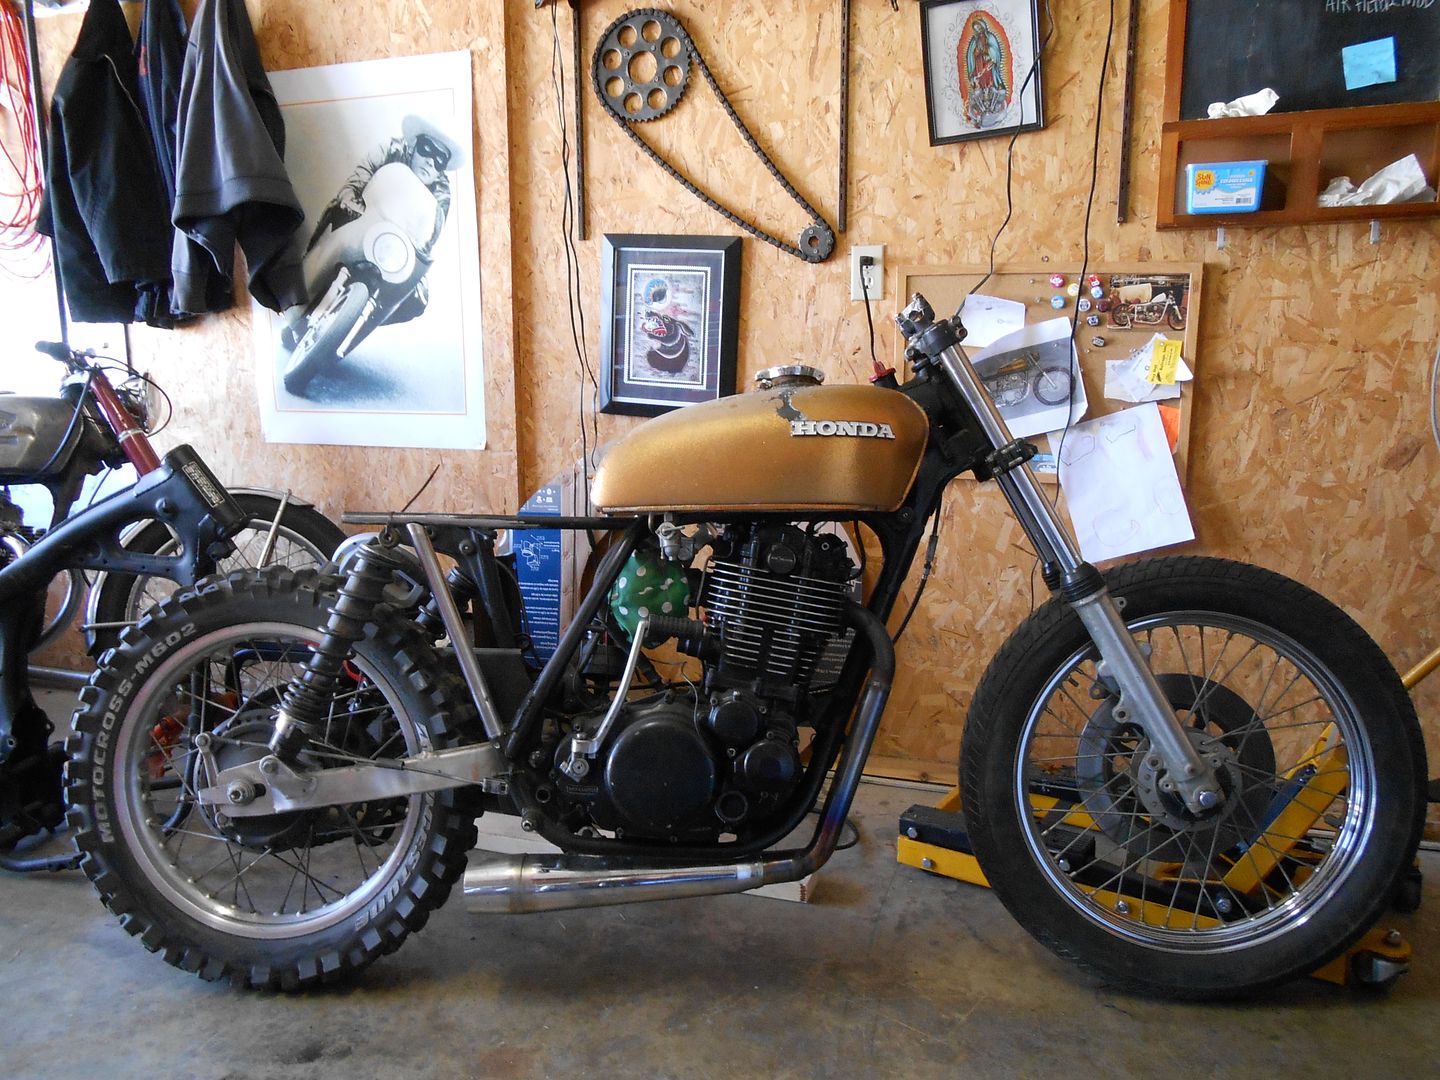
I still need to get the shock mount in place and drill some more rosette welds at the joint. Hopefully I can have this side wrapped up before next week.
Derrick
3/7/13
tt500 build : part 7
Just to make my build that much more complicated and tight on budget, I decided to switch up the front end once more. This time I am using tx750 forks and axle with an xs650 front wheel and rotor. Unfortunately the xs650 caliper I got won't fit the fork legs I have, so I will have to adapt something to work or find one that fits the same fork lug pattern. Luckily the forks for the tx750 and tt500 are 36mm sharing the same axle width. In other words it's all bolt in.
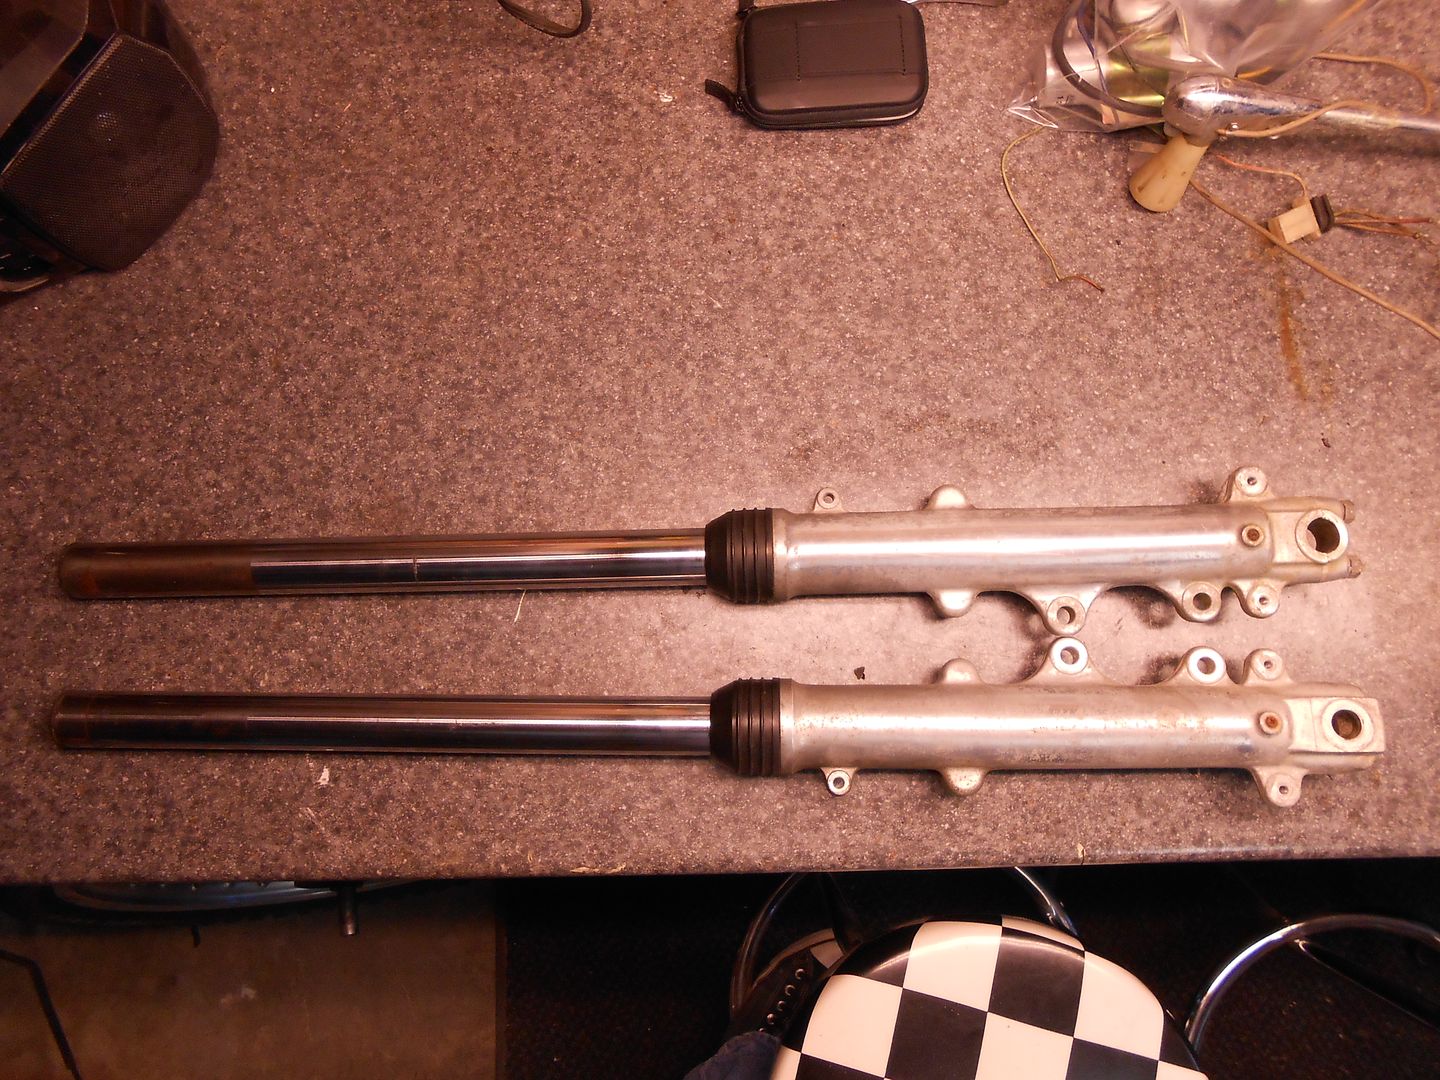
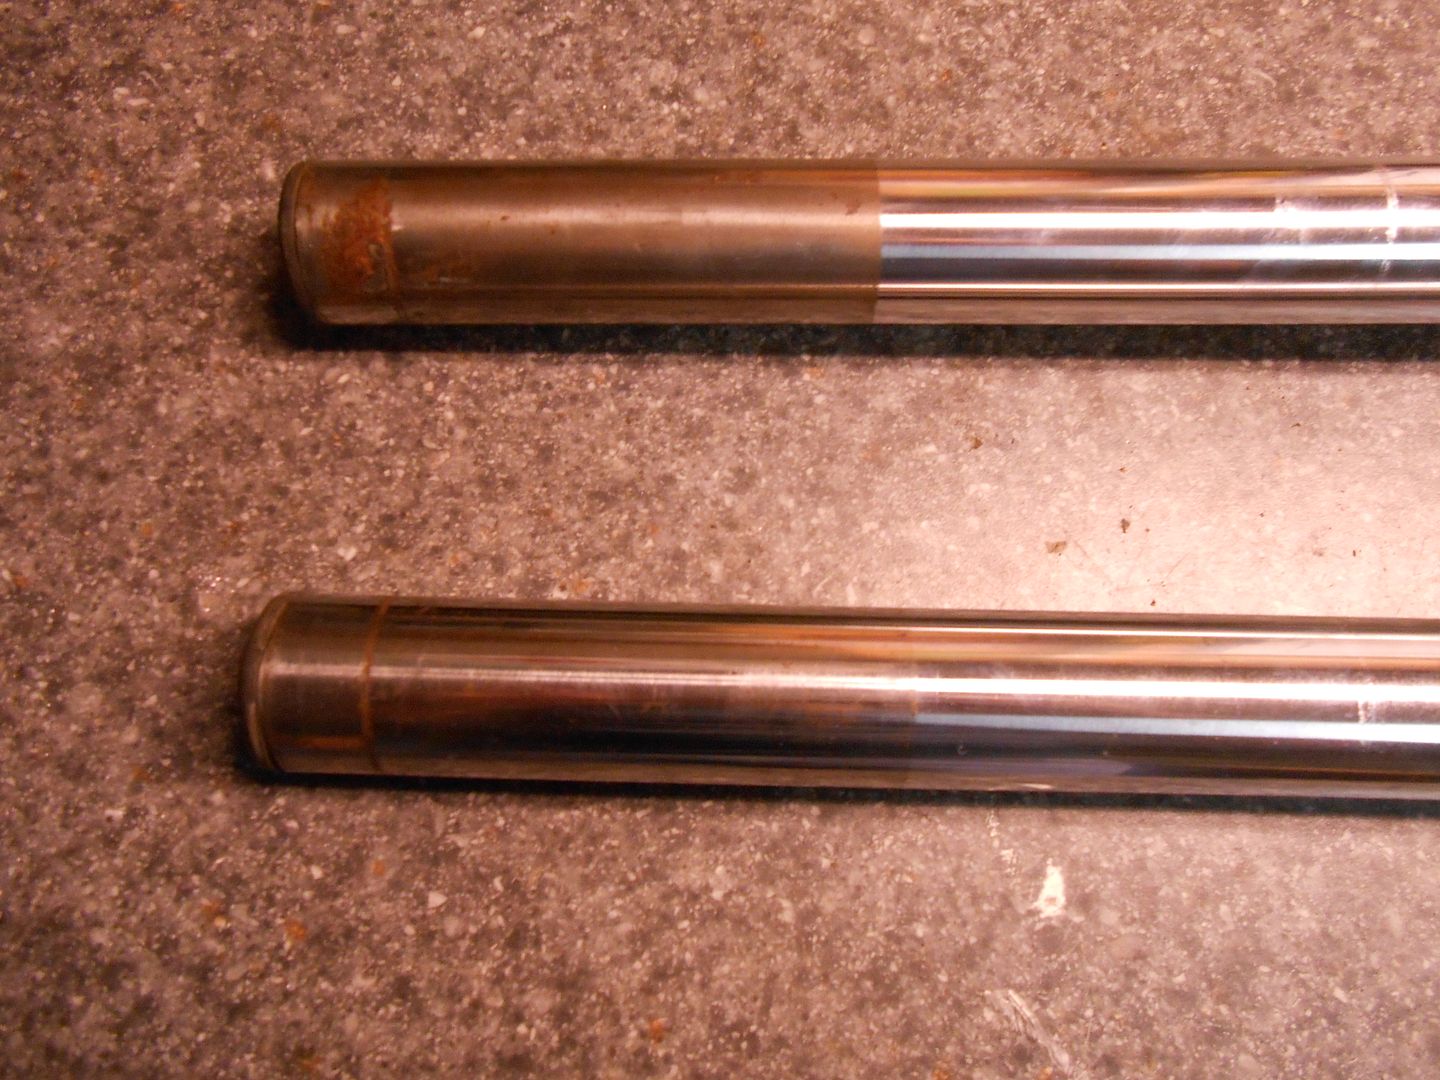
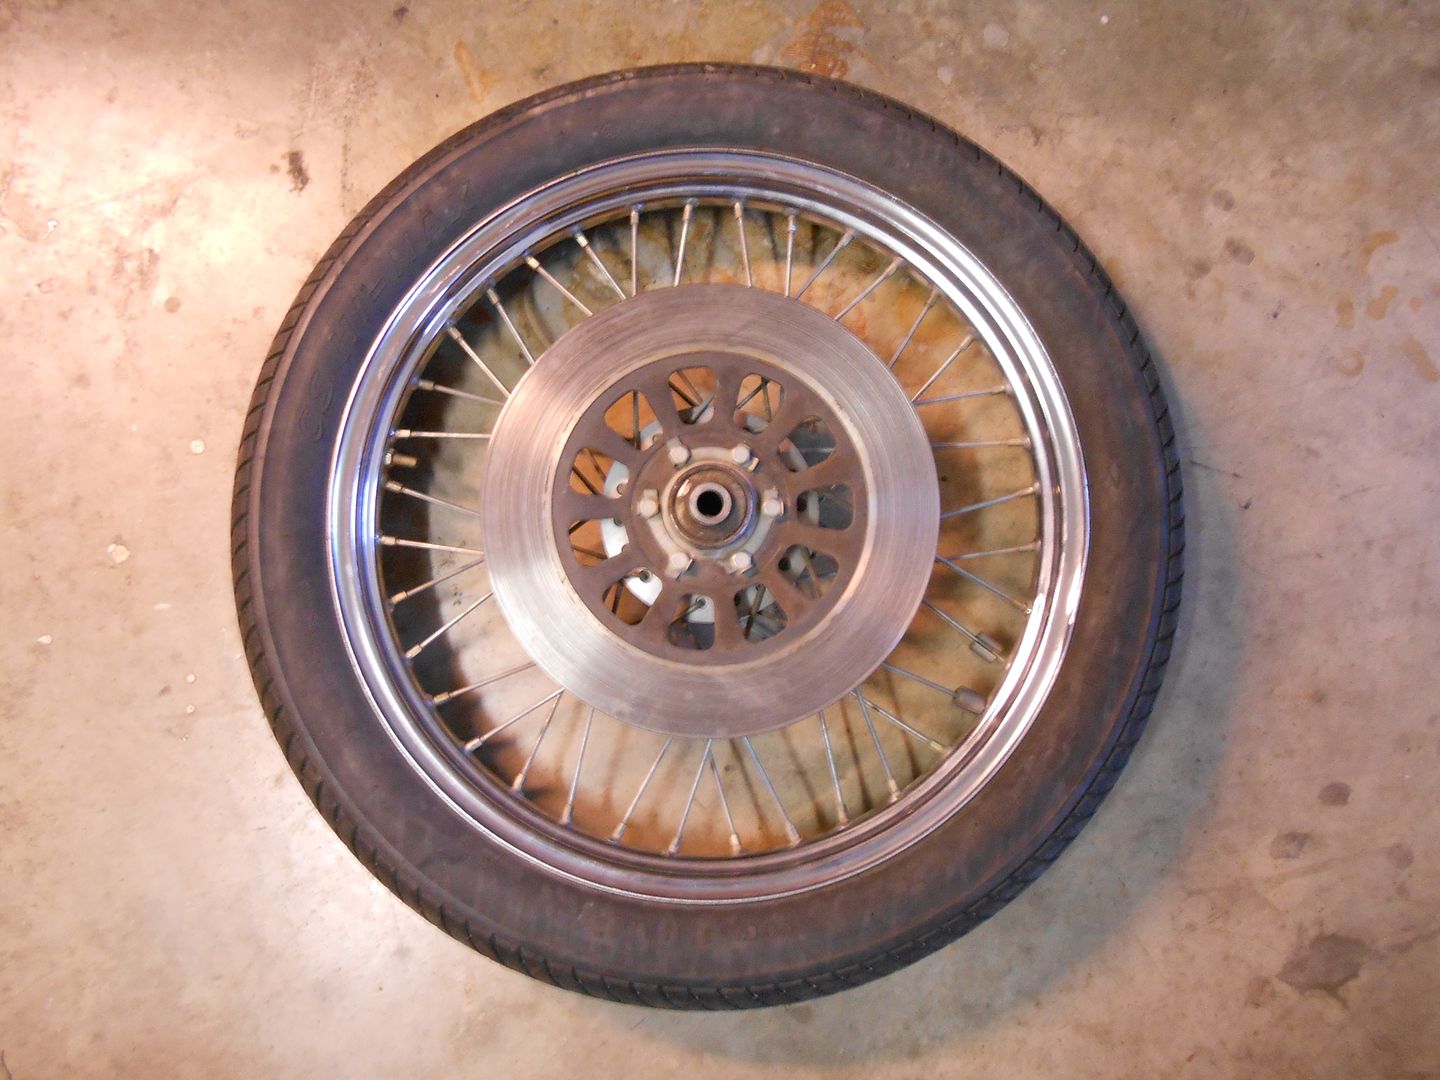
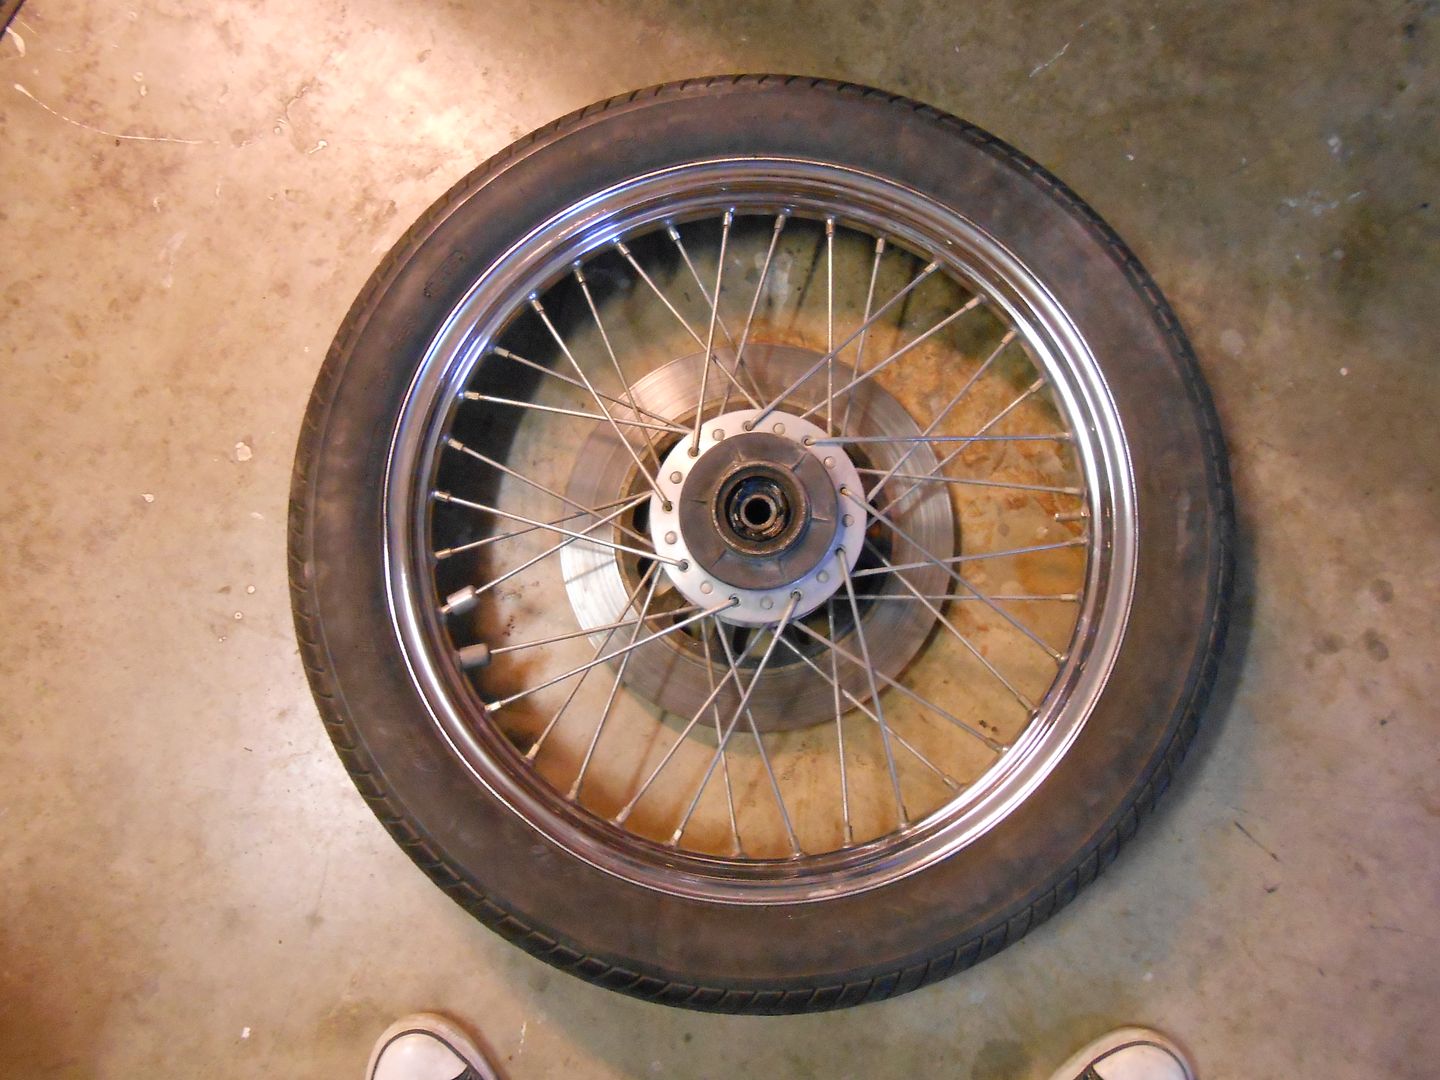
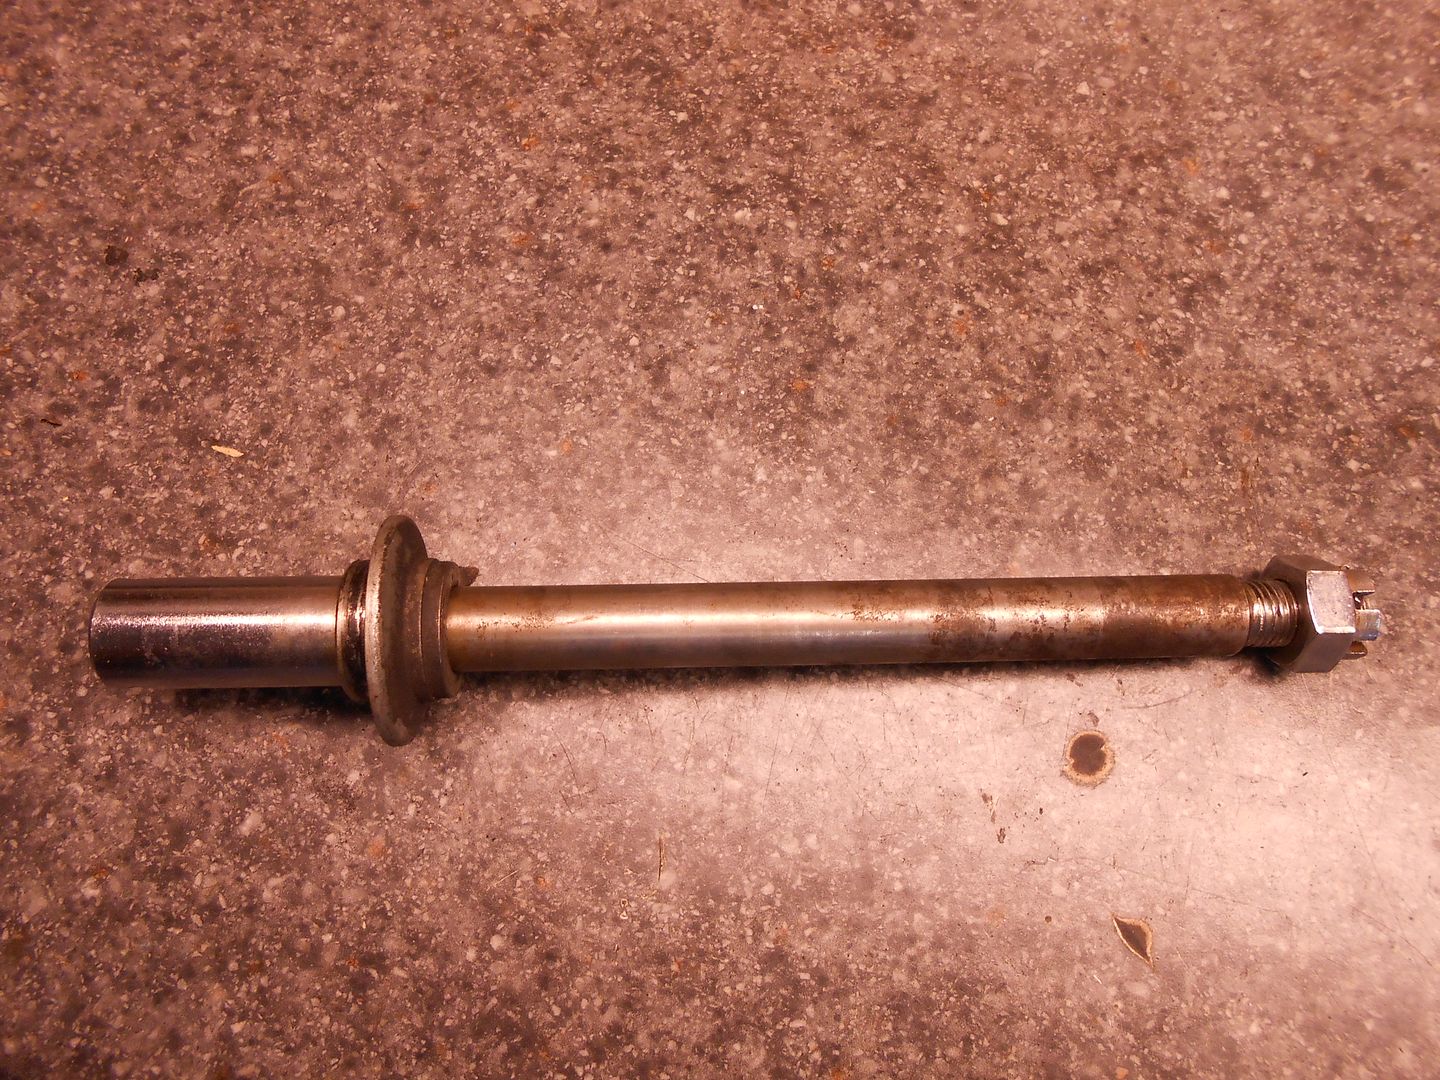
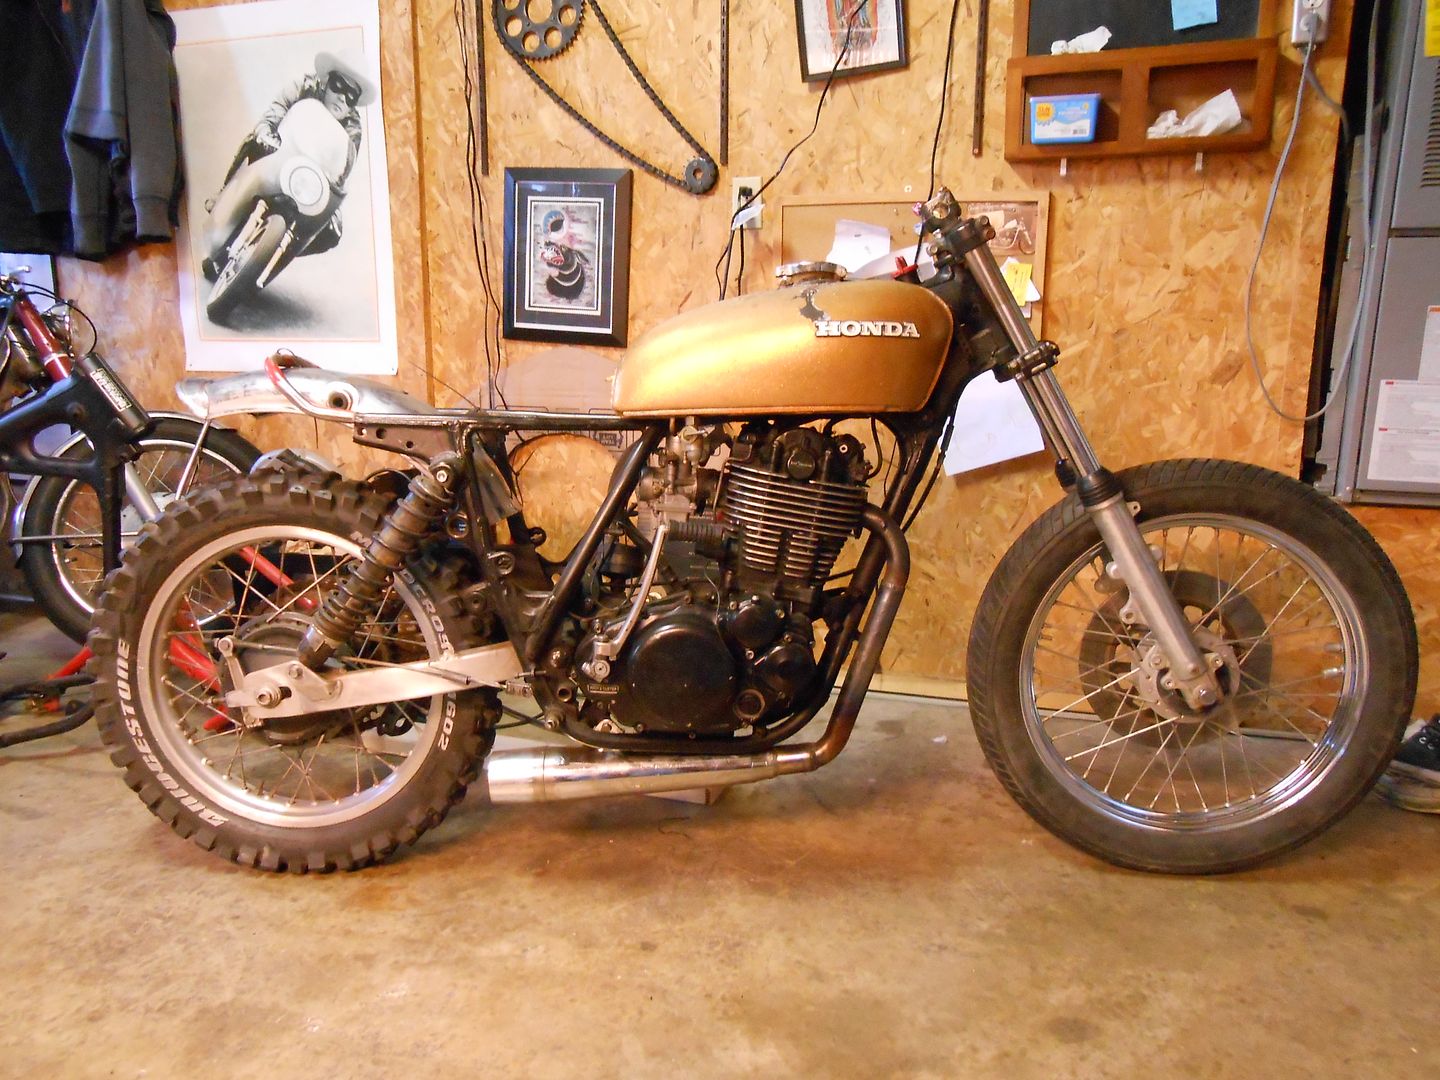
It's not quite there yet, but all the parts so far for this swap total less than $100 due to some amazing deals. Thanks for the wheel, tire, caliper, and rotor Daniel, you really bent over backwards on this one!
Derrick
3/6/13
tt500 build : part 6
I am way behind on updates lately, so I guess it's time to start catching up.
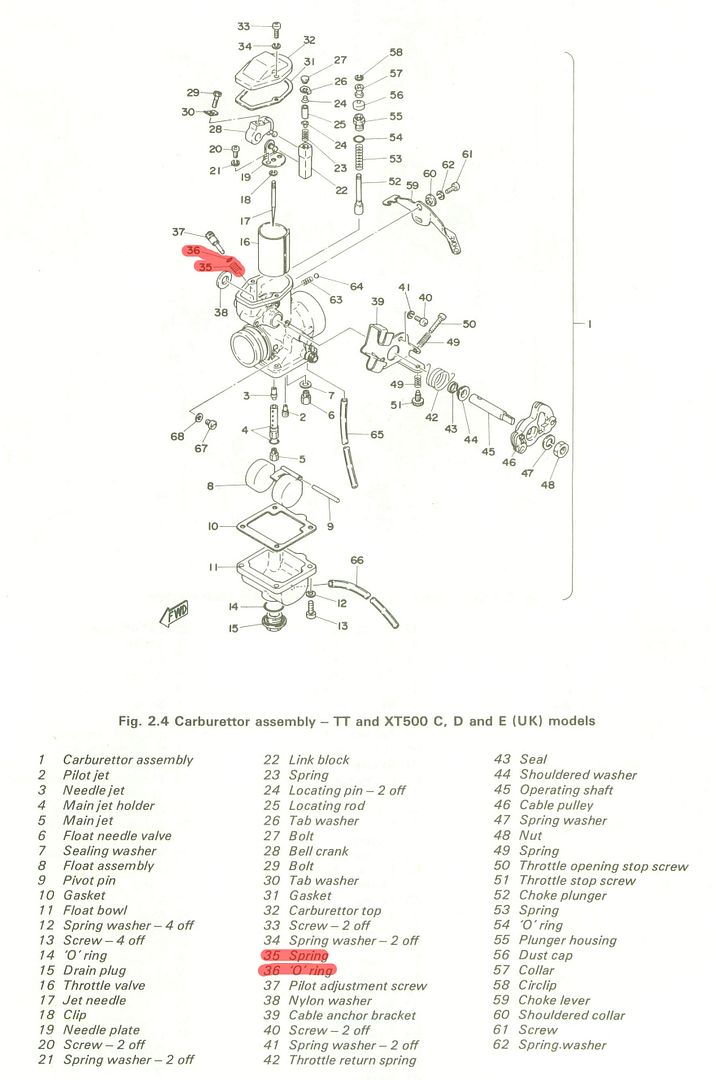
After getting the bike running crappy at best, I decided to pull the carb apart and clean everything. I don't see how a spring and an o-ring could occupy the same space on this needle, but they are "supposed" to.
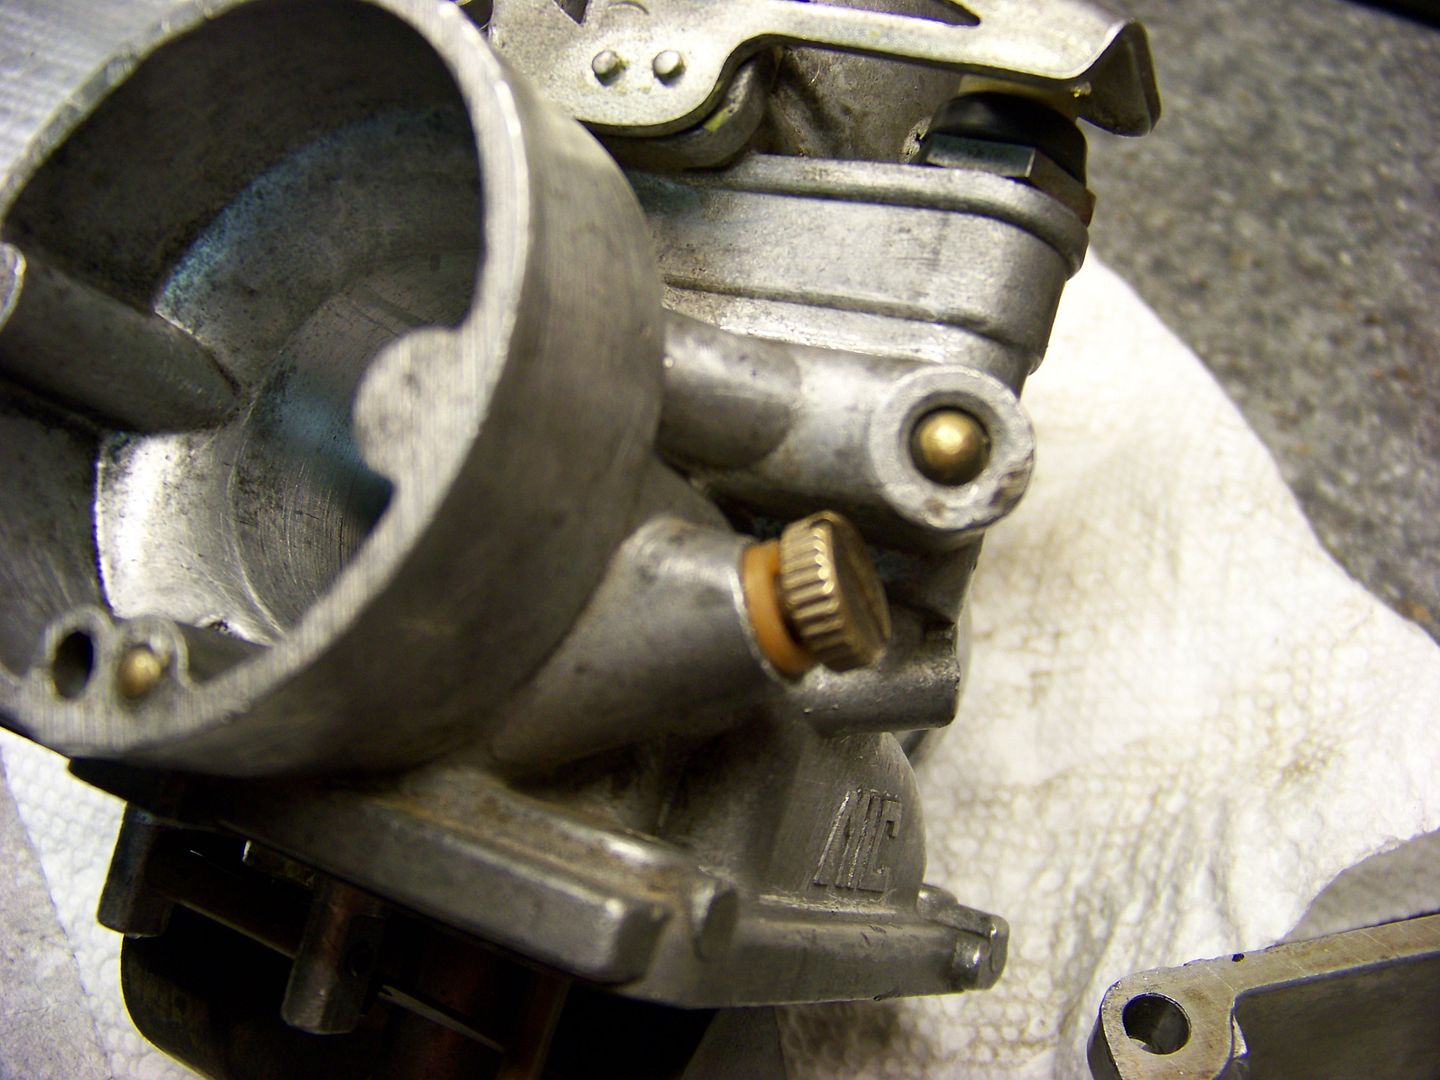
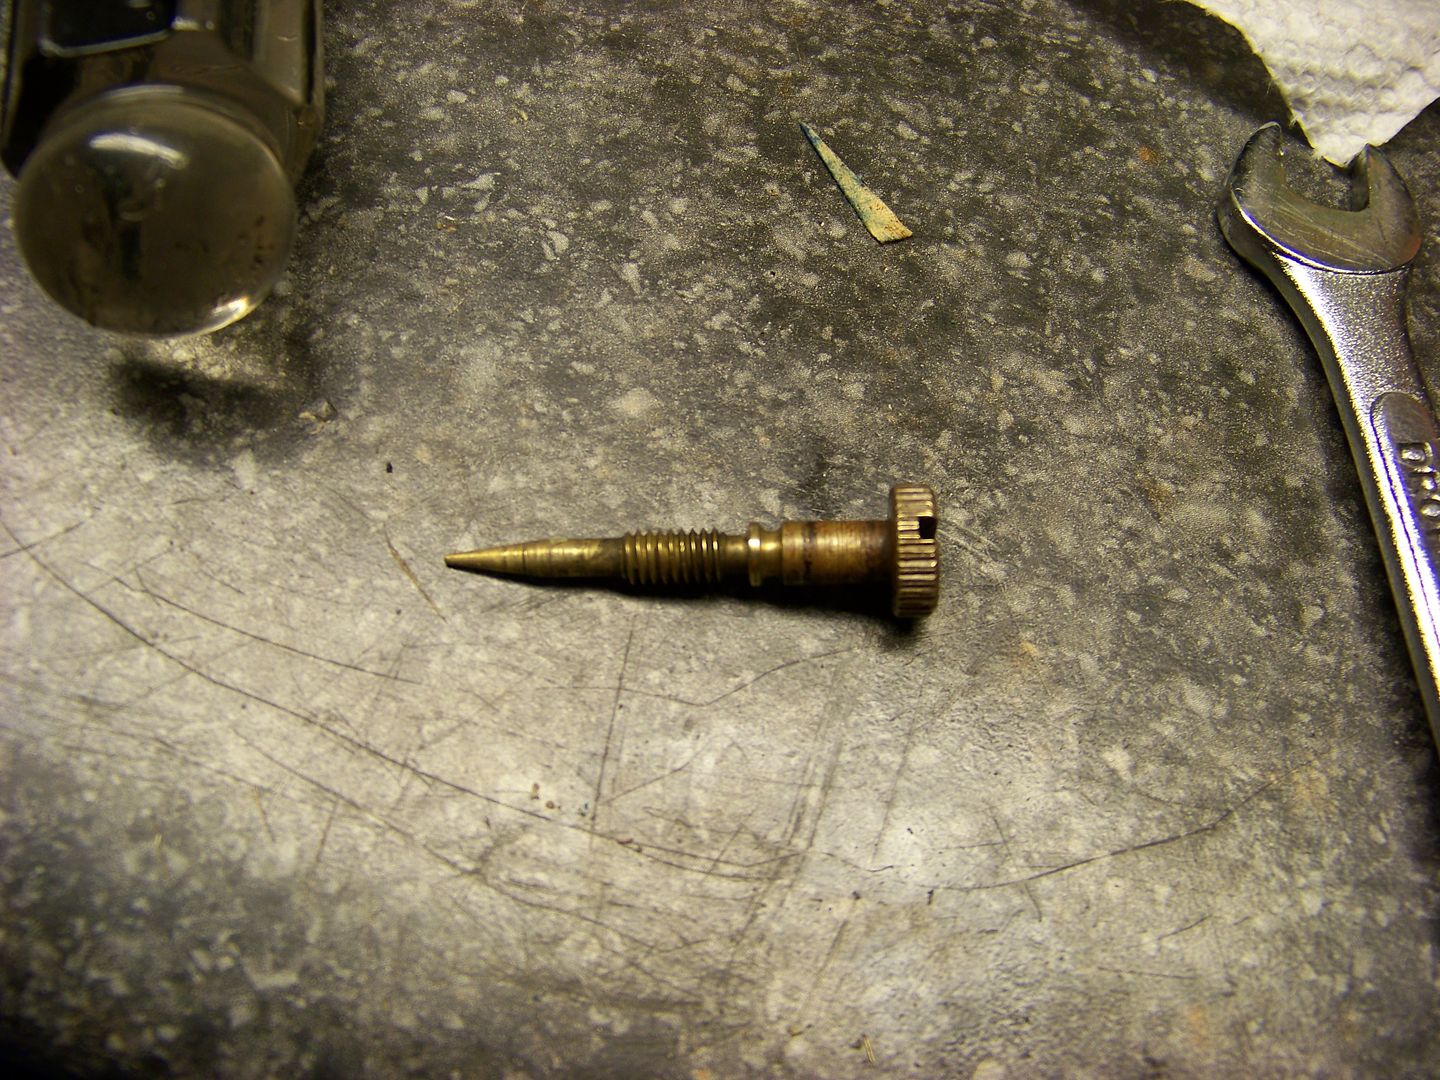
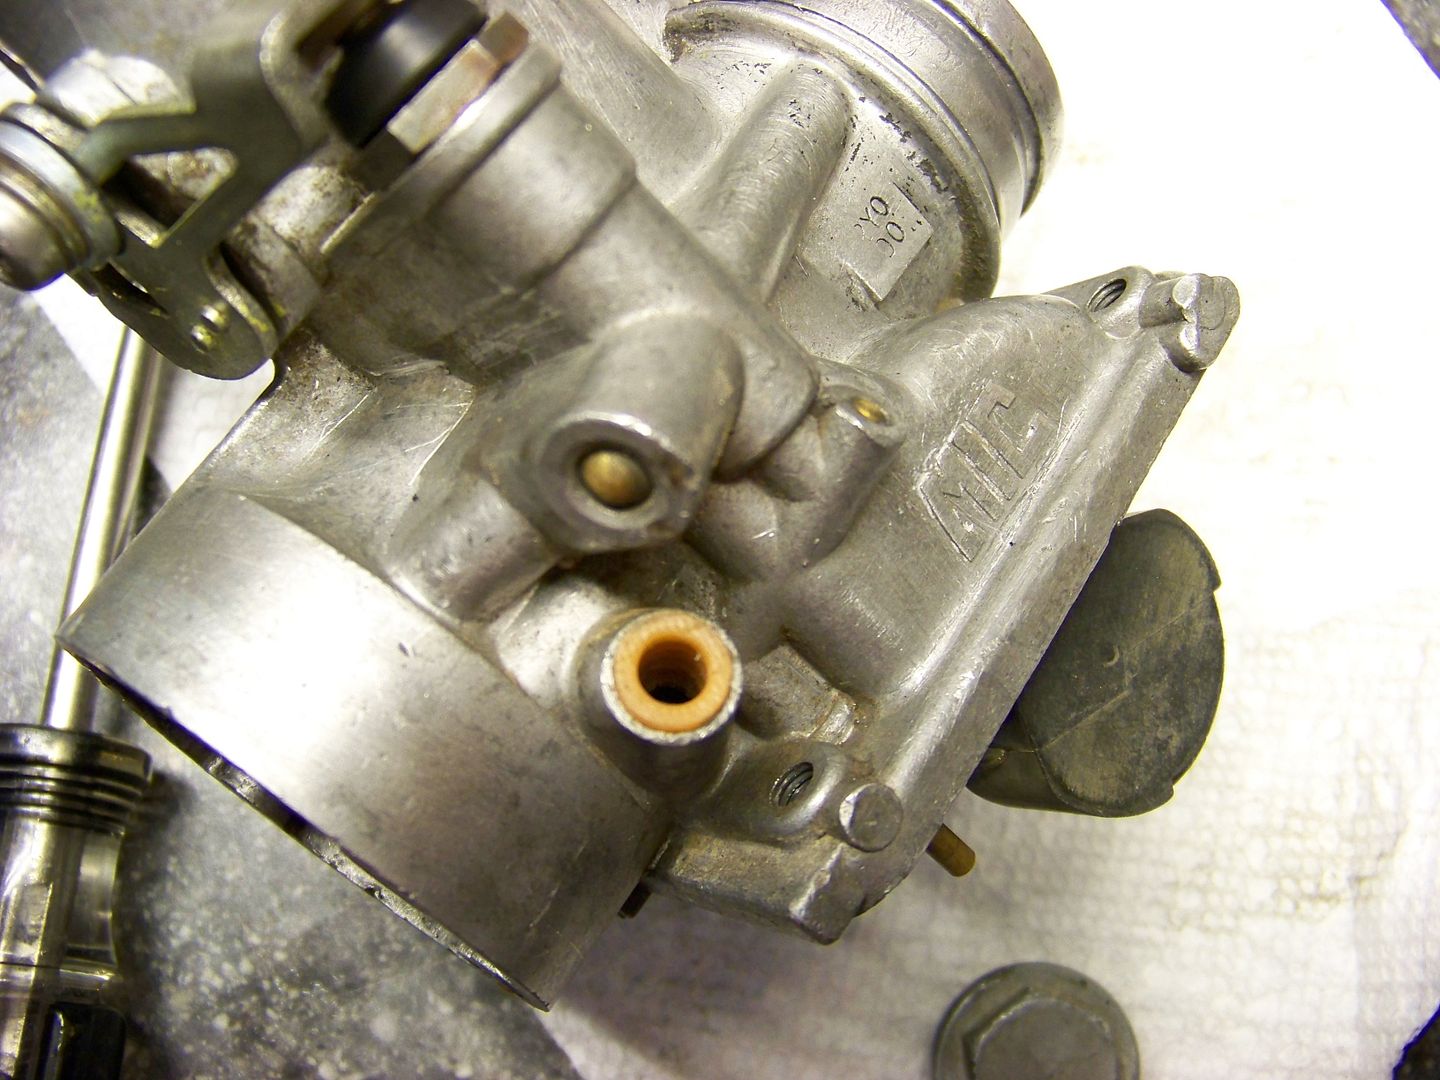
Cleaned and somewhat functional, I threw the carb back on. I could get it to idle decent, but there was smoke coming from the header flange. Unfortunately it appears what should have been the only good thread on the exhaust stripped out. Instead of trying to get this head welded up and new studs put on, I snatched a used one off ebay.
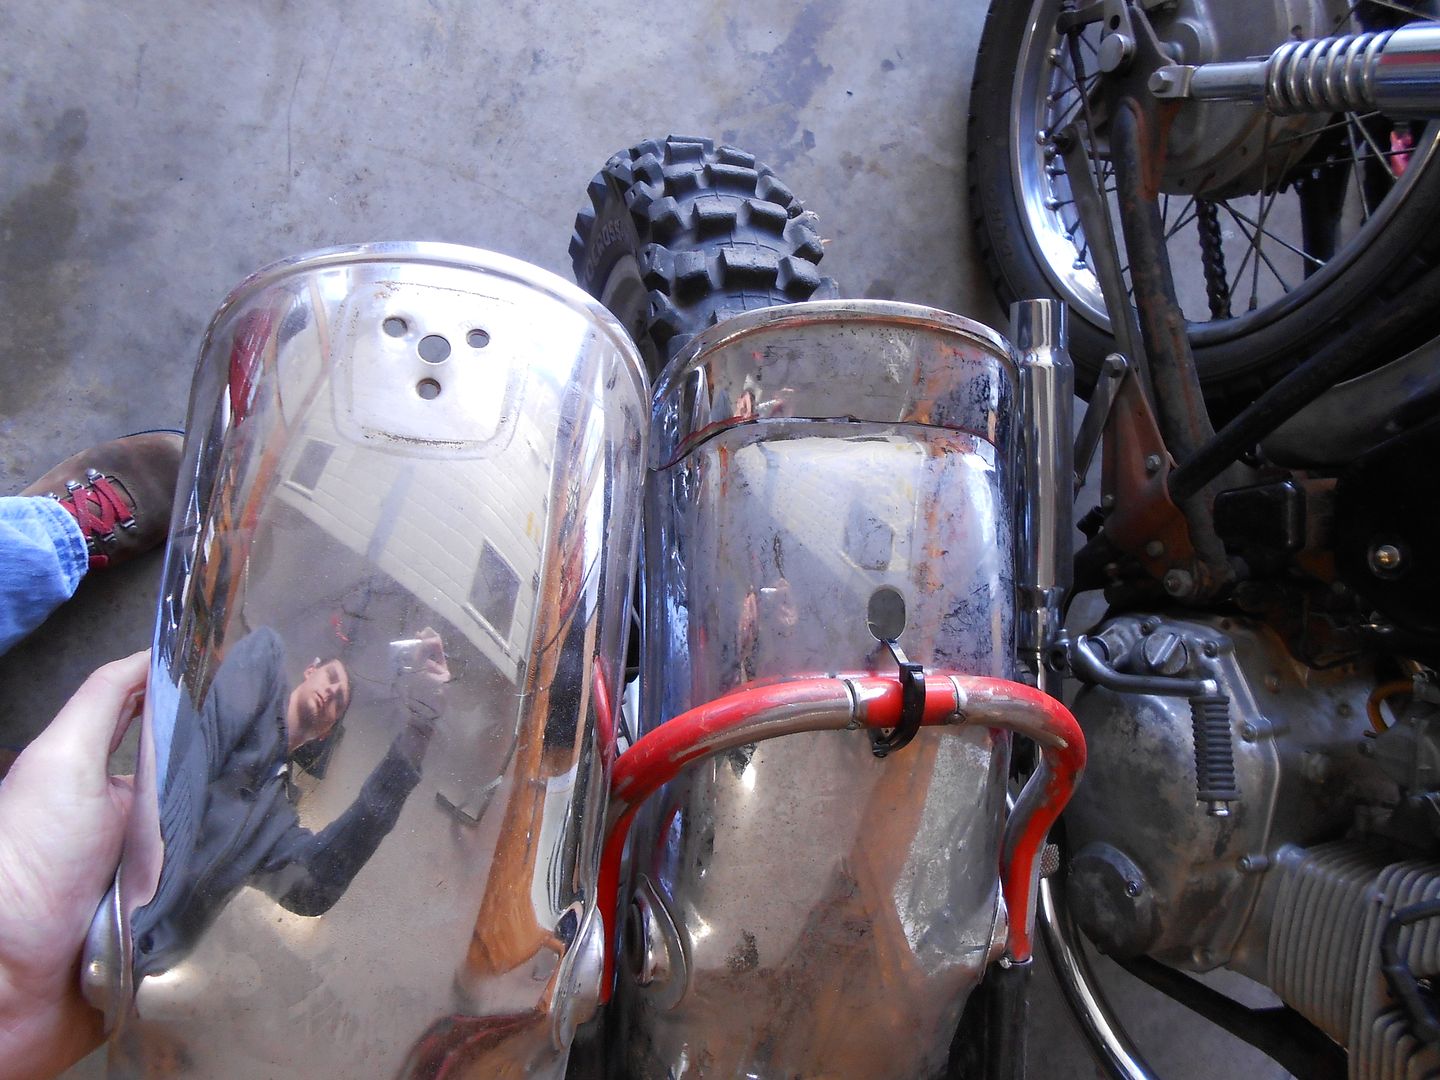
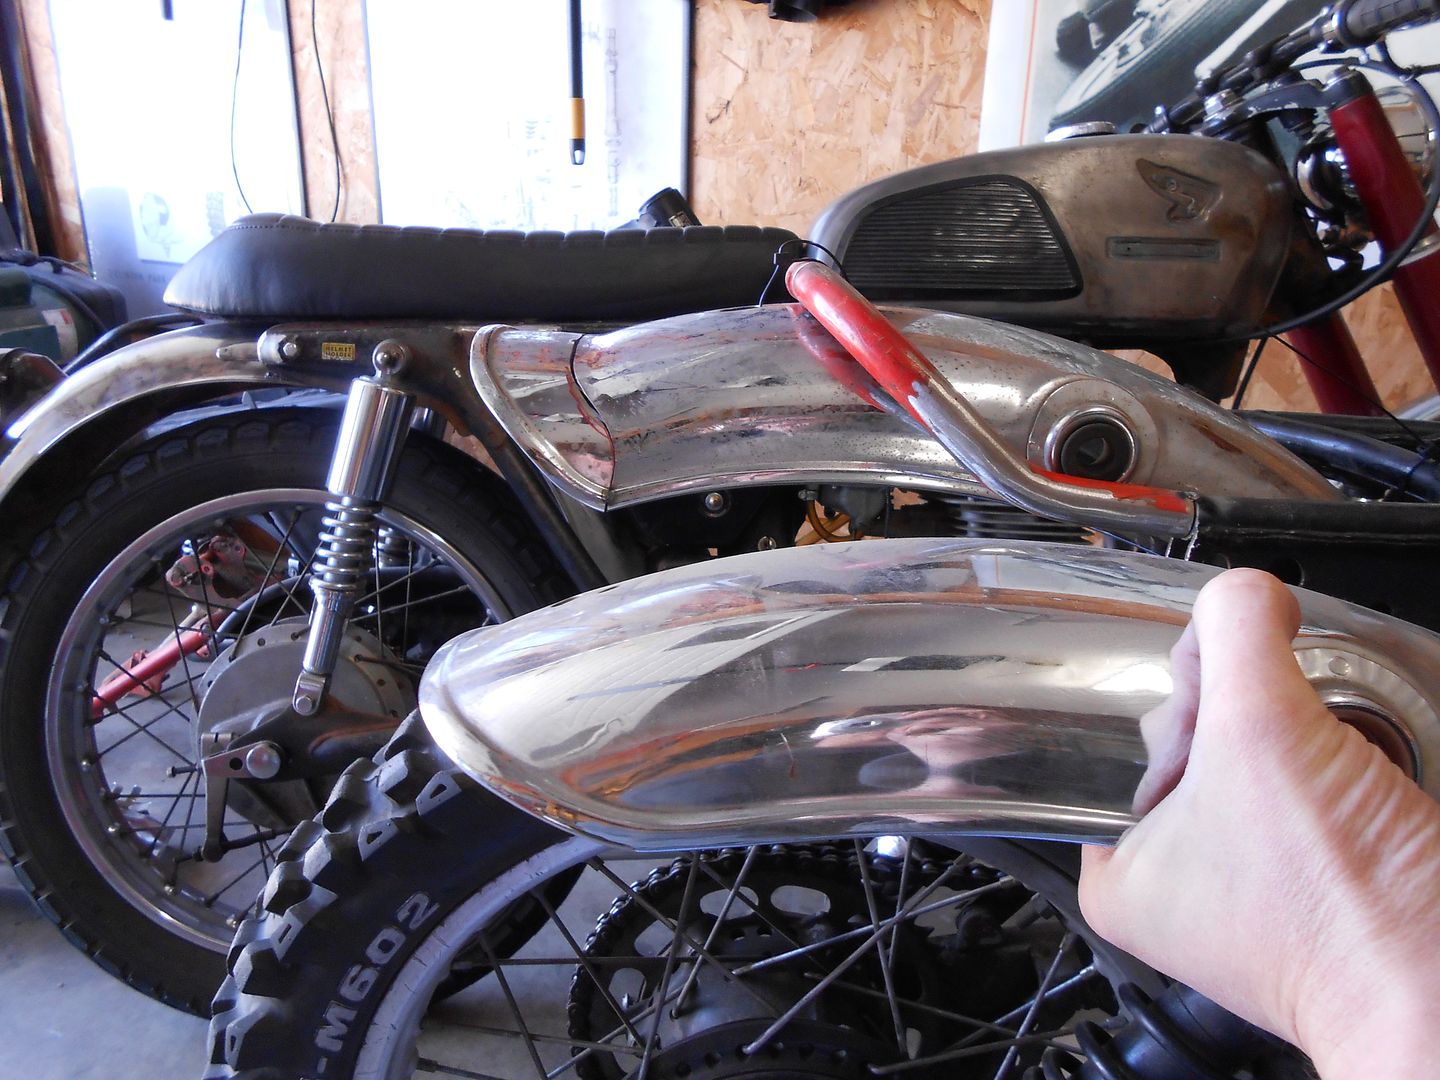
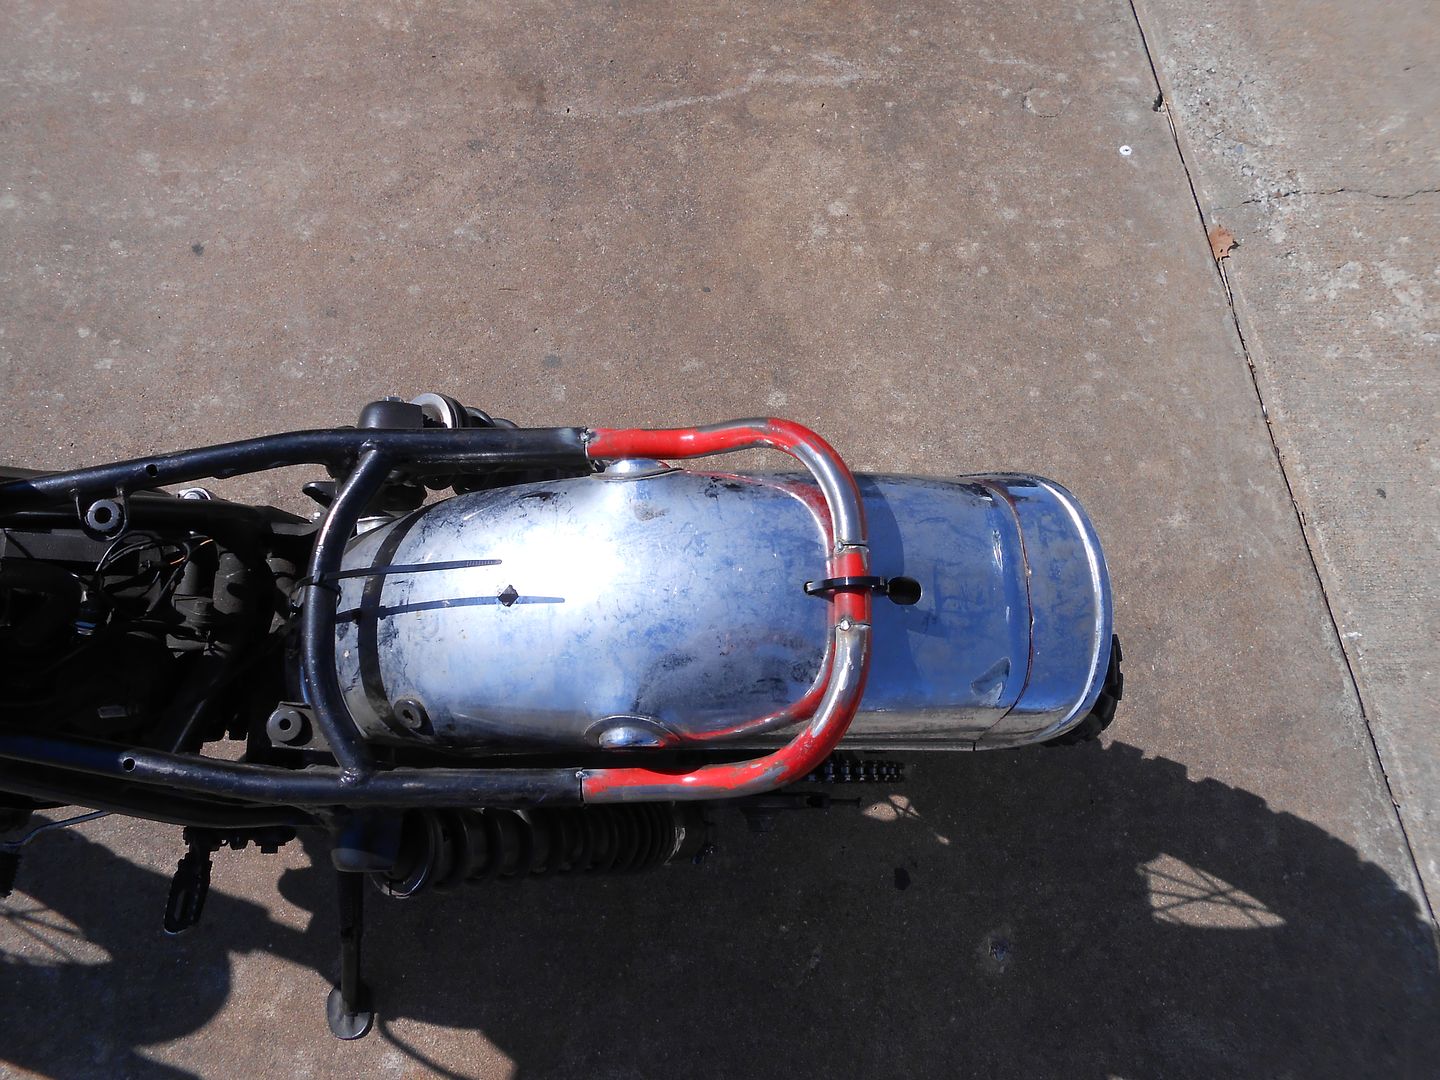
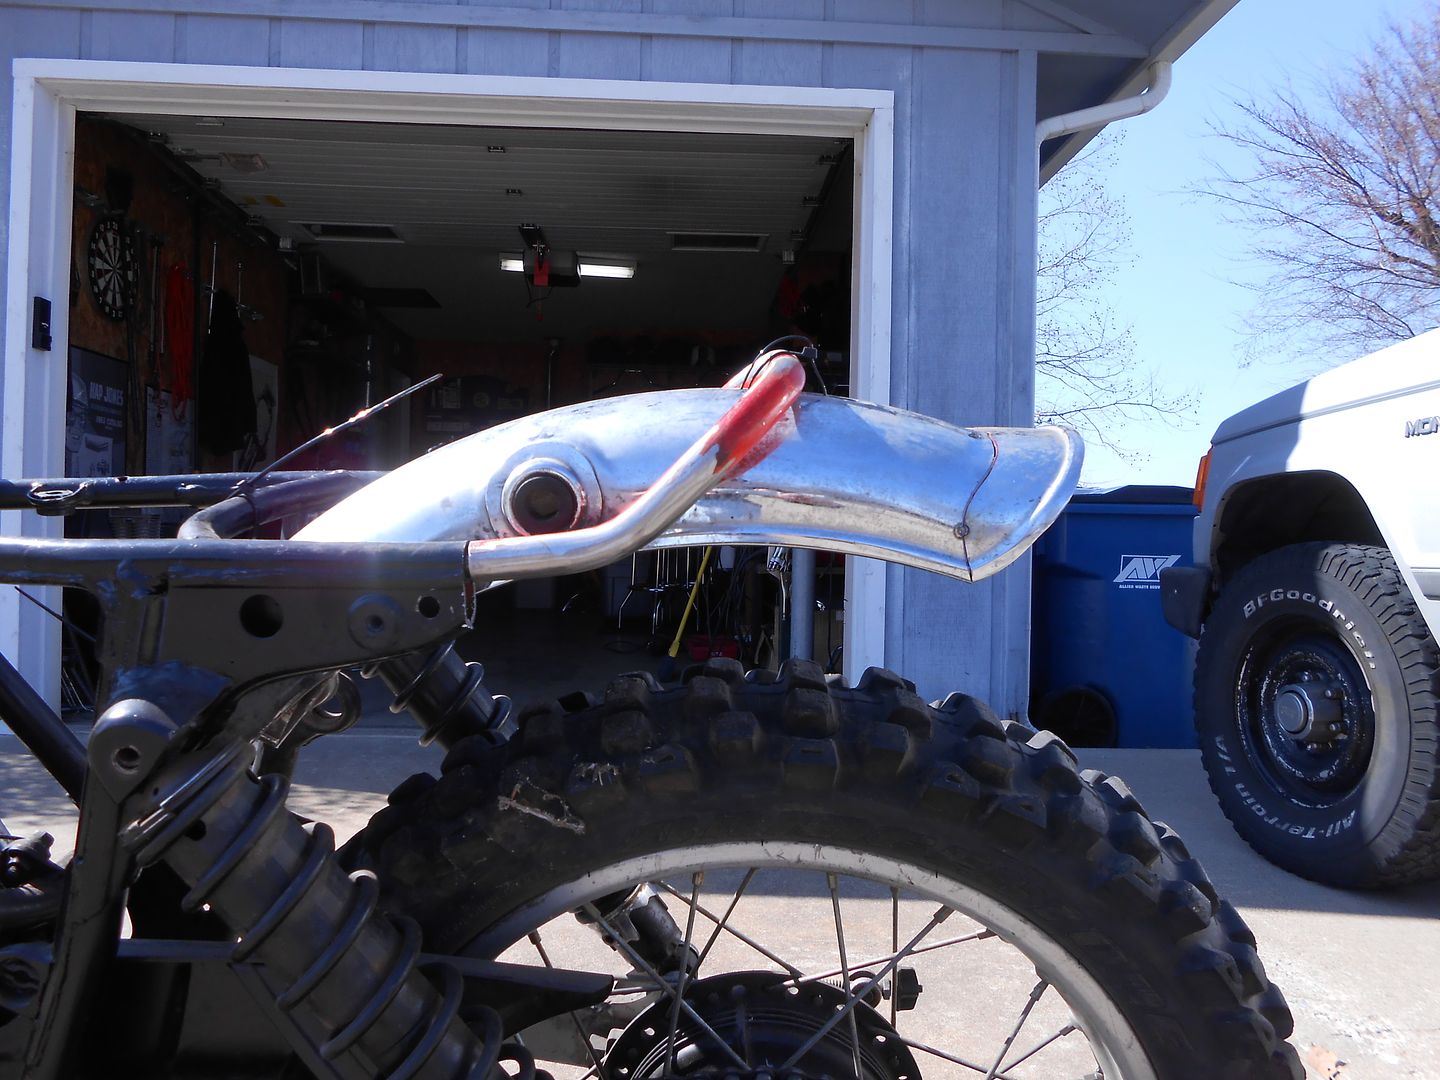
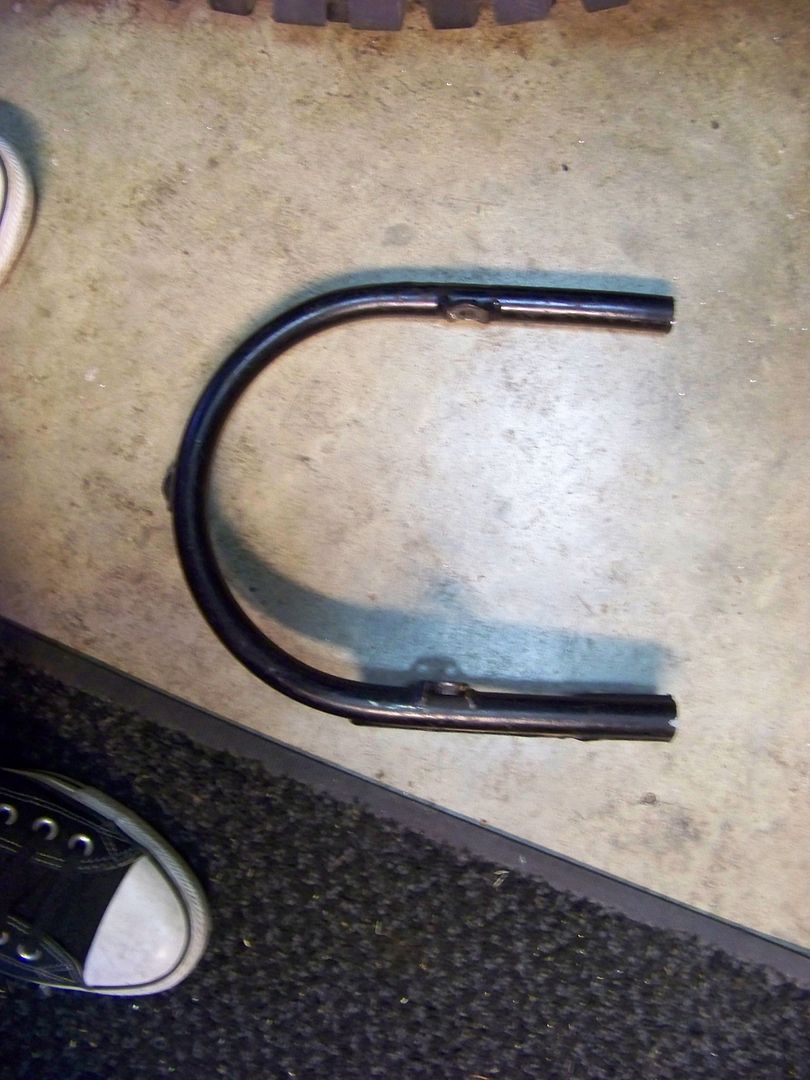
While waiting for the new head to come in, I decided to play dress up with the rear fender and seat sub-frame. The fender I'm using is a stock rear from an xs650 project years ago. I cut a chunk out, and hammered a slight curve into a duckbill. The seam still needs welded, but it's close to what I had envisioned. As for the sub-frame hoop, it is pieced together from an old xr80 frame from another project I got for free.
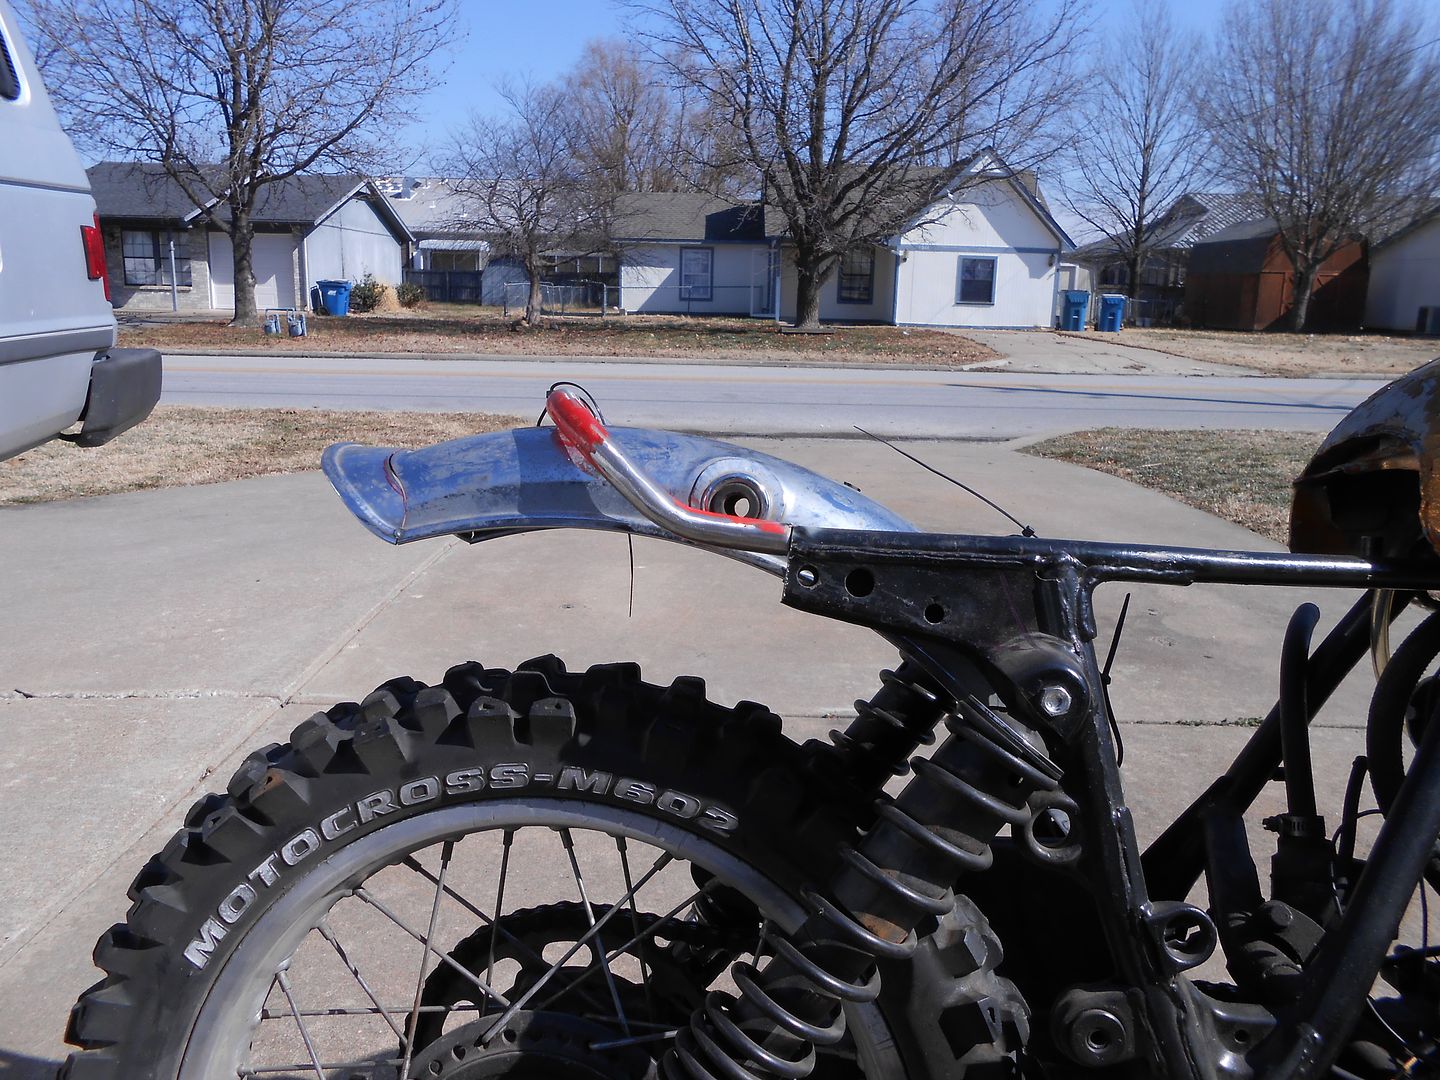
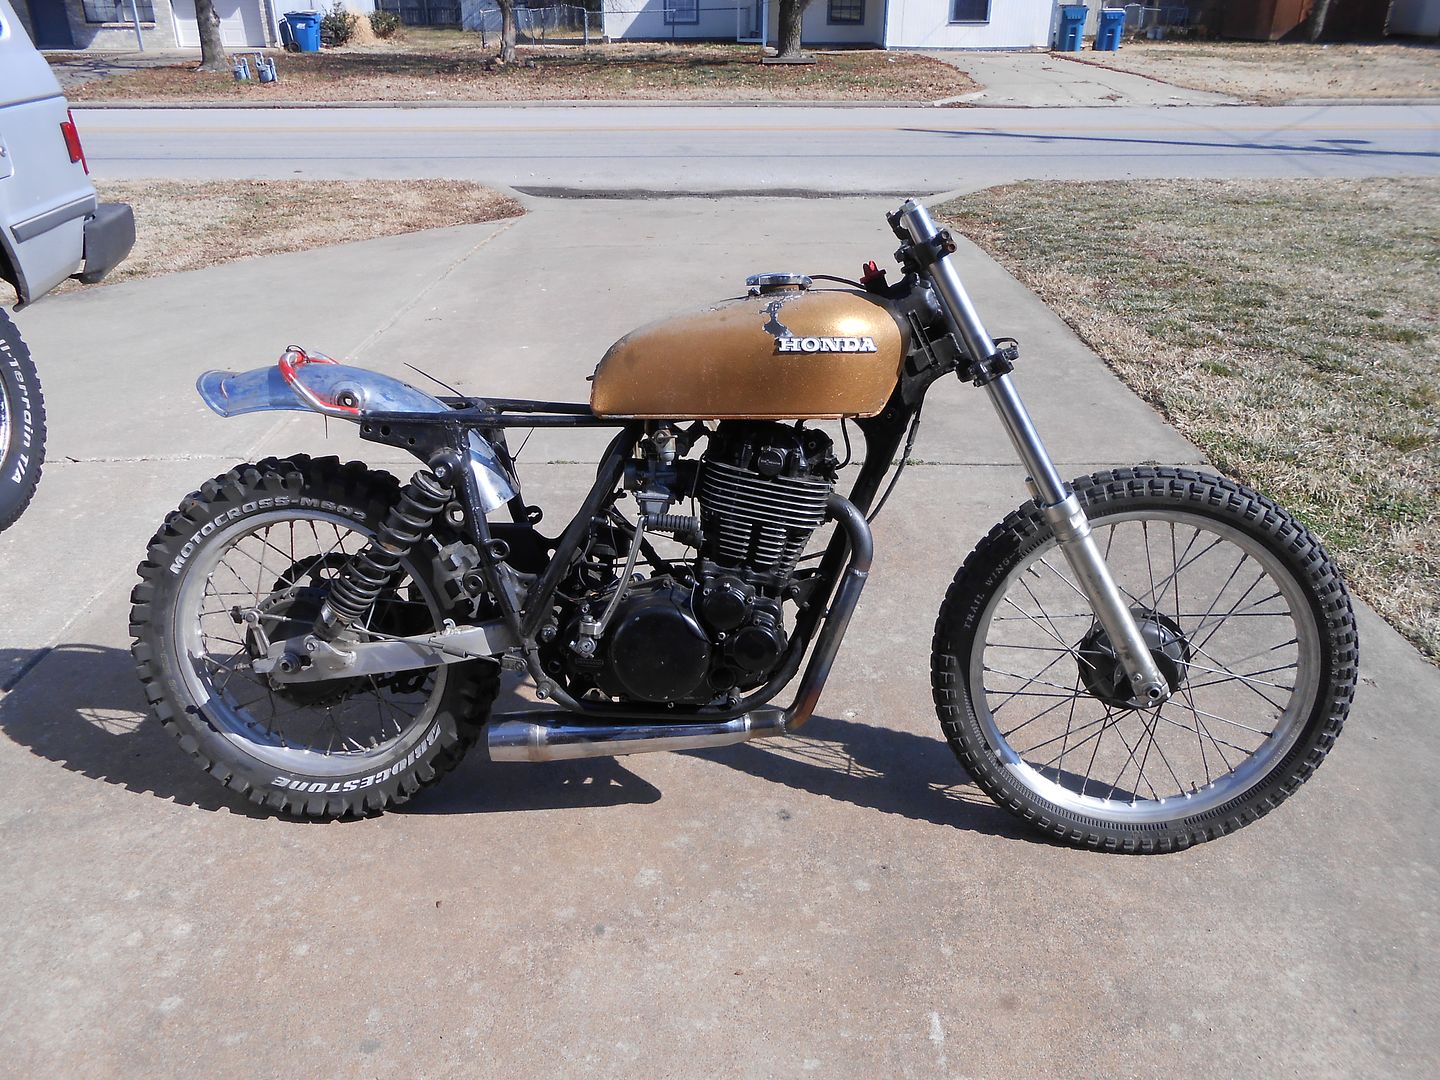
I've got some more stuff in the works that I will post up in the next day or two.
Derrick
1/11/13
OZARK MOUNTAIN SCRAMBLE 2013 DATE CHANGE
Due to circumstances beyond my control, I have decided to move the Ozark Mountain Scramble to the 29th through the 31st of May. Unfortunately someone decided to throw a HUGE country music festival in Ozark Arkansas the same days of the originally scheduled OMS. With a festival this large in such a remote location, there is a guarantee that traffic will suck and be extremely inflated. There aren't many ways in or out of the town of Ozark, so we would be riding a slight circle around and eventually though the festival on the third day. Not good at all. I've tossed around the dates to some OMS alumni, and the decision for the last week of May was made. I hate to do it, but I would rather move everything a week forward than have 3 days of shitty riding with drunkards swerving at us. Safety first, fun comes second, and I'm sure there is a third to plug in there somewhere that's fitting.
Also, for some reason it has completely slipped my mind to post up some press for last years run published on Chop Cult. Mike of 47 Industries joined us for the run last year all the way from New Jersey with a couple buddies in tow. Afterwards he was kind enough to put together an article after a quick Q & A session and submit it. If you haven't seen it already, check it out HERE. Another chunk of light reading can be seen over at Chopper Creeps site that Tim from New York put together. It's a good chronicle of the journey to Arkansas, the ride itself, and a bit of the trek back up North. See the write up and some additional ride pics in three parts: ONE TWO THREE
11/26/12
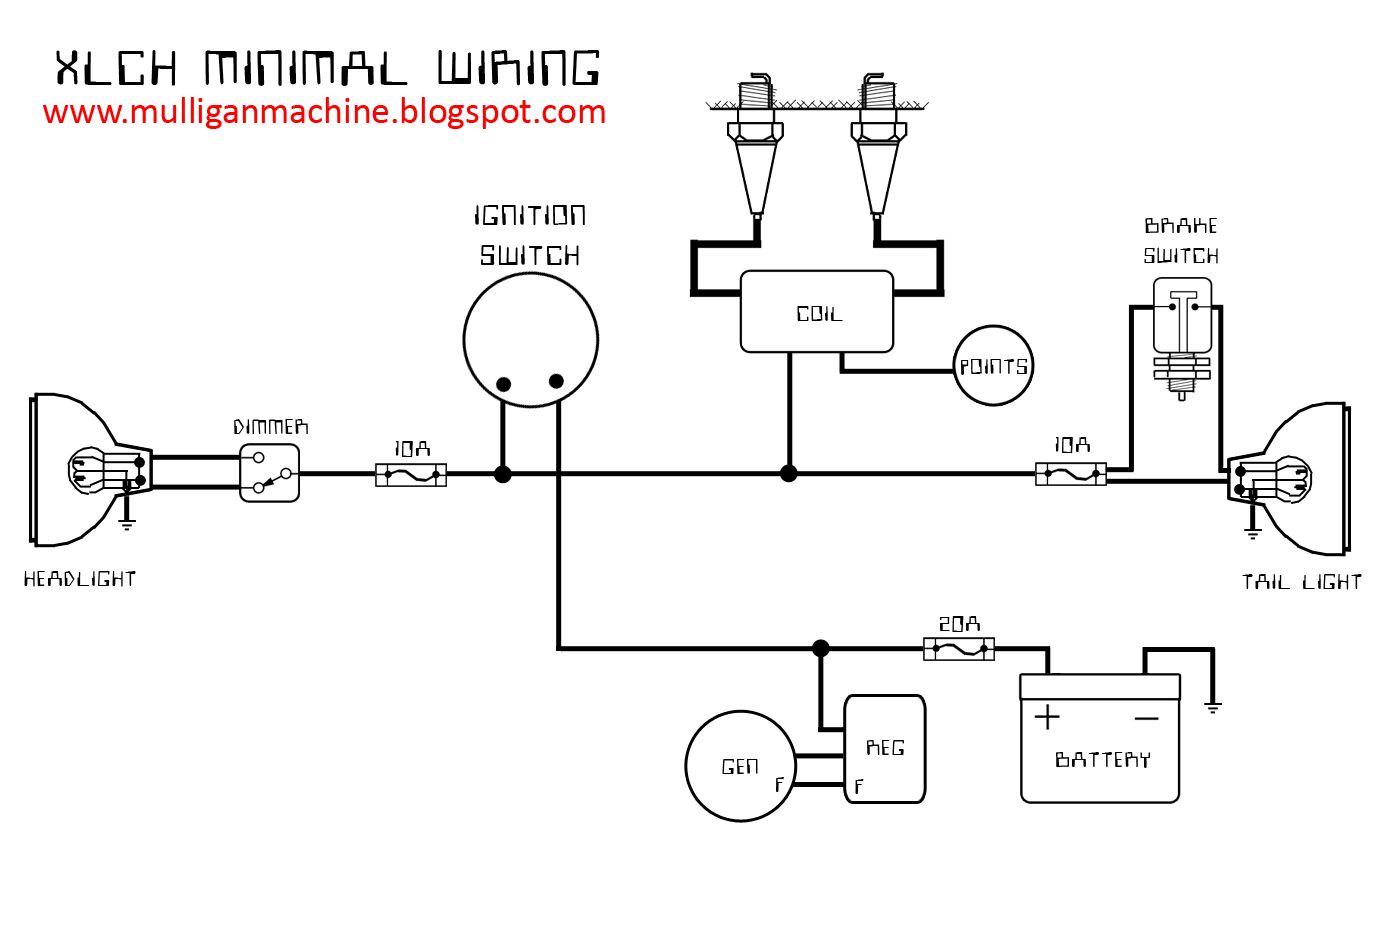
cb360 build : part 1
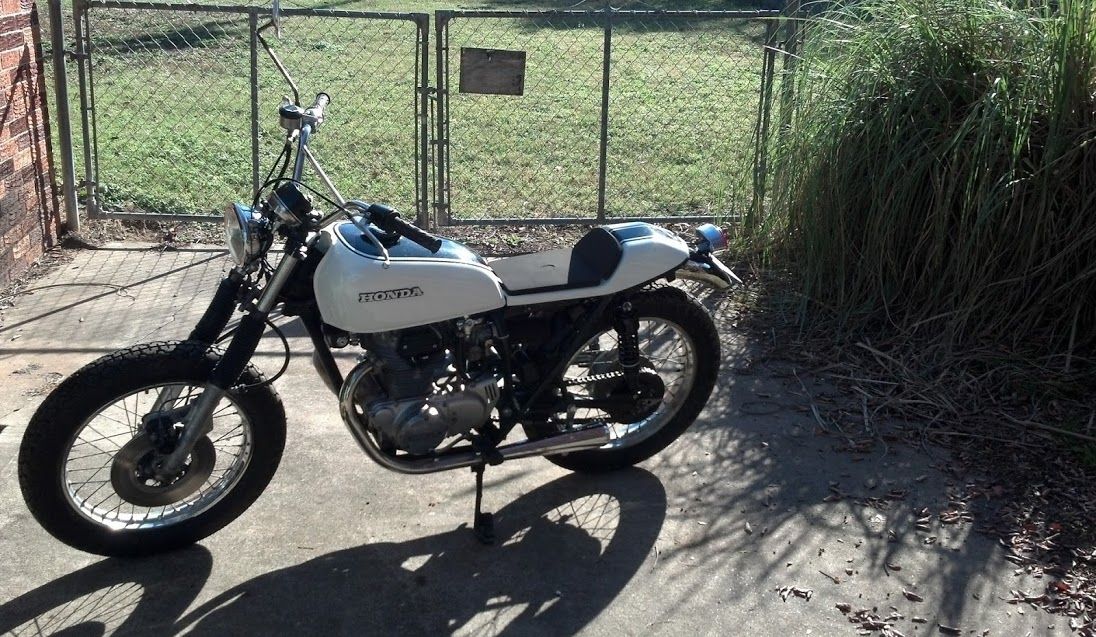
As of this weekend my bike will pretty much be ready for the 2013 Scramble. Since last year's last minute oil seal snafu on my CB360, I assessed the situation thoroughly and decided to give the bike another chance at glory. I have replaced a few seals, added a presentable seat pad, changed out the pods for foam filters, swapped out the worn out shocks for some new ones, and simplified the electrical a bit more. Sounds like a bit much, but since I have been rewarded for my efforts in fiberglass seat design because of this bike I had a little more room in my budget. I don't expect to be breaking any land speed records with this little 360, but it should be plenty potent enough to break the speed limit a few times a long the way. I'm looking forward to ripping through the Ozarks once again.
Andy

11/9/12
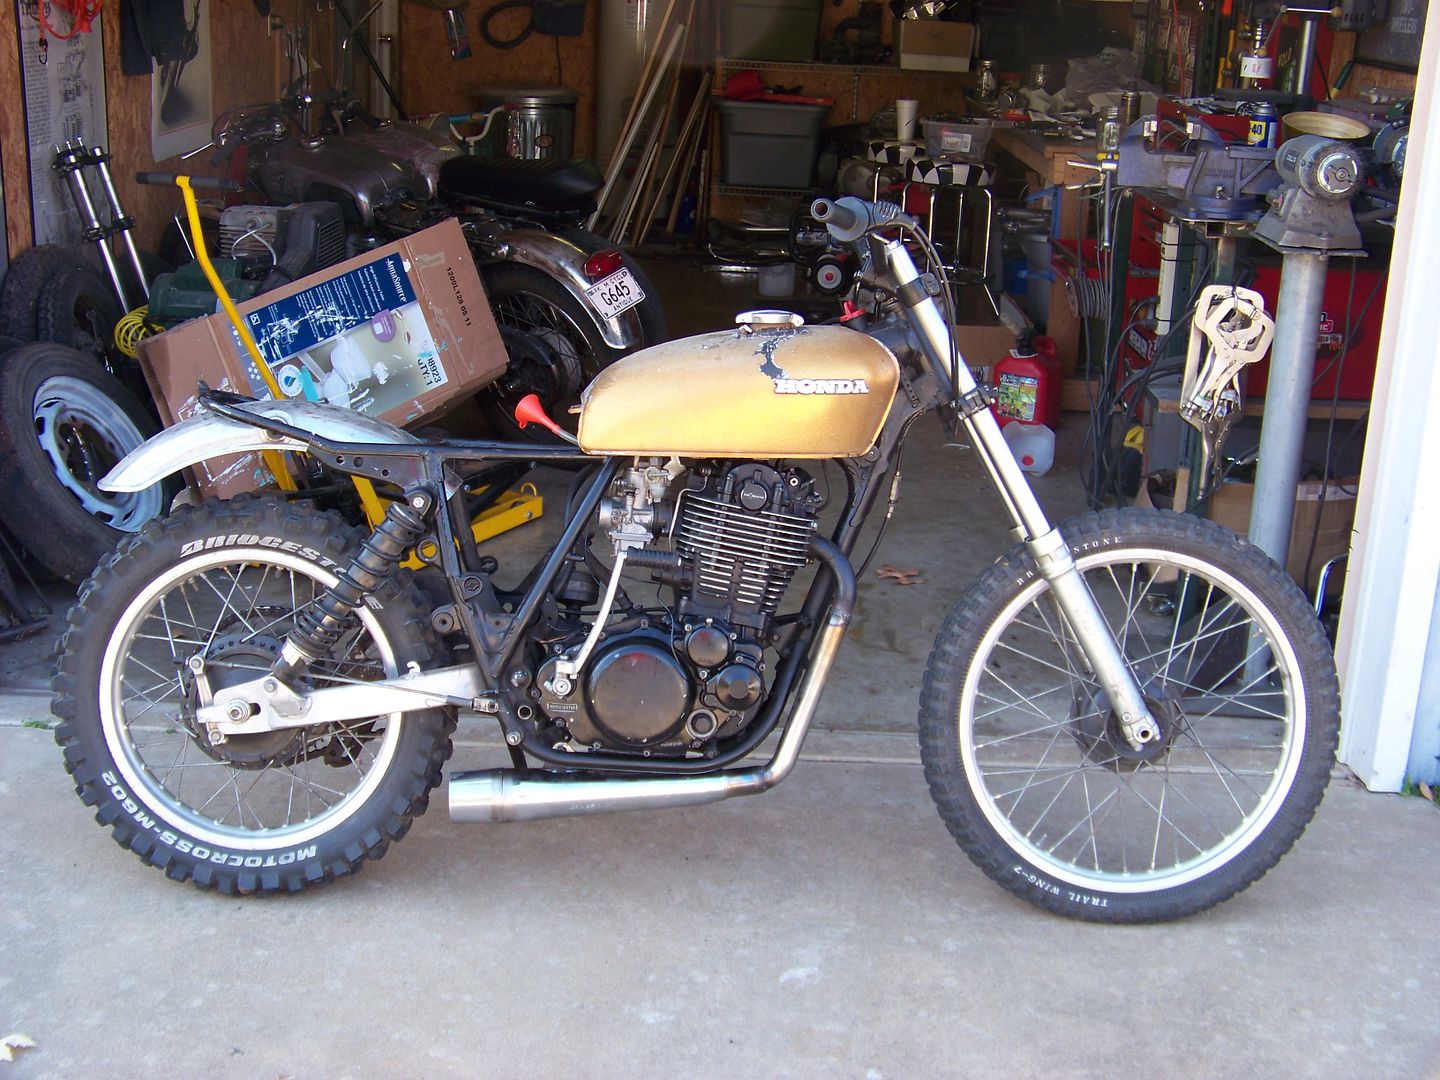
tt500 build : part 5
I found a good deal on some new forks with a matching set of trees for a 77 model to replace the leading link ones. Unfortunately I have to figure out what to do with my brake plate now. Apparently the earlier model brake plates were spaced differently, so I need to remove some meat to get it all to fit right.
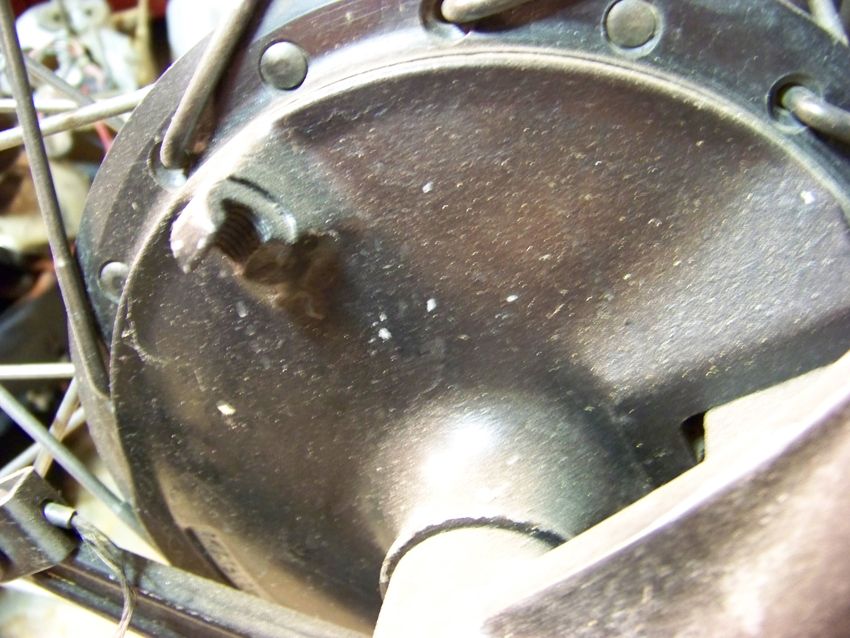
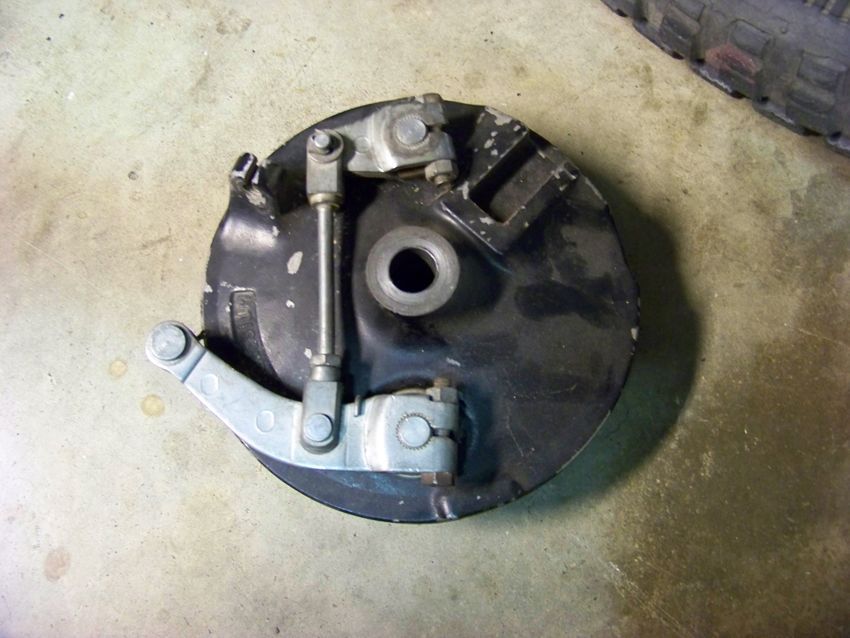
Speaking of brake plates, I found that a yz something or other shares the same size brake plate with the exception that the yz is a twin leading shoe and the tt is a single. What's cool about that is I've had this wheel leftover from my old xs650 project, so it's a freebie and extra braking power. The tt plate cable boss is broken anyways, so it works out rather well.
Broken stock plate.
Tls yz plate.
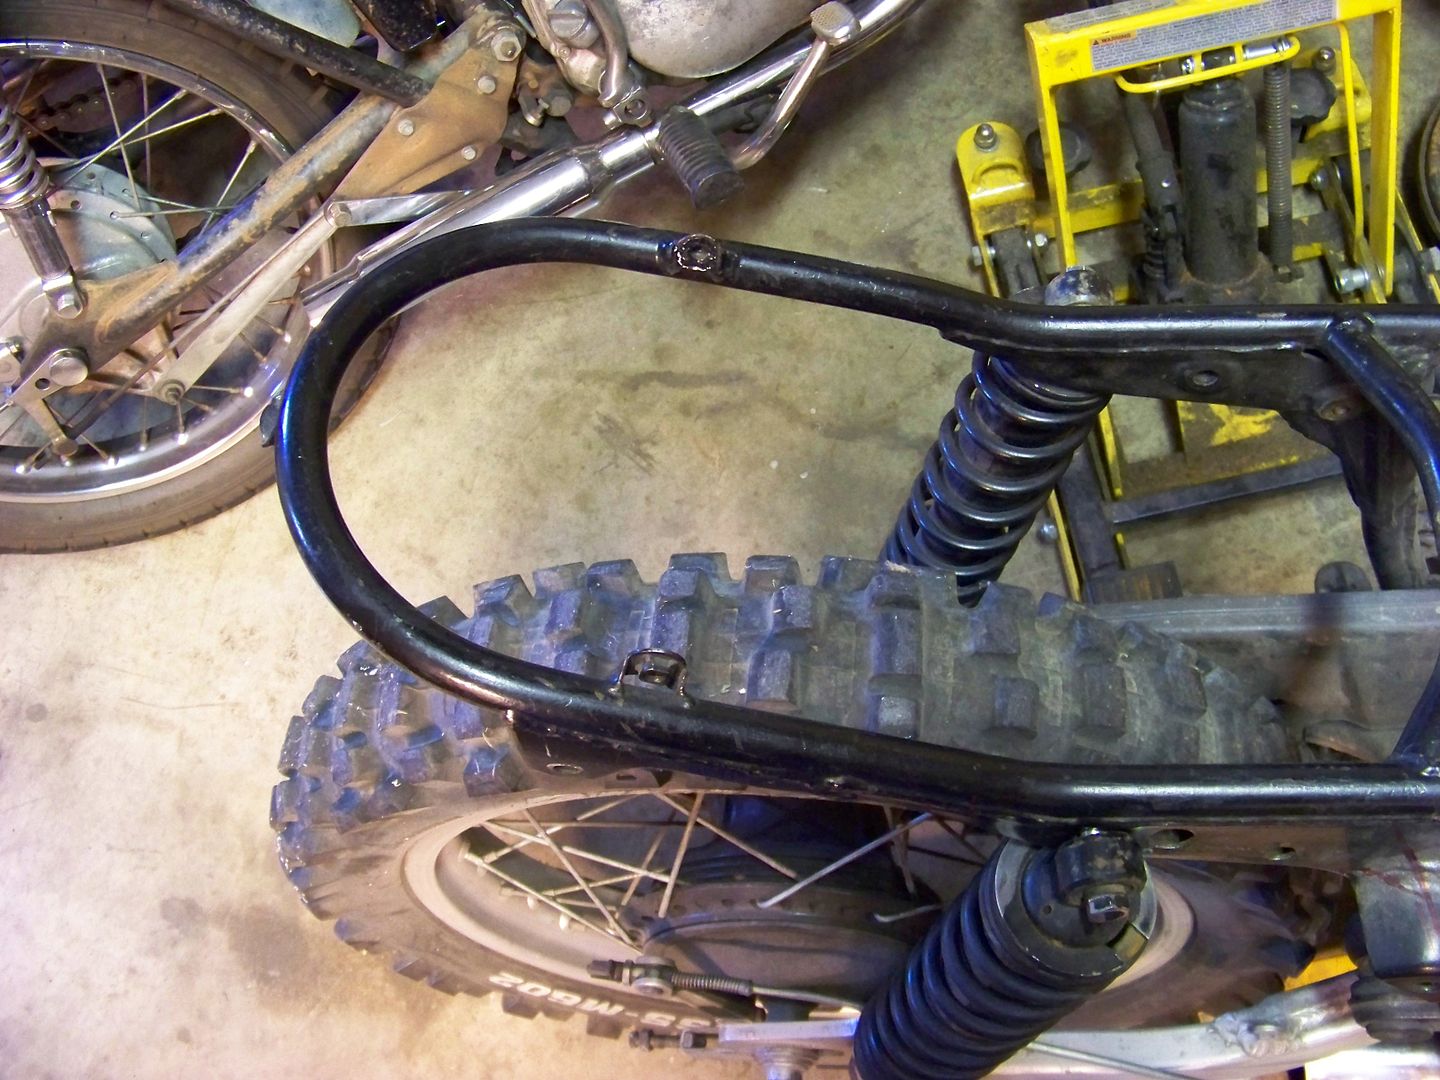
Started hacking into the frame a bit.
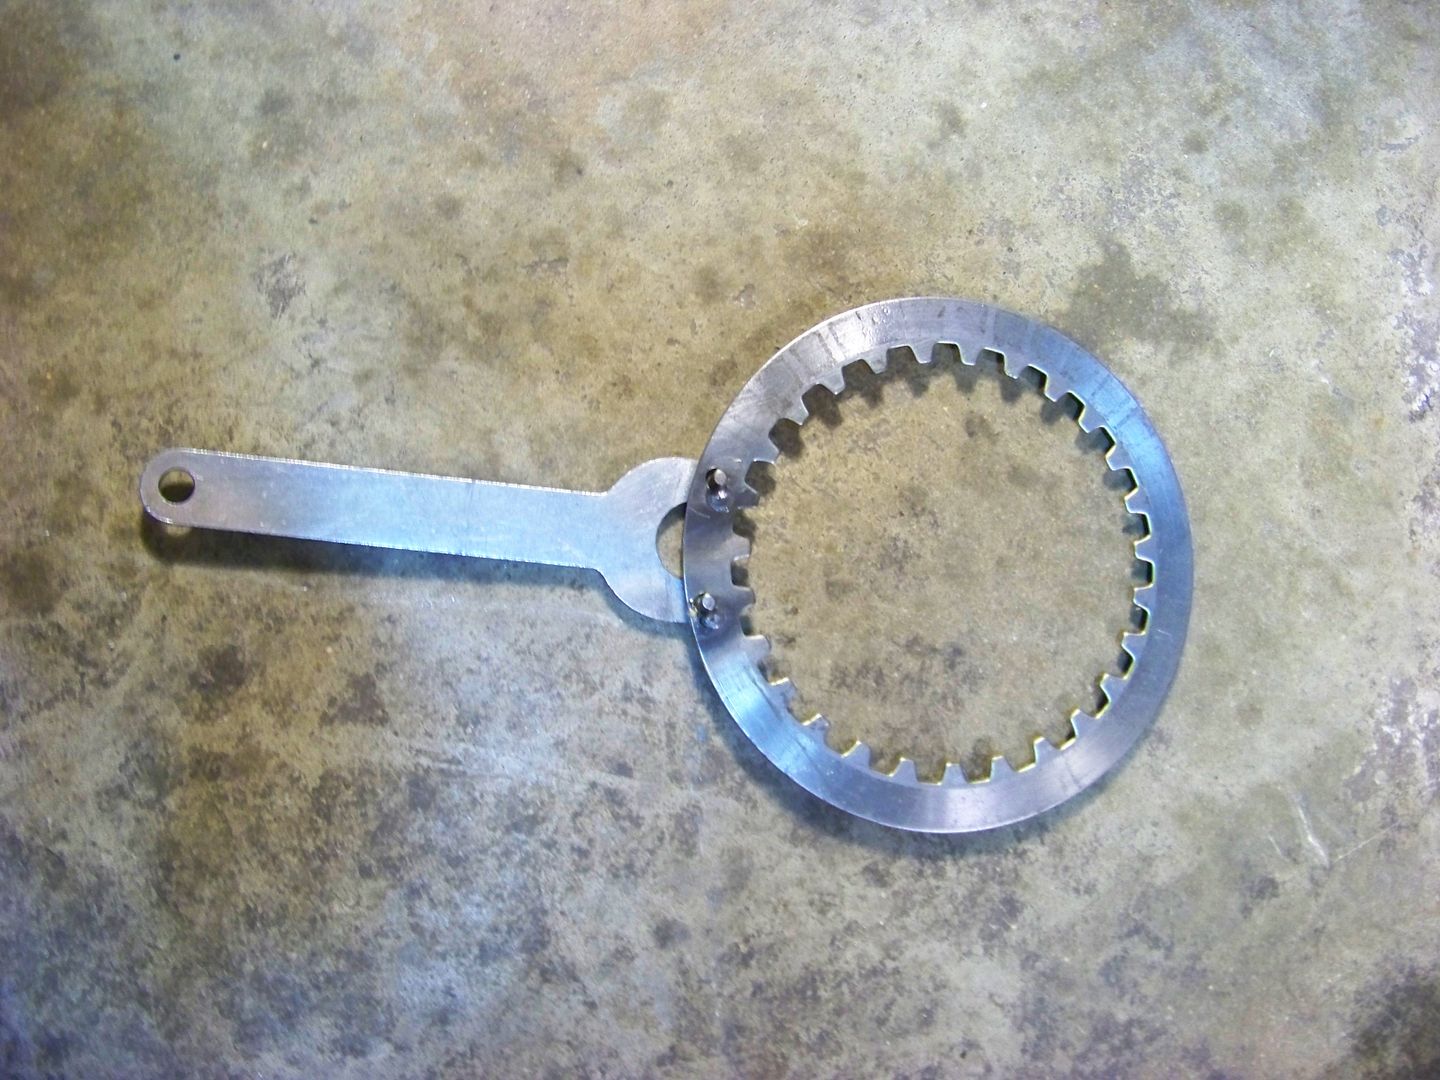
I needed a clutch tool, so I took a grinder disc tool, drilled a couple holes in a roached clutch plate, and tack welded it in place. Worked great.
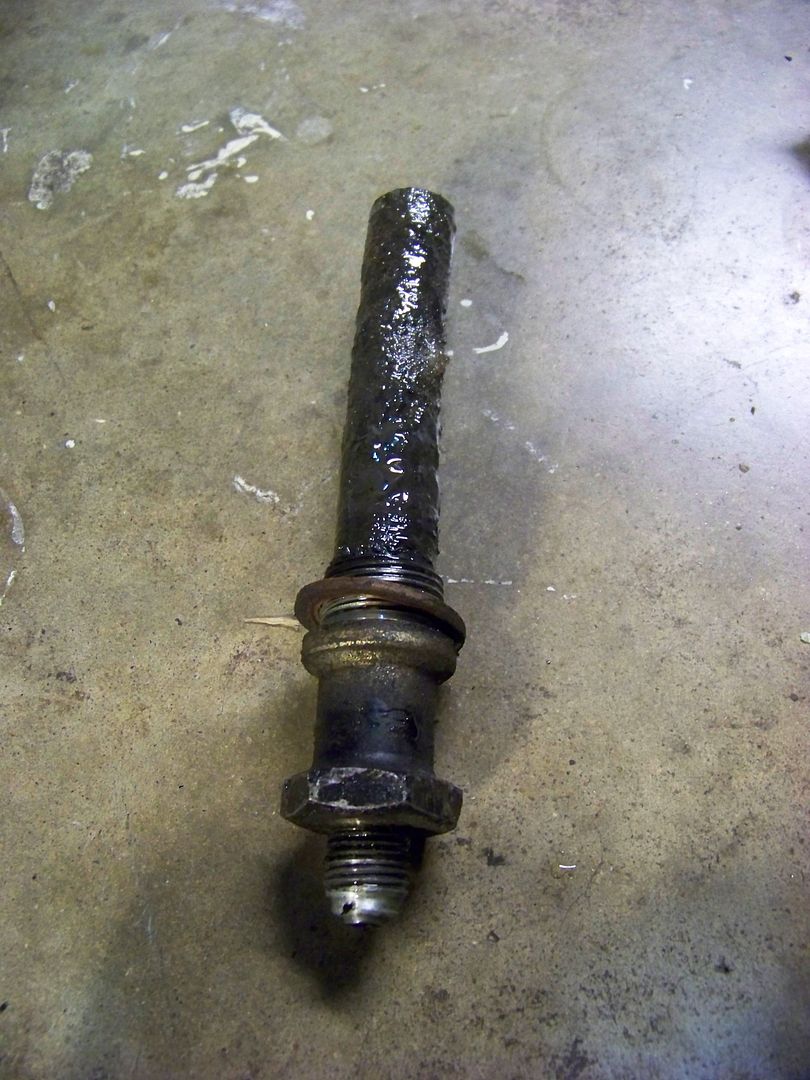
Before putting everything back together I realized I never cleaned the screen of the downtube filter. Glad I did, because it was nasty.
Fresh oil. Key on. Fuel on. I got a ball of flame twice, but that's it. I kicked and kicked and kicked and kicked. Nothing. Spark is nice and fat. Static timing is spot on, so I decide to dig into the carb and see if there is anything that looks wrong. The float looked like it was in a car accident, cause it was bent in every direction possible, and neither side were remotely where they should have been. With everything apart I decided to clean all the jets, body, etc. When putting it all back together, I noticed the pilot screw was missing a spring and o-ring. I think I can find something in my parts stash that should work, but not sure yet. The parts are now considered obsolete, so that's pretty awesome. If anyone has those parts laying around, let me know. Good news of the night was the oil made it to the bleeder!
After a few more hours scratching my head last night re-checking everything over and over and over with the same result, it was obvious something in my timing wasn't right. So far I had only got a couple balls of flames, and that was a rare occurrence at that. You know what they say, 99% of all carb problems are electrical. A quick google search of "tt500 backfire" and 5 minutes of reading later I found out the issue. When I put the points cam gear in place, I didn't line up the dots on the proper stroke. The manual doesn't mention the importance of this, or even make mention other than just that the dots need to be lined up. I don't recall which stroke it should be on at the moment, but you obviously have a 50/50 chance and I drew the crap straw. Since the advancer can't be installed 180 or the points plate be rotated 180 and still be able to put the cover back on I pulled the clutch cover and did the rotation to the points gear.
It took less than 10 minutes, then the moment of truth. On the second kick it roared to life! Went to fire it back up this morning, and once again on the second kick it fired right up. I've got some carb tuning to do, but glad this thing is finally running. I'm ready to rip down the streets and see how everything I fixed holds up. Here's a quick video I shot this afternoon.
It's definitely not running great right now, but I can get it to start first kick now, so that seems like a huge win already. Looks like it's getting way too much fuel, I didn't get much time to tinker.
Derrick
10/23/12
cl350 build : part 14
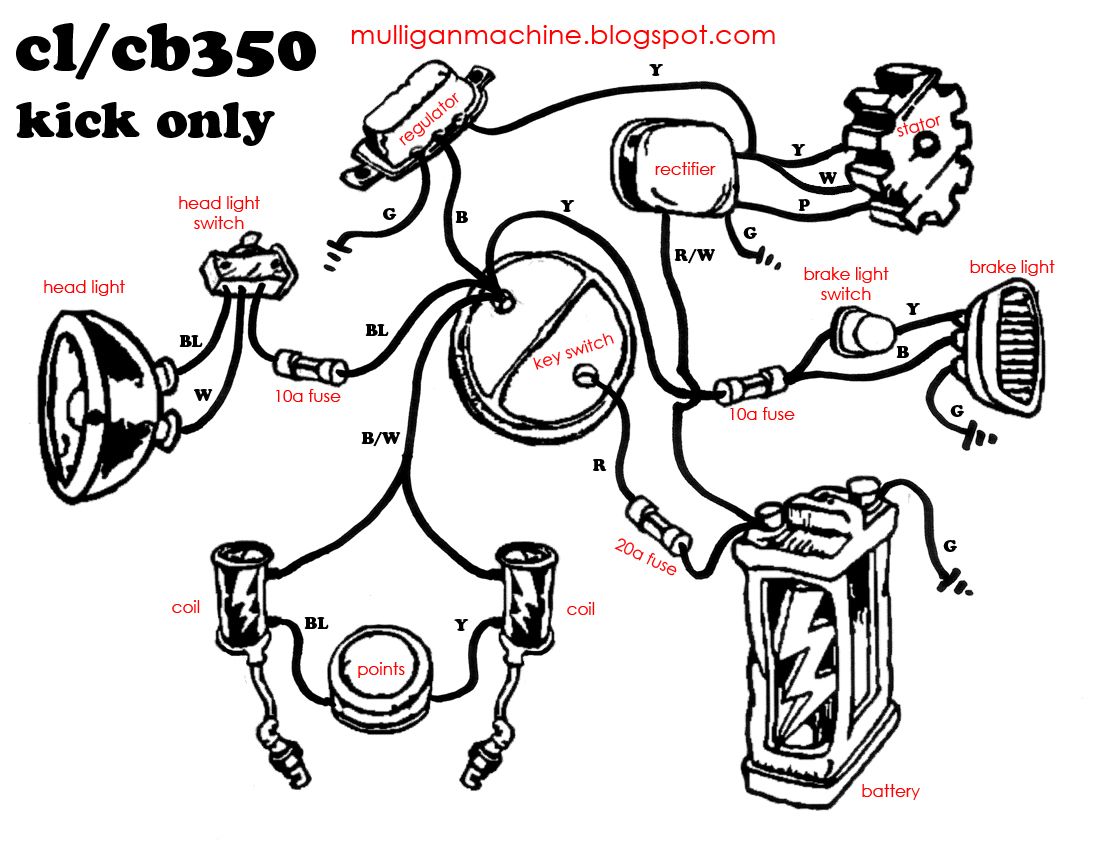
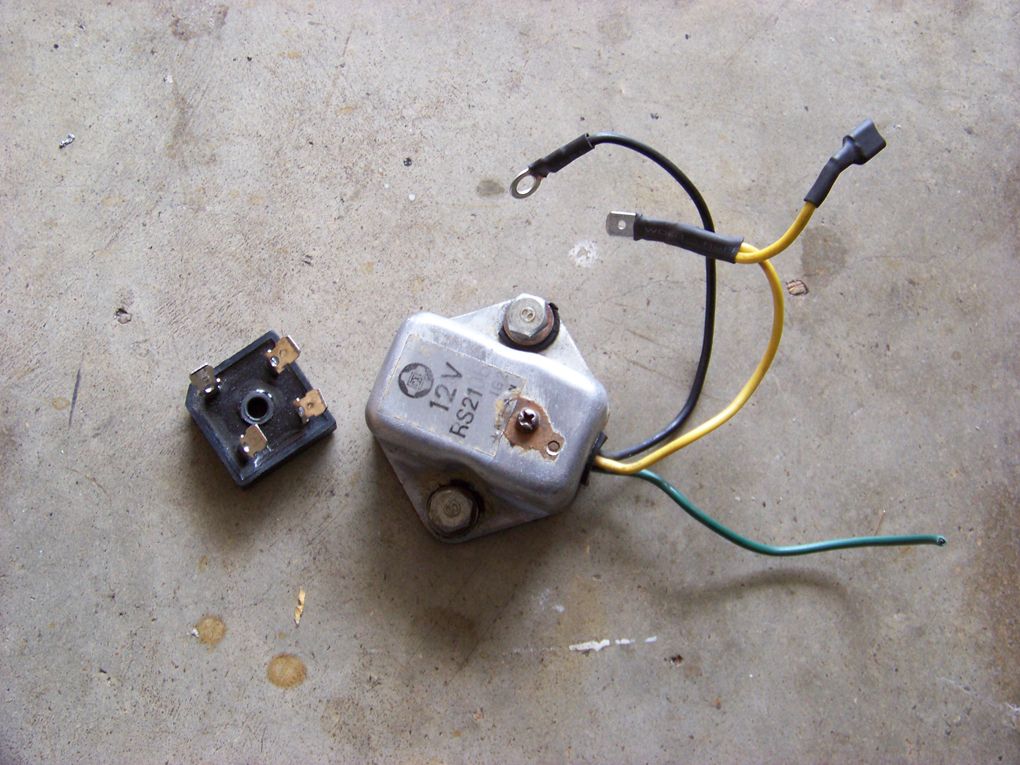
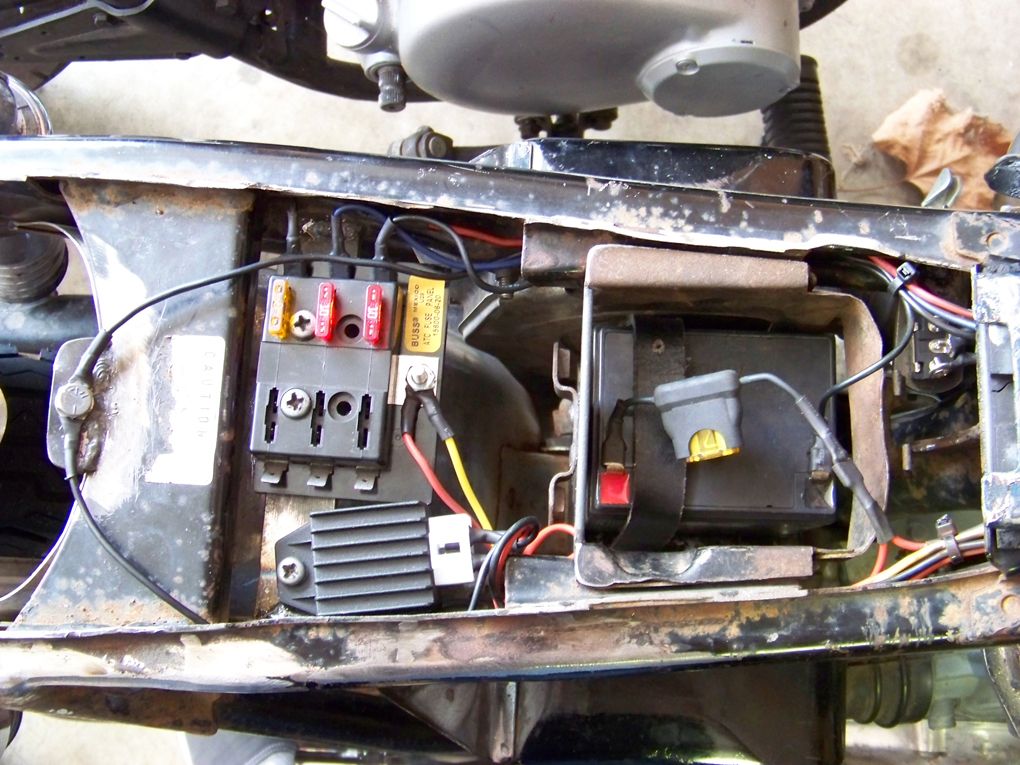
Time for a quick update on the cl350. I've been riding it off and on this summer, and not completely satisfied with the charging system. I had been planning to upgrade the regulator and rectifier to a Kohler combo unit I've been reading about on hondatwins.net. Since I've been spending most of my "bike" time recently with the tt500, some electrical information popped up that should come in handy for both bikes. Apparently a common upgrade for the xt/tt500, is to hook up a cheap 12v scooter 4 pin ebay regulator rectifier combo unit to replace the stock 6v system. It appears this should work the same way as the Kohler unit mentioned previously, only I paid $6.99 shipped, and it is intended to be used on a motorcycle, not a lawnmower.
Disclaimer, I am still in the testing phases to see how it all works out, and if it truly is an upgrade or even comparable to stock standards. Please don't go buy one to run and expect amazing results yet. I'll keep posting updates as time passes.
New unit next to the old Radio Shack rectifier and stock regulator.
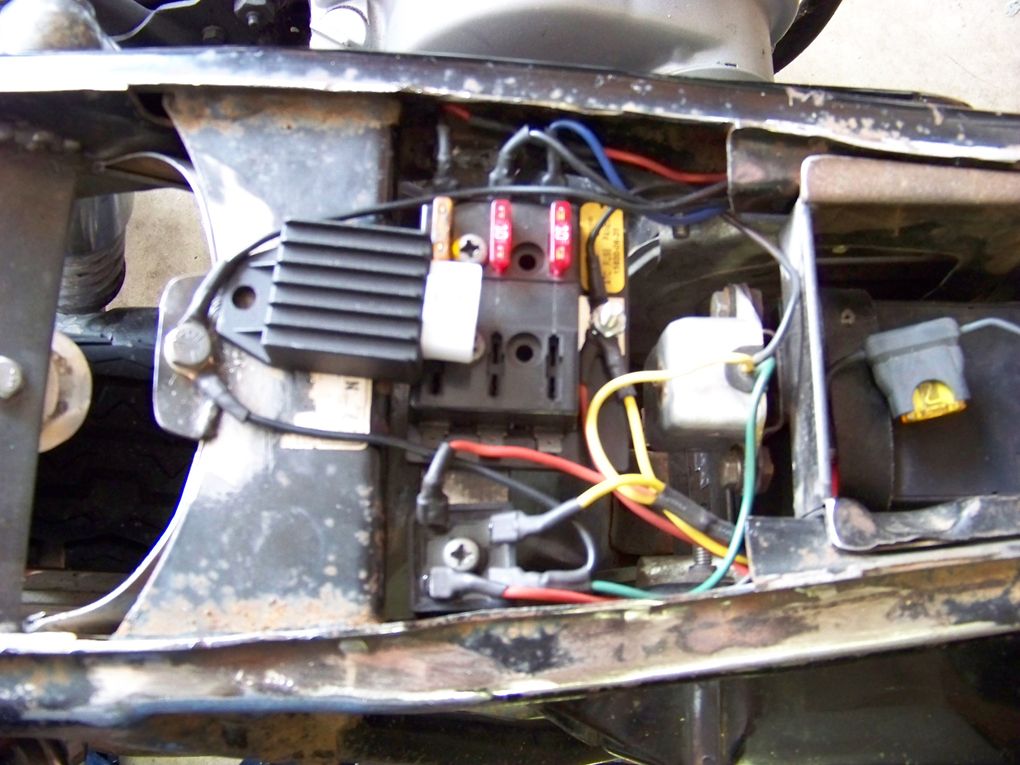
Old stuff removed.
New unit installed.
How to wire the unit.
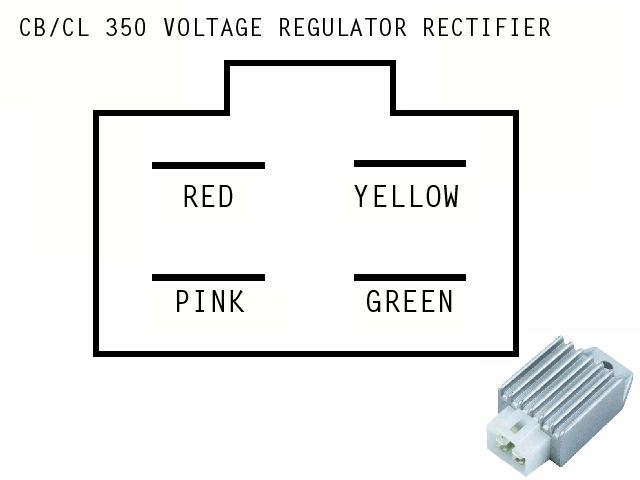
Plug your wires from the stator as follows: positive from battery to Red, Green to ground, Yellow from stator, and Pink from stator. Unplug the regulator connections and remove unit. It's that simple. I only have a few miles on it so far, but it's doing what it's supposed to at the moment.
UPDATE: As of 04/25/2013 the unit is cooked or just not functioning anymore. Originally I wanted to blame it on the stator, however after hooking the old regulator and Radio Shack rectifier back up it was charging great again. Luckily I didn't get completely stranded when it decided to take a shit, but it wasn't exactly convenient either.