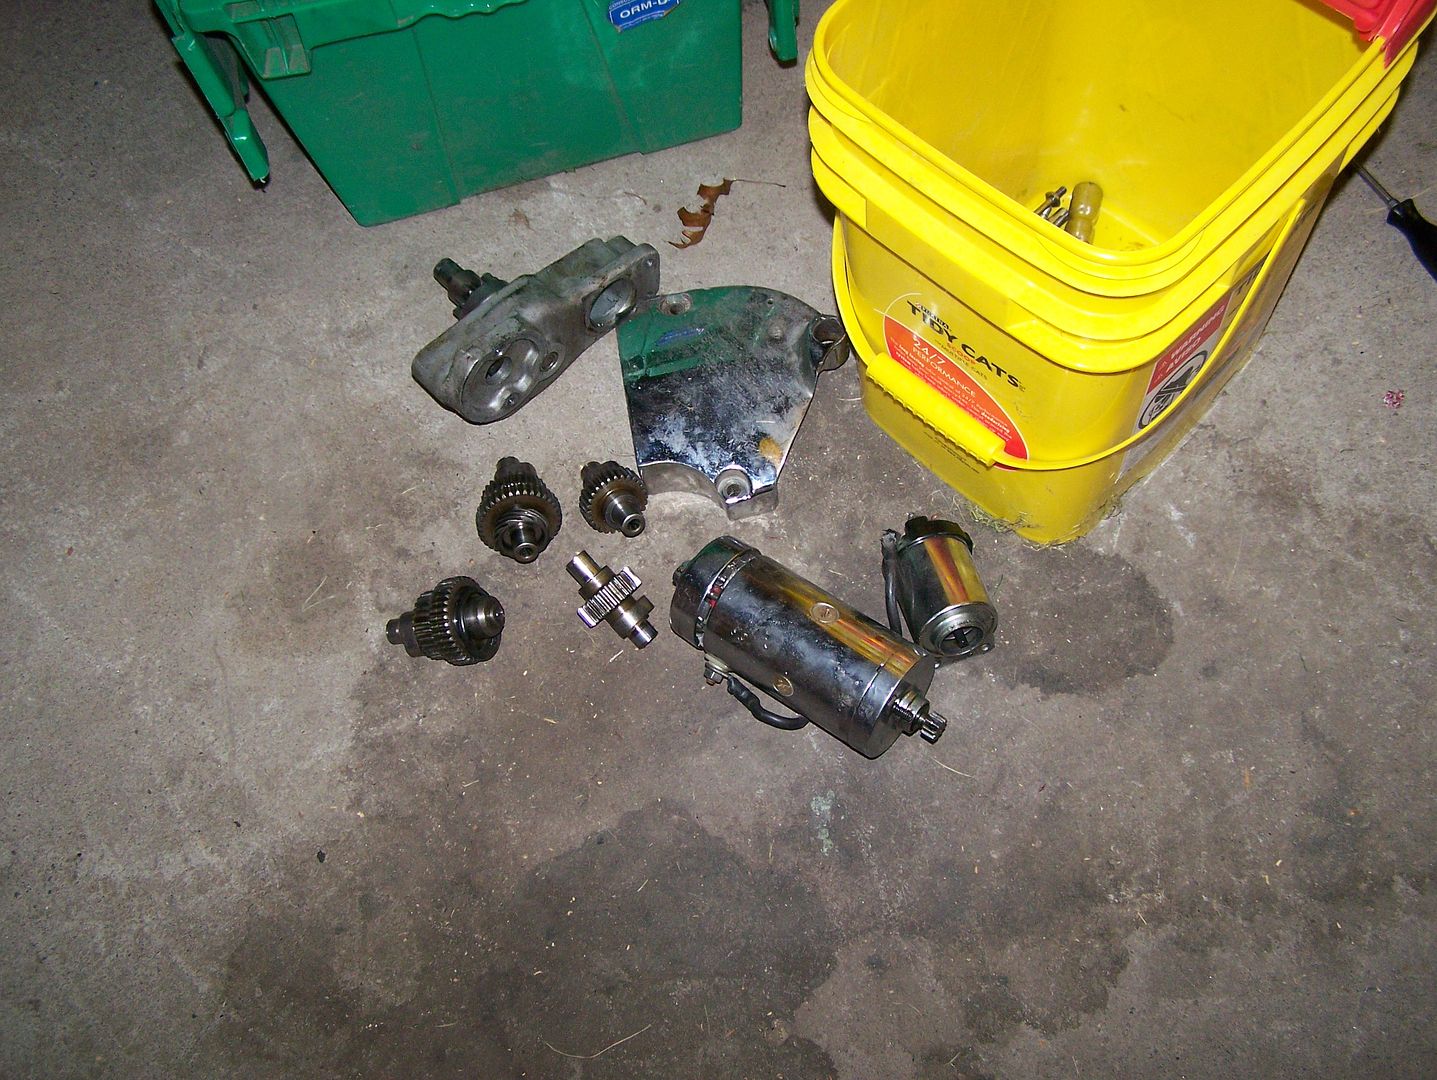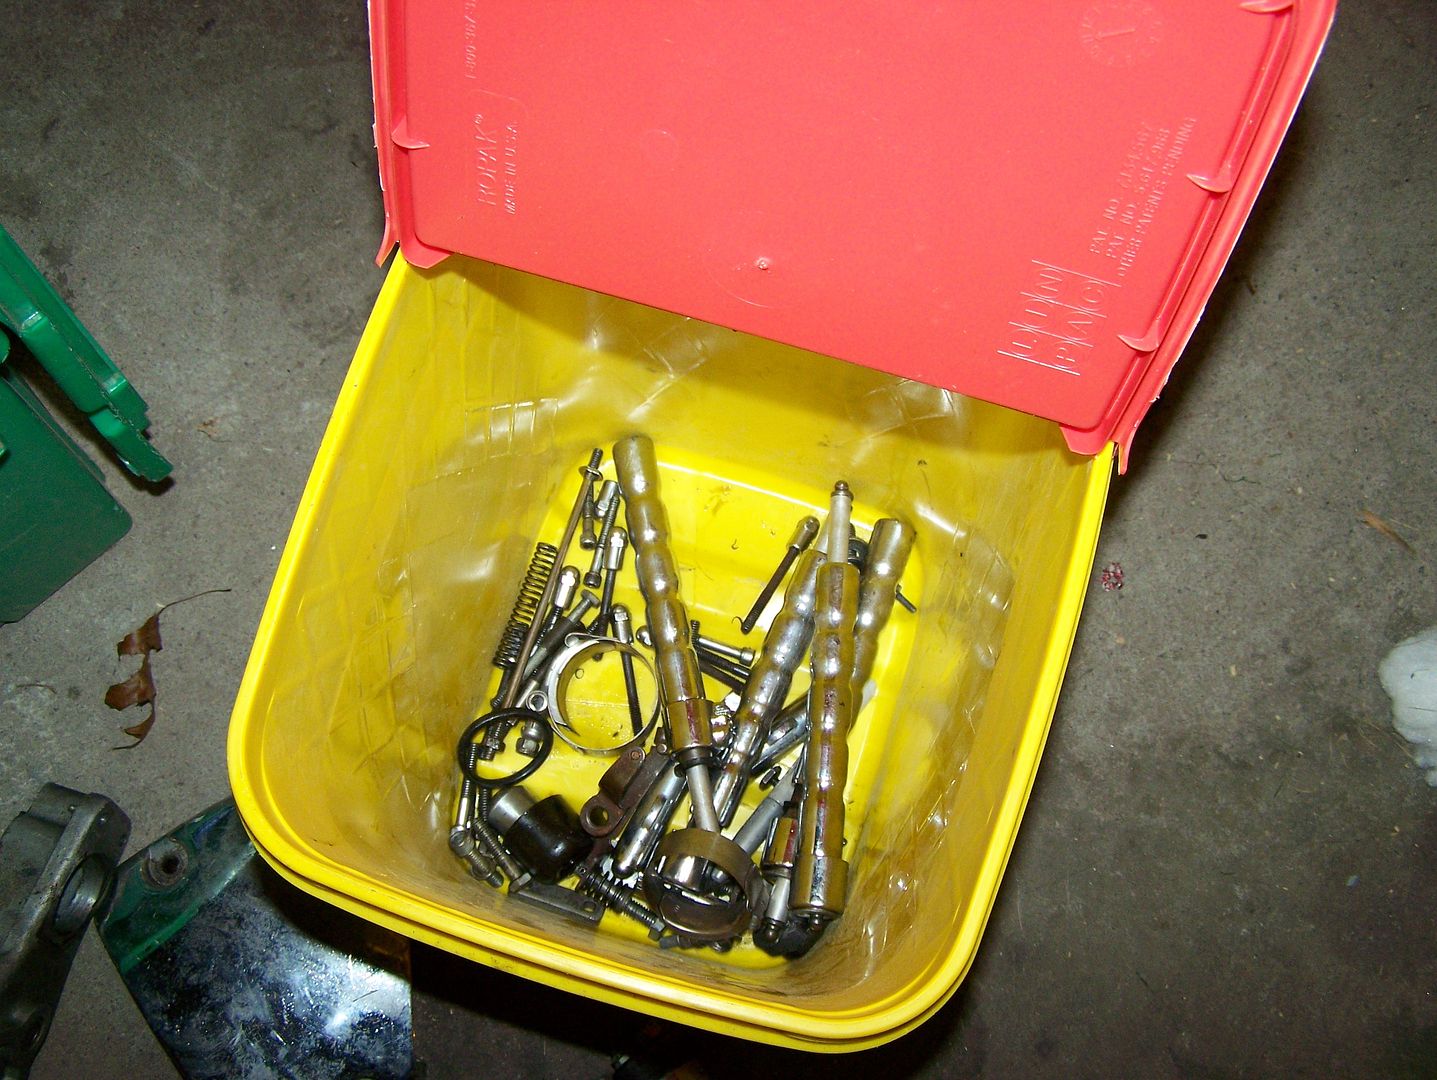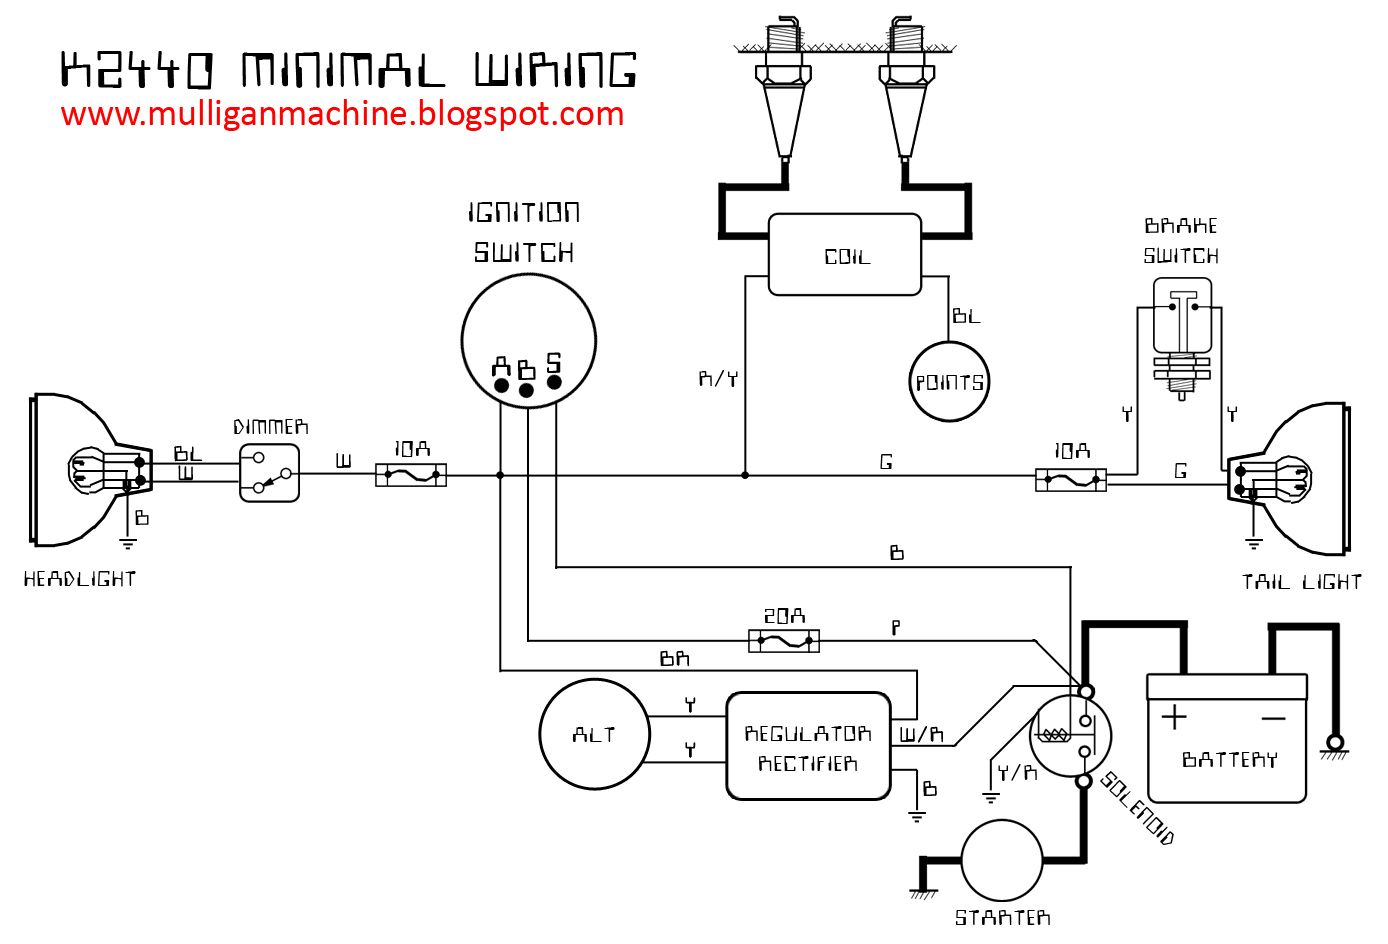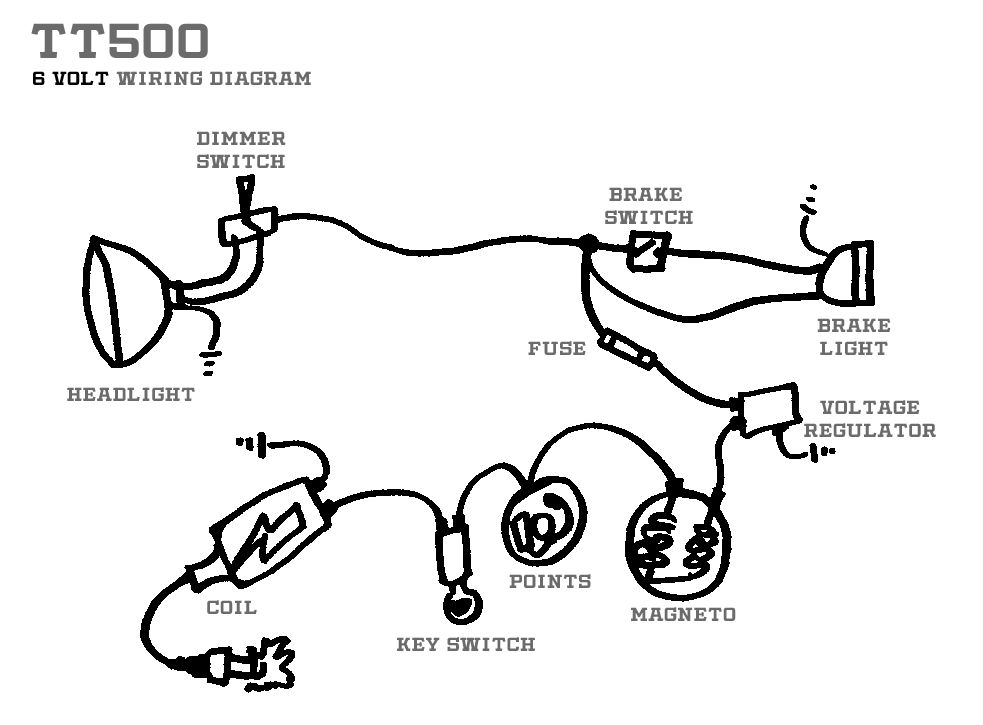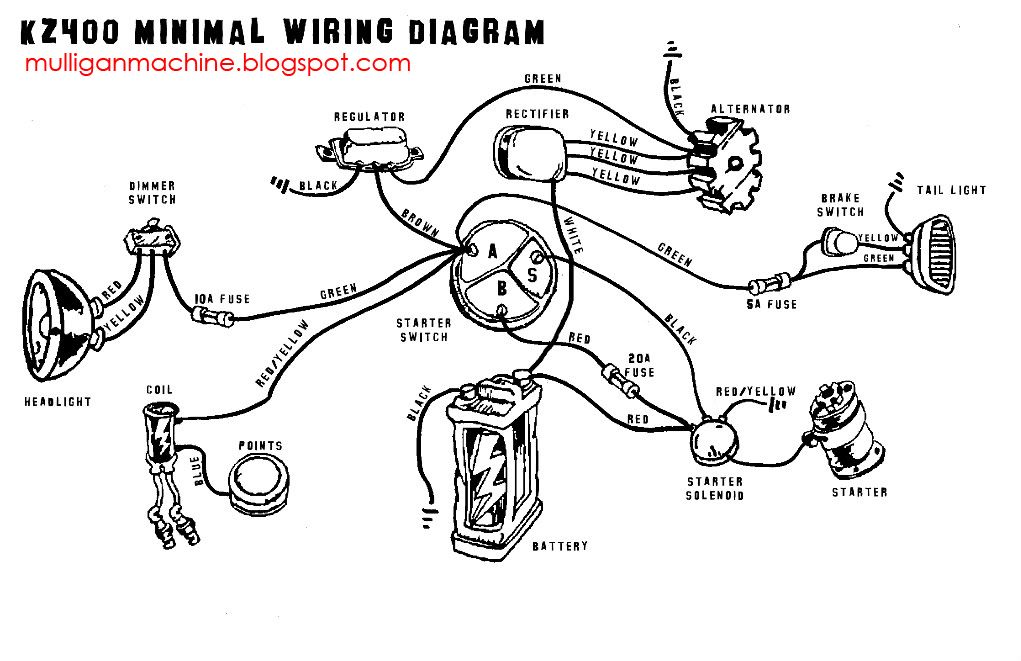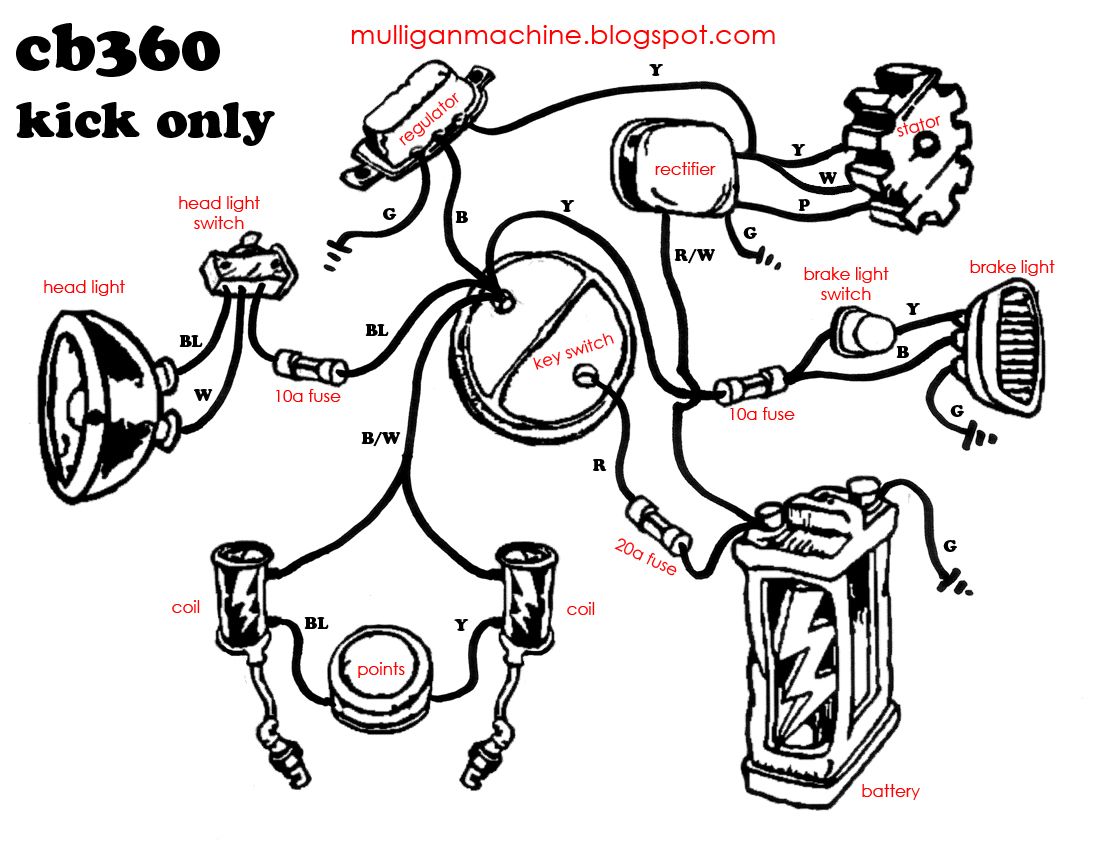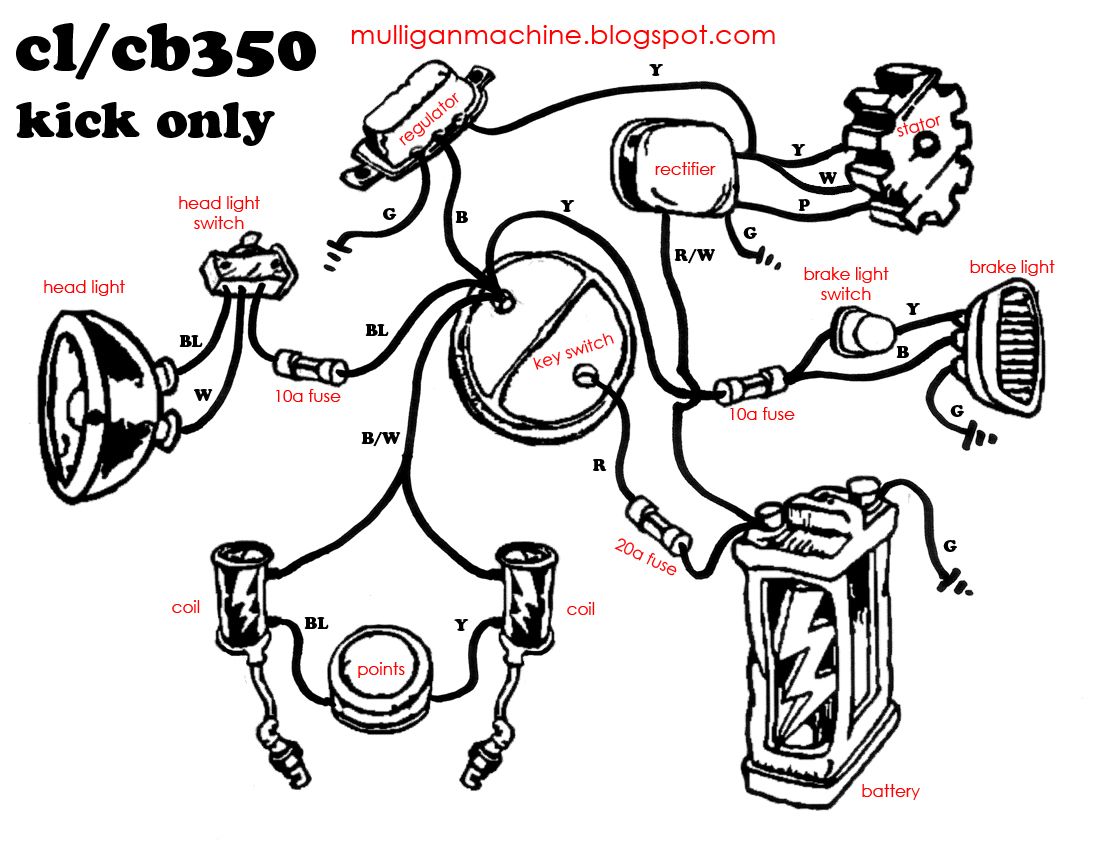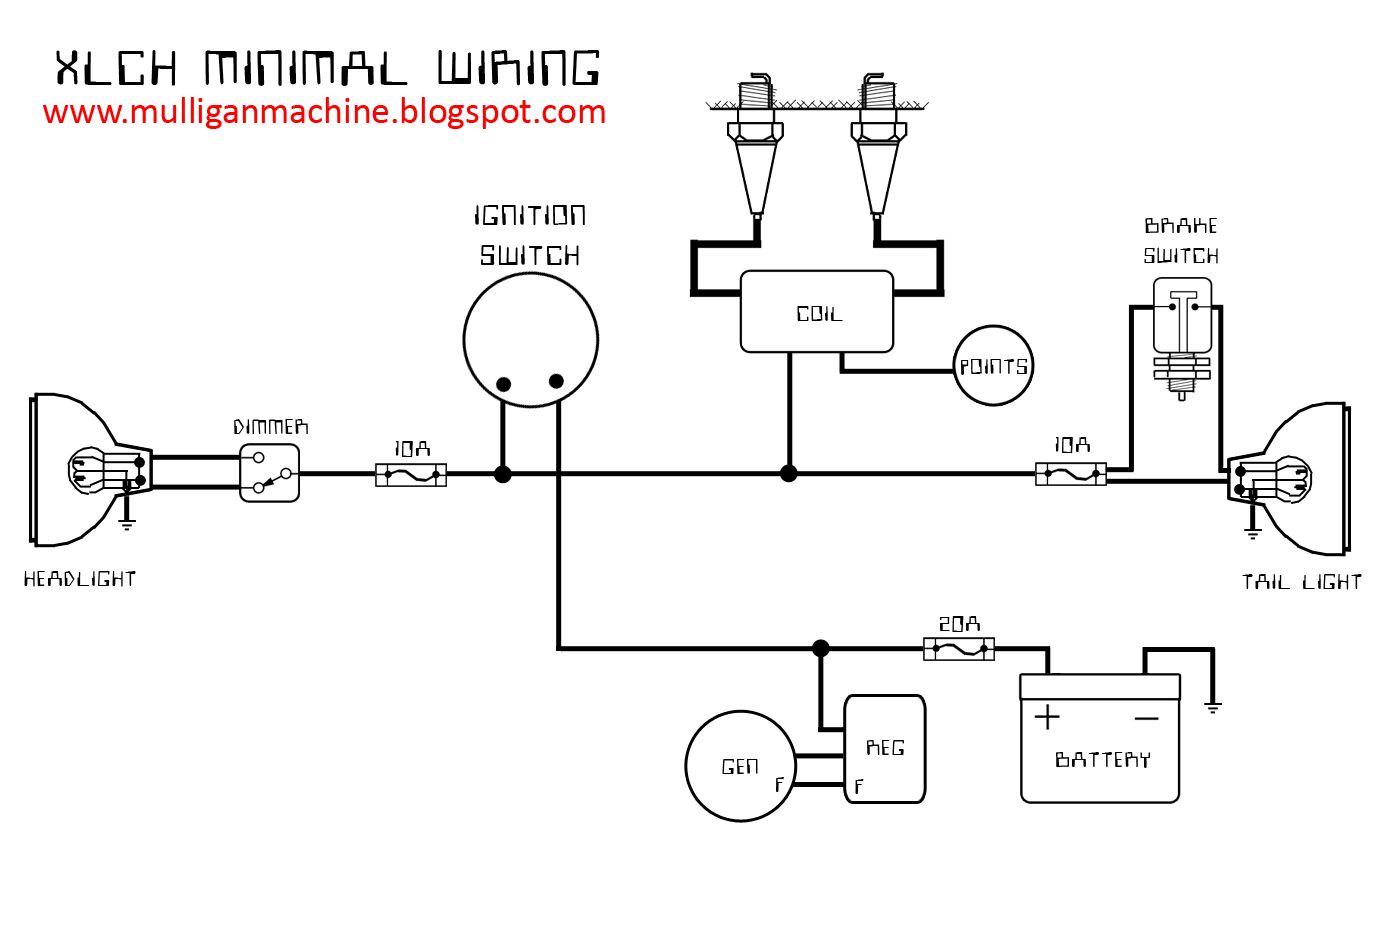
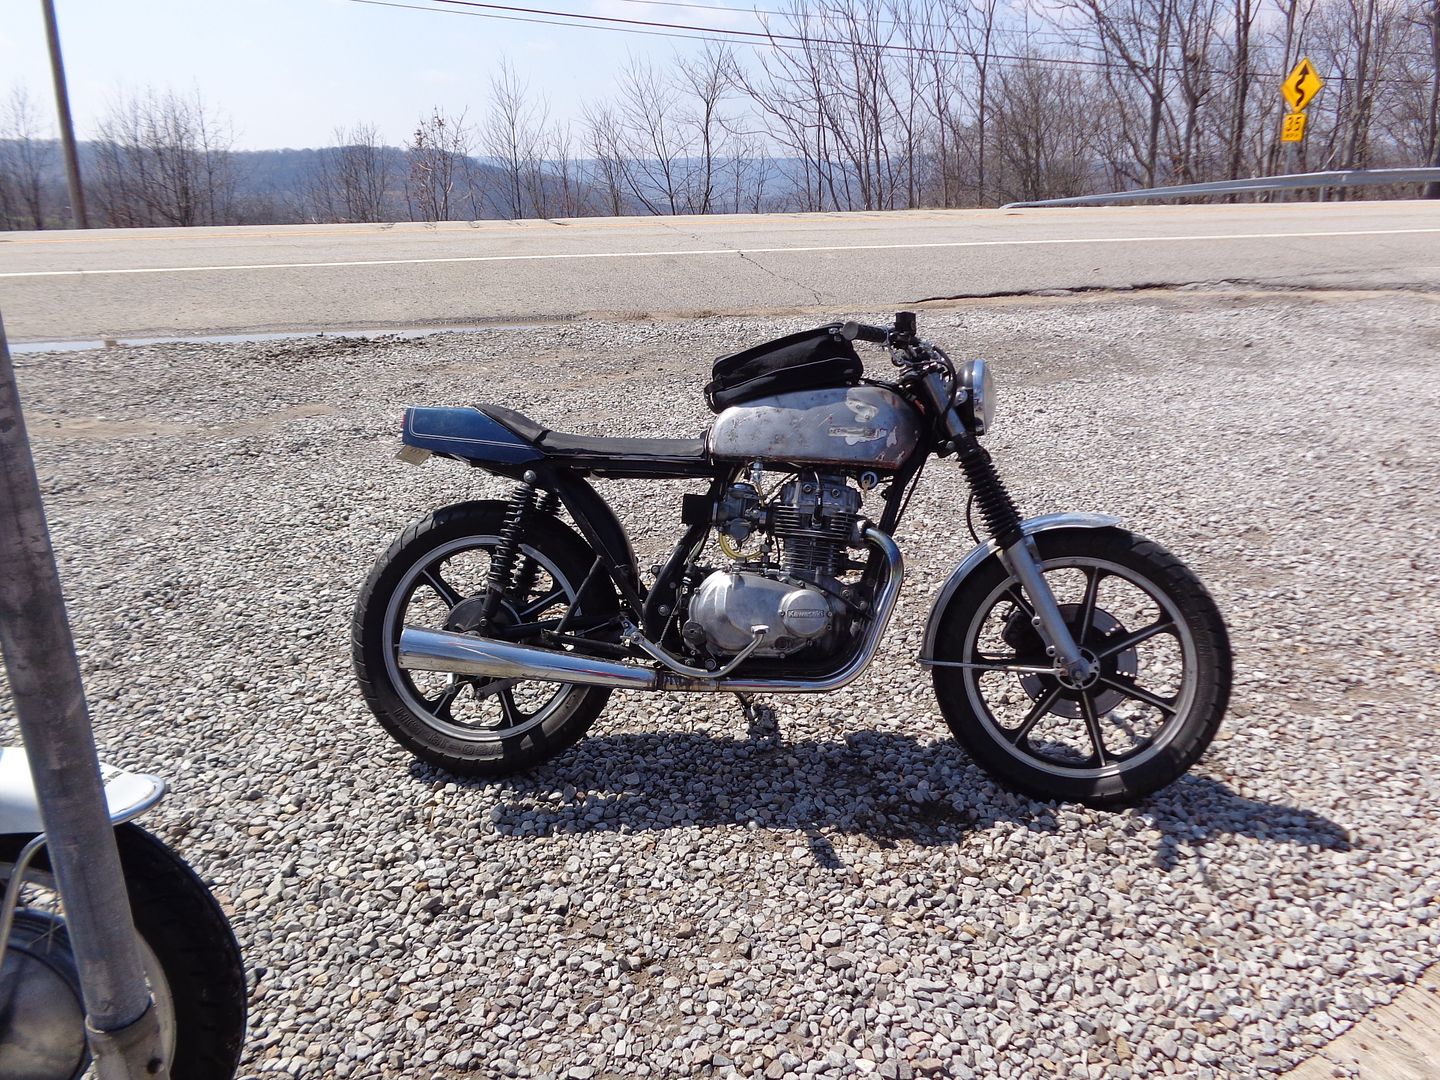
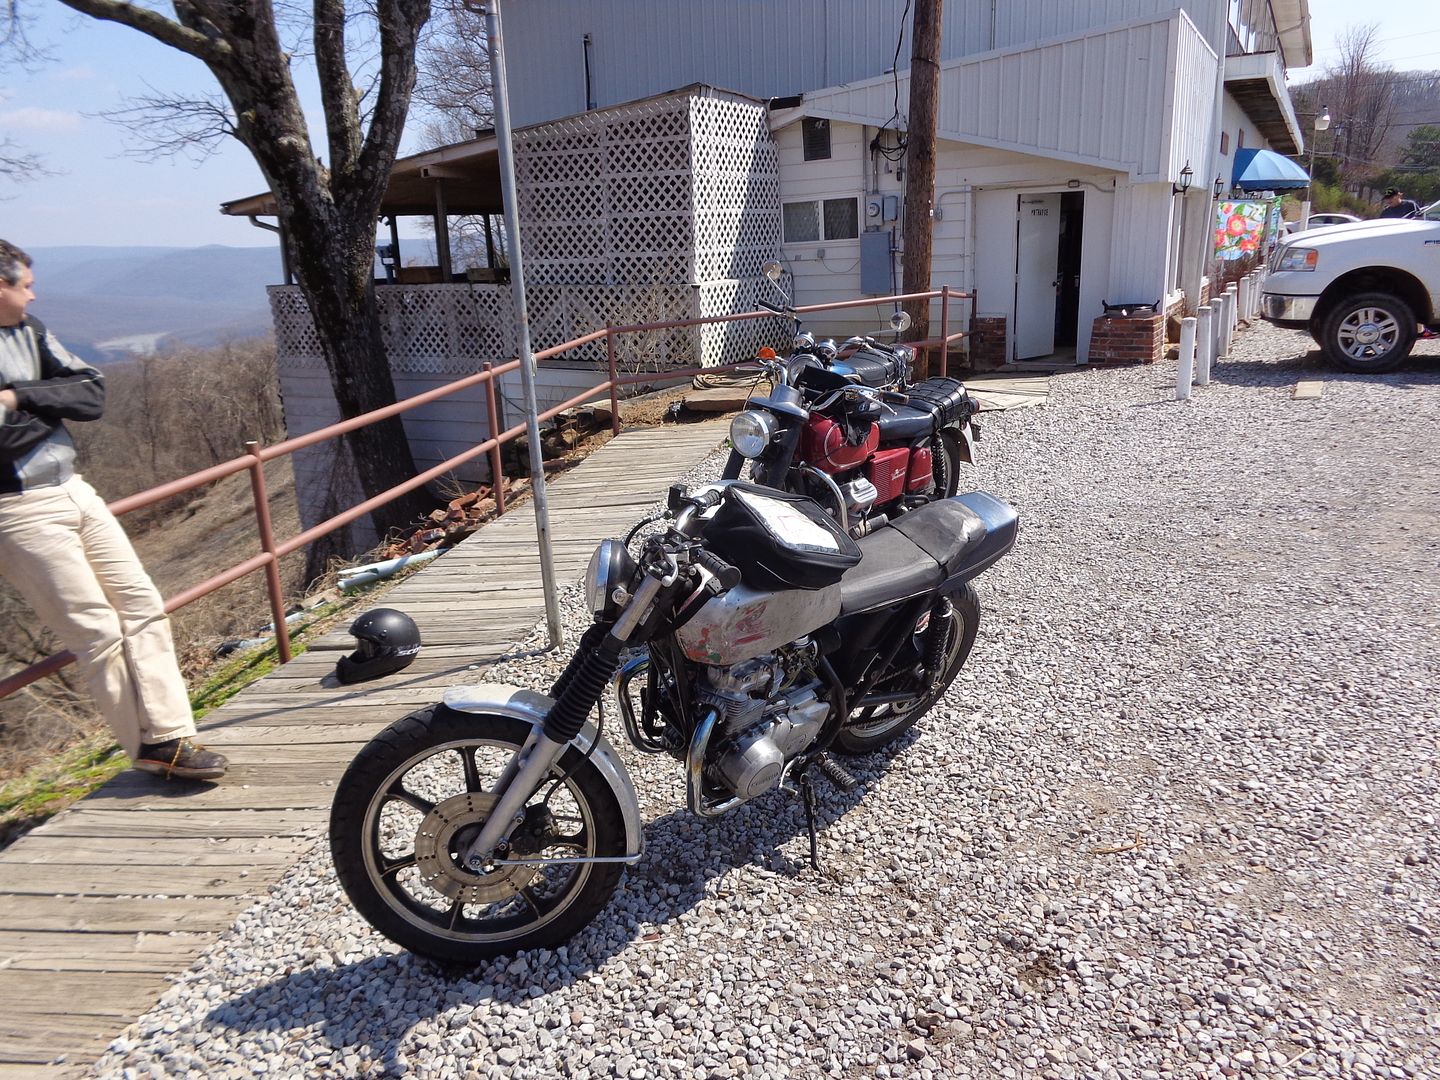
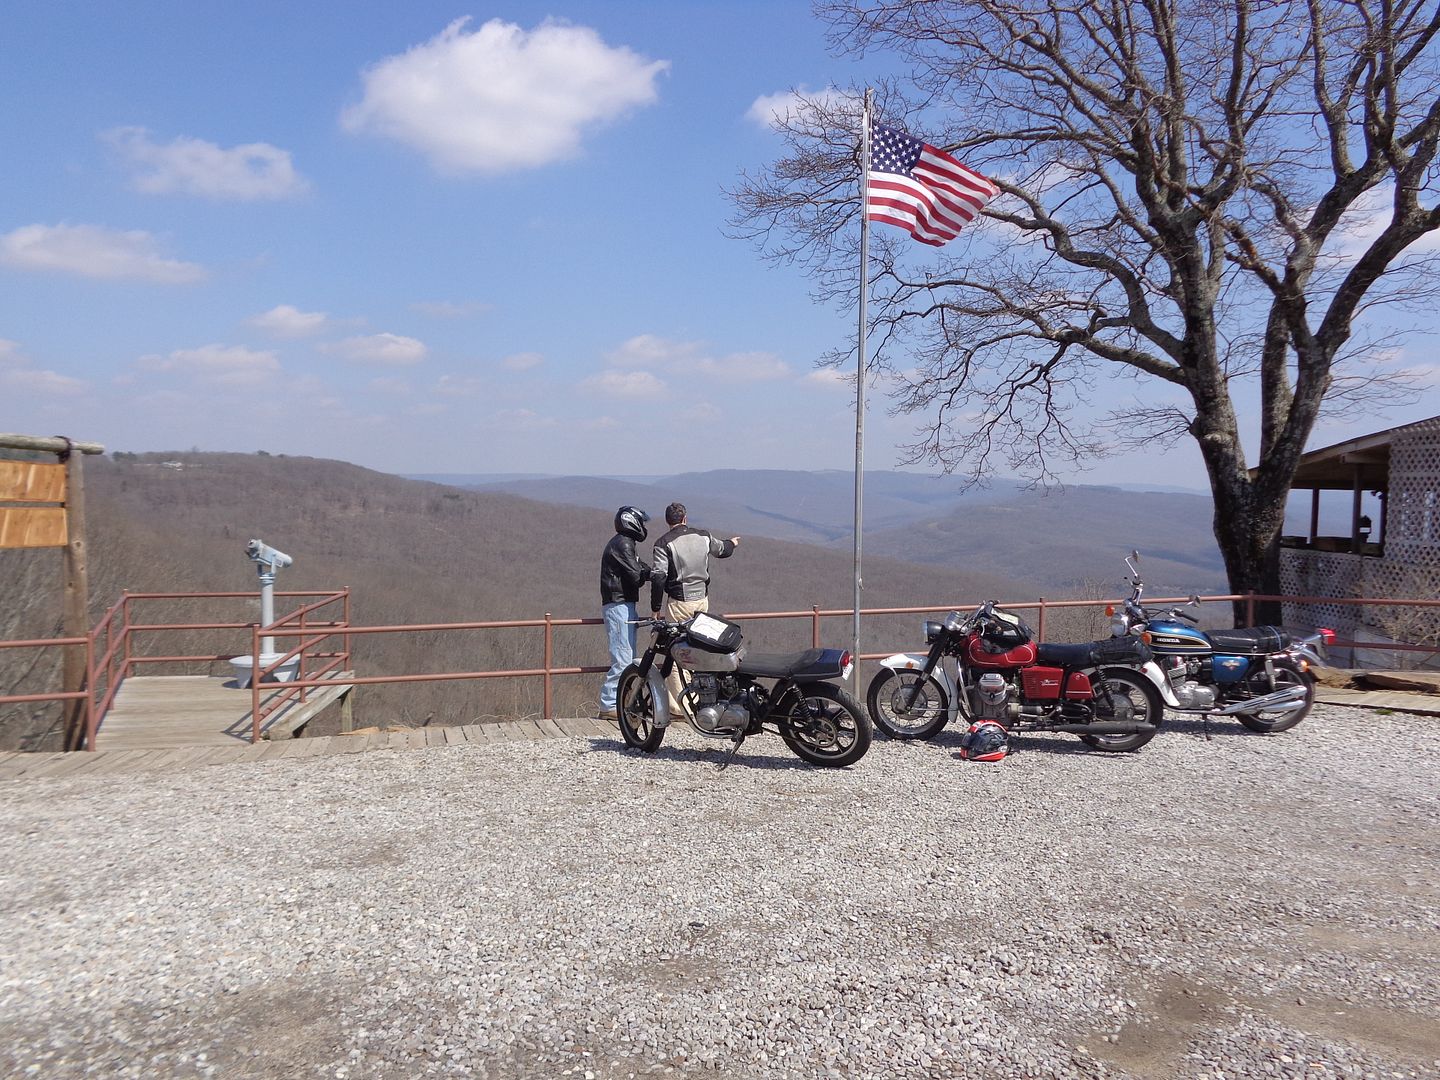
Took a 150 or so mile trip Saturday with some Ozark Mountain Scramble alumni to do a shake down run. I've got a few things to tinker with as far as jetting is concerned. The primary main needs leaned out a bit, and the secondary needs to be richened. Exhaust is in dire need of some back pressure which will probably help the jetting conundrum. On top of that, a slight head gasket leak popped up, so I am going to re-torque and see if that clears things up. If not I have a full gasket set at the ready to swap out.
As far as suspension goes, the rear shocks might as well be blocks of wood. Actually I think blocks of wood would be an improvement. The rear feels unstable and wants to wash out under any acceleration. All bumps are transferred directly to my ass and spine. I have ridden hard tails that are more forgiving. I have a feeling the kz1000 police shocks are just set up way too stiff, so I am going to sell these off and get some from a 750 or the like. The good news is that the Progressive fork springs are spot on, so just the rear needs improvement.
All in all, not a bad first trip, just needs some refinement.
Derrick

3/31/14
OMS kz440 superbike : 12

3/12/14
ozark mountain scramble 2014
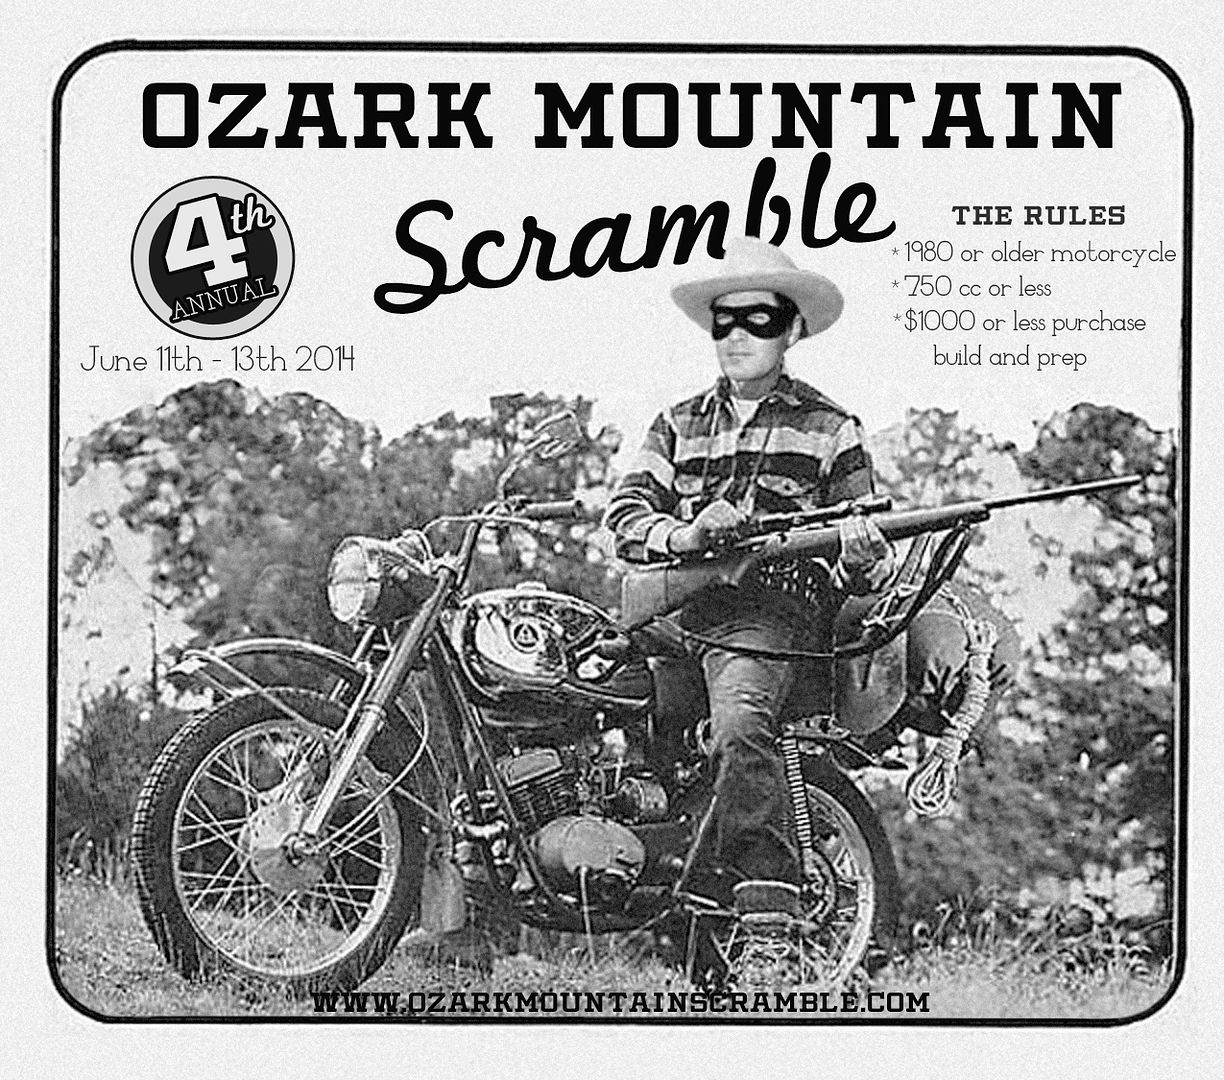
June is creeping up, which means it's almost time for some good old fashioned fun, riding crappy motorcycles through the Ozarks.
3/11/14
OMS kz440 superbike : 11
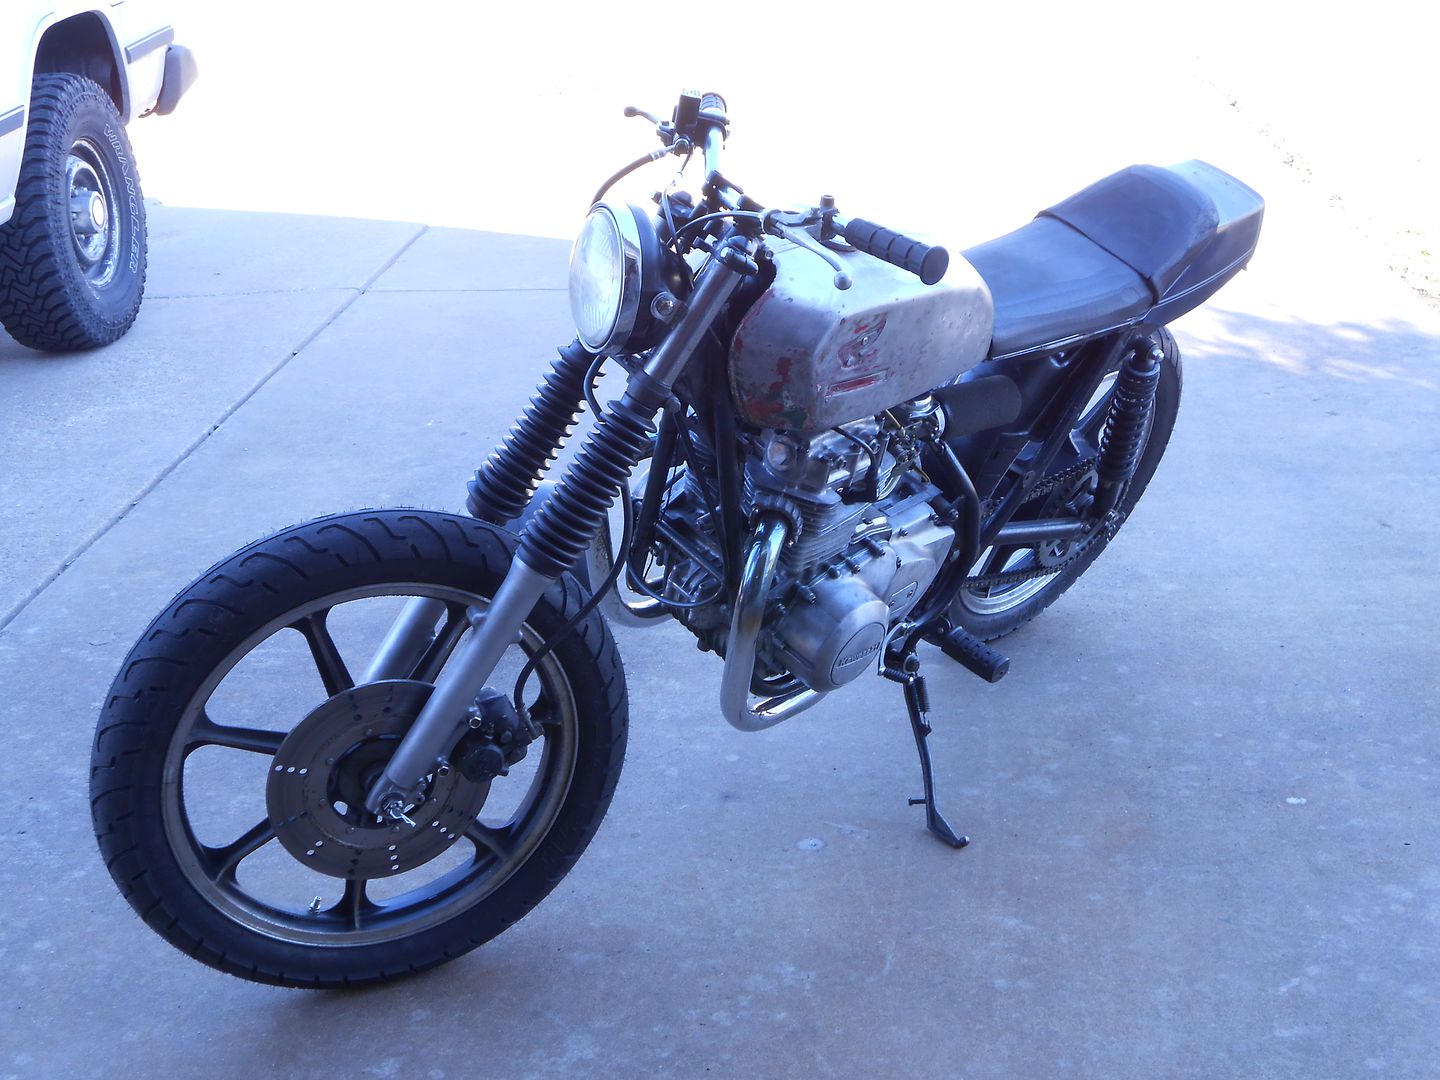
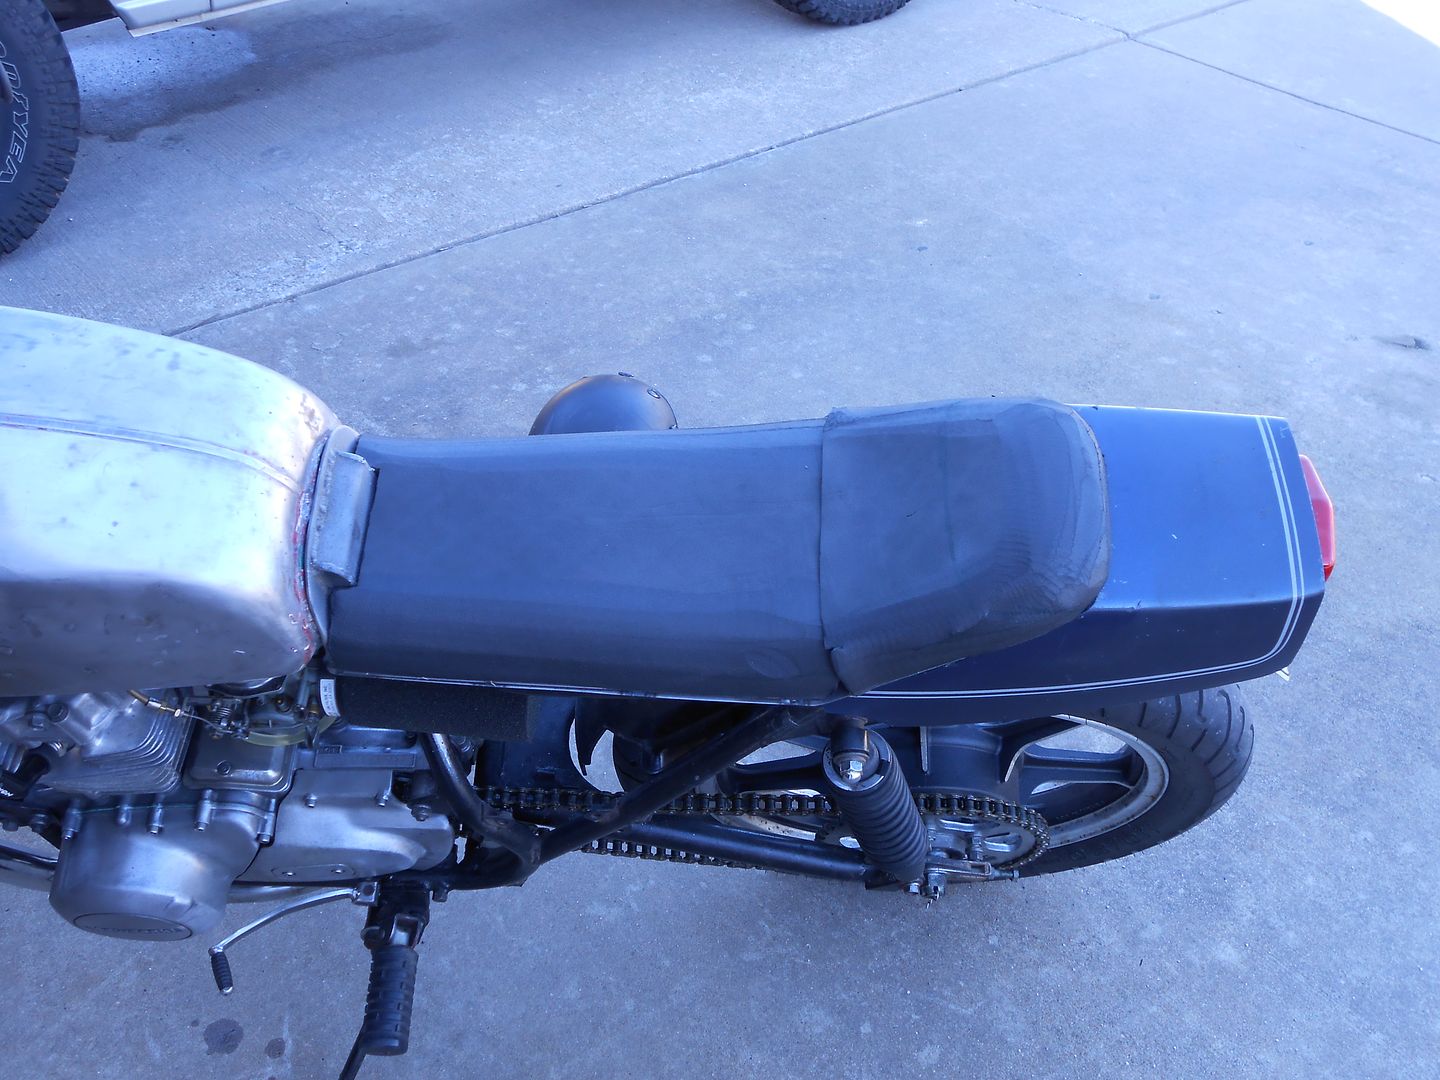
I've been dicking around with the seat pan for way too long. I ditched my horrible attempt at fiberglass, and decided to work with what I know best. After some head scratching I got it all finished, and some foam carved up for some beta testing. After a few miles yesterday, I'm pretty confident I'm headed down the right track. The bike is running great so far, and seems to require very little tuning. I think it's safe to say the bike is Ozark Mountain Scramble ready.
Derrick
12/30/13
OMS Ironhead Thumper : 04
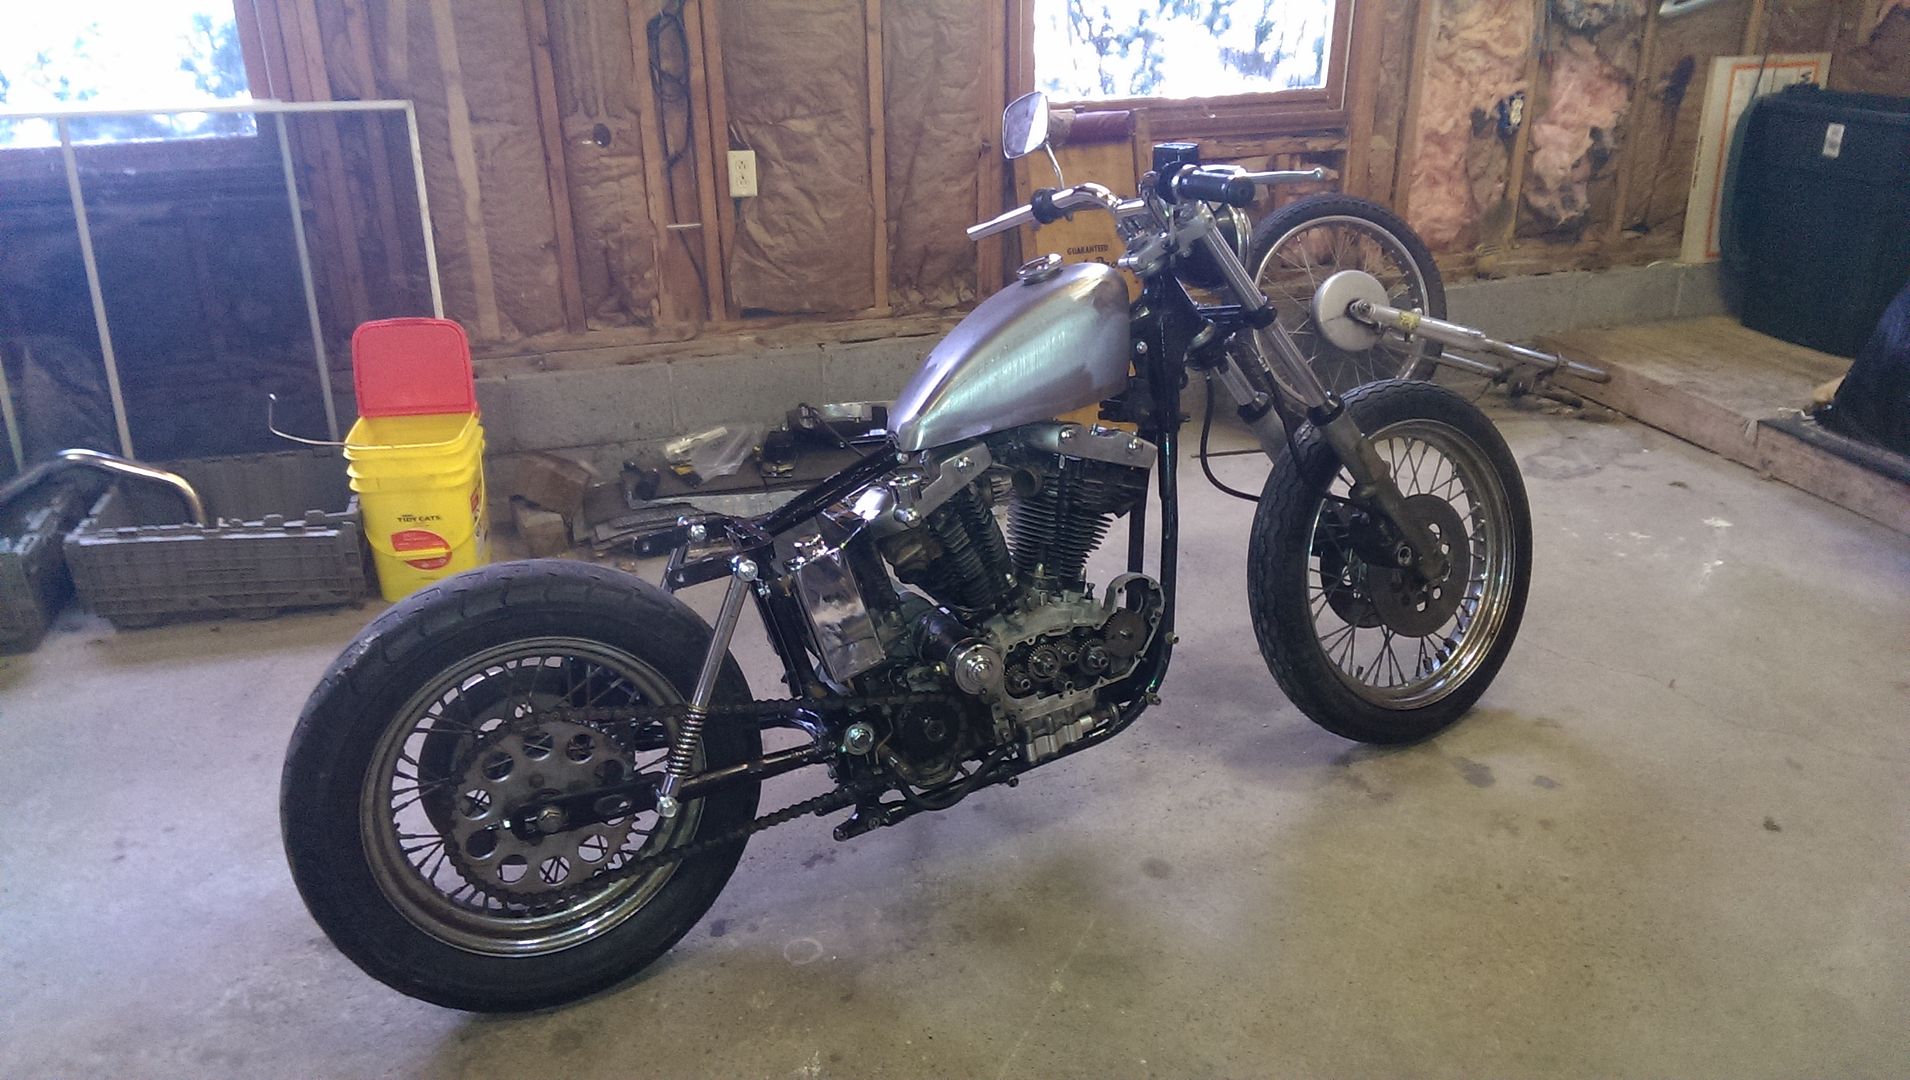
We have been pecking away at the tasks to get this Ozark Mountain Scramble Ironhead ready for June 2014. Here in Western New York the riding season stops at the end of October so shop time is not interrupted by the desire to ride in sub-freezing temps until April.
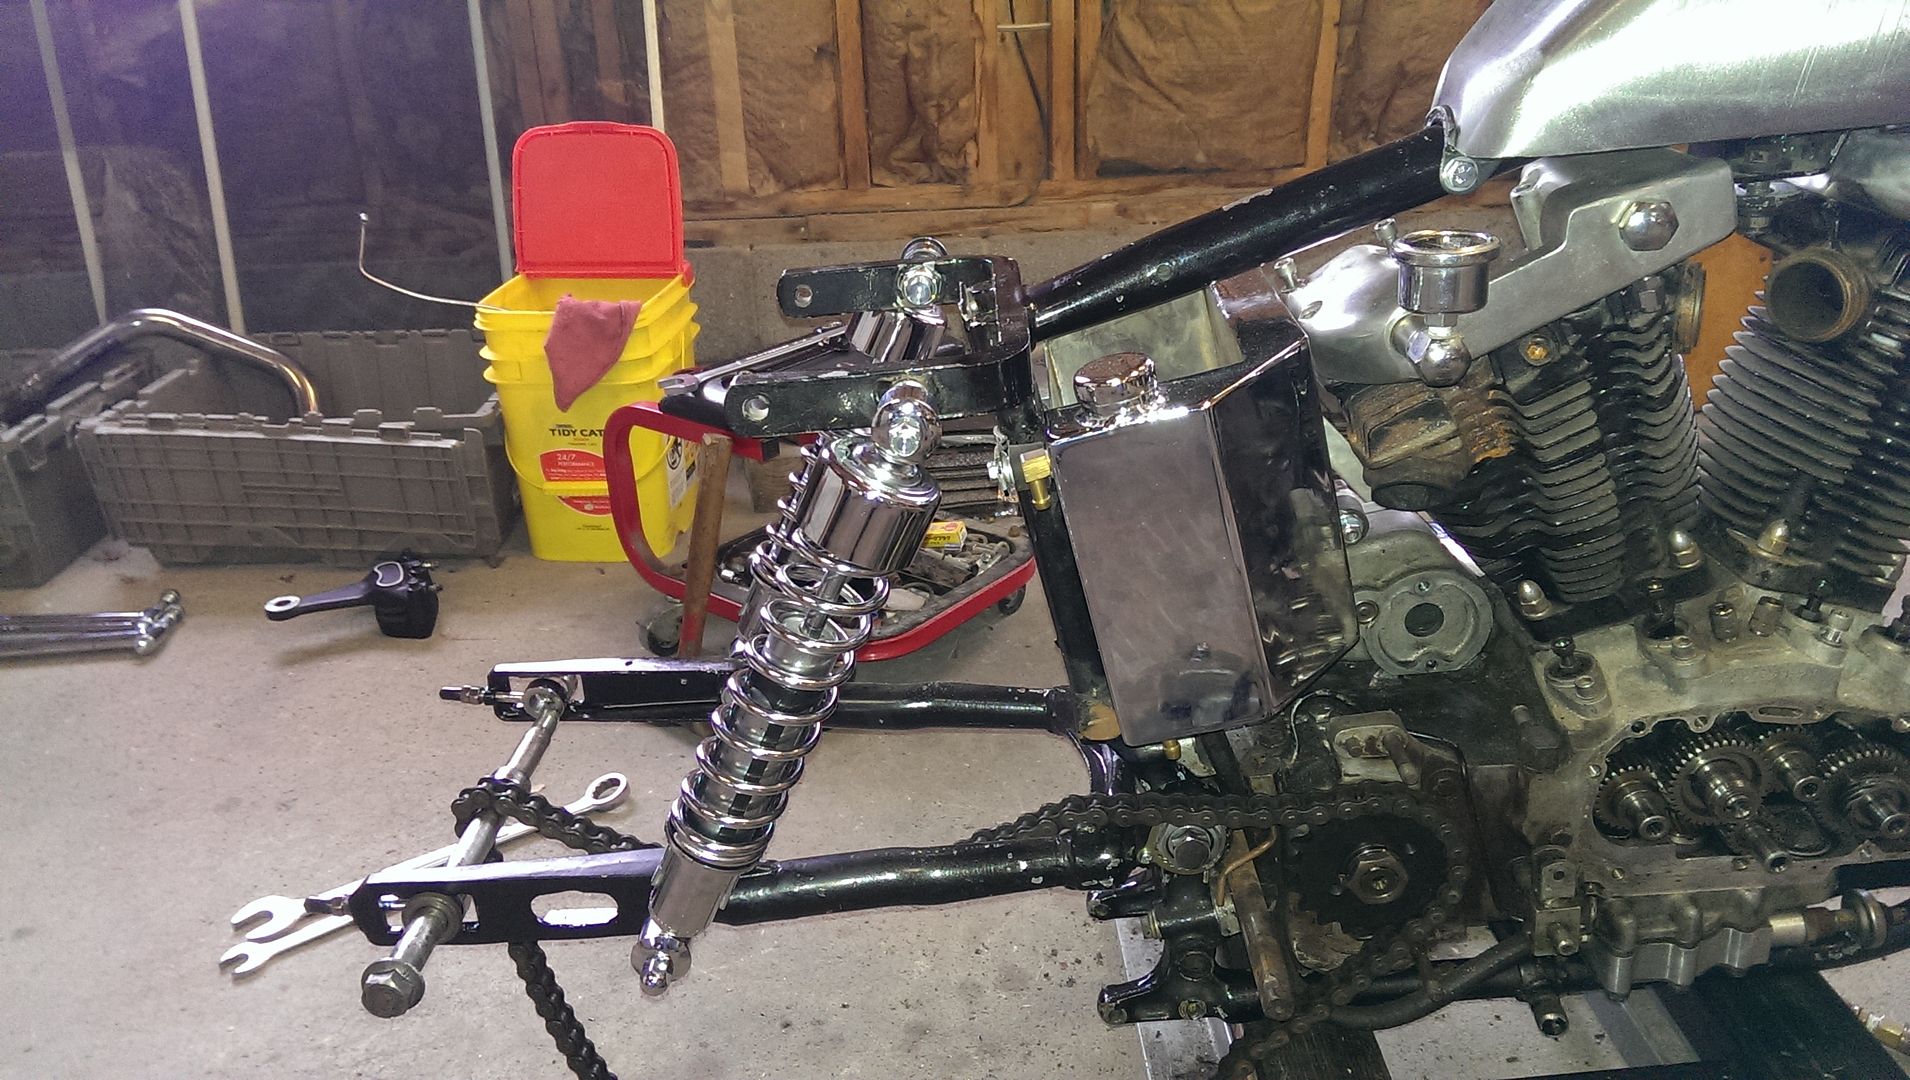
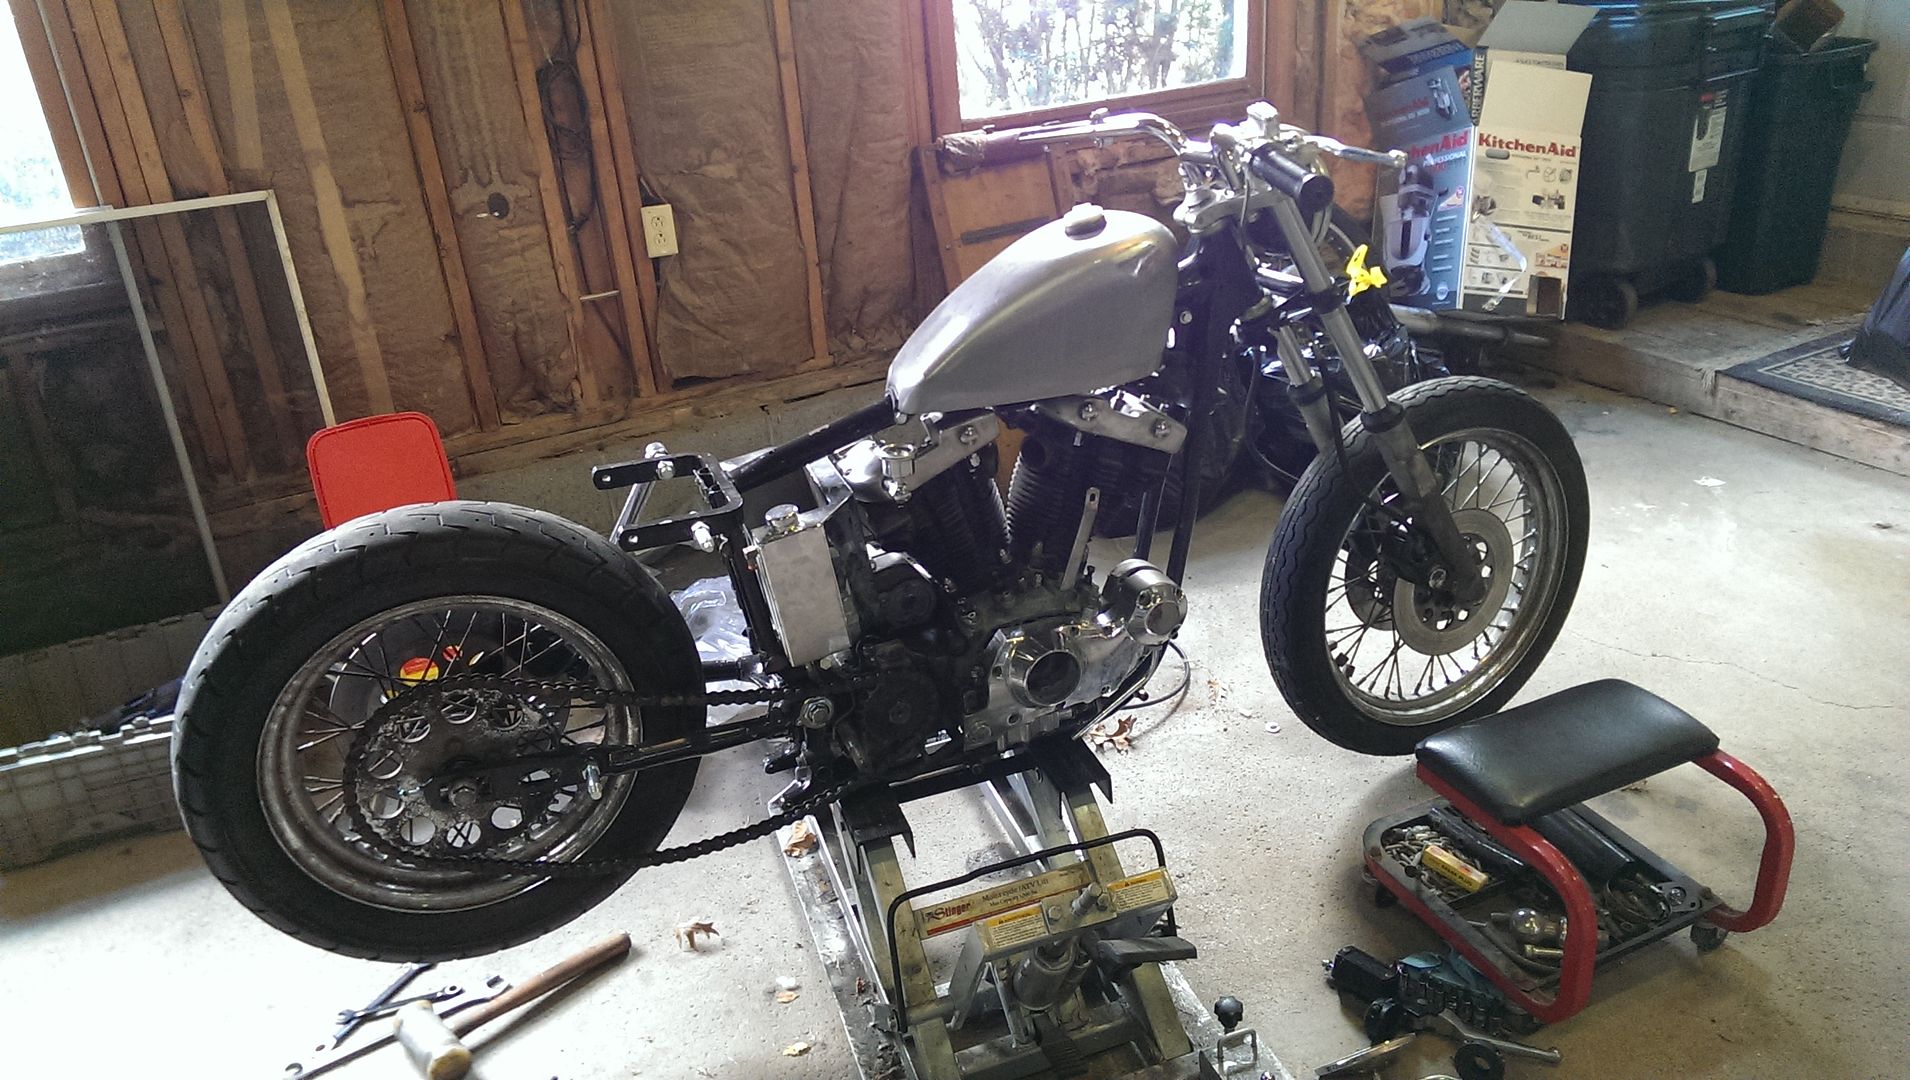
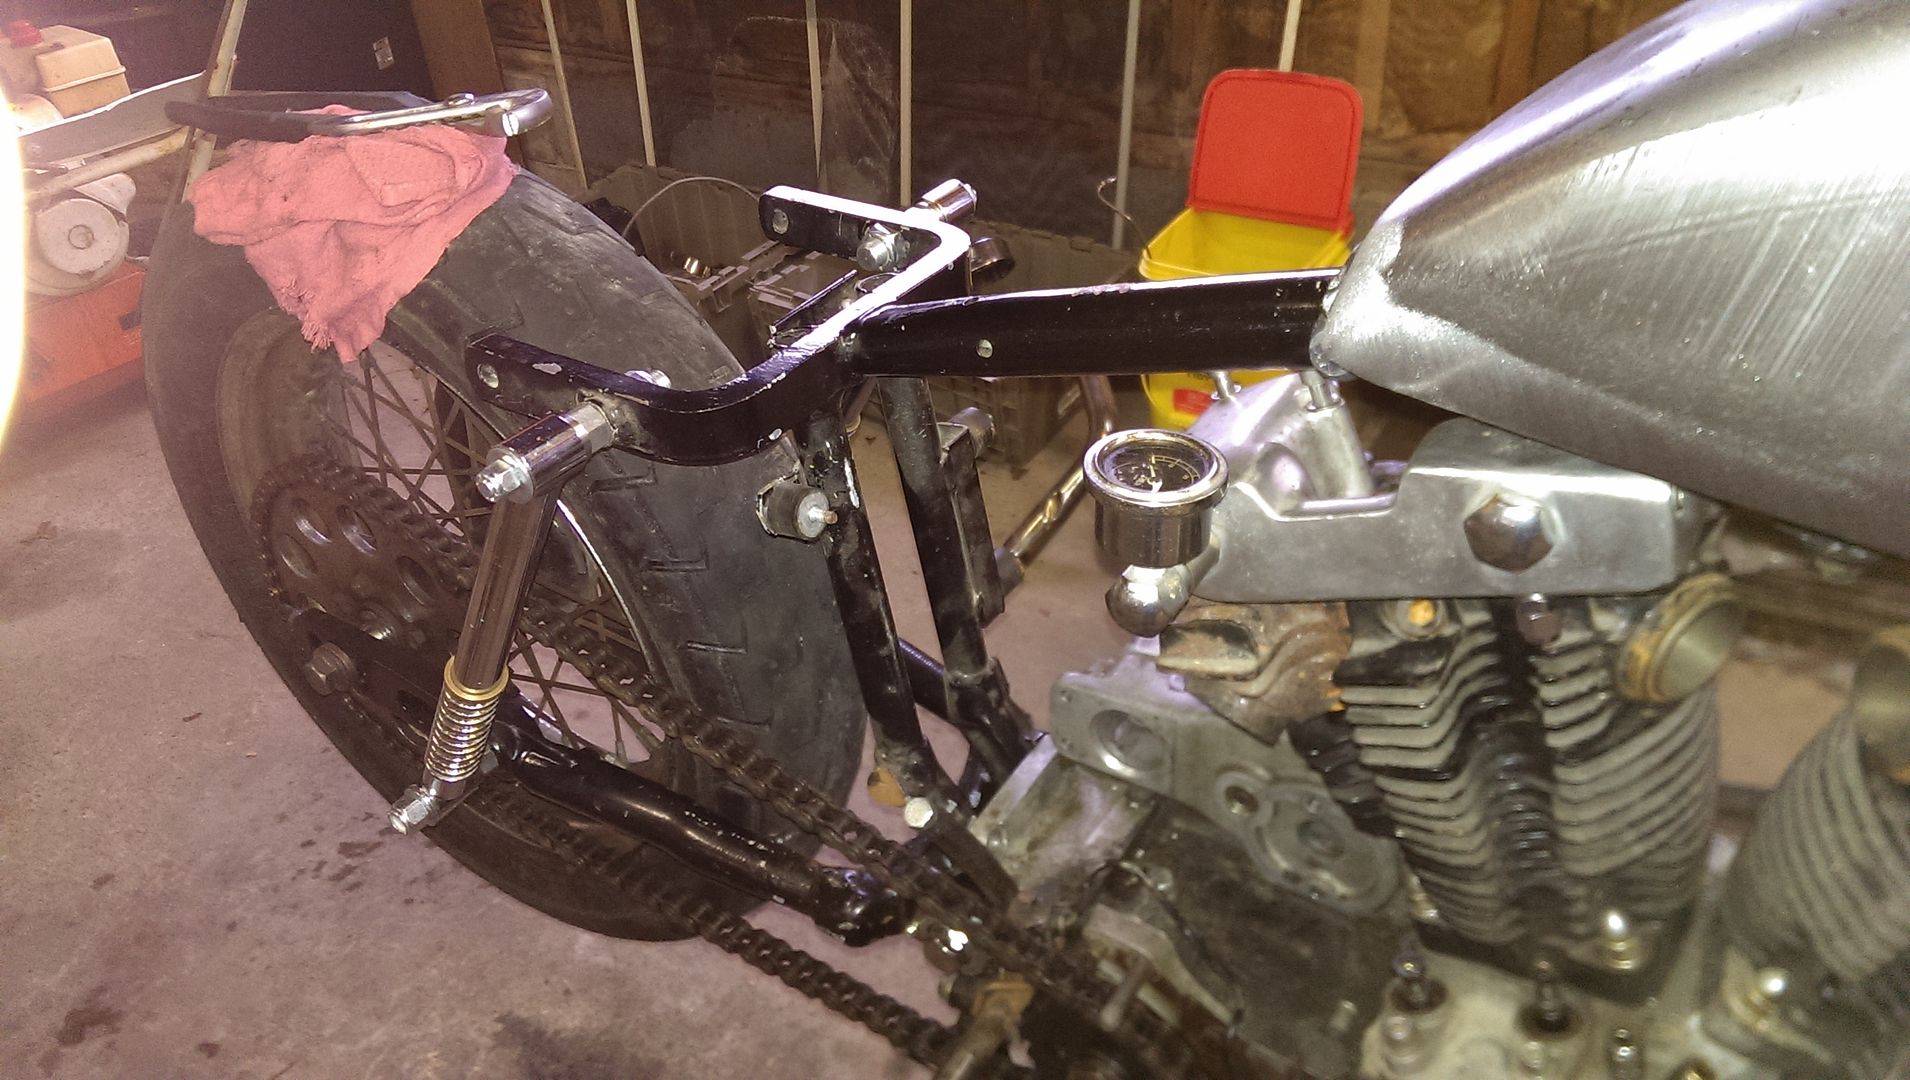
The Rear spring struts were not doing it for me for the overall look of this bike. The rear sat too low and the front is too high. I found a pair of stock 13-3/8” long XL883 rear shocks in my stash that I removed from my wife’s new Sporty back in 1997. These brand new shocks have been in a box in my attic for the last 16 years. I figured this project was the perfect candidate to use these forgotten gems. So, off with the struts and on with the shocks. I like the look better than the struts on this bike but they are really soft and with my fat ass on the bike the springs compress farther than I would like. I guess we will be adding pre-load spacers to the springs to carry the extra load and keep the sag to a manageable level. We will post more on that procedure in the future.
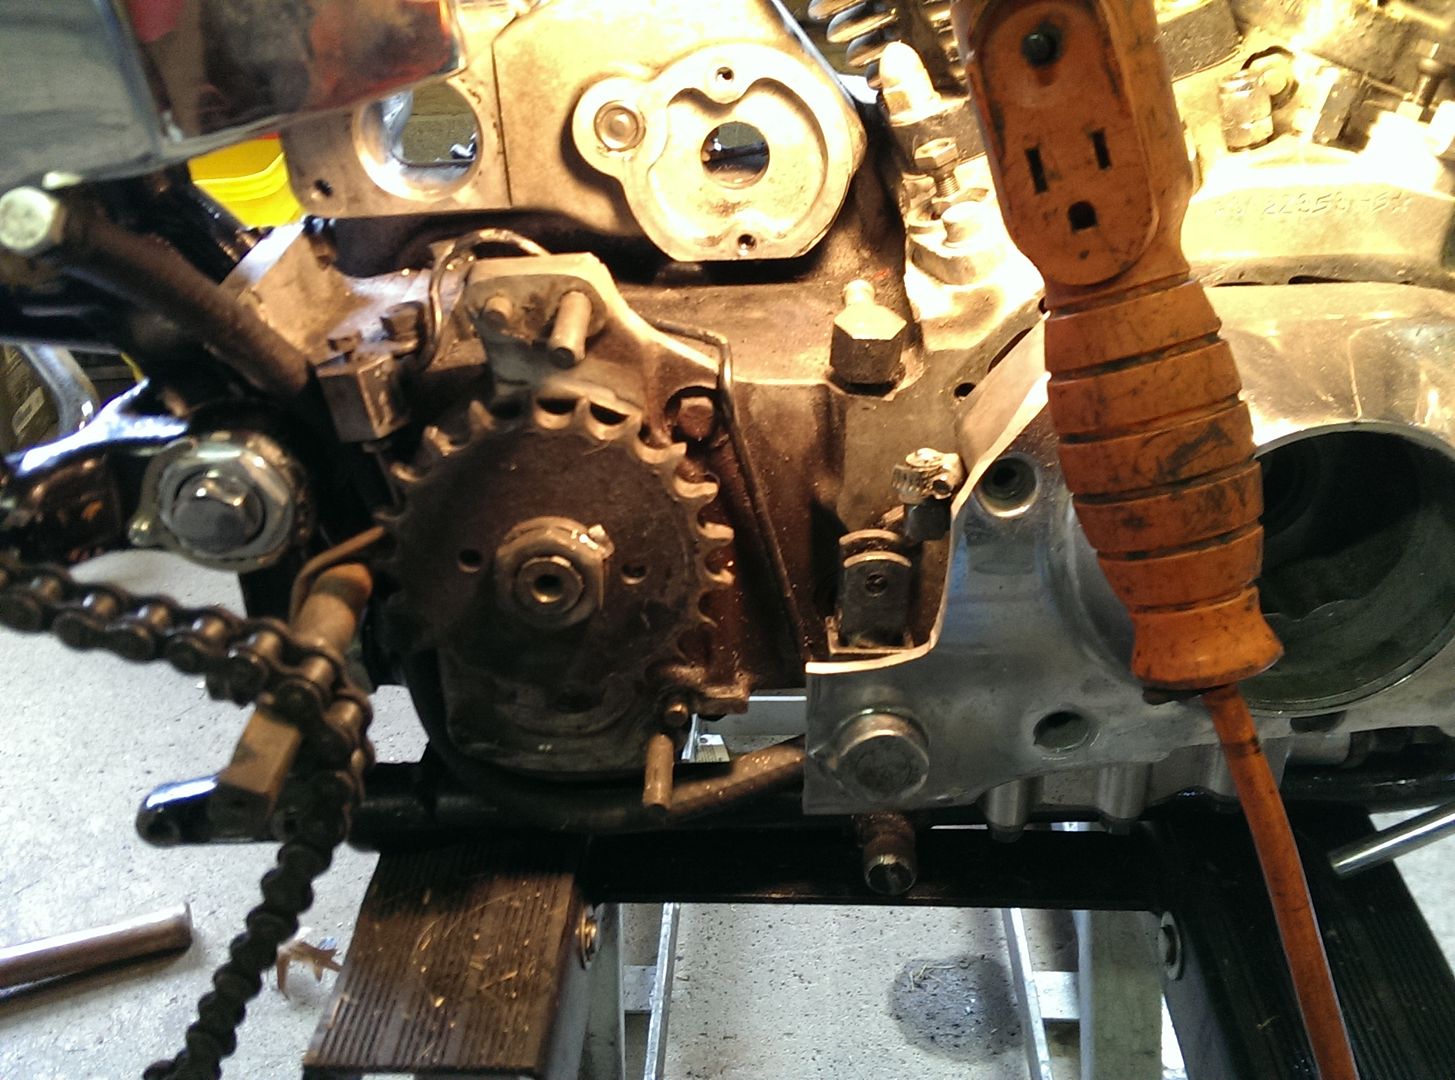
The Ironhead motor will be losing half of its displacement when I remove the rear cylinder so we needed to give the motor a little help in the final gearing department. We installed a smaller countershaft sprocket for some extra mechanical leverage. We went from and 23/49 combination to a 19/49 combination. I pulled a few links form the existing chain so everything fits correctly. I hope this is enough to let this bike get out of its own way on the twisty mountain roads of Arkansas.
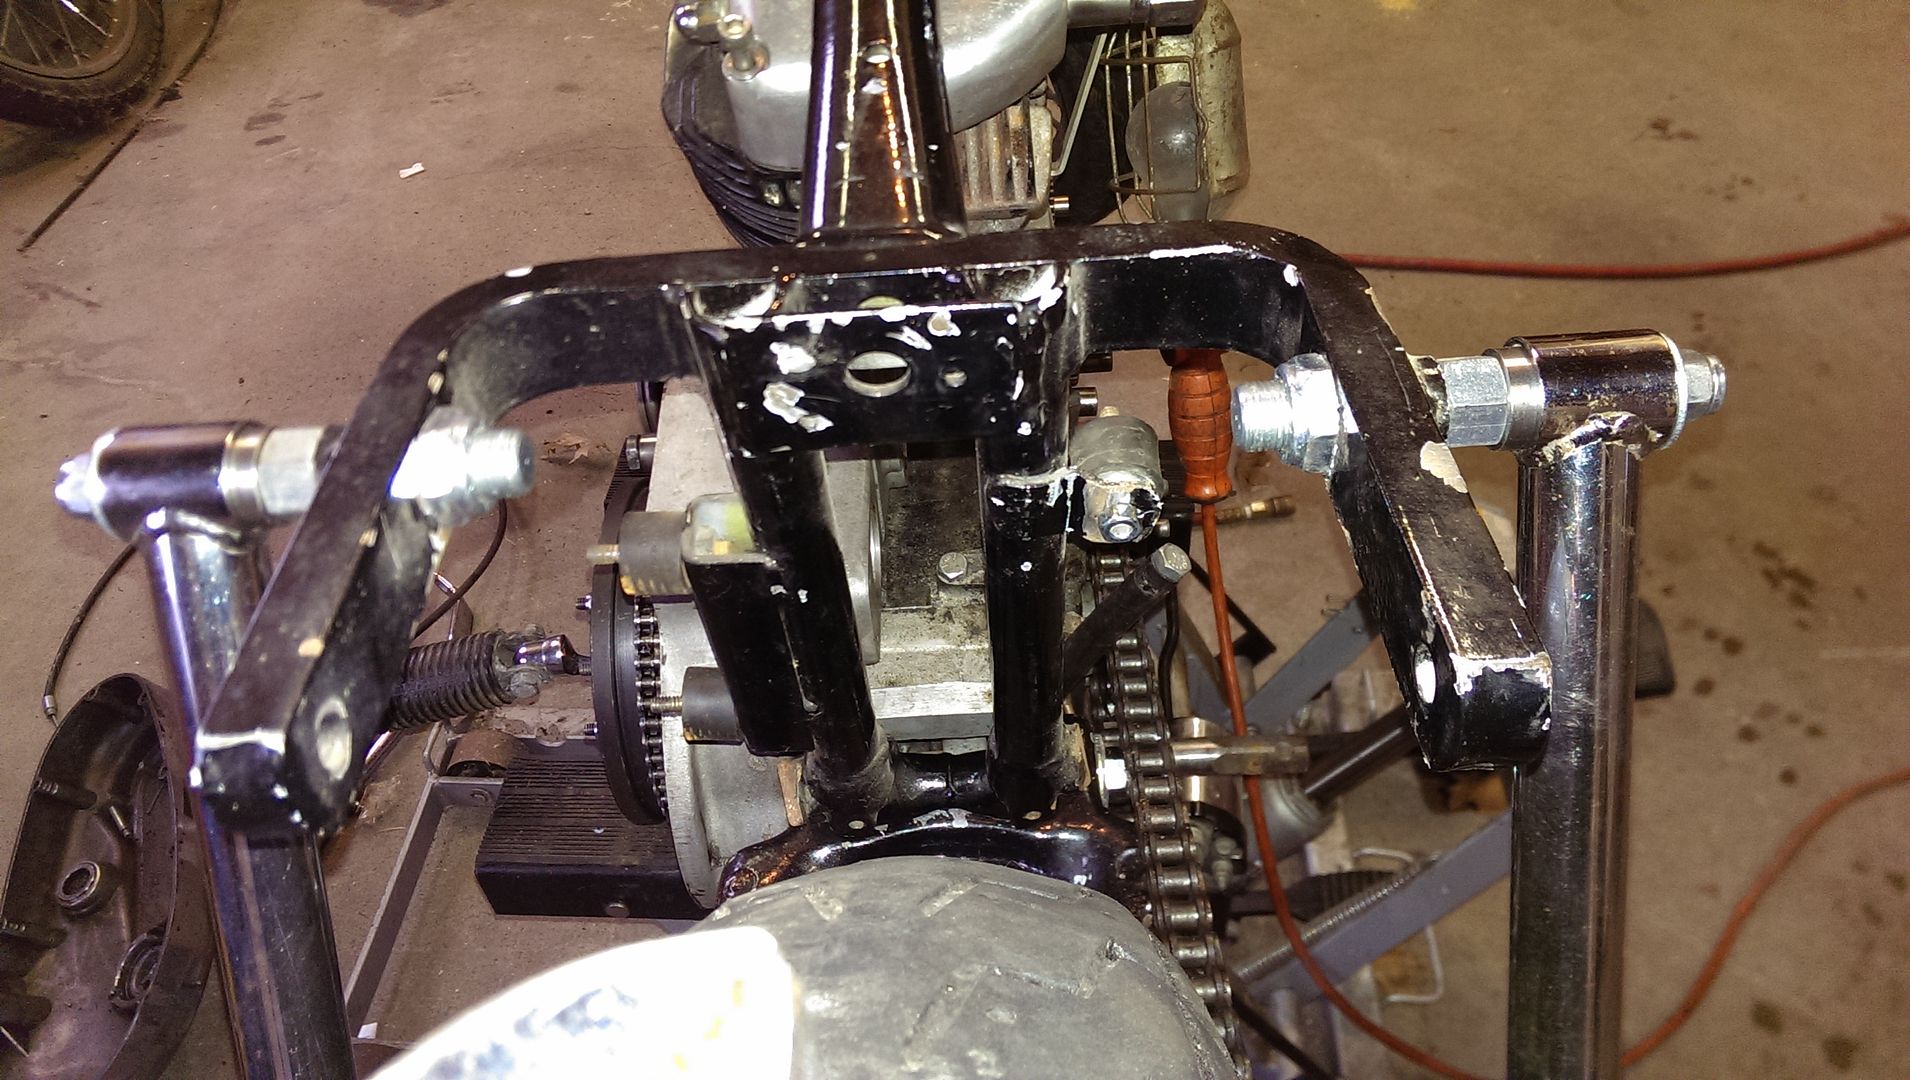
We decided to use the horseshoe style oil tank that came in the box of parts with the bike to keep costs down and mounting of the battery simple. The only problem is the original tank mounting system is flawed and parts are missing. I rigged the tank to mount from the original regulator/battery box iso mounts and reworked the original oil tank frame mount on the right side of the bike to hold that side and the third mount will have a custom bracket that ties the oil tank to the inner primary. I am hoping the iso mounts and the 4 point mounting configuration will be enough to hold the weight of the battery and 3 quarts of oil. This is all for now stay tuned for the next update for the rear tail section and foot controls.
Tim

12/13/13
tt500 build : part 11
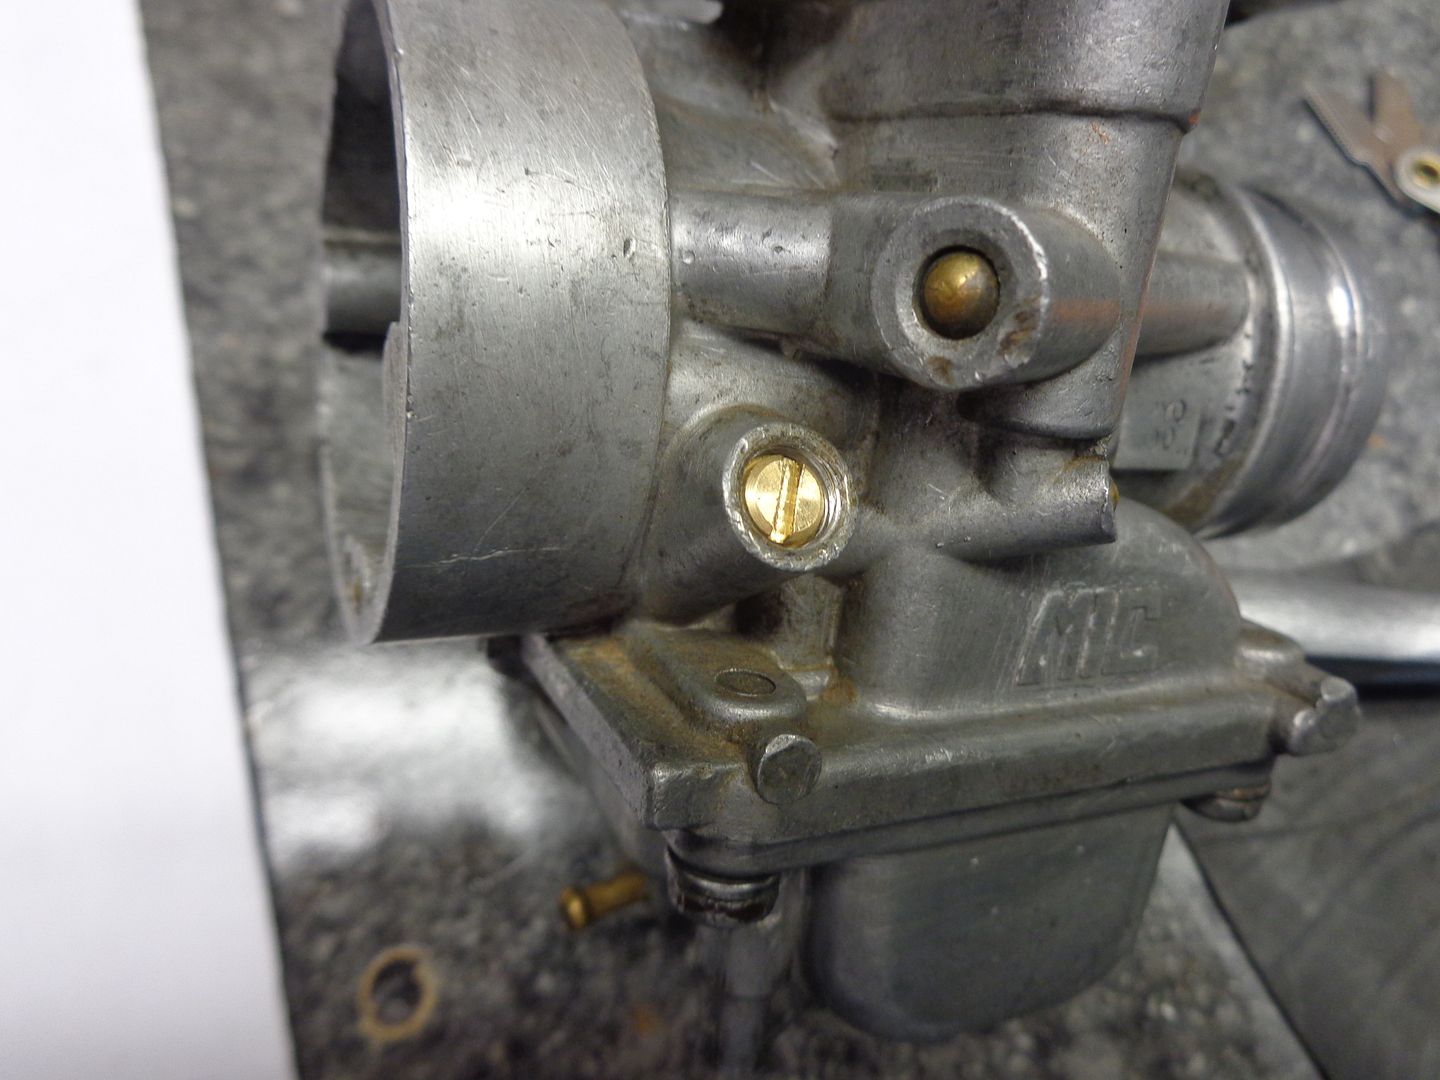
When I got this bike running, it was clear the carb was having idle issues. This mixture screw was probably the main reason why. Stupid screw. I have no clue what bike it came off of, but it isn't the stock one.
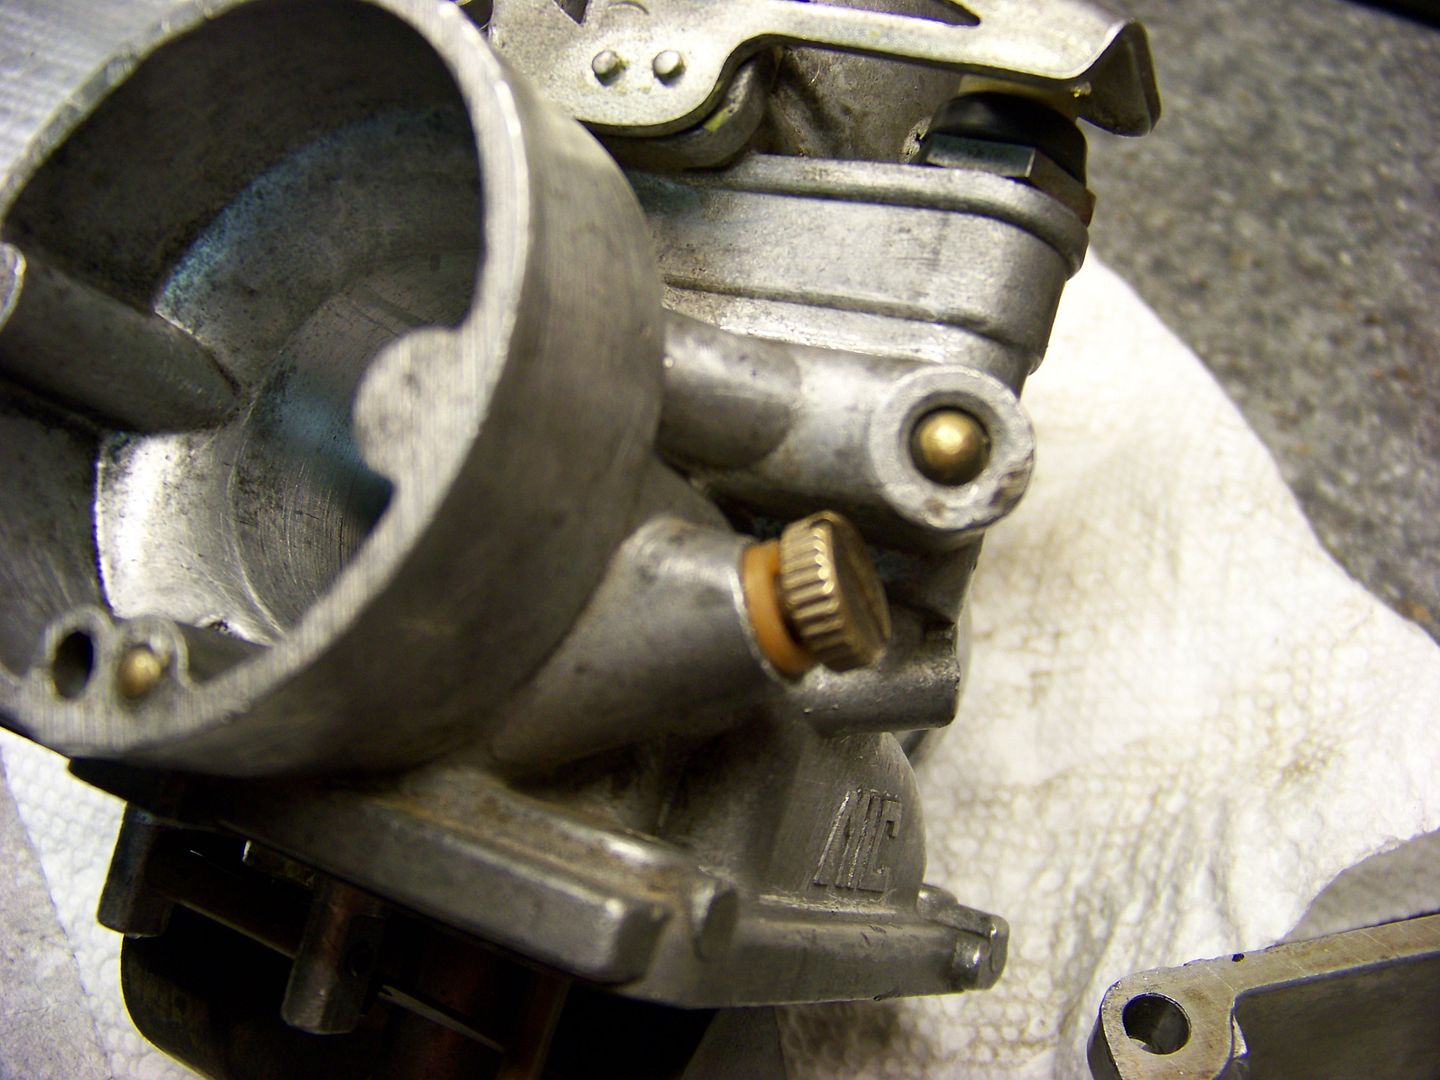
Then there is this plastic liner thing. It almost looks stock right?
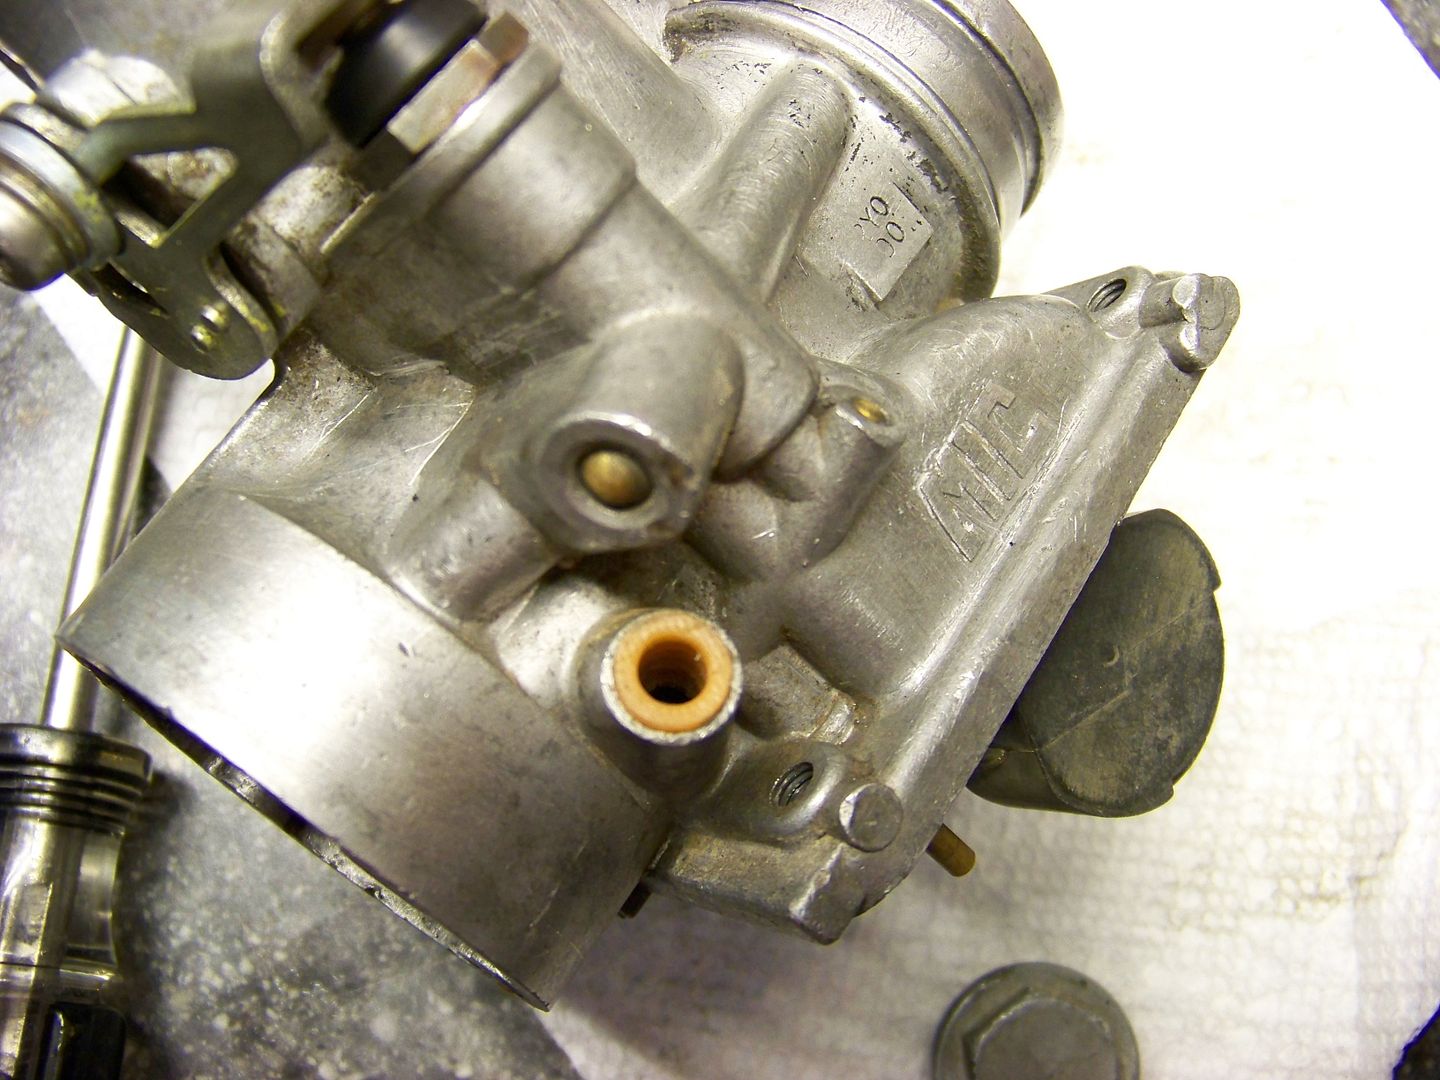
Nope. That is a drywall screw anchor thingy. I don't know the technical name, but that's what it is.
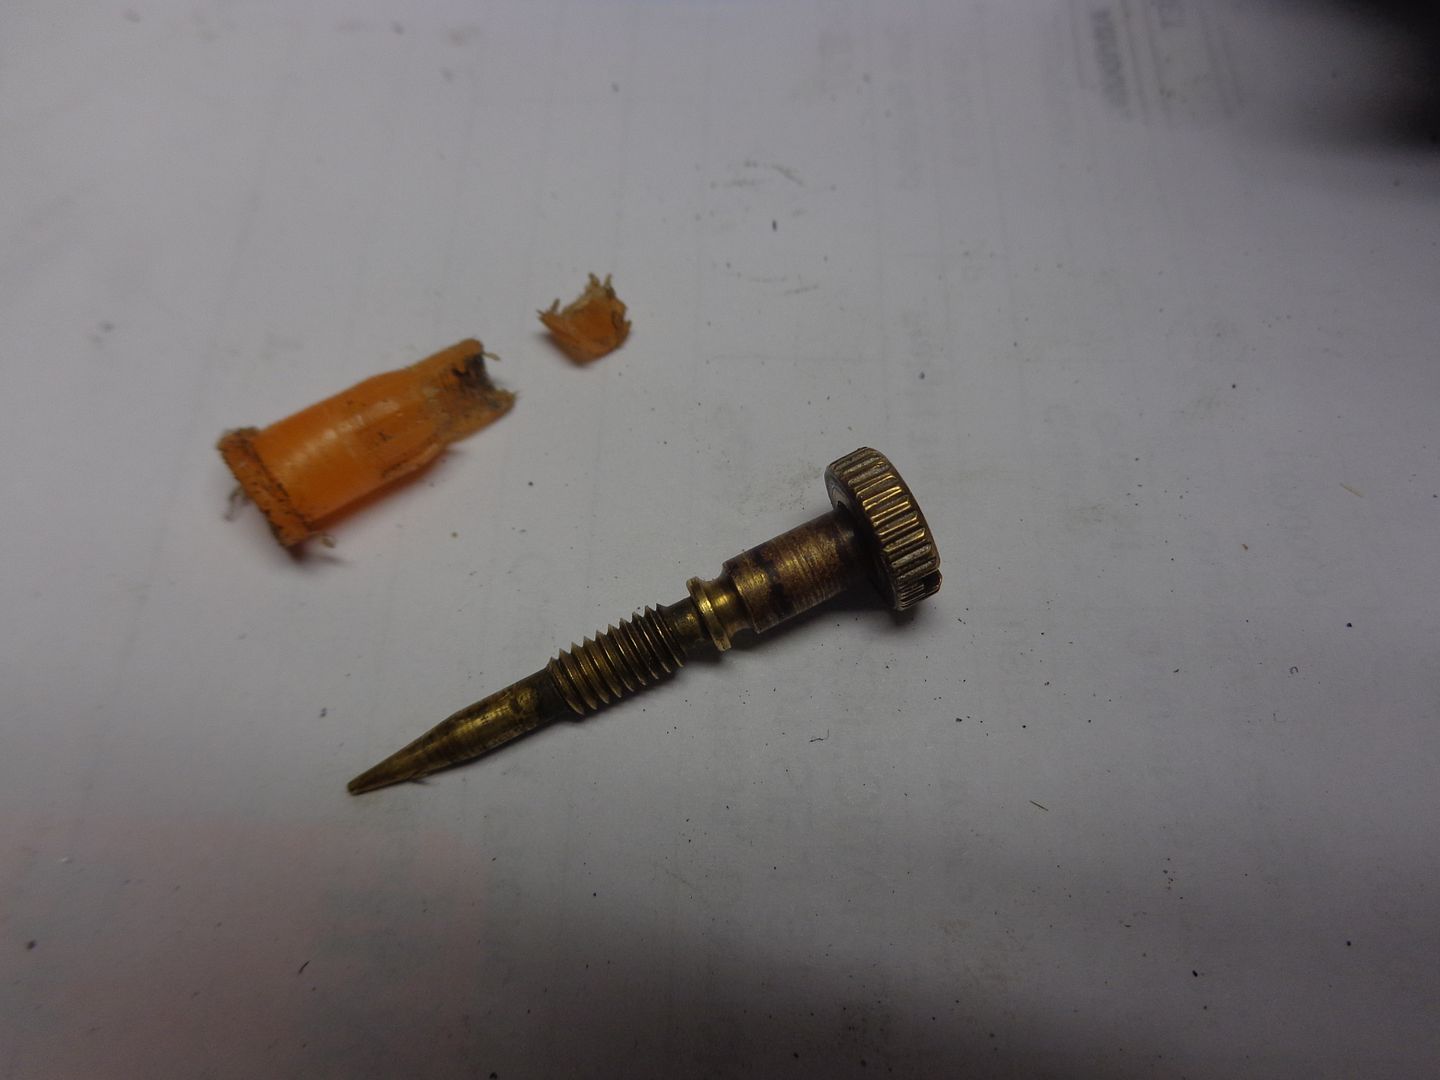
The threads in the carb body were a bit galled, so I chased them with a tap and put the new mixture screw kit in. If this doesn't fix the problem, I'm going to push the bike in a lake. Maybe. I'm sure the wheel bearings will lock up when I try to move it into the murky water.
Now on to the front brakes. In a search for simplicity, I decided to find a bolt on caliper for the tx750 forks. Apparently the body for these were used for a handful of different Yamaha bikes of the era. From the xs650 to the rd350, the bodies are the same, and with a quick hardware swap can be moved from one side to the other depending on application. On top of that, the rear calipers on some models were the same.Yay?
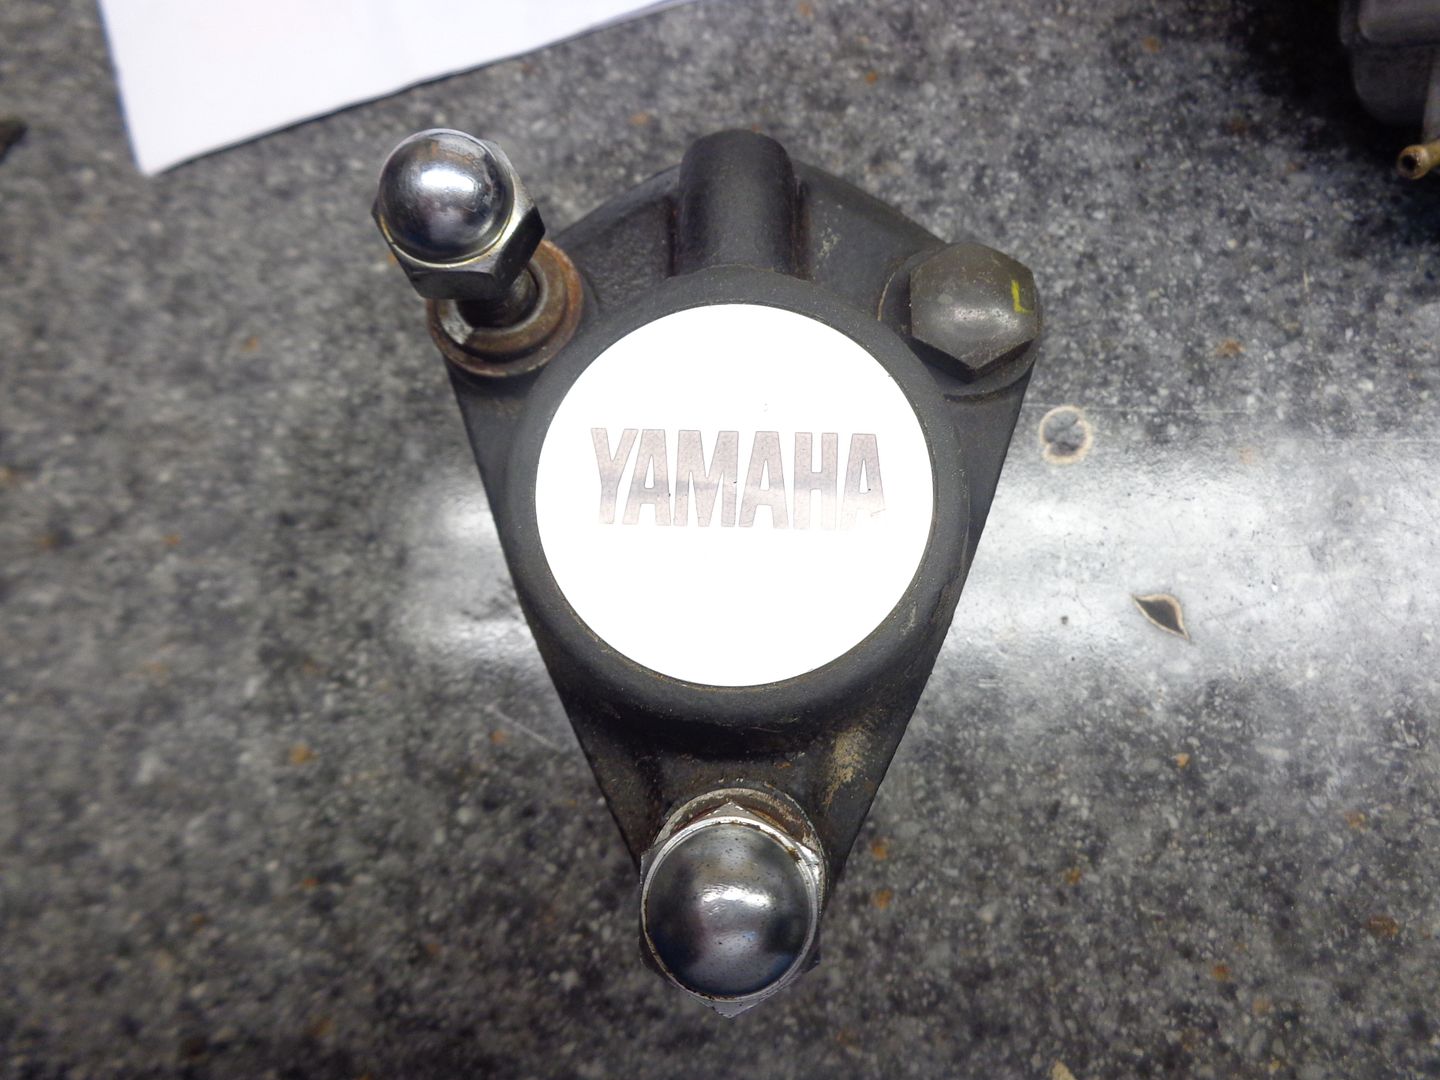
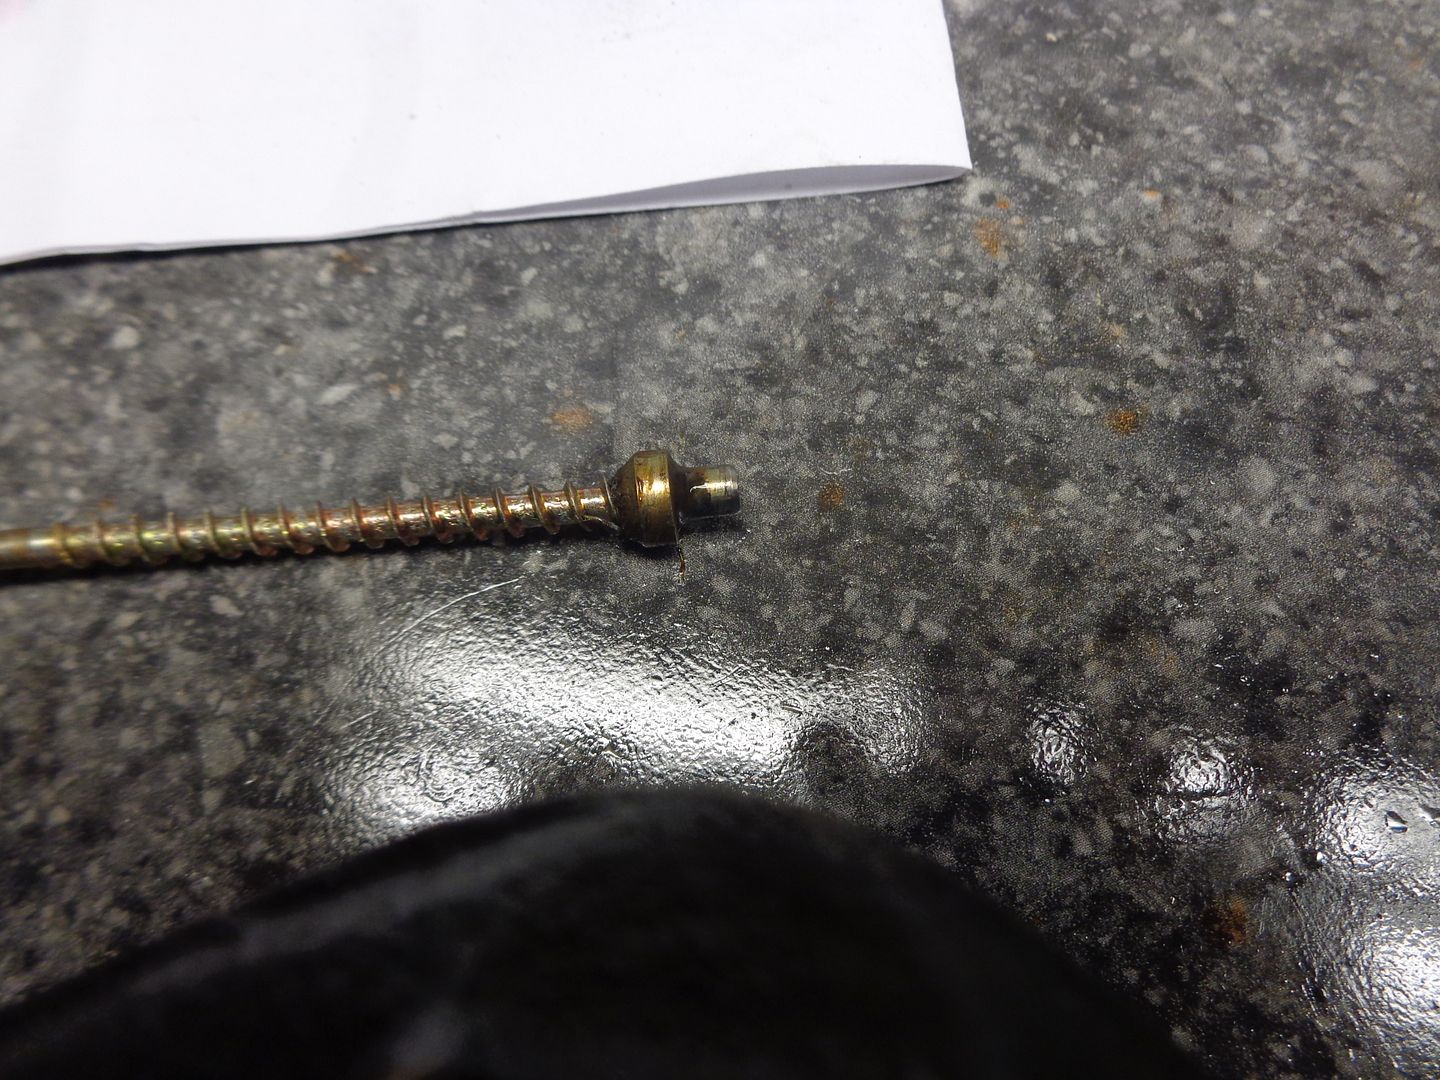
Unfortunately the front calipers usually run a flared fitting with a short hard line, while the rears run banjo. I don't want the extra connections, and prefer just a more common banjo fitting with a single line. A little light reading told me that the flare fitting will pop out after threading a screw through it. Sounds simple enough.
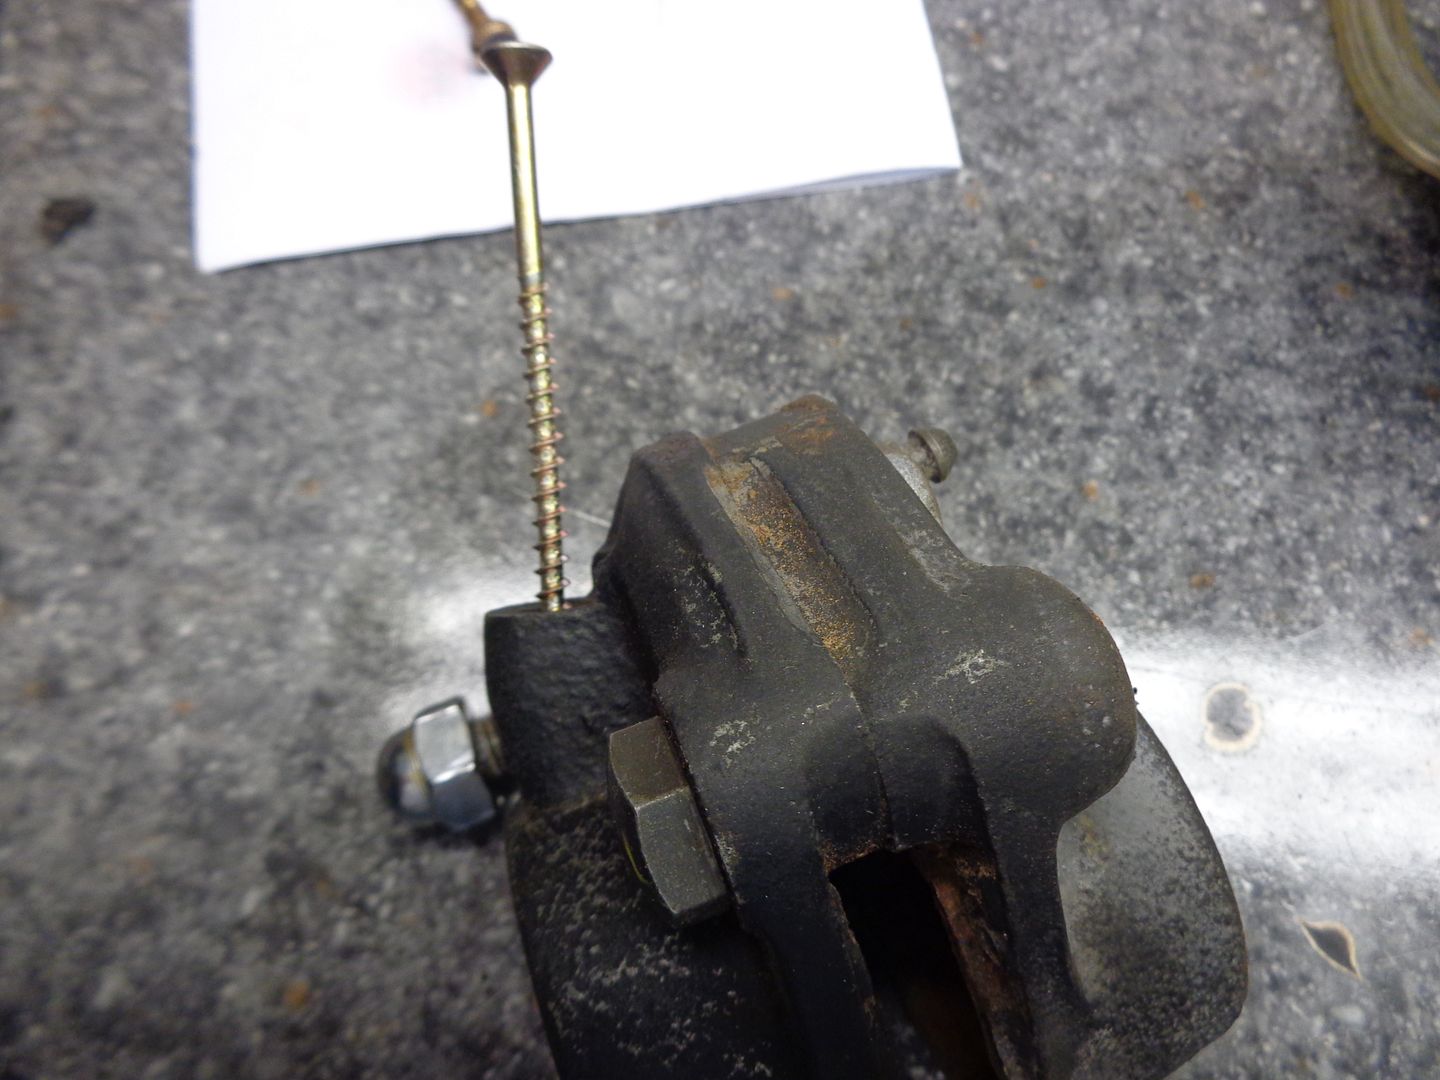
With a gentle tug, it popped right out. Ready for banjo duty.
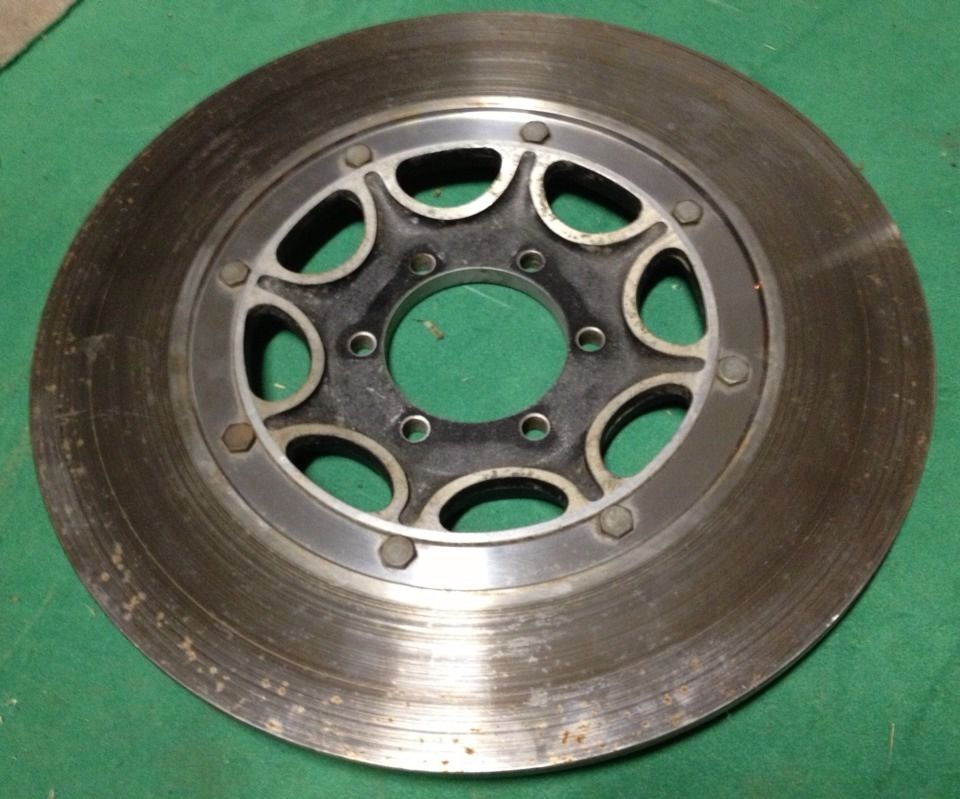
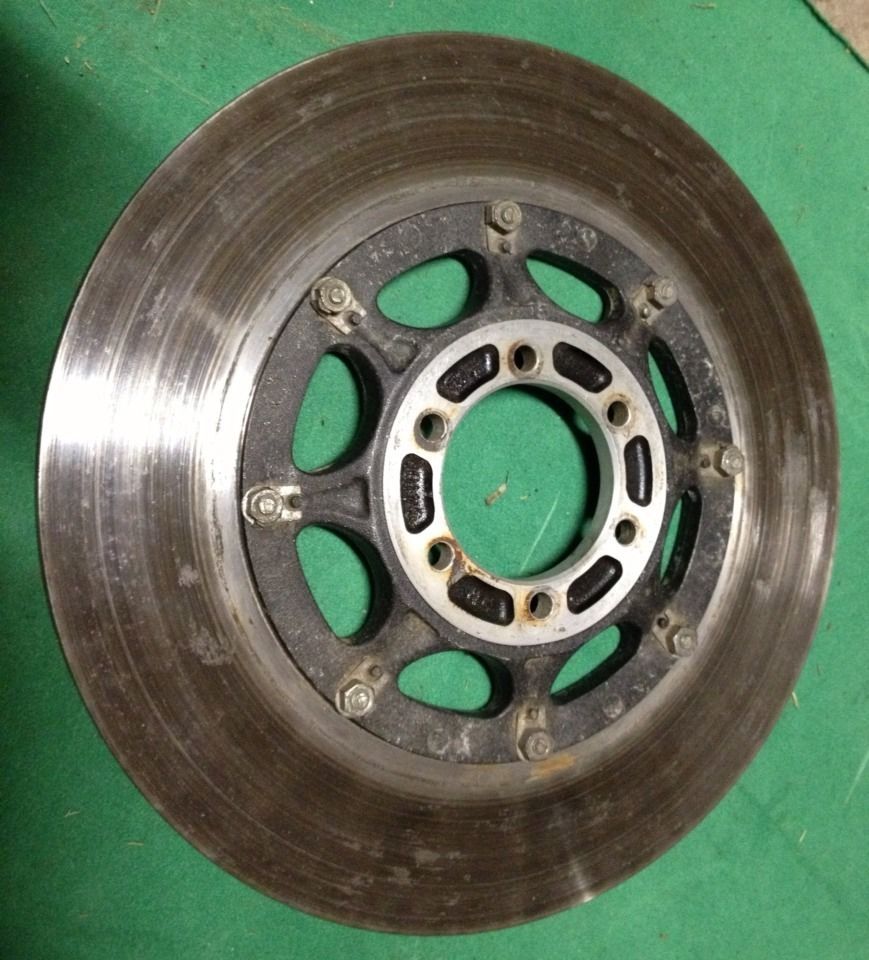
Since this project seems to be a never ending car crash, it's fitting to find out my current xs650 rotor is the wrong one. The offset on the later model bikes were different than the early ones. The early 2 piece will fit my setup, but the one piece won't. Dammit. That's where I'm stuck. If anyone out there has one they will let go of, shoot an email to hatchethairy@yahoo.com and hopefully we can work out a deal. It looks like this.
11/25/13
OMS cl350 : 02
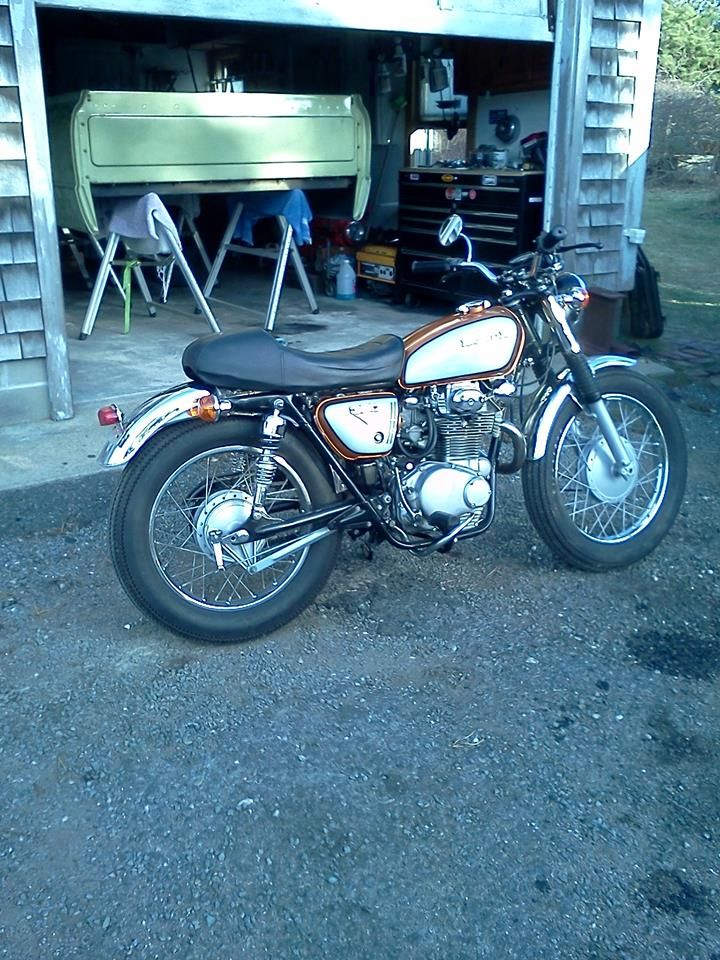
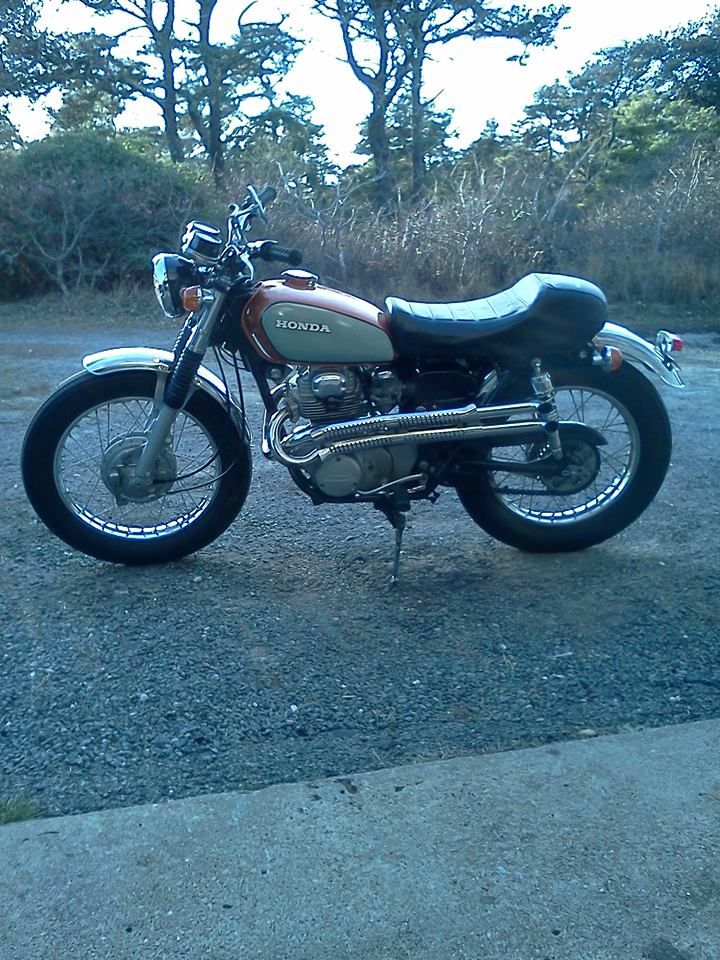
I have fixed the exhaust, put a new battery in it and cleaned the carbs got it running
pretty sweet now.
I also put the stock fenders back on it front one had to raise a little cause of the tire sizes.
The rear one came with a Lucas style tail light and a stock style tail light.
I picked the Lucas style after careful consideration..lol it's a smaller light that looks way
better than stock in my opinion.
Now I got the fenders on and tail light working I can got register it and be legal like on the
roads and such.
Time to get rid of this seat and get a stock seat and possibly put the scrambler bars on.
I'm liking the ones on it now damn decisions.
That's it for now.
Happy Thanksgiving to you all!!
Dean
11/21/13
OMS Ironhead Thumper : 03
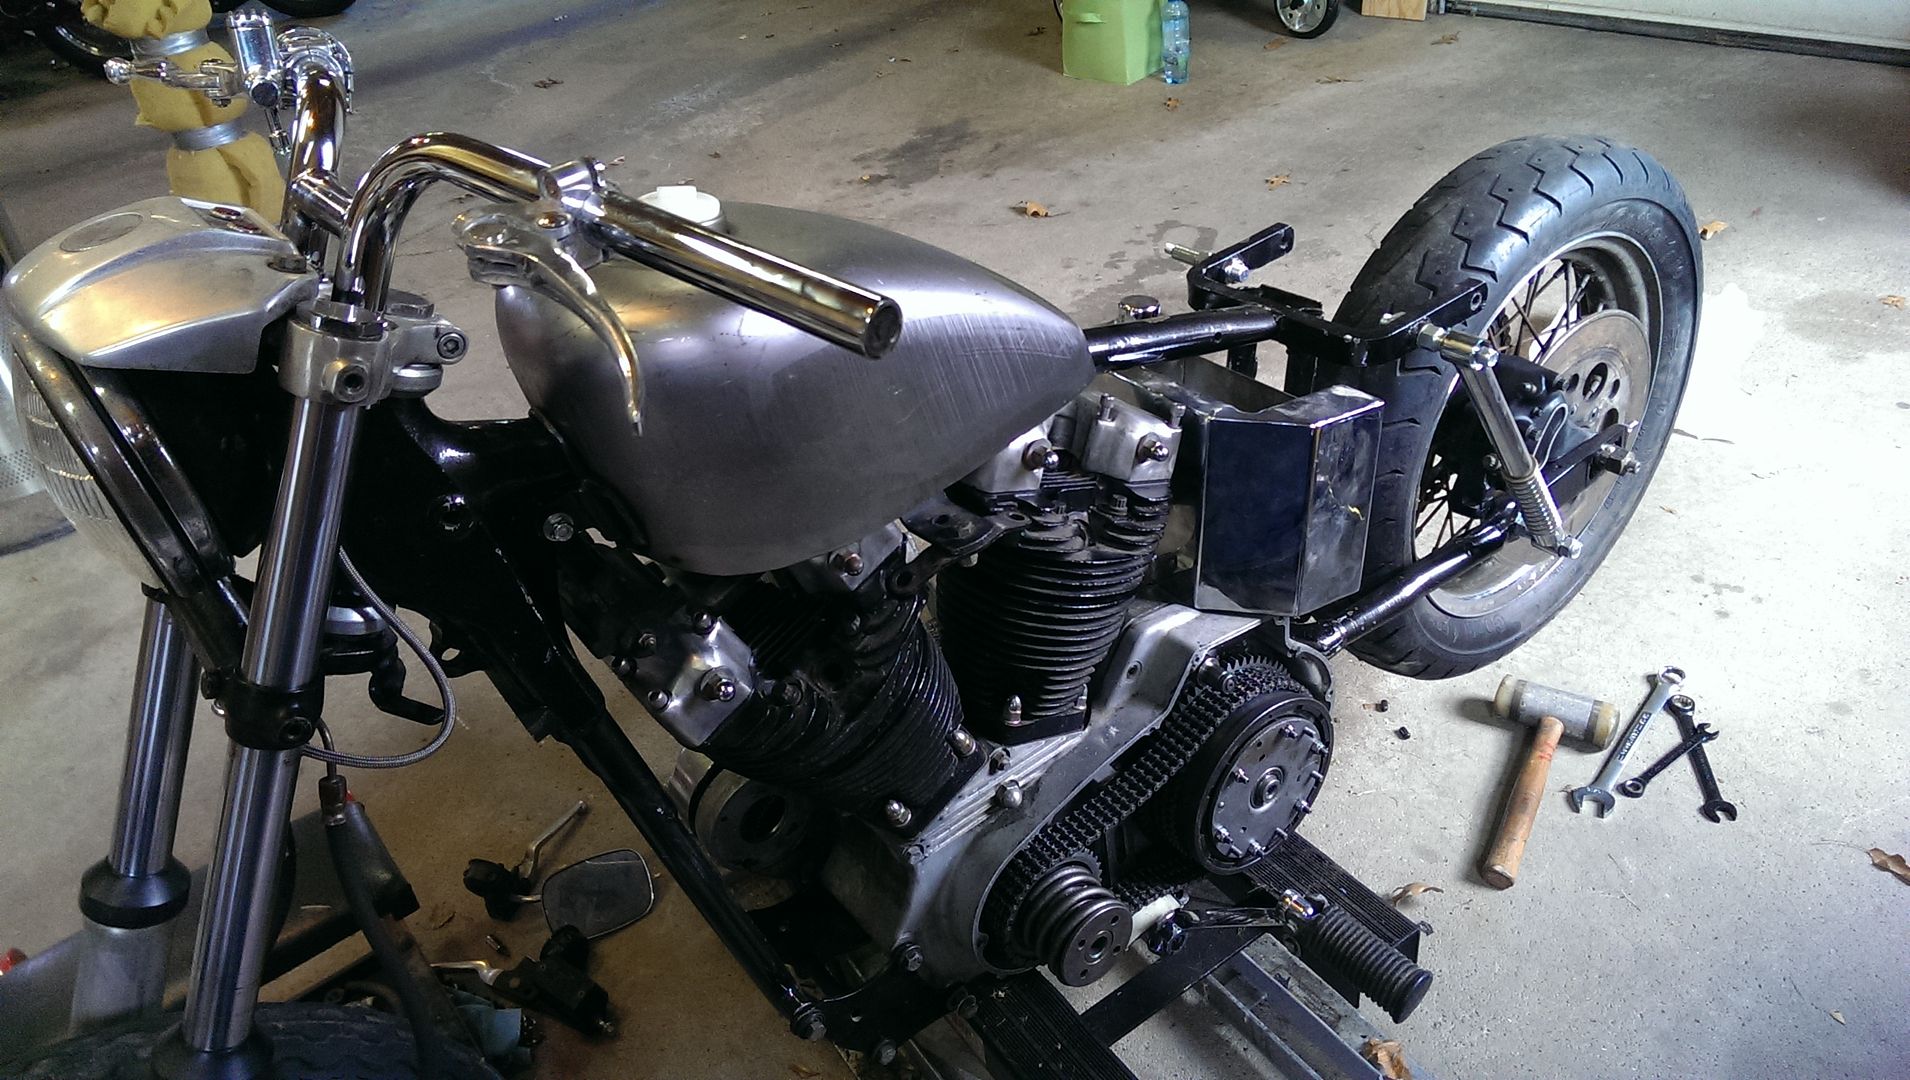
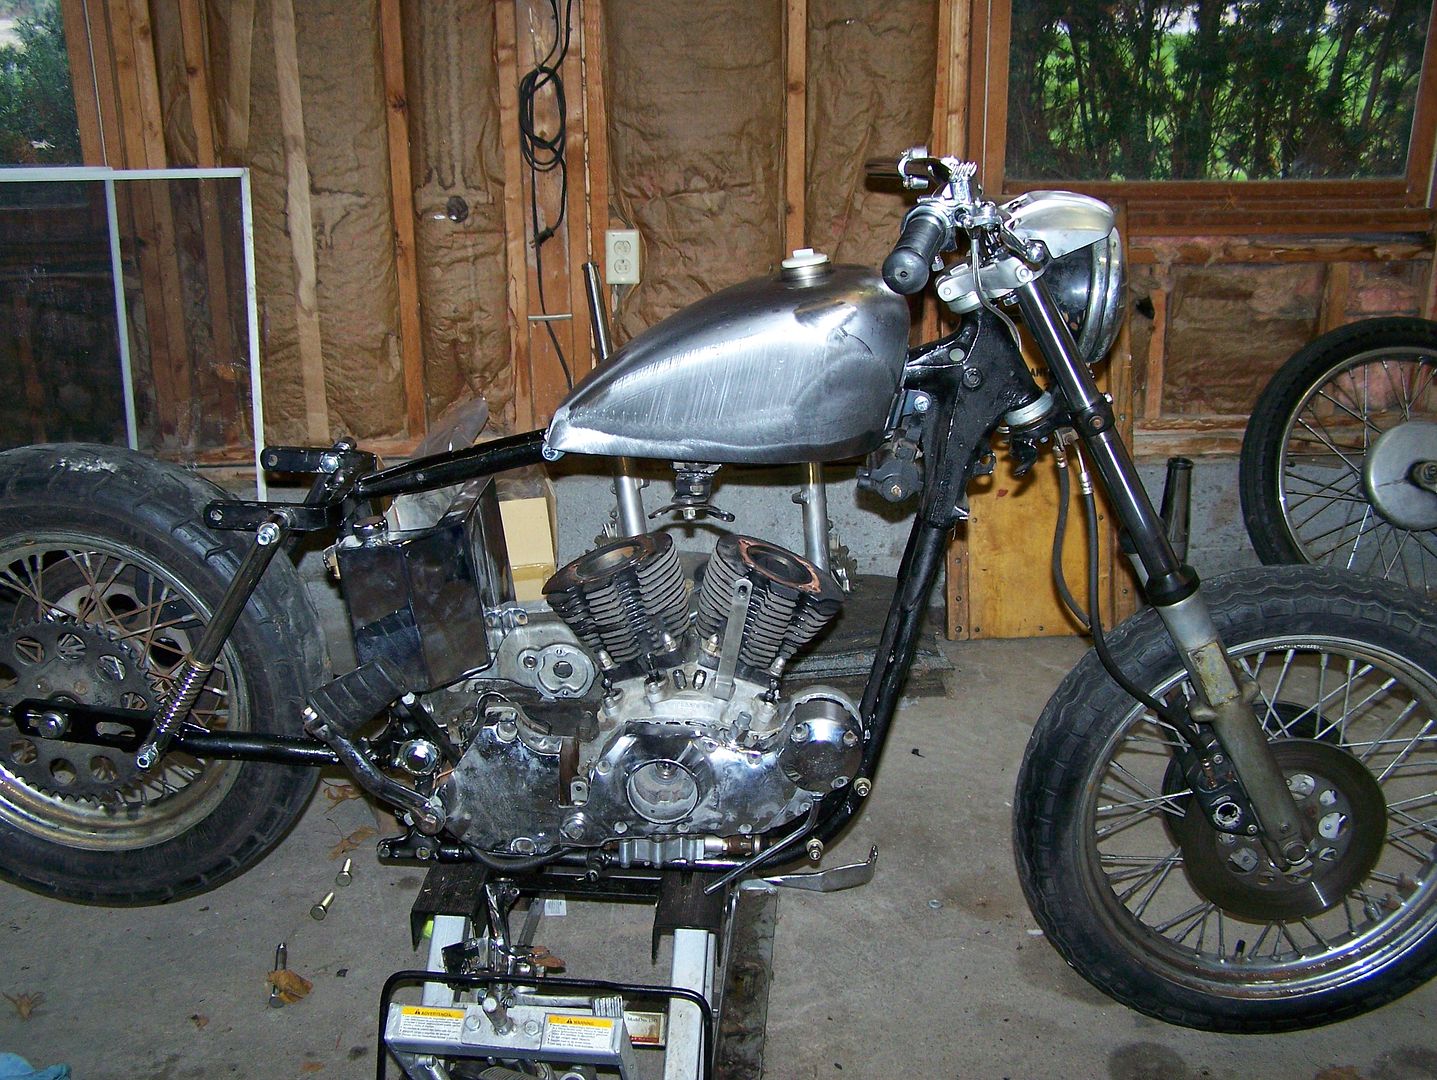
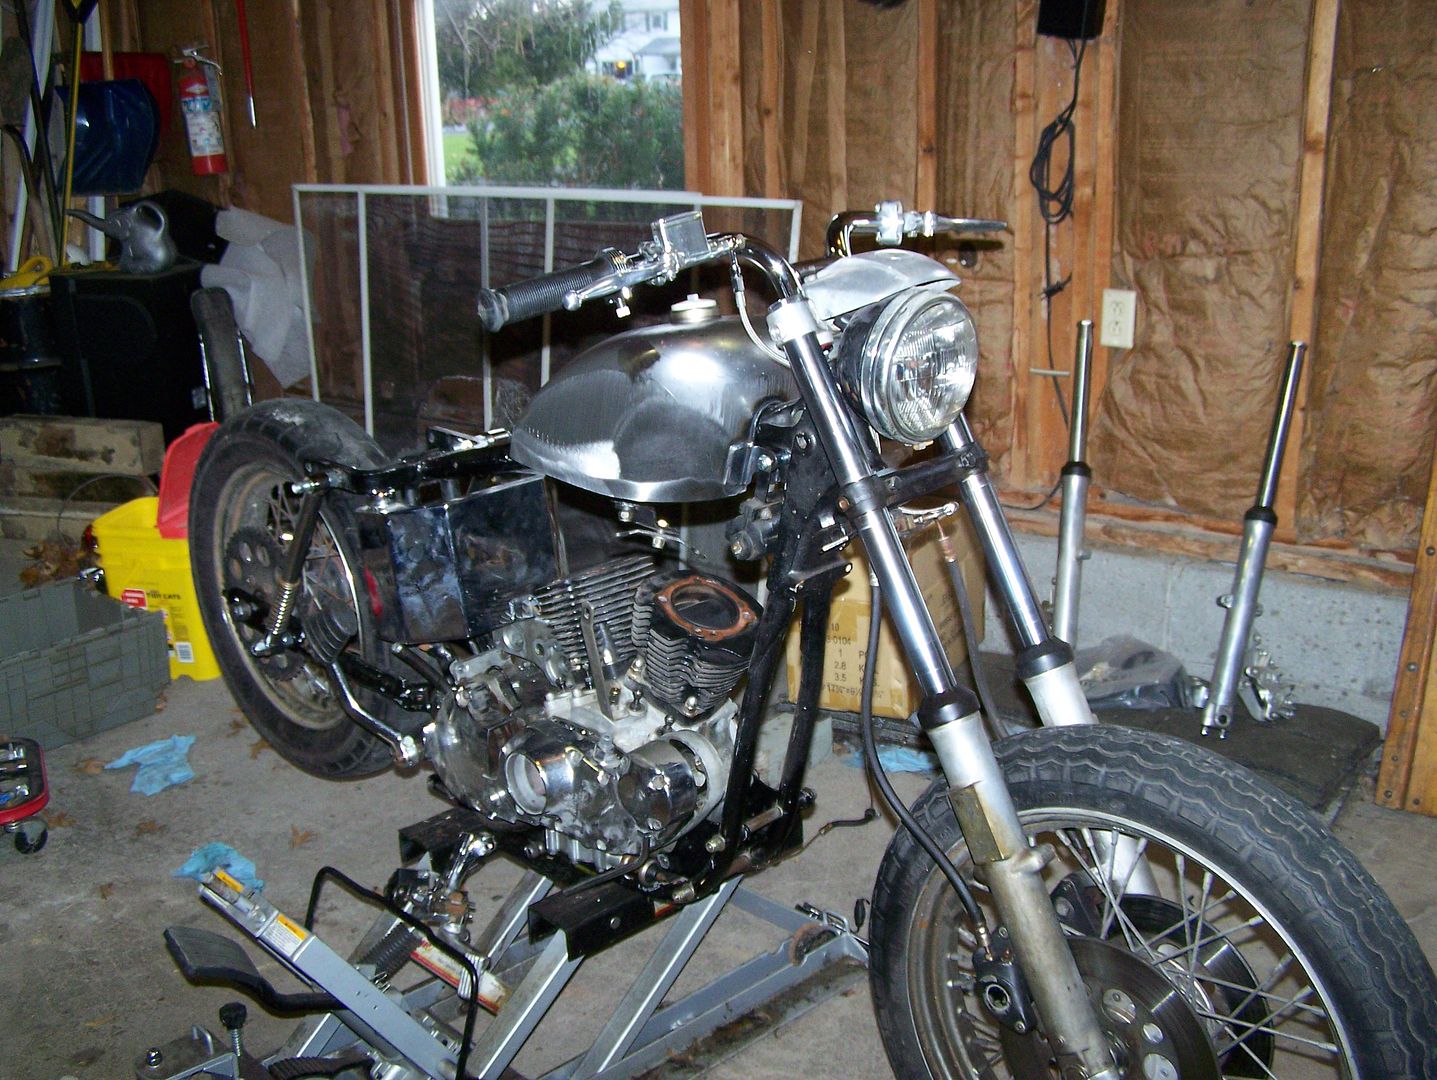
This project has been sitting for a month or so. I figured it was time to move forward and get the rear wheel mocked up and on the bike. That one sentence took a week of after work free time to get completed. First of all the wheel that we had acquired with the project is a later disc brake wheel. In 1975 the Sportster came with a Drum brake rear wheel. I thought to myself “No big deal we have a caliper and a master cylinder to use for this.” So I went to bolt the whole assembly up and what I realized is the later disc brake wheels use 3/4” Id bearings and the original drum brake set up used 5/8 ID bearings. All the original hardware was useless as is. What to do? I found a 3/4” diameter axle and nut in a box of parts but it was 2-1/2” too long. I cut the head off the original axle and drilled a 1/2” diameter hole through the center of the head and cut the 2-1/2” inches off and turned a 1/2” post on the axle then proceeded to weld the head back on. Next on the hit list was the axle adjusters needed to be opened up to 3/4” also. I went back to the lathe with a boring bar to make short work of this task. The 3/4” axle needs to ride in a 7/8” slot in the swing arm so 2 spacers with 7/8” flats were made to center the axle in the slots in the swingarm. The last piece of this puzzle was a 3/4 long straight spacer. I found a chrome one in a box from a previous build. All of our work bolted right up and lined up the wheel and sprocket like it was meant to be there. Next on the list is to fabricate an anchor for the brake caliper to the swingarm.
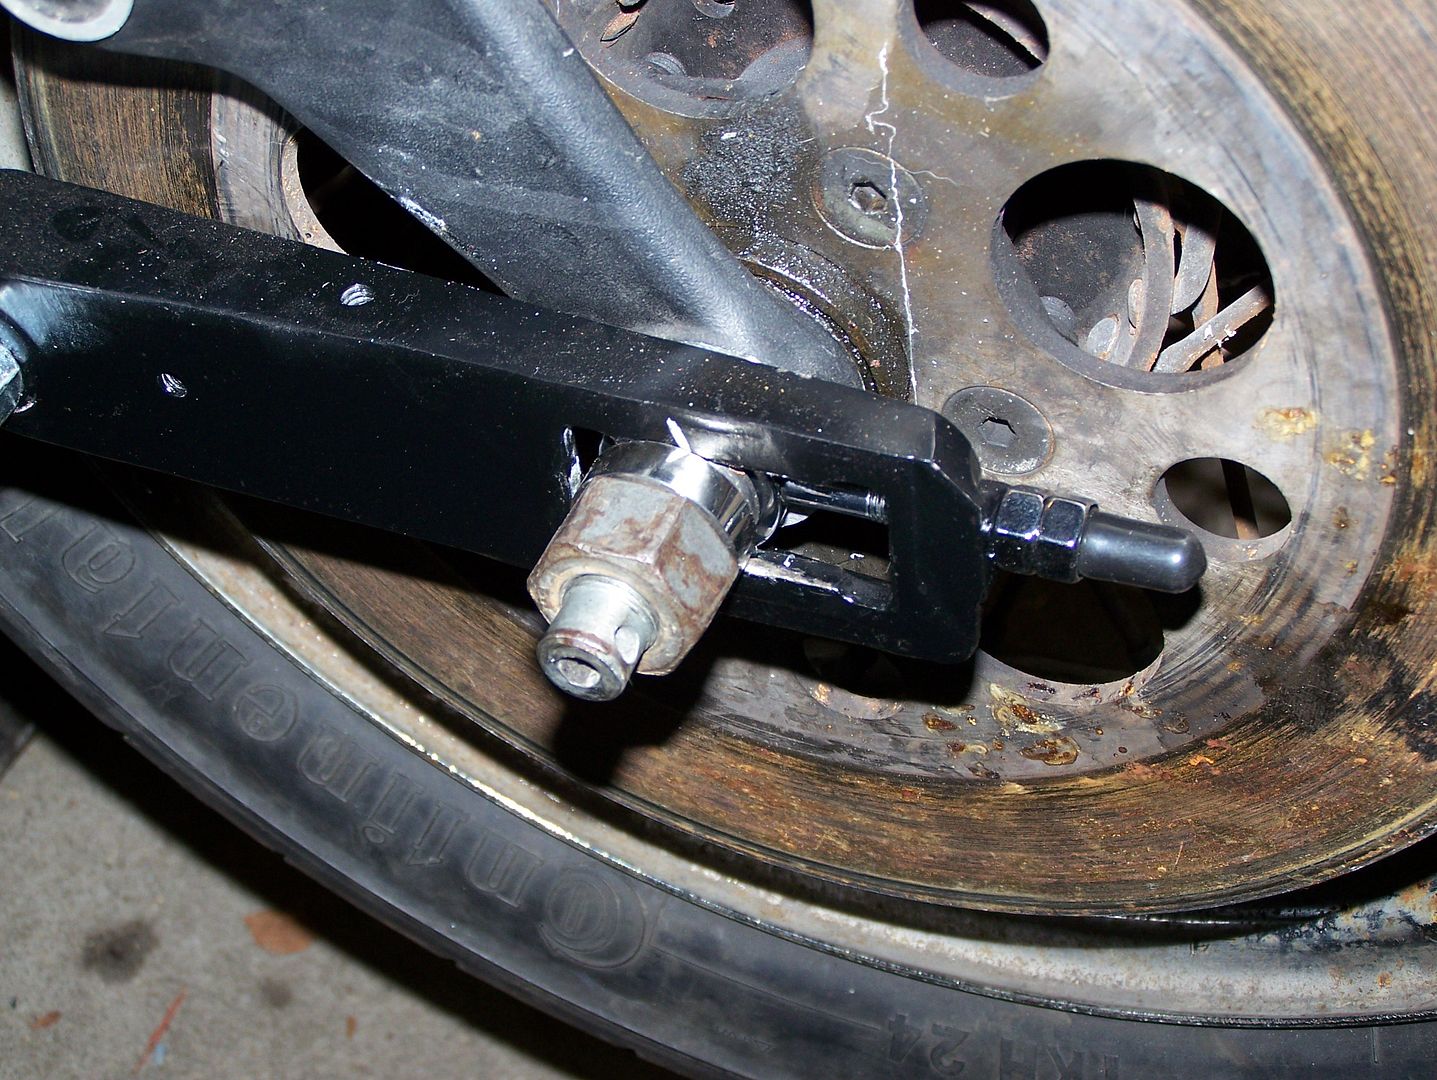
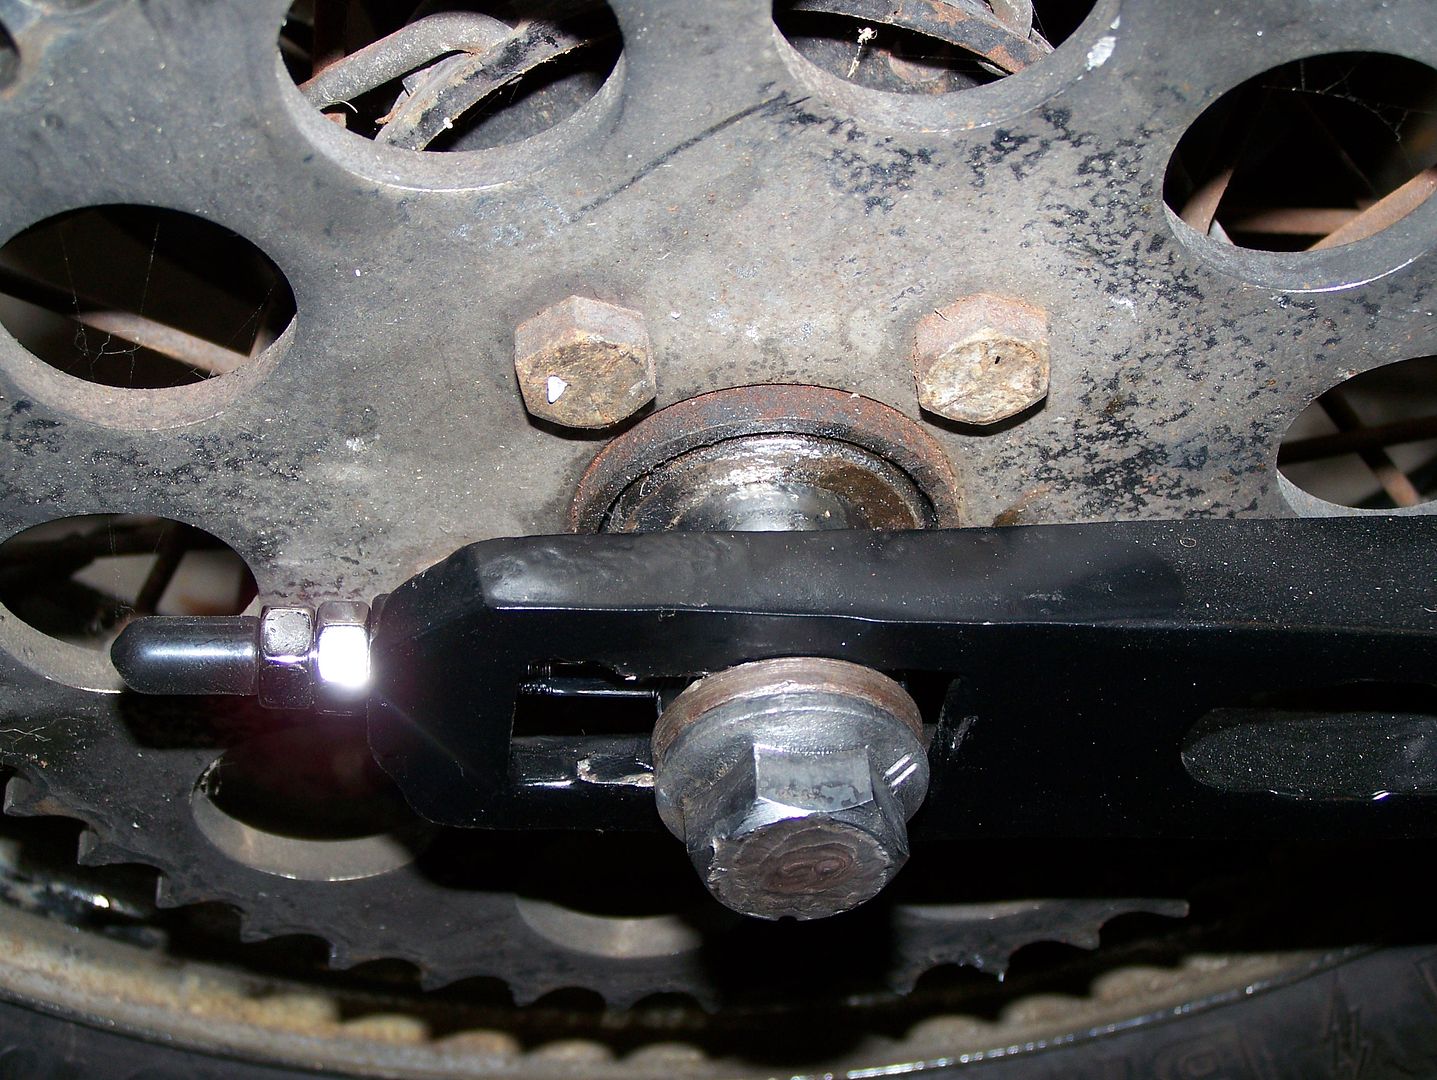
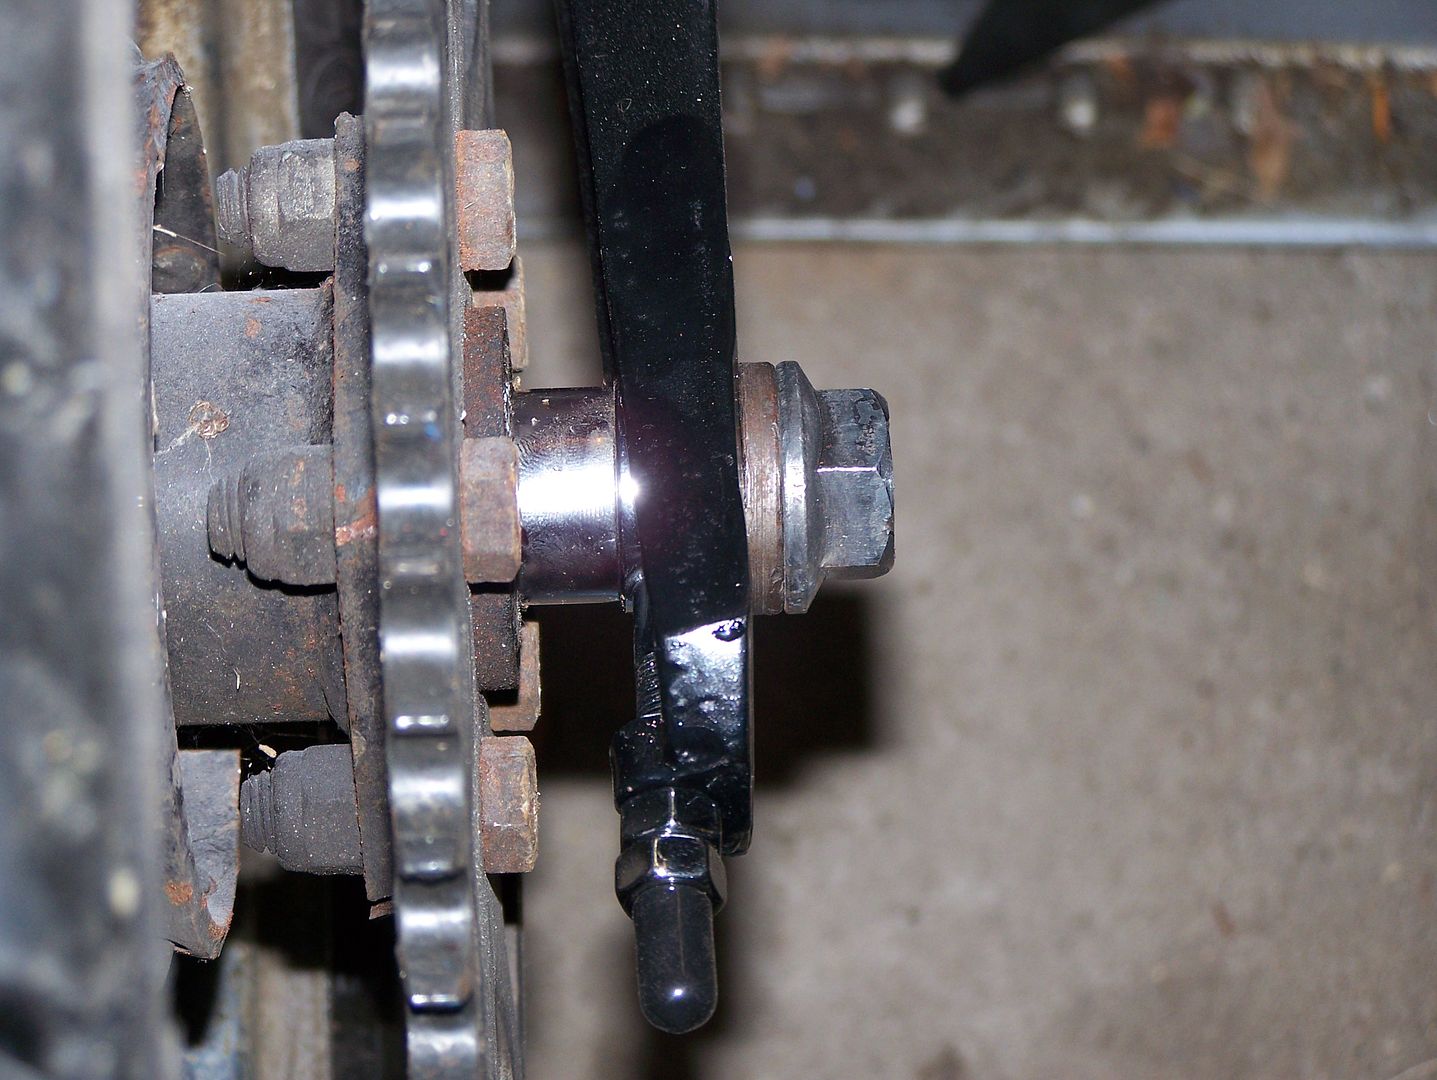
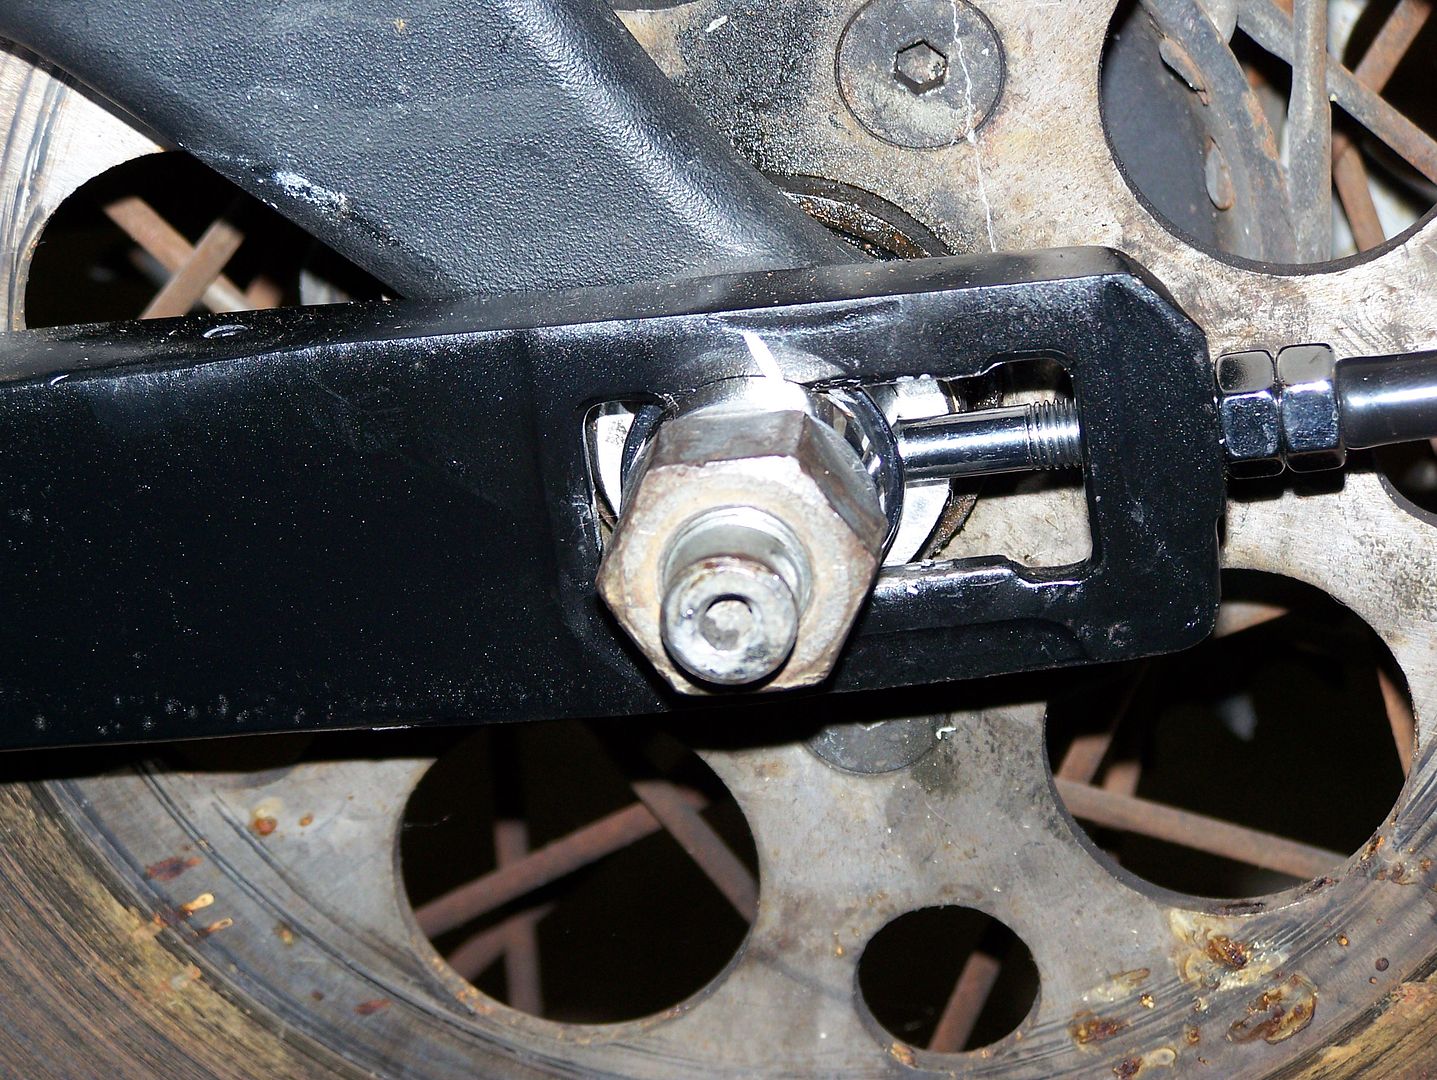
We mocked up and installed the fuel tank. The tank it is one of the few new parts of this build so far. With the tank bolted on the coil and bracket was located and installed as well as the front and rear head with the rocker boxes. This is all temporary until we get the body fab work completed then the motor will come out for the cylinder modifications.
Tim
11/15/13
ozark mountain scramble 2014
Just a quick reminder to get out there and find a cheap bike for June. It really is the most fun per dollar you can squeeze out of a motorcycle ride. Period. The Ozark Mountains provide some of the best riding in the country, and that's putting it lightly. This isn't a show. There won't be any trophy's. Just good old fashioned fun. Wanna know more? Go to www.ozarkmountainscramble.com to get all the information you should need to join.
Here's some of the rider submissions so far, and it's only November:
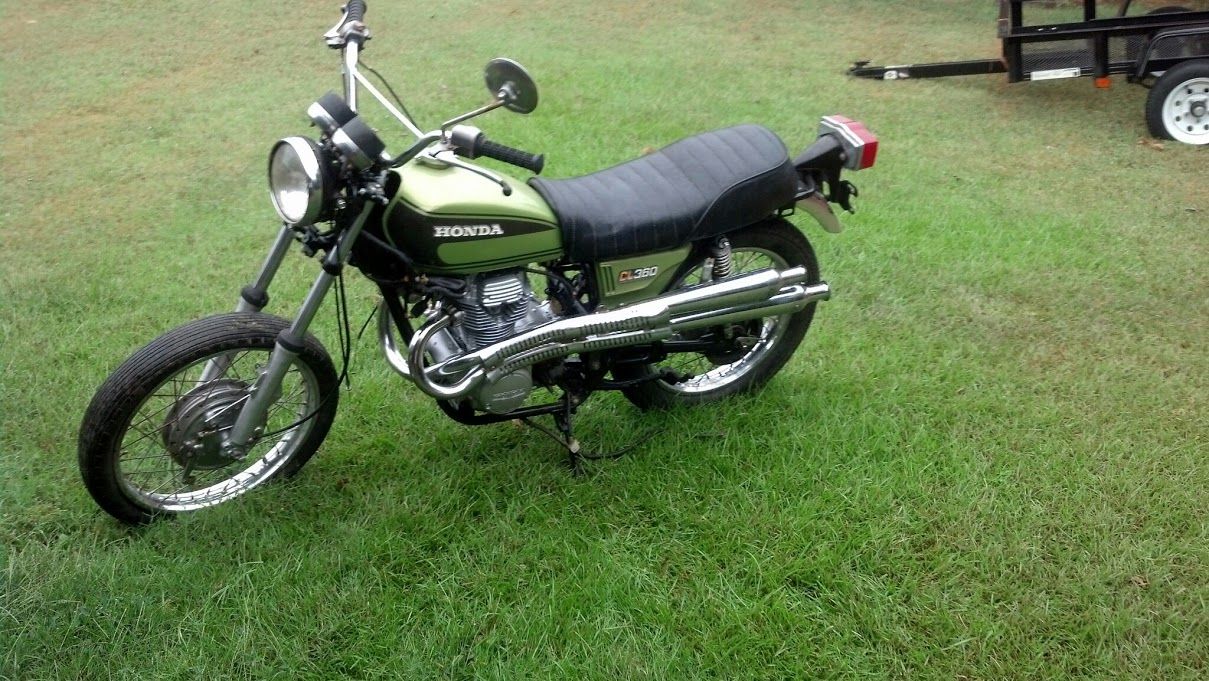
Andy's cl360
BG Uno's Moto Guzzi

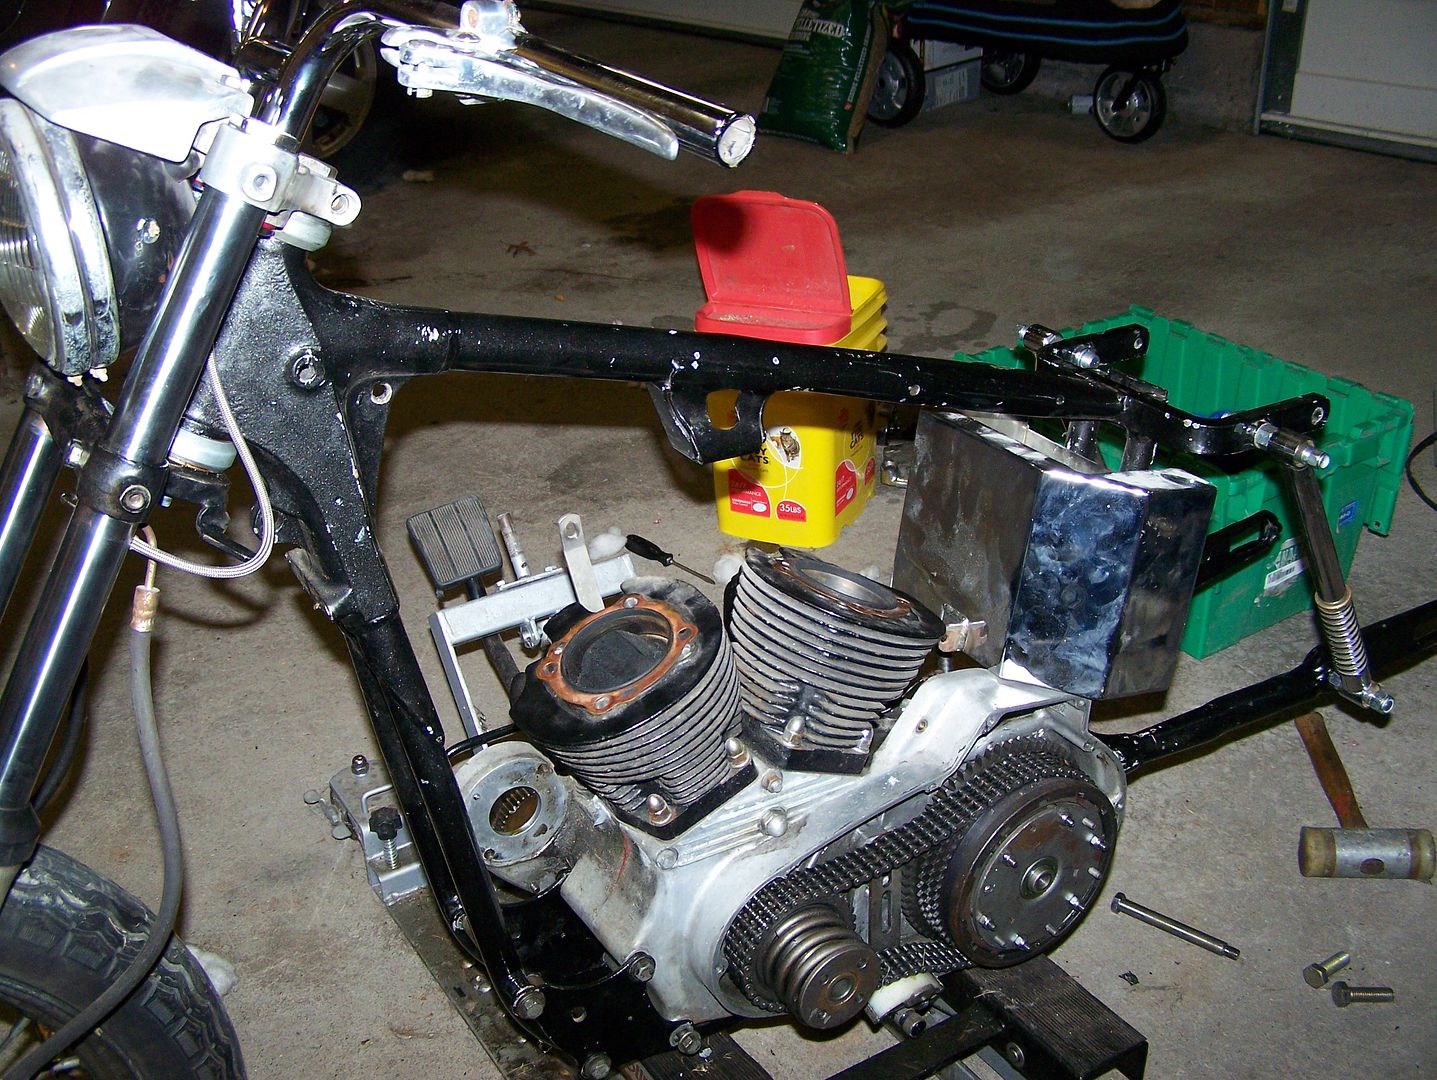
Tim Statt's Thumper Ironhead
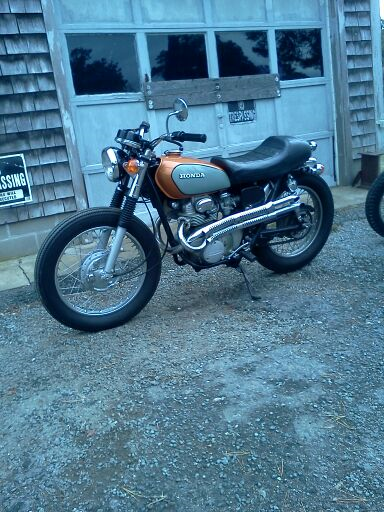
Dean's cl350
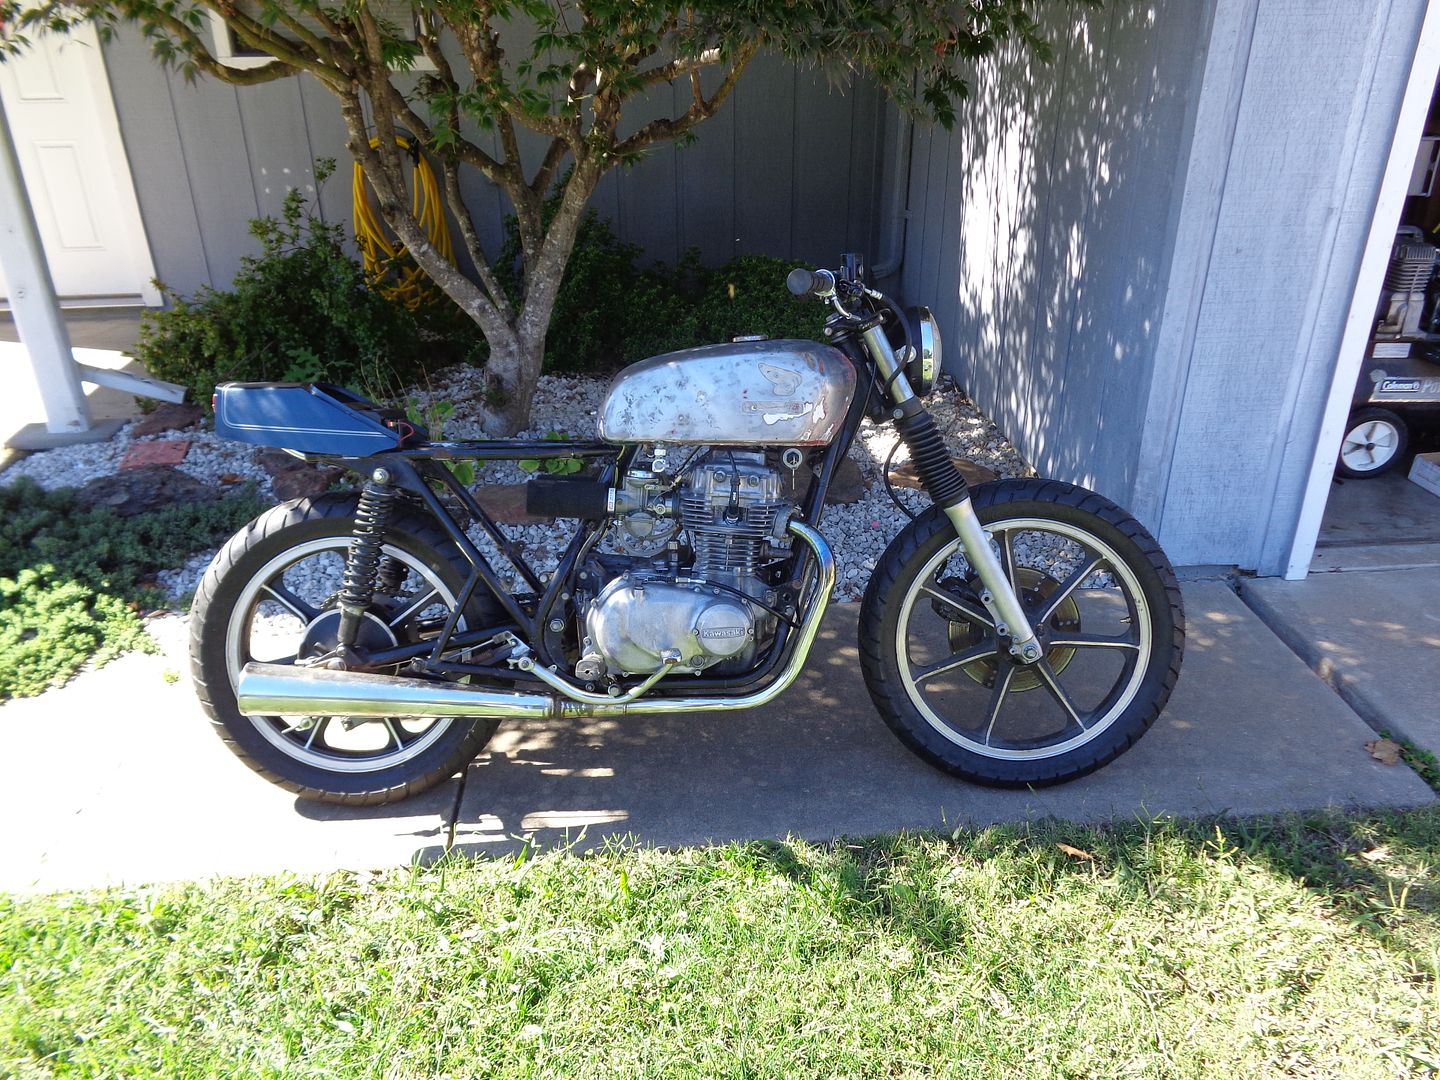
Derrick's kz440
11/7/13
OMS cl350 : 01
Hi, my name is Dean and my good friend Tim turned me on to this adventure and got me interested to go.
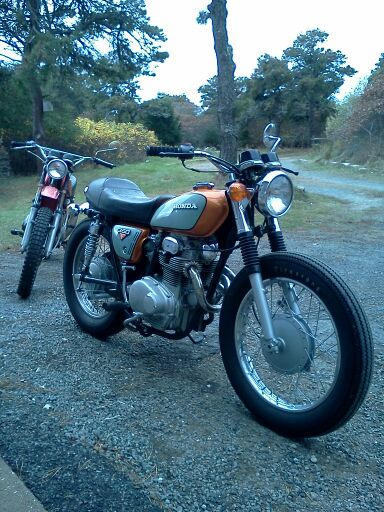
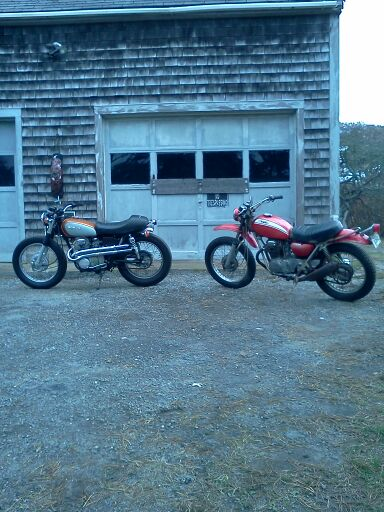
So I picked up this 1972 CL350 Scrambler locally for 800.00 and so far bought a 60.00 battery.
I will be attending the Scramble with this bike.
I have to clean the carbs and change the oil as the bike has been sitting for quite a spell.
The bike did come with the original front and rear fenders and taillight and some misc. parts.
I also have a 1970 sl350 but that bike is seized and I wont be bringing it to the scramble
but I might need some parts of it to stay within budget.
I will have some better pics shortly as I put the fenders and taillight back on and other things
I am doing to the bike to get it ready......
Dean
10/22/13
OMS Ironhead Thumper : 02
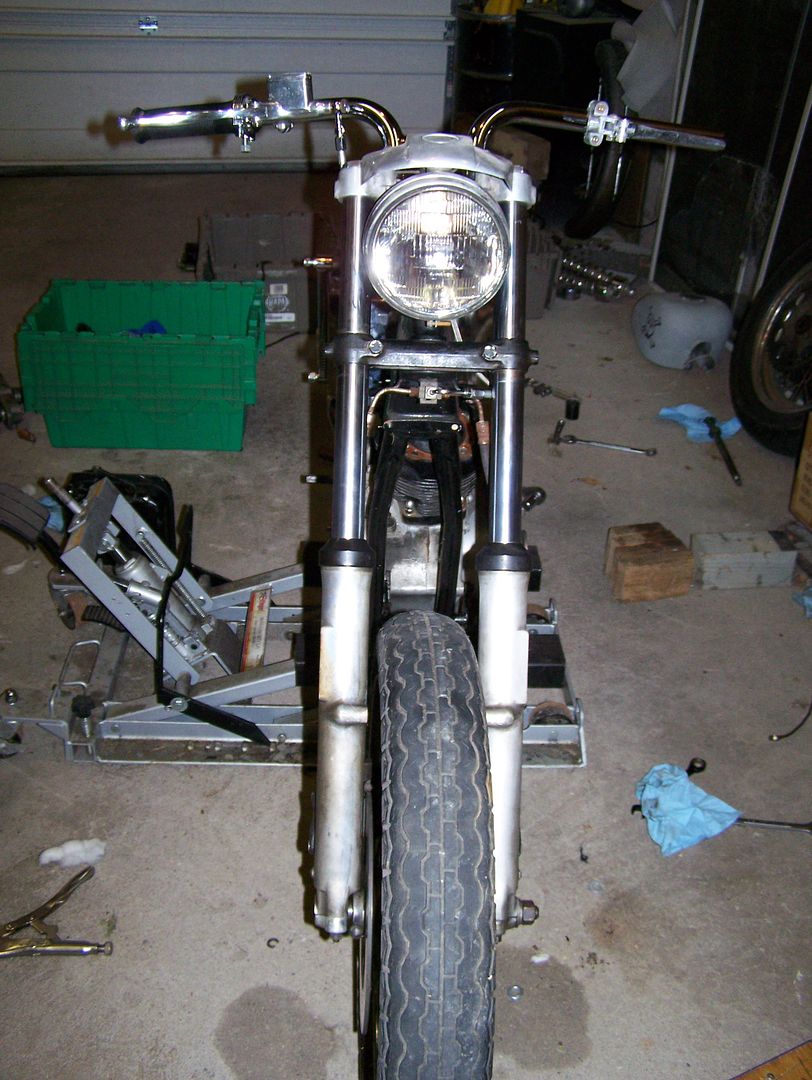
Have you ever put together a 3 dimensional puzzle? Well this is what we have here. My plan at this point for the “Half A Harley” is to assemble everything as intended from the factory, then do the fab work for the custom bits and finally pull the motor and make it from a v-twin to a thumper single.
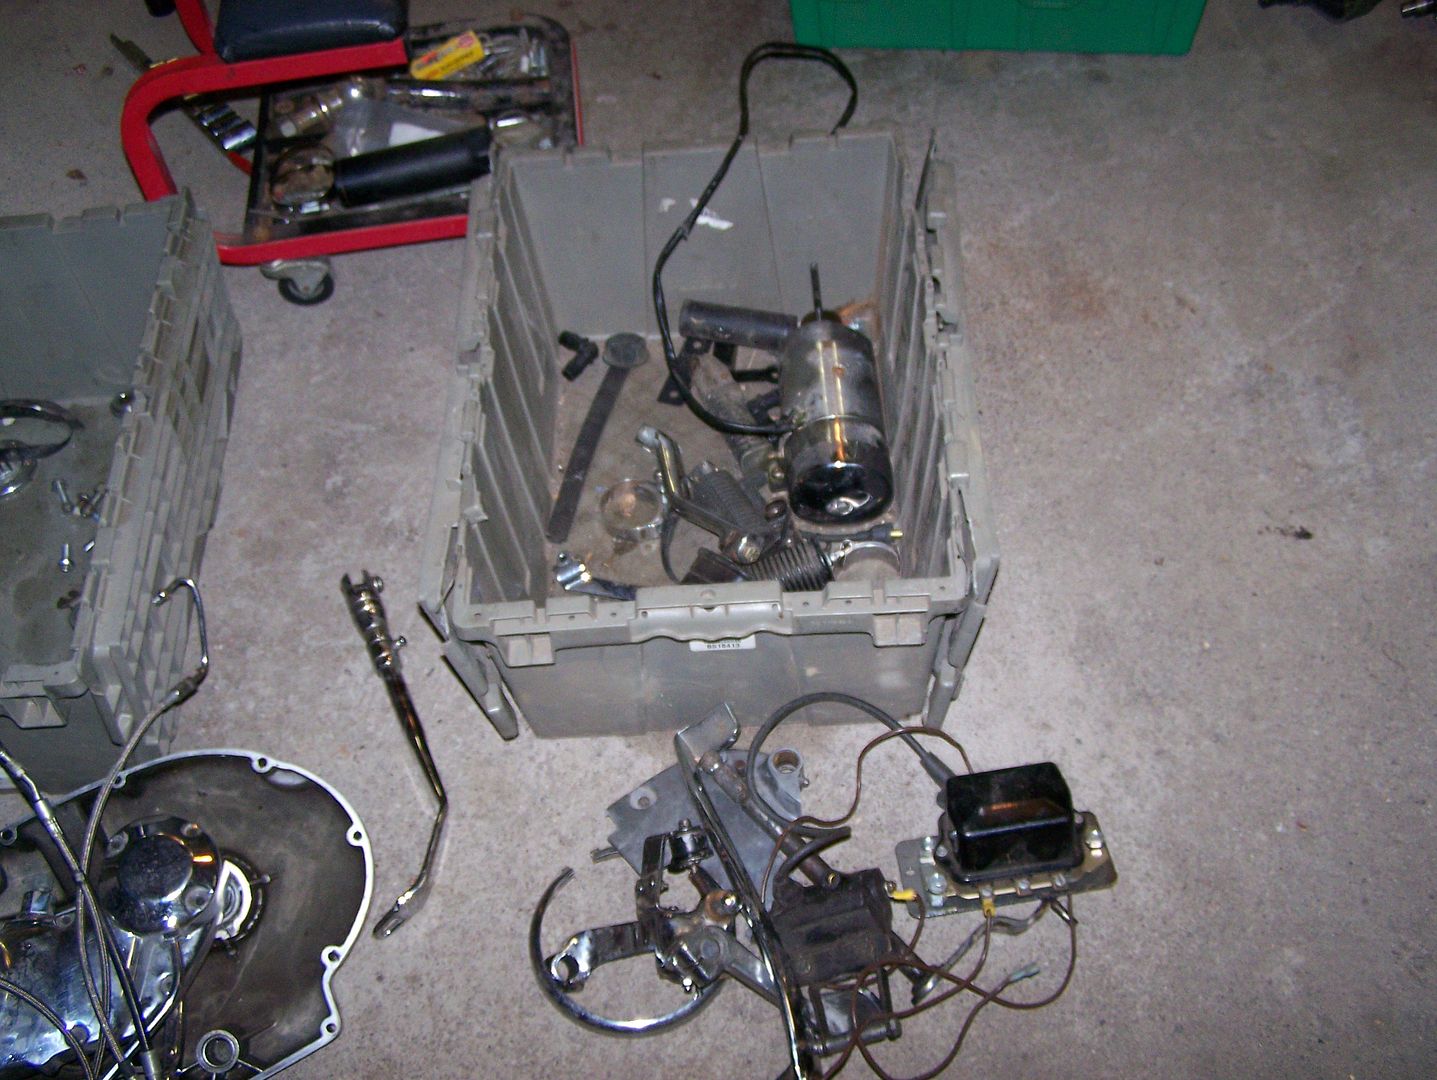
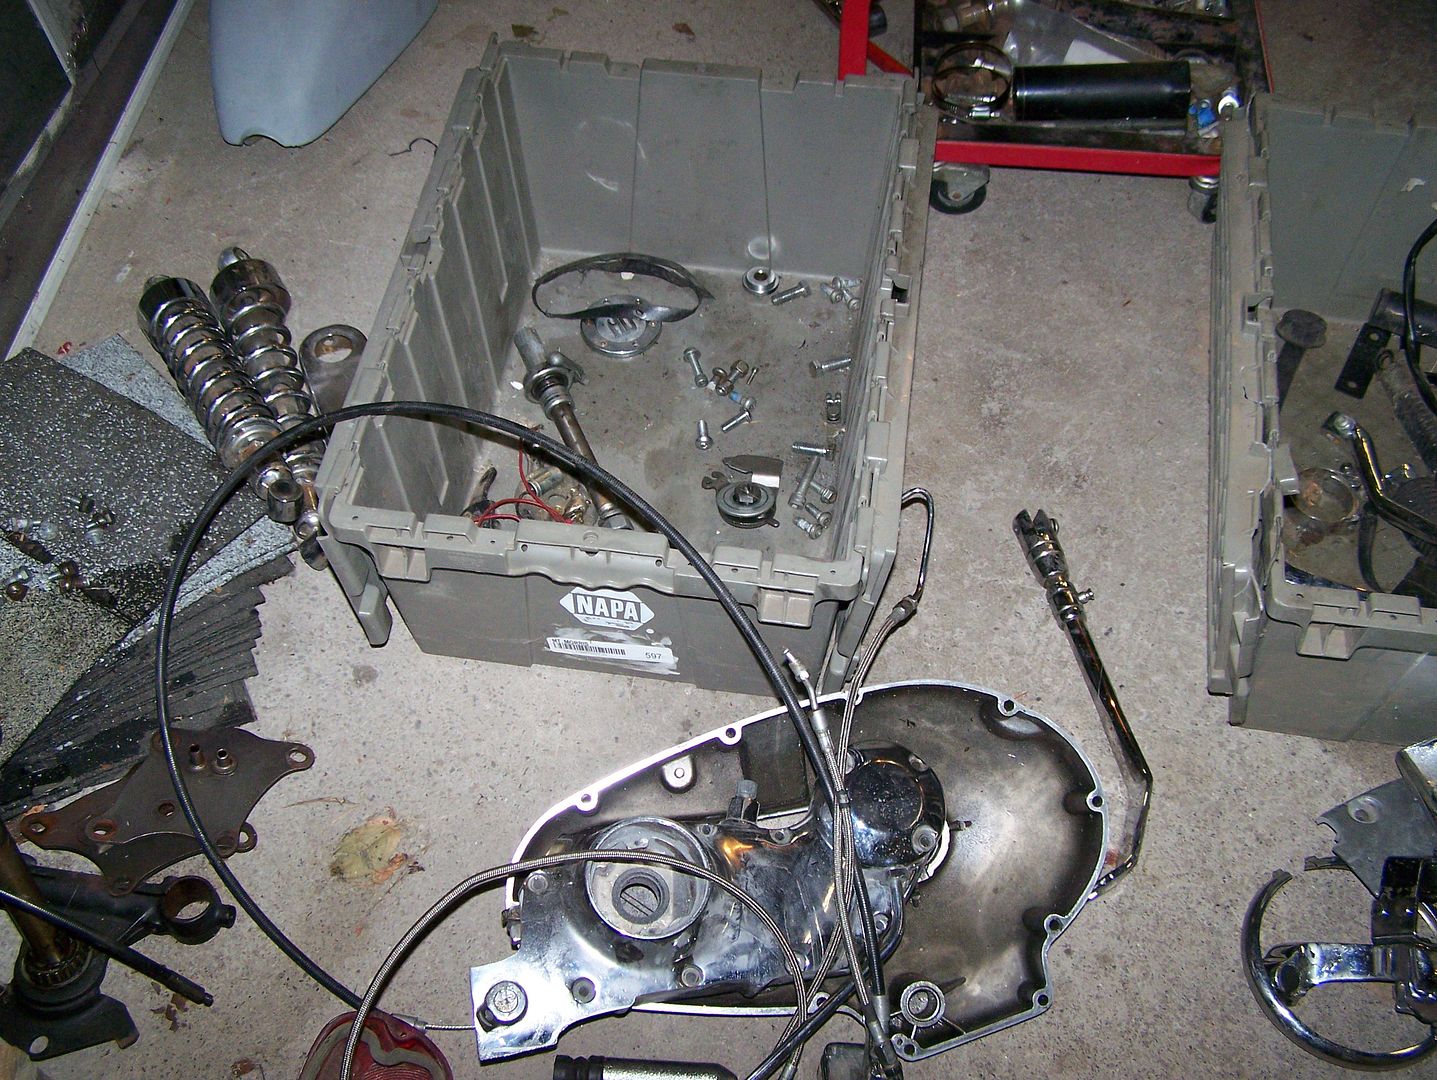
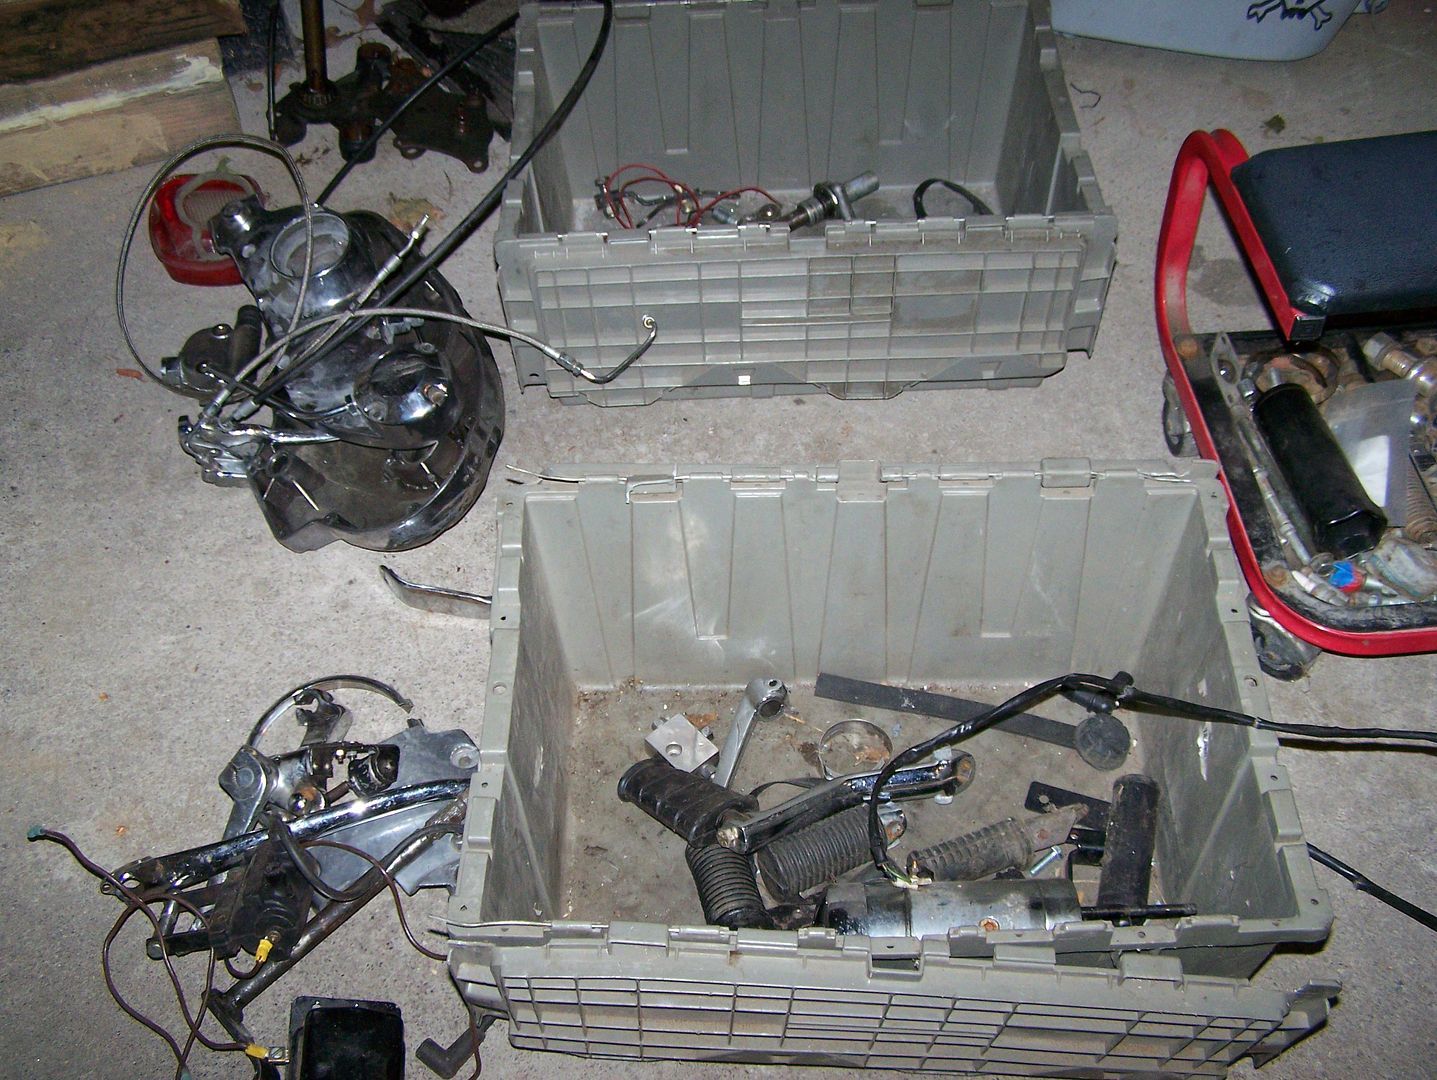
The bike arrived at my shop in a few totes. I separated out what I know fits and where it goes. As with every puzzle you need to start somewhere. I start with first the easy large things that I know where they belong and hopefully everything else will fall into place as the boxes get emptier.
One of the biggest hurdles is locating all the fastening hardware as I go. I have a very good selection of used bolts and fasteners from other projects that I have done over the years. I will be mining for the correct hardware in the various boxes and totes that I have acquired. As you may know most shops have a miscellaneous bolt box around to catch all the cast offs when the project is complete.
So far we have rebuilt the swing arm pivot and installed the vintage spring struts out back, then added the dual disc front end taken off my last project. I am saving The Performance Machine calipers and the mounting brackets that were included with this bike for another project or if needed to sell off to keep my budget below the $1000.00 max limit. The motor is installed in the frame and the front brakes are plumbed and bled using a combination of used custom vintage steel braided lines and stock Harley rubber brake lines. It is not the prettiest set up but it is cheap and works.
Next on the list is to get the disc brake rear wheel and caliper mounted up and on location. This bike is supposed to have a mechanical drum rear brake with a 5/8” Axle diameter. I am installing hydraulic disc brakes with a ¾” diameter axle so some machining is in order to get the whole deal to work together.
Tim